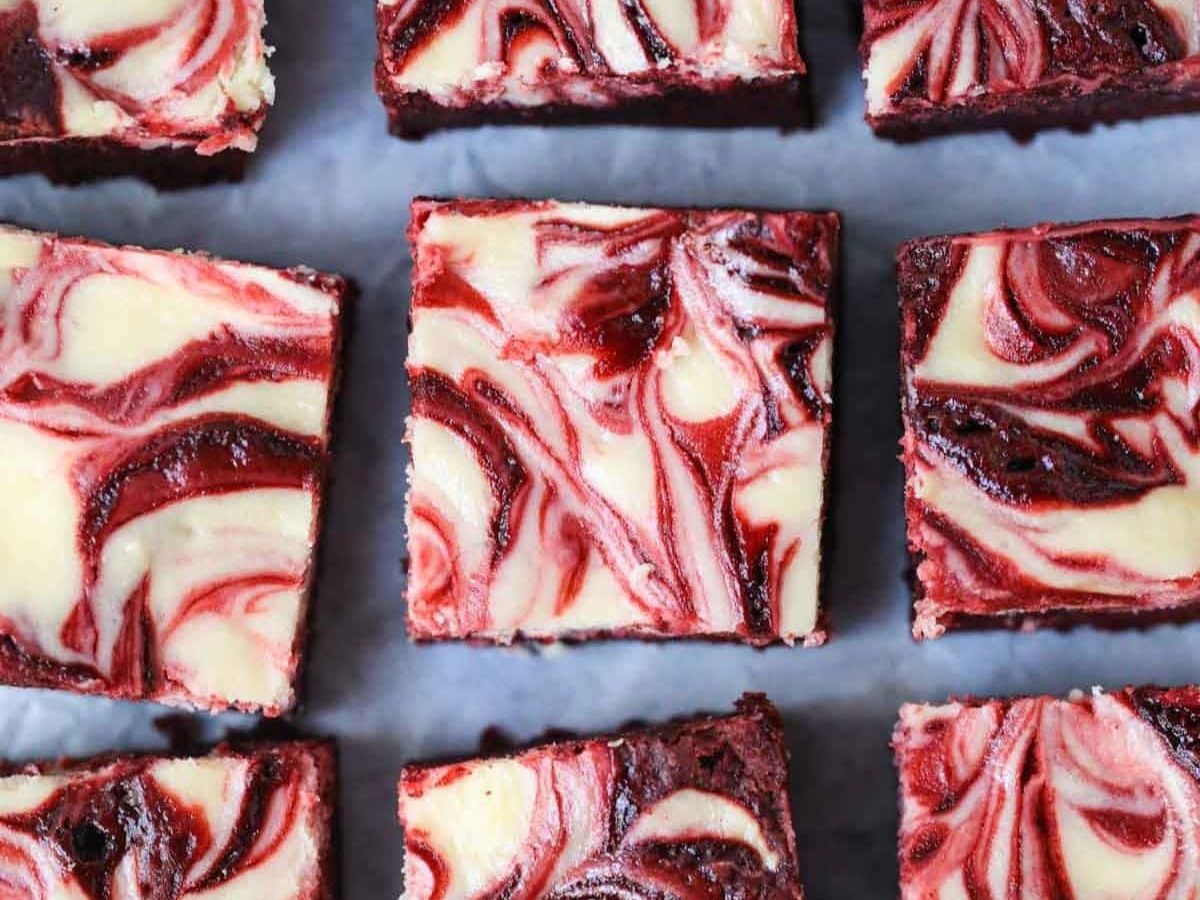
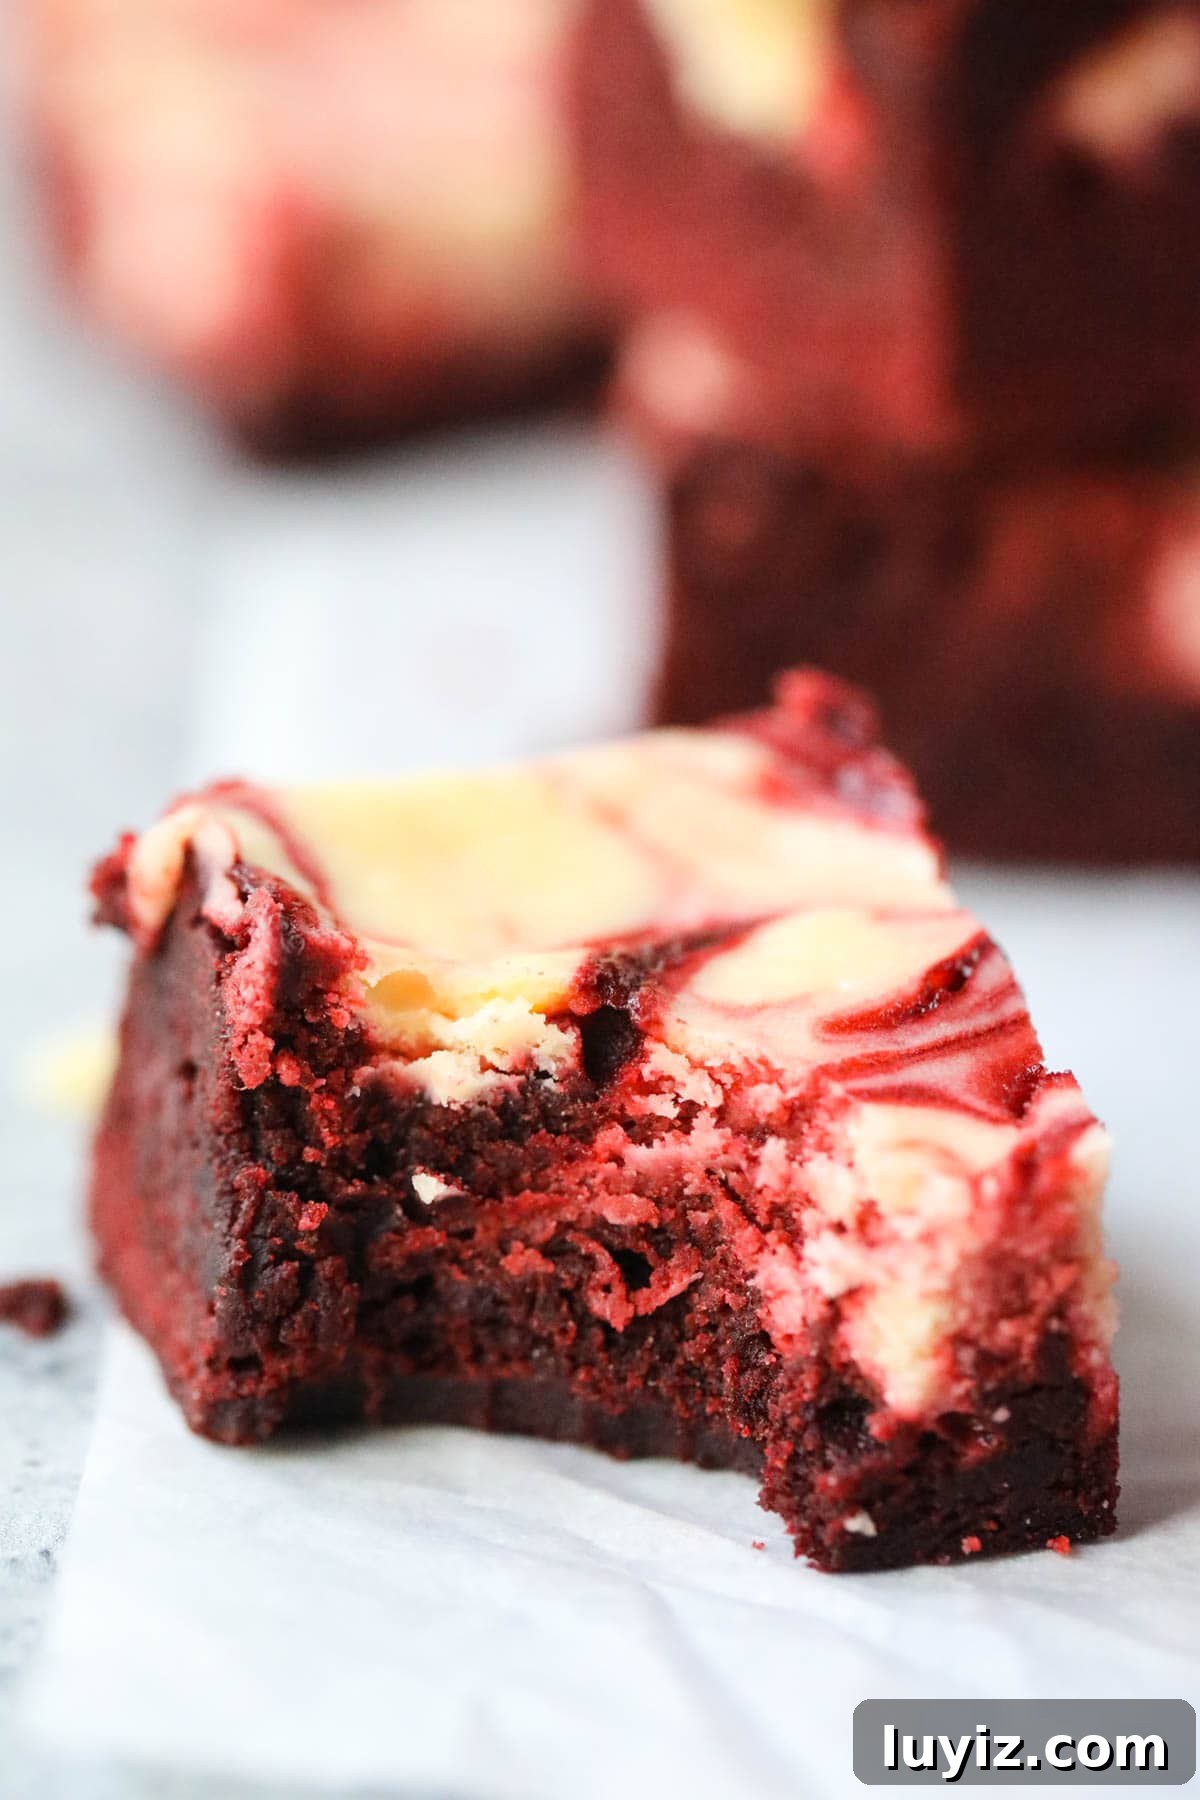
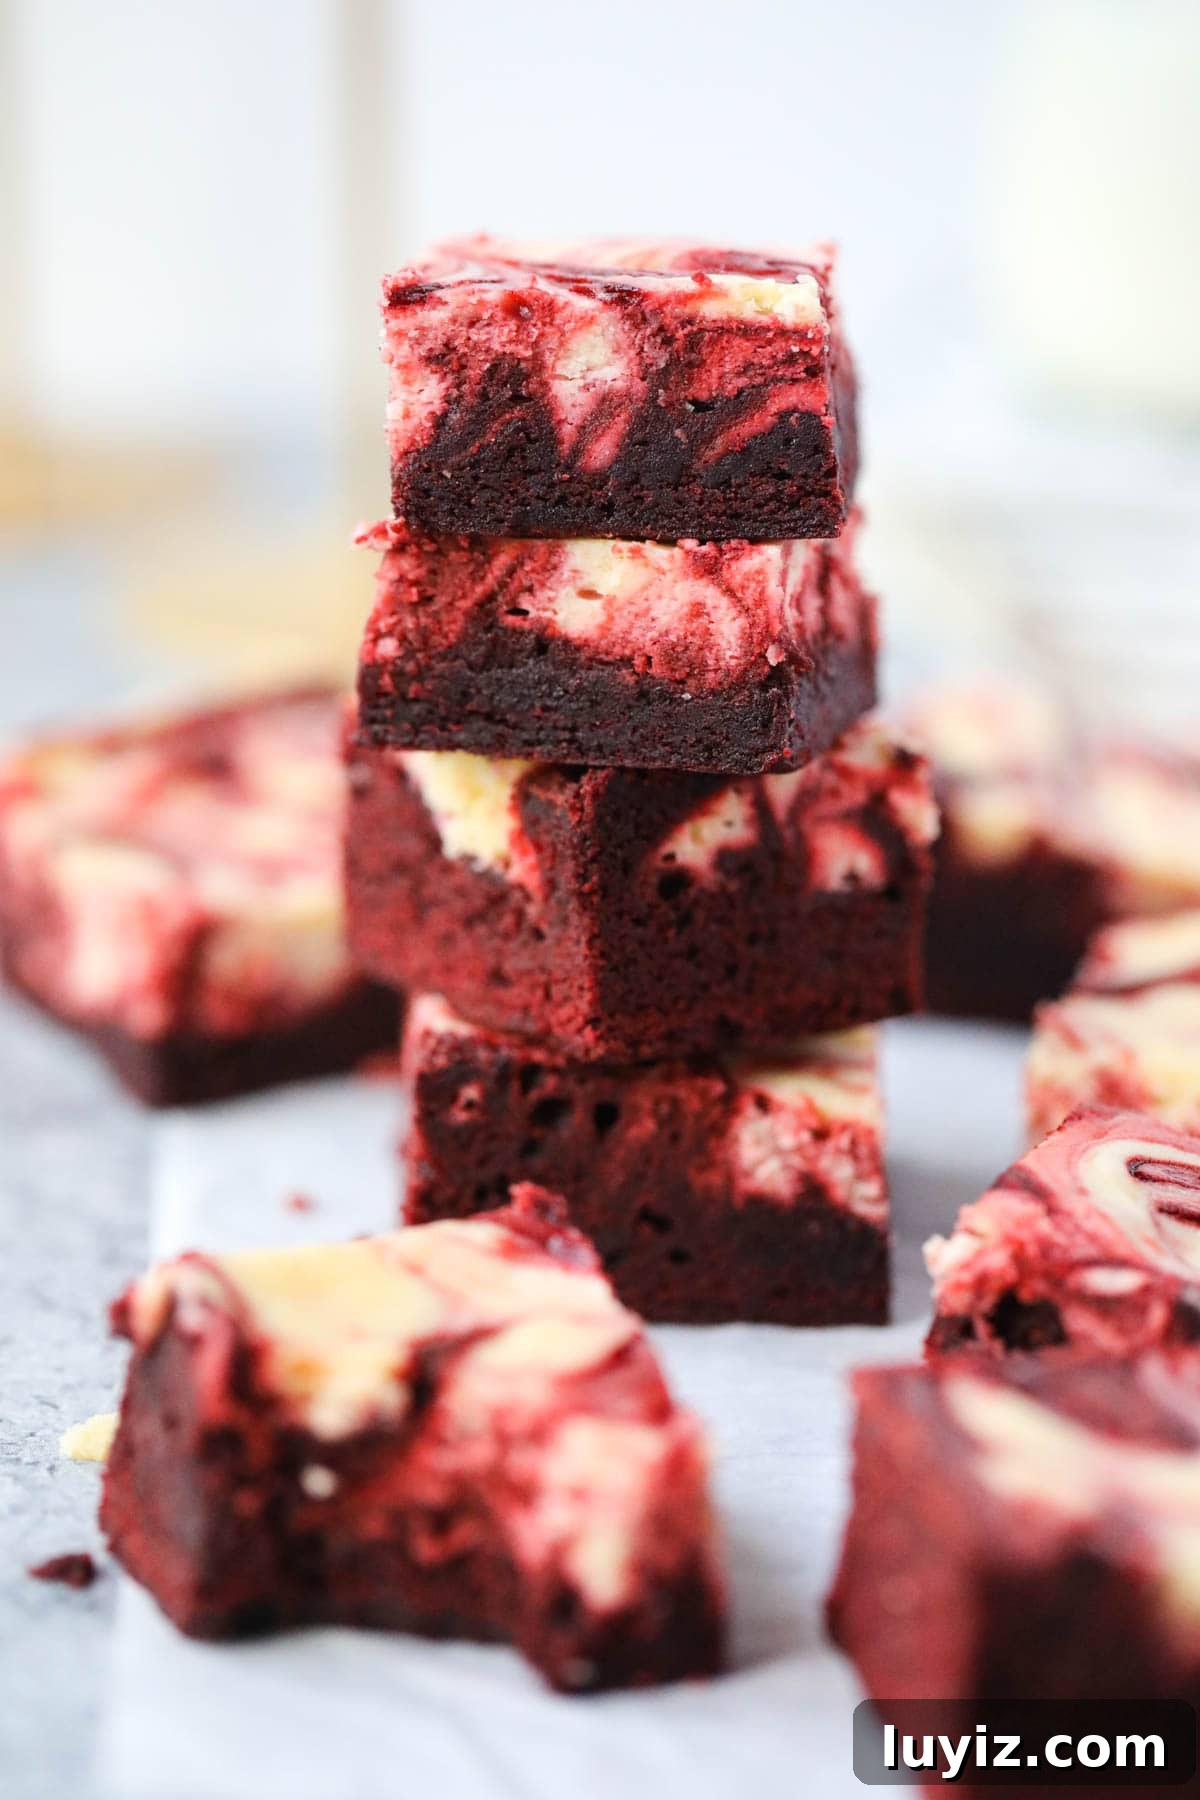
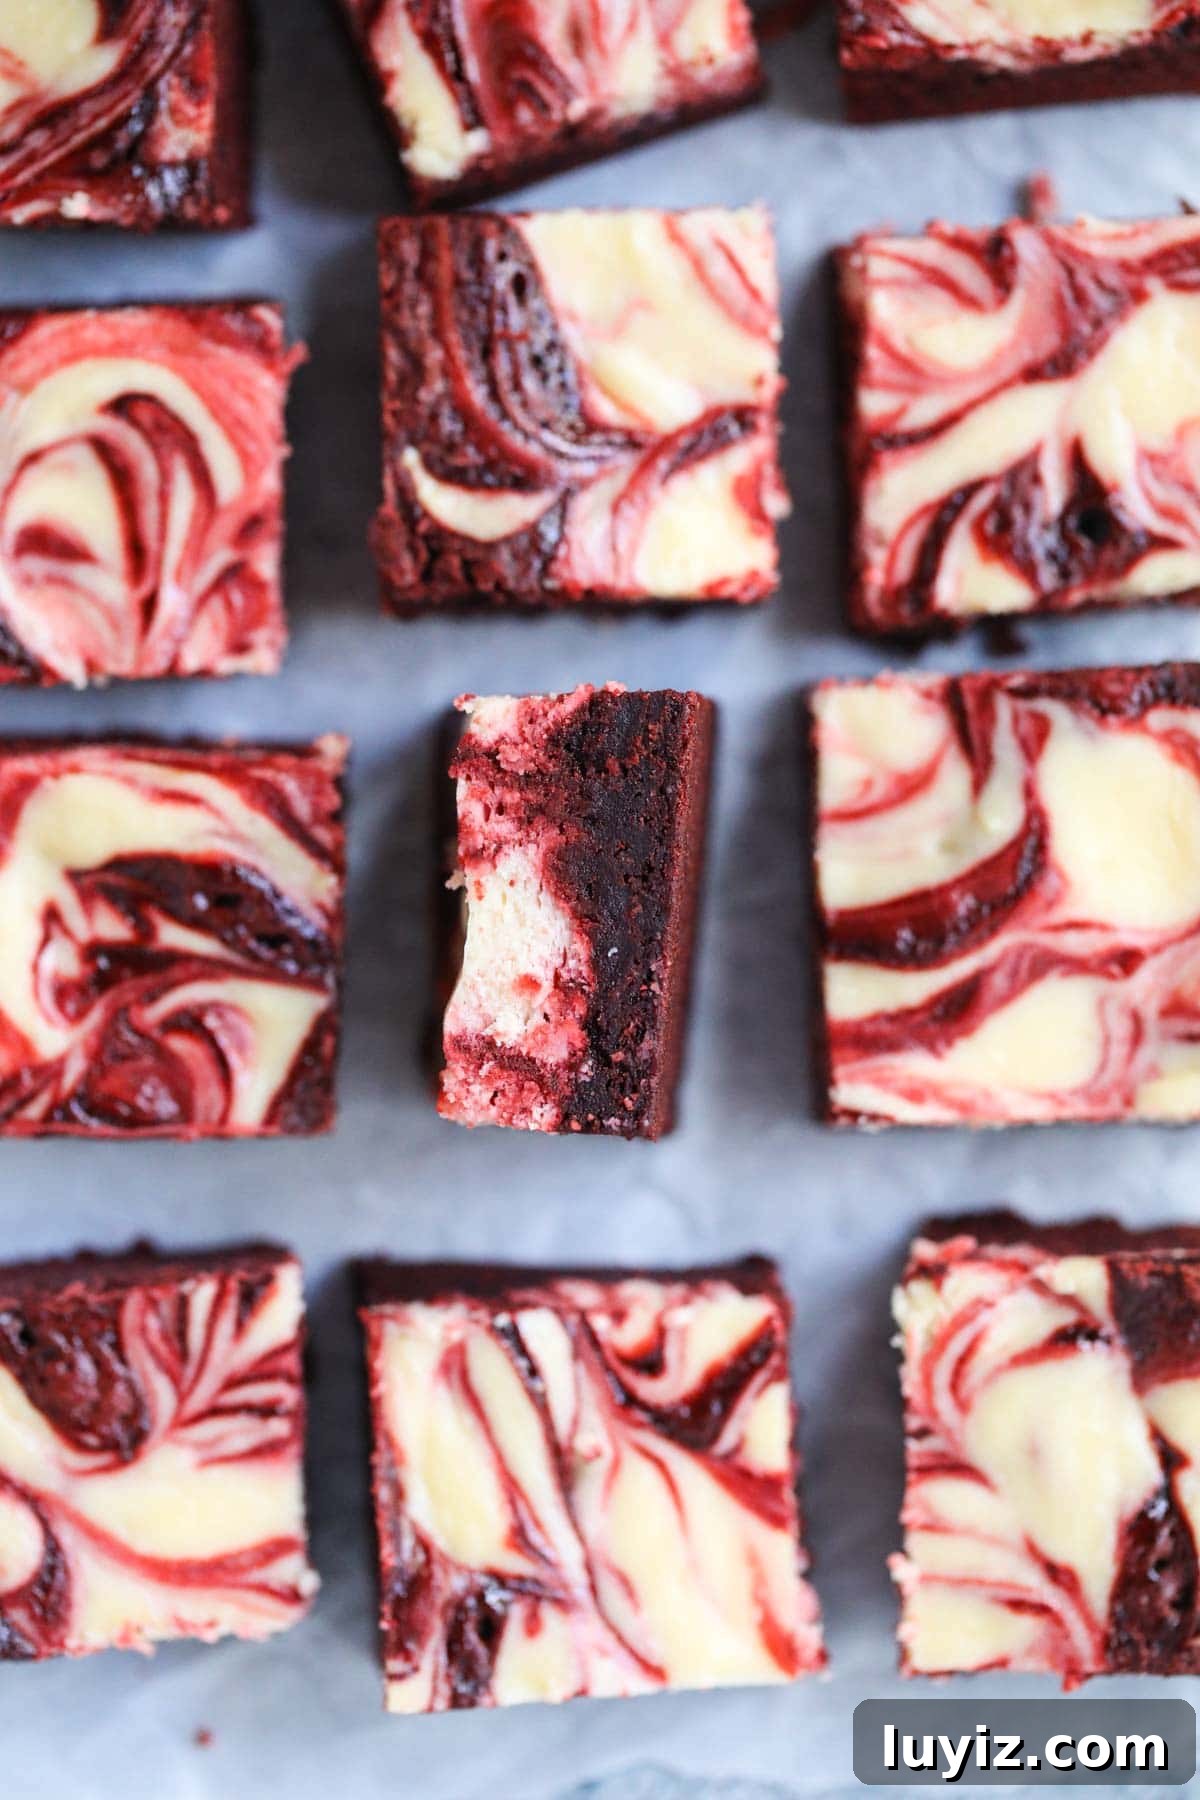
These chewy, fudgy red velvet cheesecake brownies combine swirls of rich red velvet brownie batter with a smooth, tangy cream cheese layer for an indulgent dessert. The contrast of chocolatey, sweet, and slightly tangy flavors makes them a crowd-pleasing favorite for holidays, parties, or a special treat at home.
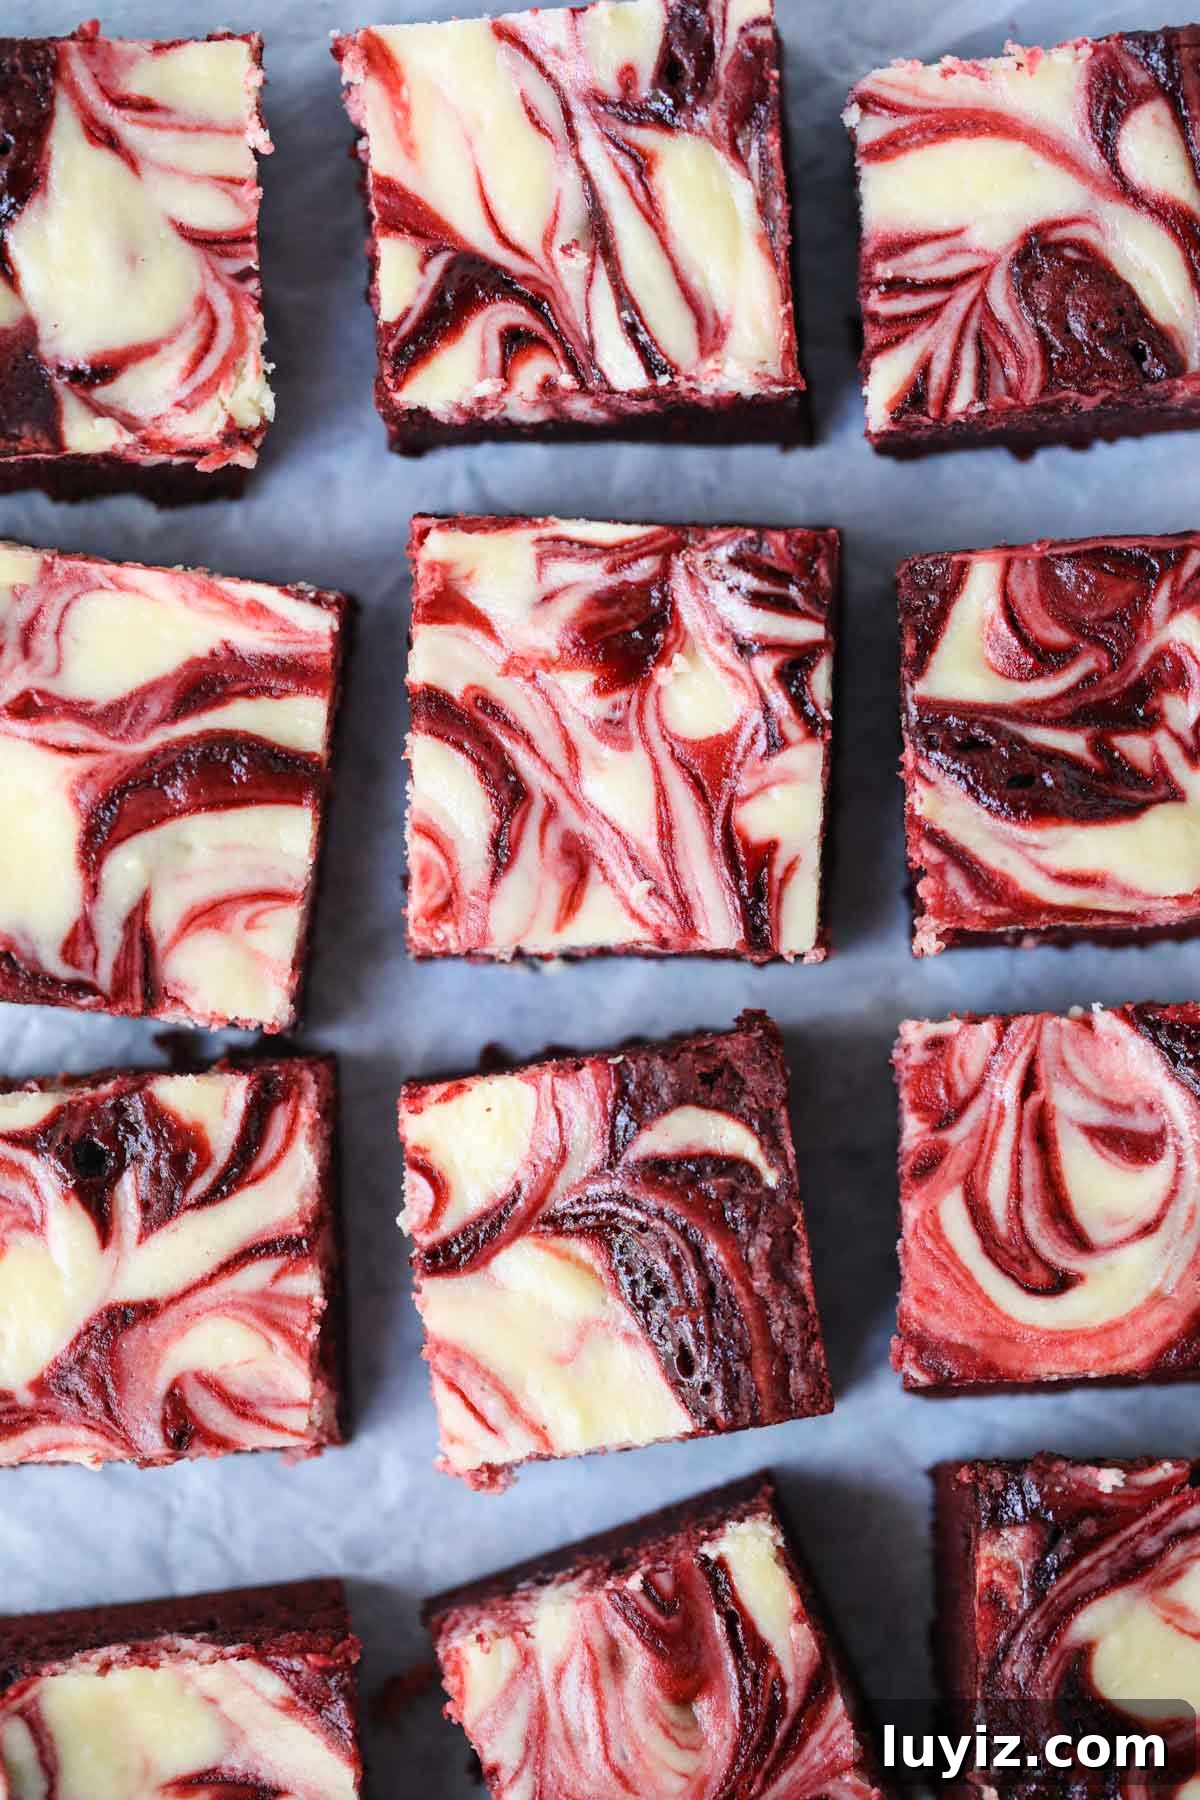
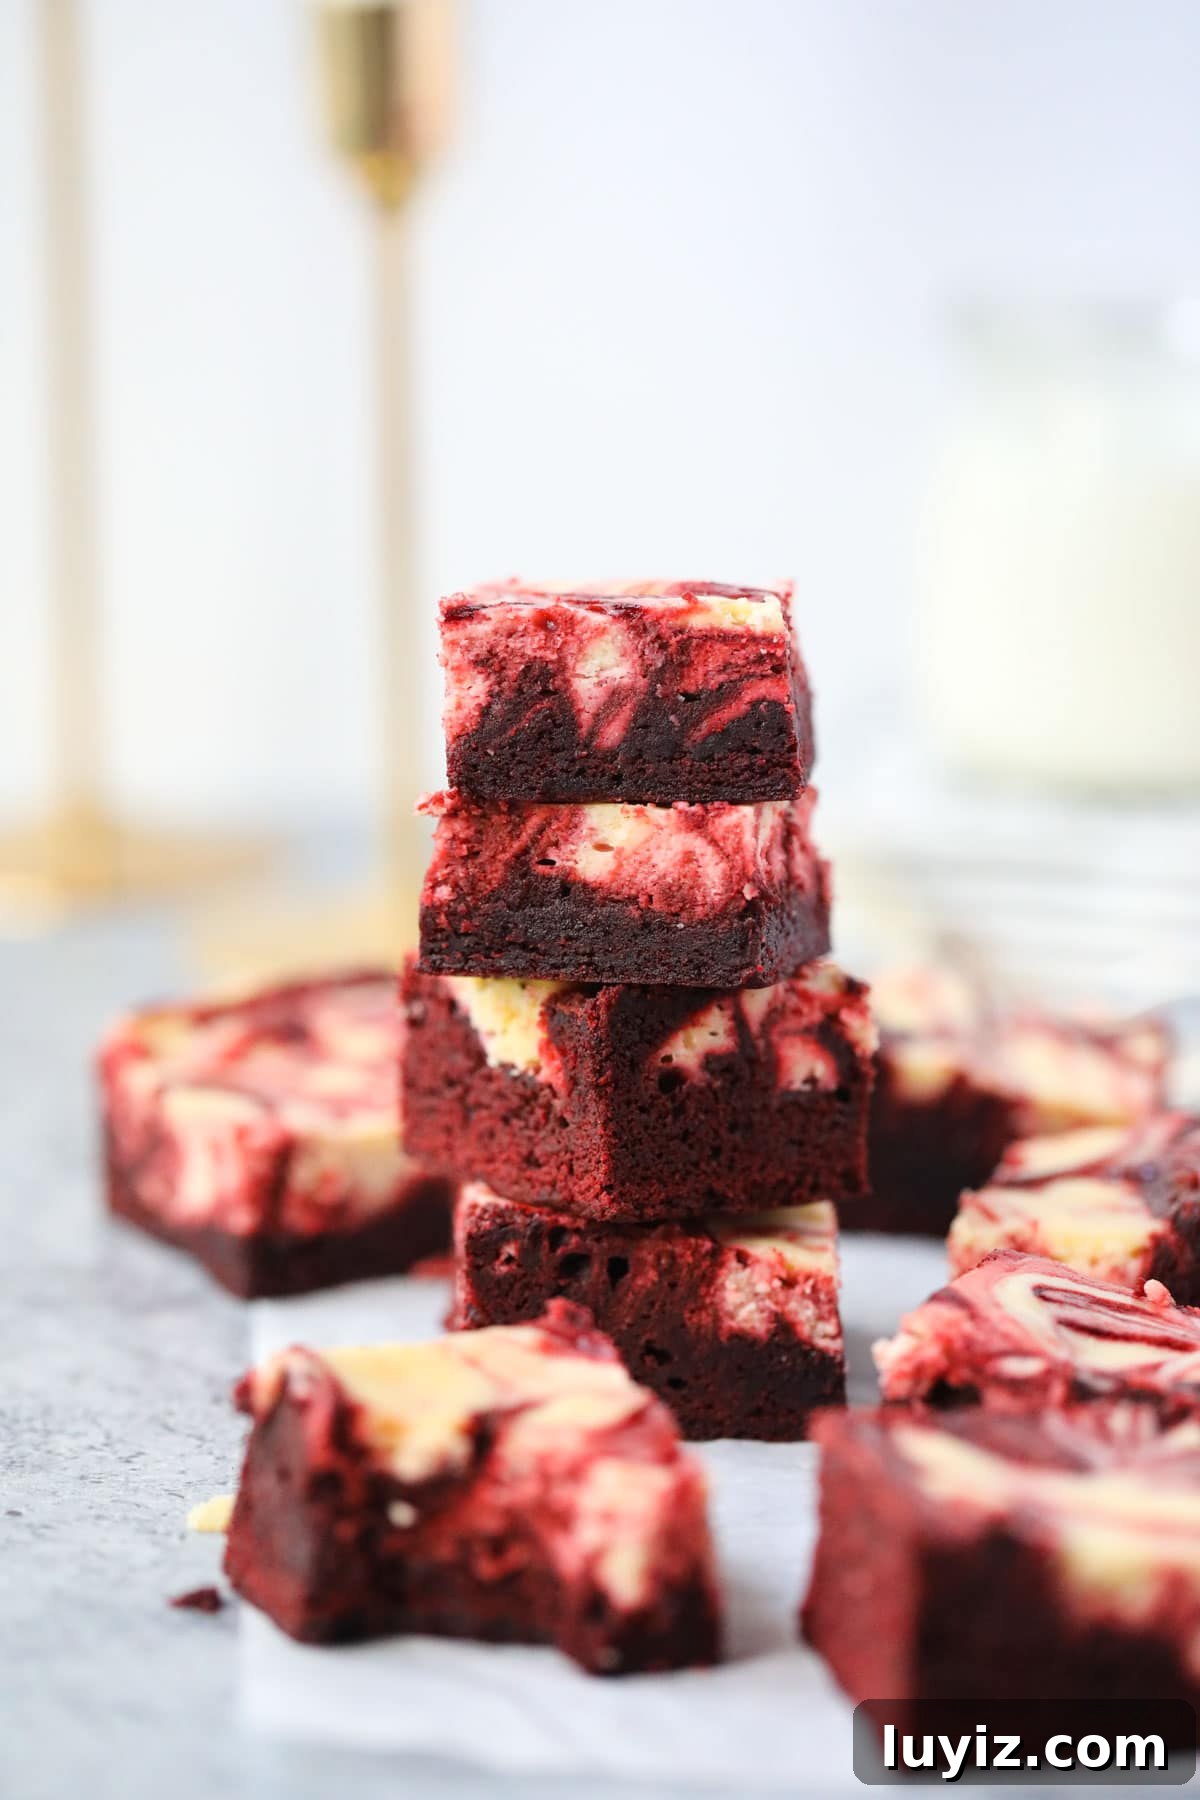
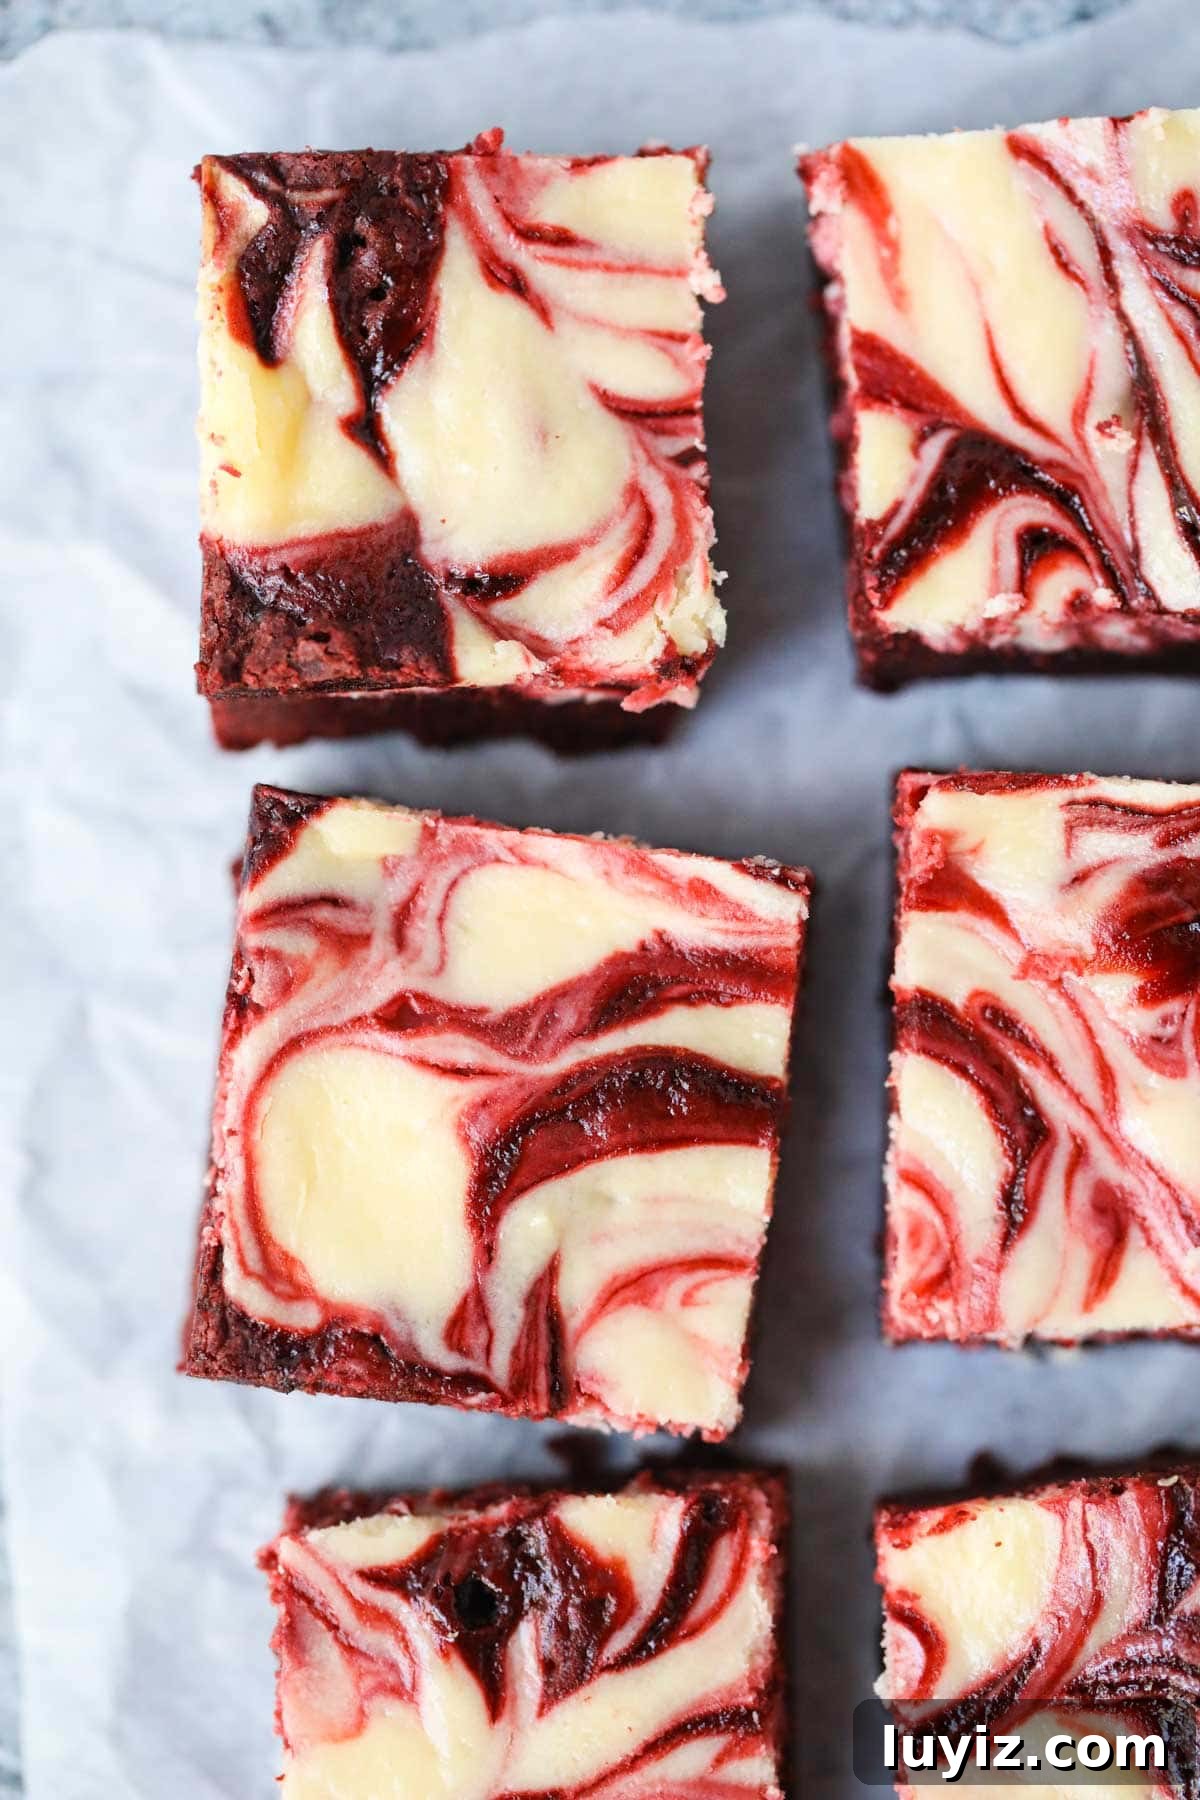
If you want a dessert that looks impressive but is easy to make, these red velvet cheesecake brownies are a perfect choice. A fudgy, chocolate-forward red velvet brownie base is topped with a creamy cheesecake layer, then gently swirled for a beautiful marbled finish. They slice neatly and travel well, so they’re ideal for potlucks and festive dessert tables.
Serve these brownies alongside fresh cookies, simple layer cakes, or homemade candies for a varied holiday spread. They also pair beautifully with a glass of cold milk or a lightly brewed coffee to balance the richness.
Why You Will Love These Red Velvet Brownies
- Showstopping and beautiful. The deep red brownie streaks marbled with creamy cheesecake make an eye-catching dessert that’s simple to pull together.
- Balanced flavors. The brownie layer brings cocoa richness while the cheesecake adds creaminess and a pleasant tang that lifts the whole bite.
- Easy to prepare. With straightforward mixing and basic ingredients, these brownies come together quickly and require minimal fuss.
Ingredients You Need To Make This Recipe
The complete ingredient list with exact measurements appears in the recipe card further below. Read through the full ingredient list before you begin so everything is at hand.
Red Velvet Brownie Layer
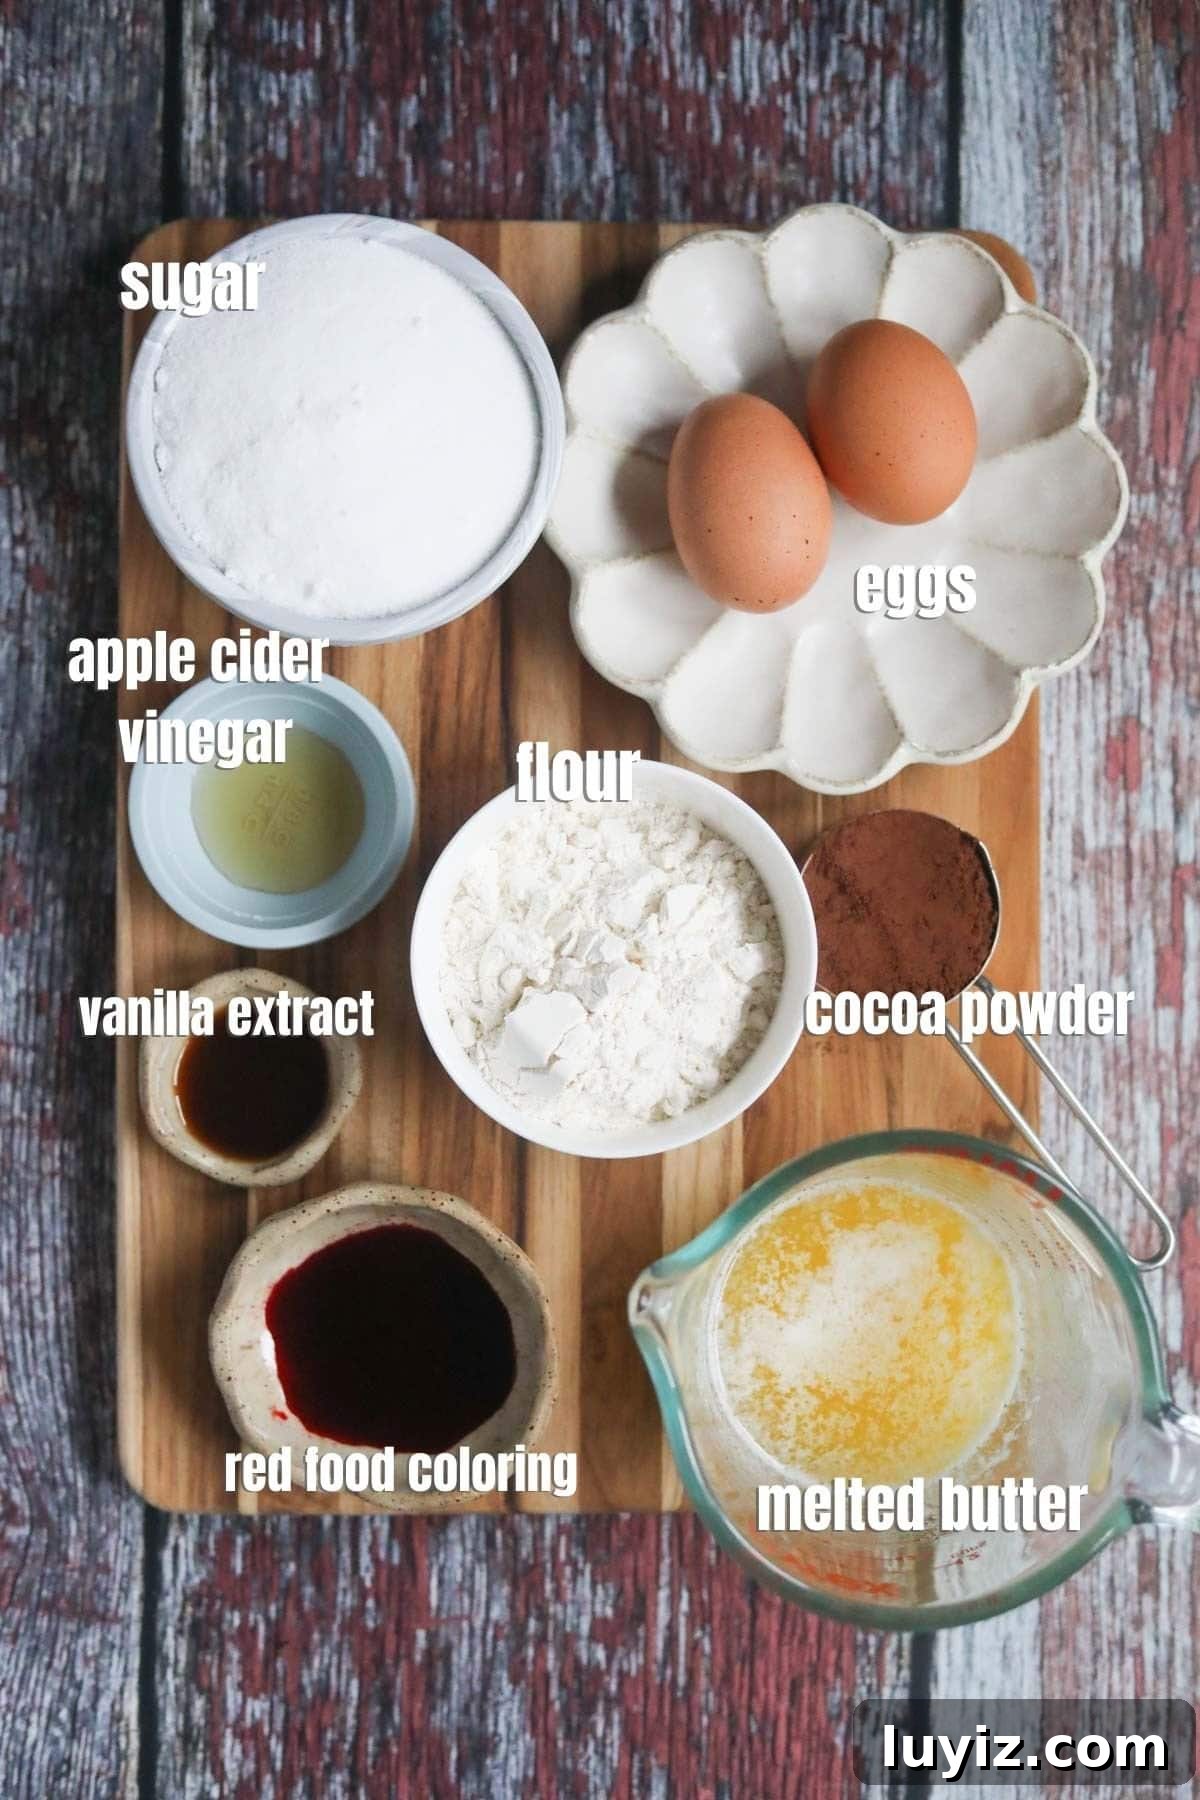
- Melted butter. Forms the base of the brownie batter. Unsalted is preferred; if you use salted butter, skip any added salt.
- Granulated sugar. Sweetens and helps create that thin, crackly top when whipped with the eggs.
- Eggs. Room-temperature eggs beaten with the sugar and butter add structure and contribute to a glossy top.
- Vanilla extract. Adds depth—use a good quality extract for best flavor.
- Dutch-processed or natural cocoa powder. Dutch-processed cocoa gives a deeper, less bitter chocolate taste; natural cocoa works too but may affect color and flavor slightly.
- Salt. Enhances the other flavors.
- Red food coloring. Optional, but traditional for red velvet. Natural alternatives work if you prefer to avoid artificial dyes.
- Apple cider vinegar. A small amount helps develop the classic red velvet tang and interacts with the cocoa for flavor.
- All-purpose flour. Use the spoon-and-level method to avoid dense brownies.
Cheesecake Layer
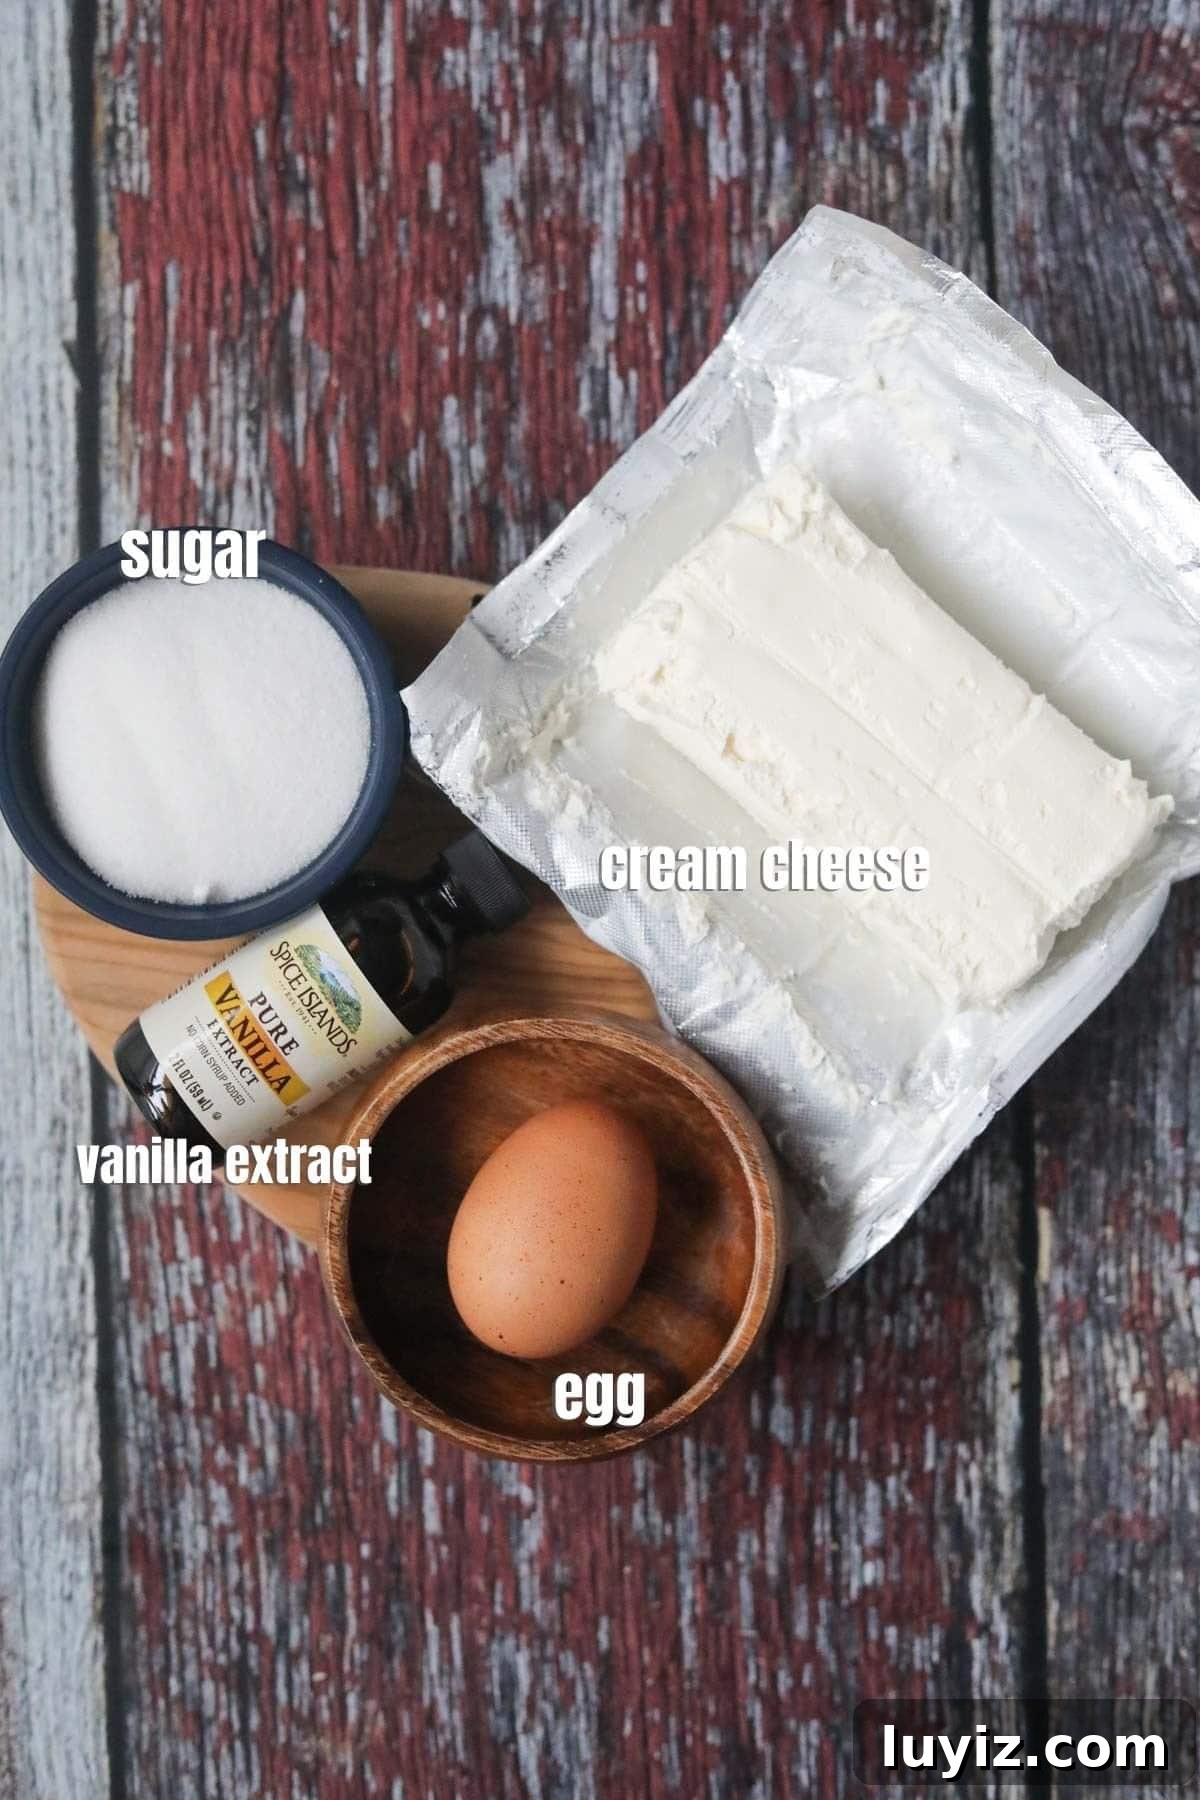
- Cream cheese. Softened to room temperature so the cheesecake batter is smooth and lump-free.
- Egg. Binds the cheesecake filling and gives it a creamy, sliceable texture.
- Granulated sugar. Sweetens the cheesecake layer without overpowering the tang.
- Vanilla extract. Adds warmth and rounds out the flavor.
How To Make Red Velvet Cheesecake Brownies
- Preheat the oven to 350°F (175°C). Line an 8 x 8 inch baking pan with parchment paper and set aside.
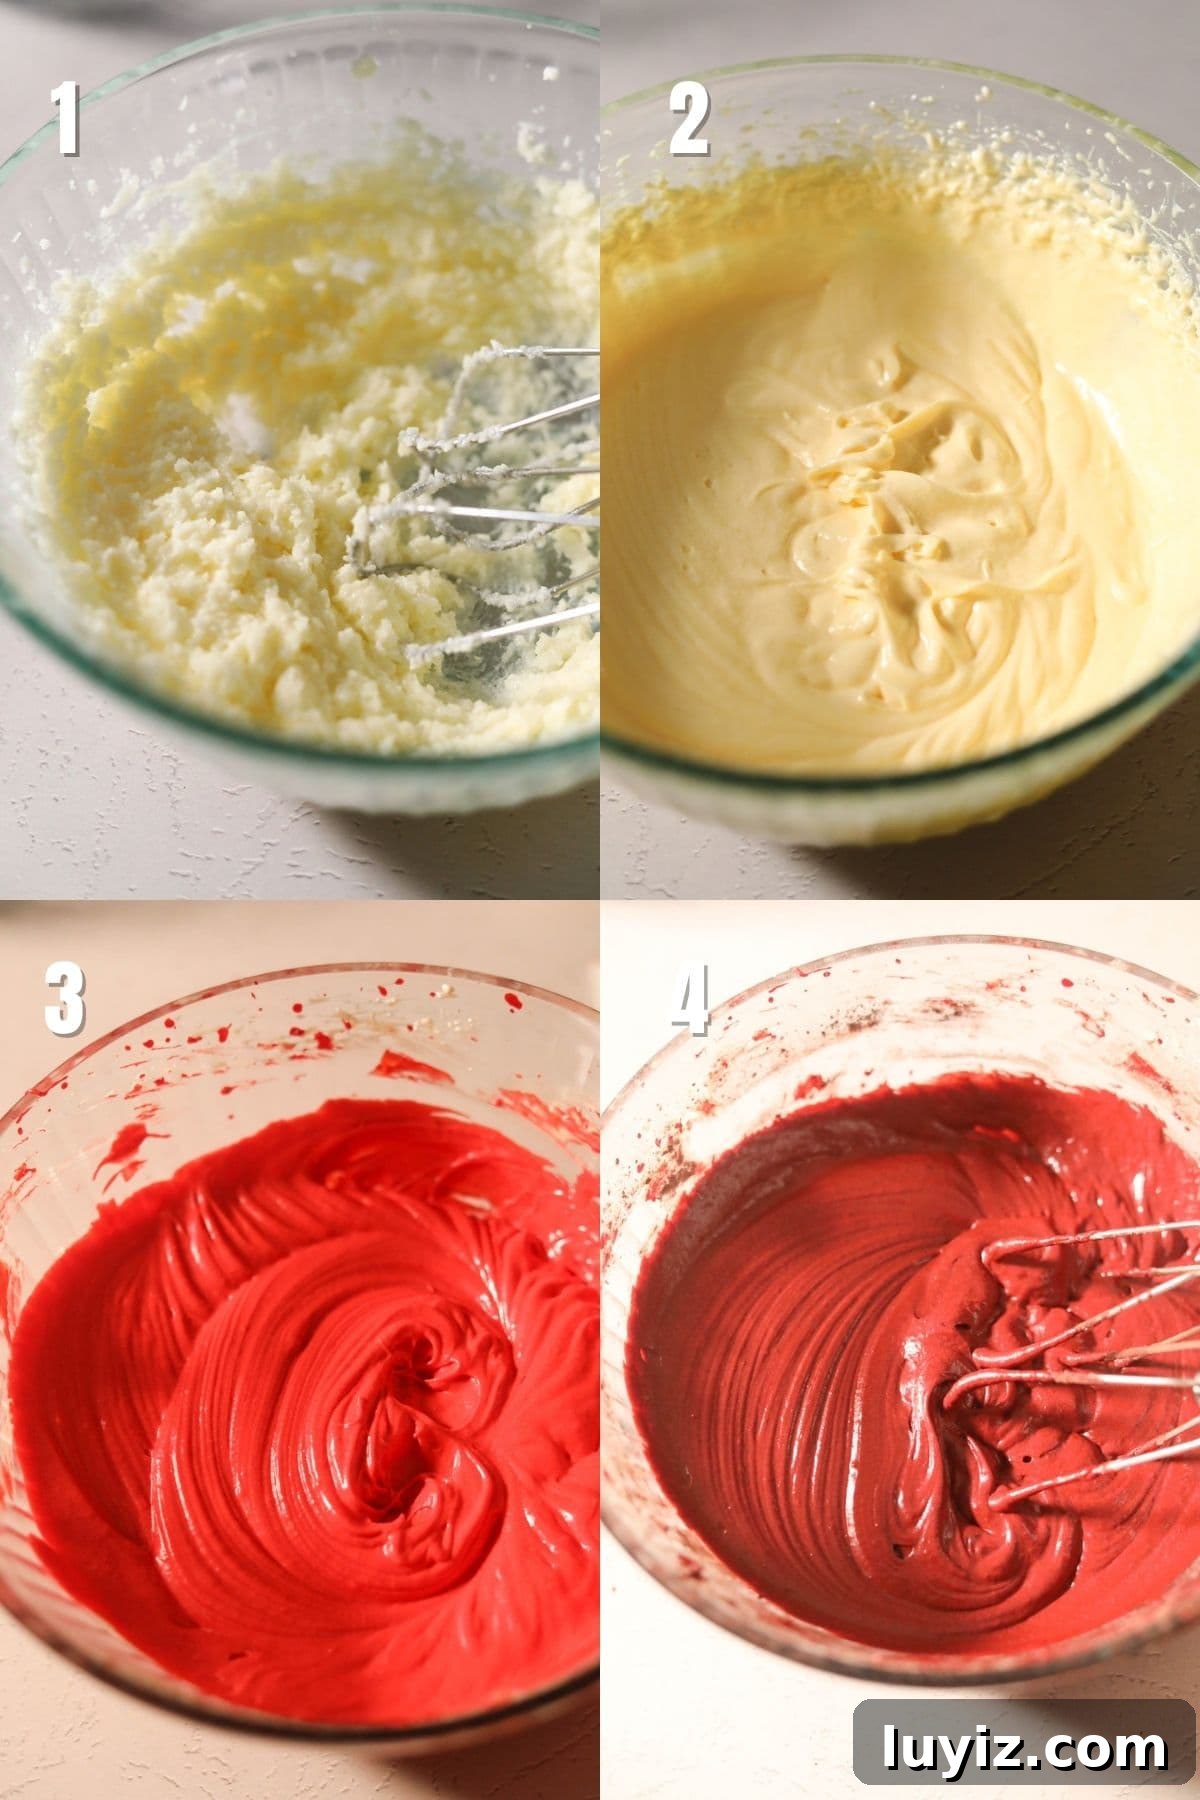
- In a medium bowl, beat the melted butter and granulated sugar with an electric mixer until light and slightly fluffy, about 2–3 minutes.
- Add the eggs and continue beating until the mixture is slightly foamy and small bubbles appear, about 3–4 minutes. This step helps create a shiny, crackly top.
- Mix in the cocoa powder, red food coloring (if using), vanilla extract, apple cider vinegar, and salt until combined.
- Scrape the bowl, add the flour, and mix on medium speed just until no dry streaks remain. Avoid overmixing to keep the brownies tender and fudgy.
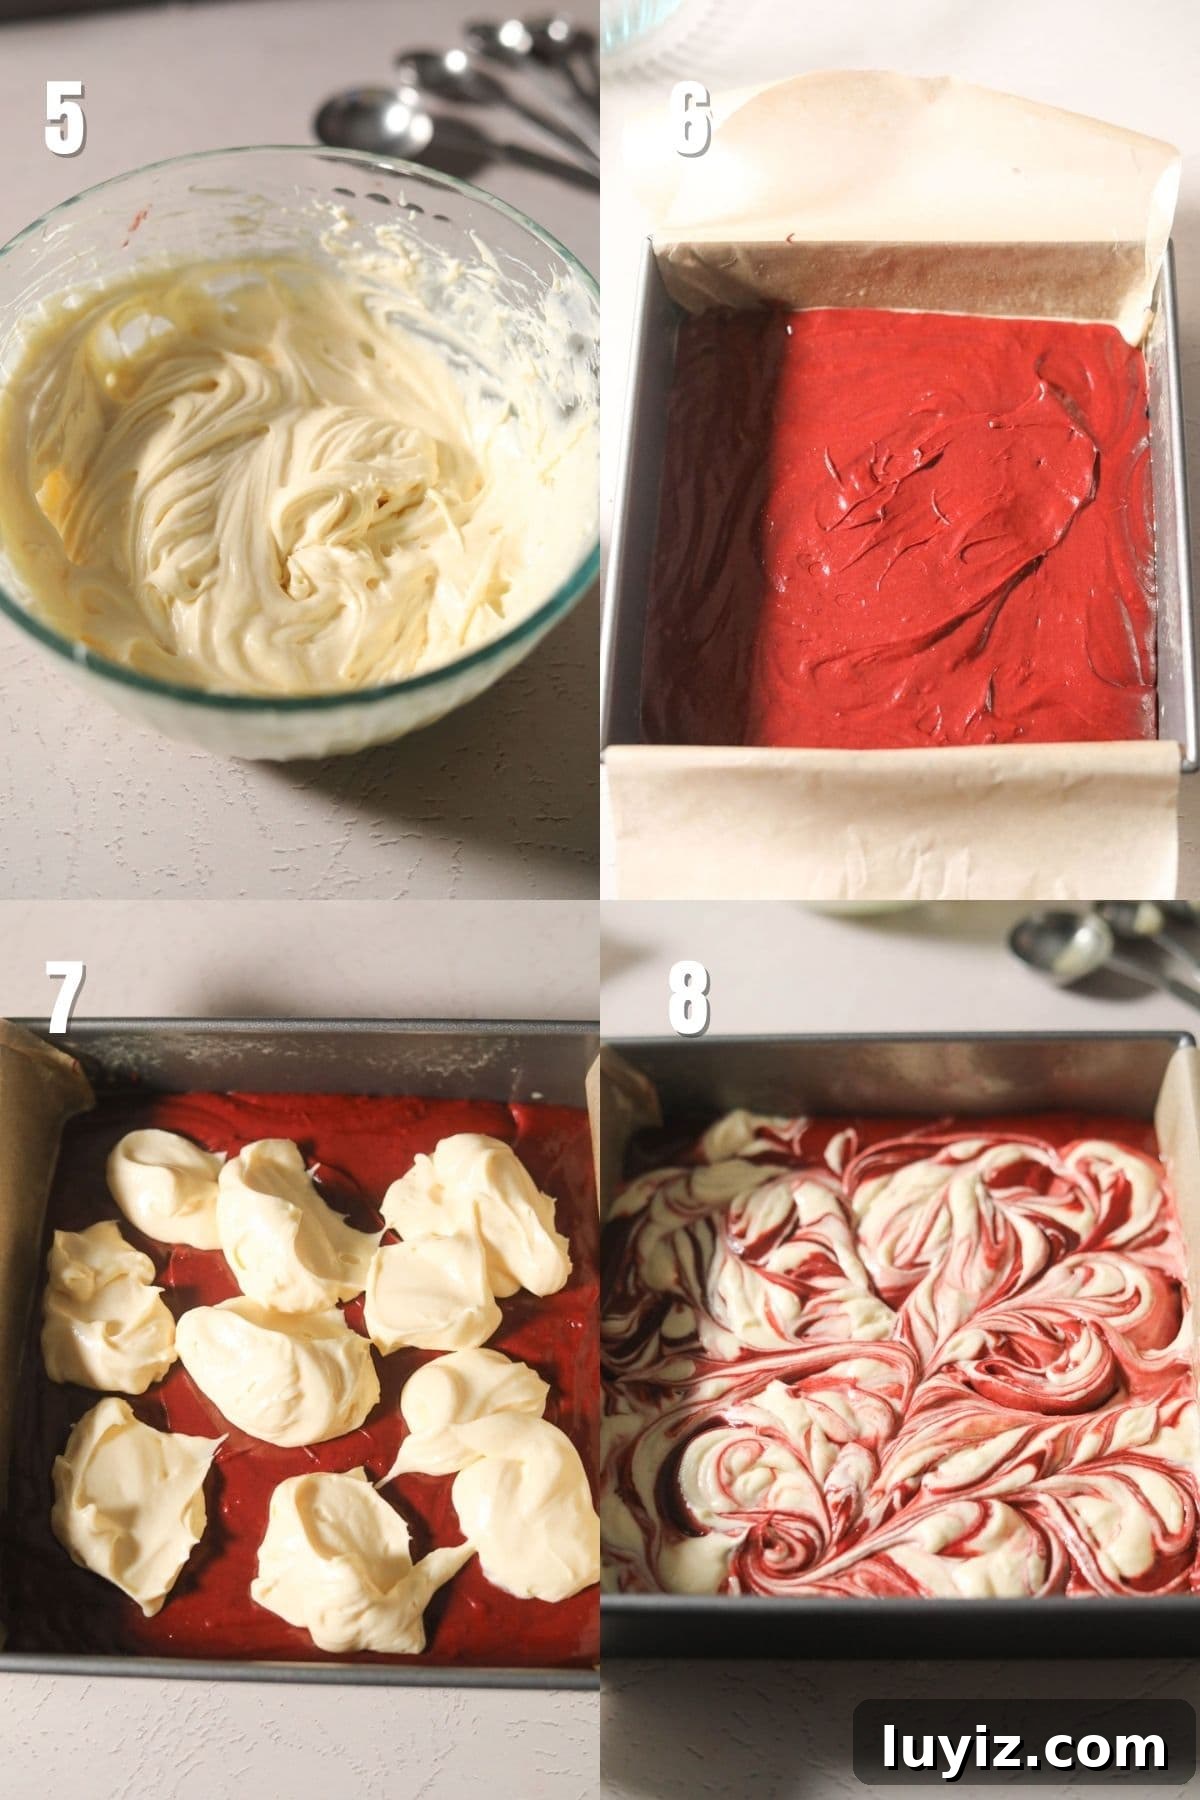
- Spread the brownie batter evenly in the prepared pan and set aside while you make the cheesecake layer.
- Beat the softened cream cheese with the egg, granulated sugar, and vanilla until smooth and creamy.
- Drop spoonfuls of the cheesecake mixture over the brownie batter. Use a butter knife or skewer to swirl the two batters together into a marbled pattern.
- Bake for 25–30 minutes, or until a toothpick inserted near the center comes out with a few moist crumbs. Let cool completely before slicing to ensure clean squares.
Variations and Substitutions
- Swap Dutch-processed cocoa for natural unsweetened cocoa if needed. Natural cocoa is slightly more bitter and can produce a brighter red color.
- Use natural red food coloring or beet-based coloring if you’d rather avoid artificial dyes; color intensity may vary.
- Omit food coloring entirely—the brownies will still taste like red velvet without the red hue.
Is Red Velvet Just Chocolate with Red Food Coloring Added?
Red velvet is related to chocolate but has distinct characteristics. It typically uses less cocoa than a traditional chocolate recipe, and a small amount of acid—often vinegar—accentuates the cocoa and contributes to the tangy, complex flavor. Red food coloring creates the signature color but does not change the basic chocolate profile.
More FAQs
Beat the eggs well with the butter and sugar until the mixture is slightly foamy. Properly aerating this mixture encourages the thin, glossy crackle that brownies are known for.
Spongy brownies are usually a sign of overbaking. Remove the pan when a toothpick shows a few moist crumbs in the center—still slightly underdone—and allow the brownies to finish setting as they cool.
Because these brownies include a cheesecake layer, store leftovers in an airtight container in the refrigerator for up to 5 days.
Yes. Freeze baked and cooled brownies in a single layer on a sheet pan until firm, then transfer to a freezer-safe bag or container. They keep well for up to three months.
Recommended Kitchen Tools For This Recipe
- Mixing bowls
- Electric handheld mixer
- Measuring cups and spoons
- 8 x 8 inch baking pan
- Silicone spatula or rubber scraper
More Irresistible Desserts You Will Love!
- Kitchen Sink Cookies
- Cinnamon Roll Cookies
- Best Southern Pecan Pralines
- Southern Buttermilk Pie
- New Orleans Beignets
- Red Velvet Cheesecake Cake
- Chocolate Chess Pie
- Moist Lemon Bundt Cake
- Sock It To Me Cake
- Chocolate Gravy
- Skillet Peach Cobbler
- Fresh Strawberry Cobbler
- Old Fashioned Banana Pudding
- Bananas Foster French Toast
📖 Recipe
Red Velvet Cheesecake Brownies
Ashley Boyd
15 mins
25 mins
40 mins
Dessert
American
16 servings
201 kcal
Equipment
- 8 x 8 inch baking pan
- Mixing bowls
- Electric handheld mixer
- Measuring cups and spoons
Ingredients
Red Velvet Brownie Layer
- ½ cup unsalted butter, melted
- 1 cup granulated sugar
- 2 large eggs, room temperature
- ¼ cup Dutch-processed cocoa powder (or regular unsweetened cocoa)
- 3 teaspoons red food coloring (optional)
- 2 teaspoons vanilla extract
- 1 teaspoon apple cider vinegar
- ½ teaspoon salt
- ¾ cup all-purpose flour, spooned and leveled
Cheesecake Layer
- 8 ounces cream cheese, softened to room temperature
- 1 large egg, room temperature
- ⅓ cup granulated sugar
- ¼ teaspoon vanilla extract
Instructions
- Preheat your oven to 350°F (175°C). Line an 8 x 8 inch baking pan with parchment paper and set aside.
- In a medium bowl, beat together the melted butter and sugar with an electric mixer until light and fluffy, about 2–3 minutes.
- Add the eggs and beat until the mixture is slightly foamy and small bubbles appear, about 3–4 minutes.
- Add the cocoa powder, red food coloring (if using), vanilla, apple cider vinegar, and salt. Mix until combined.
- Scrape the bowl, add the flour, and mix until no dry streaks remain. Do not overmix.
- Pour the brownie batter into the prepared pan and smooth into an even layer.
- Beat the softened cream cheese with the egg, sugar, and vanilla until smooth and creamy. Drop spoonfuls of the cheesecake batter over the brownie batter and swirl with a knife.
- Bake for 25–30 minutes, or until a toothpick into the center comes out with a few moist crumbs. Cool completely before cutting.
Notes
- If you use natural unsweetened cocoa powder, the brownies will have a lighter color and slightly different chocolate flavor.
- Natural red food coloring is a fine alternative to synthetic dyes; color may be less intense depending on the product.
- Store leftovers in an airtight container in the refrigerator for up to 5 days because of the cheesecake layer.
Nutrition
Tried this recipe?
Share a photo and leave a rating if you enjoyed these brownies.