
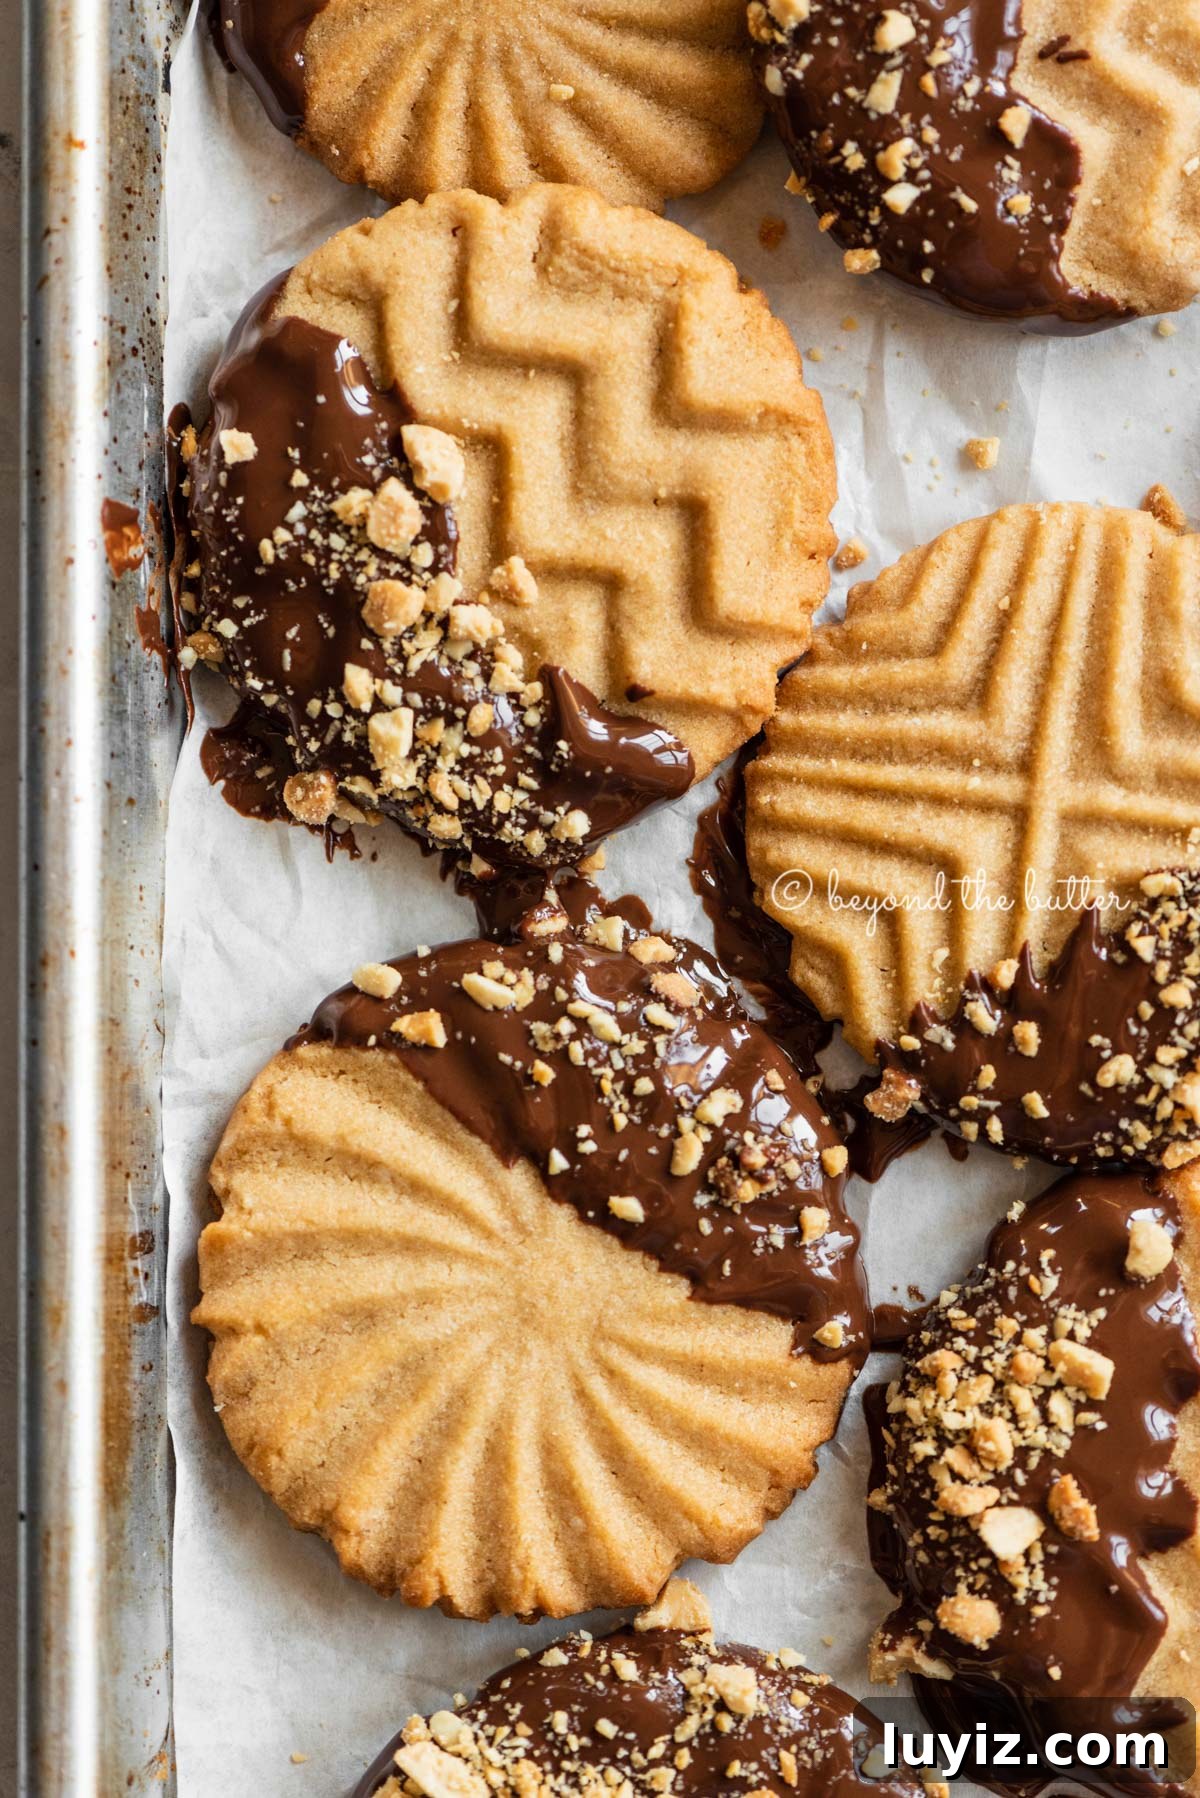
Incredibly soft and chewy on the inside and bursting with peanut butter flavor, these Chocolate Dipped Peanut Butter Cookies are destined to become a favorite. Each cookie is dipped in semi‑sweet chocolate and finished with chopped peanuts for a simple, classic treat that stays soft for days when stored in an airtight container.
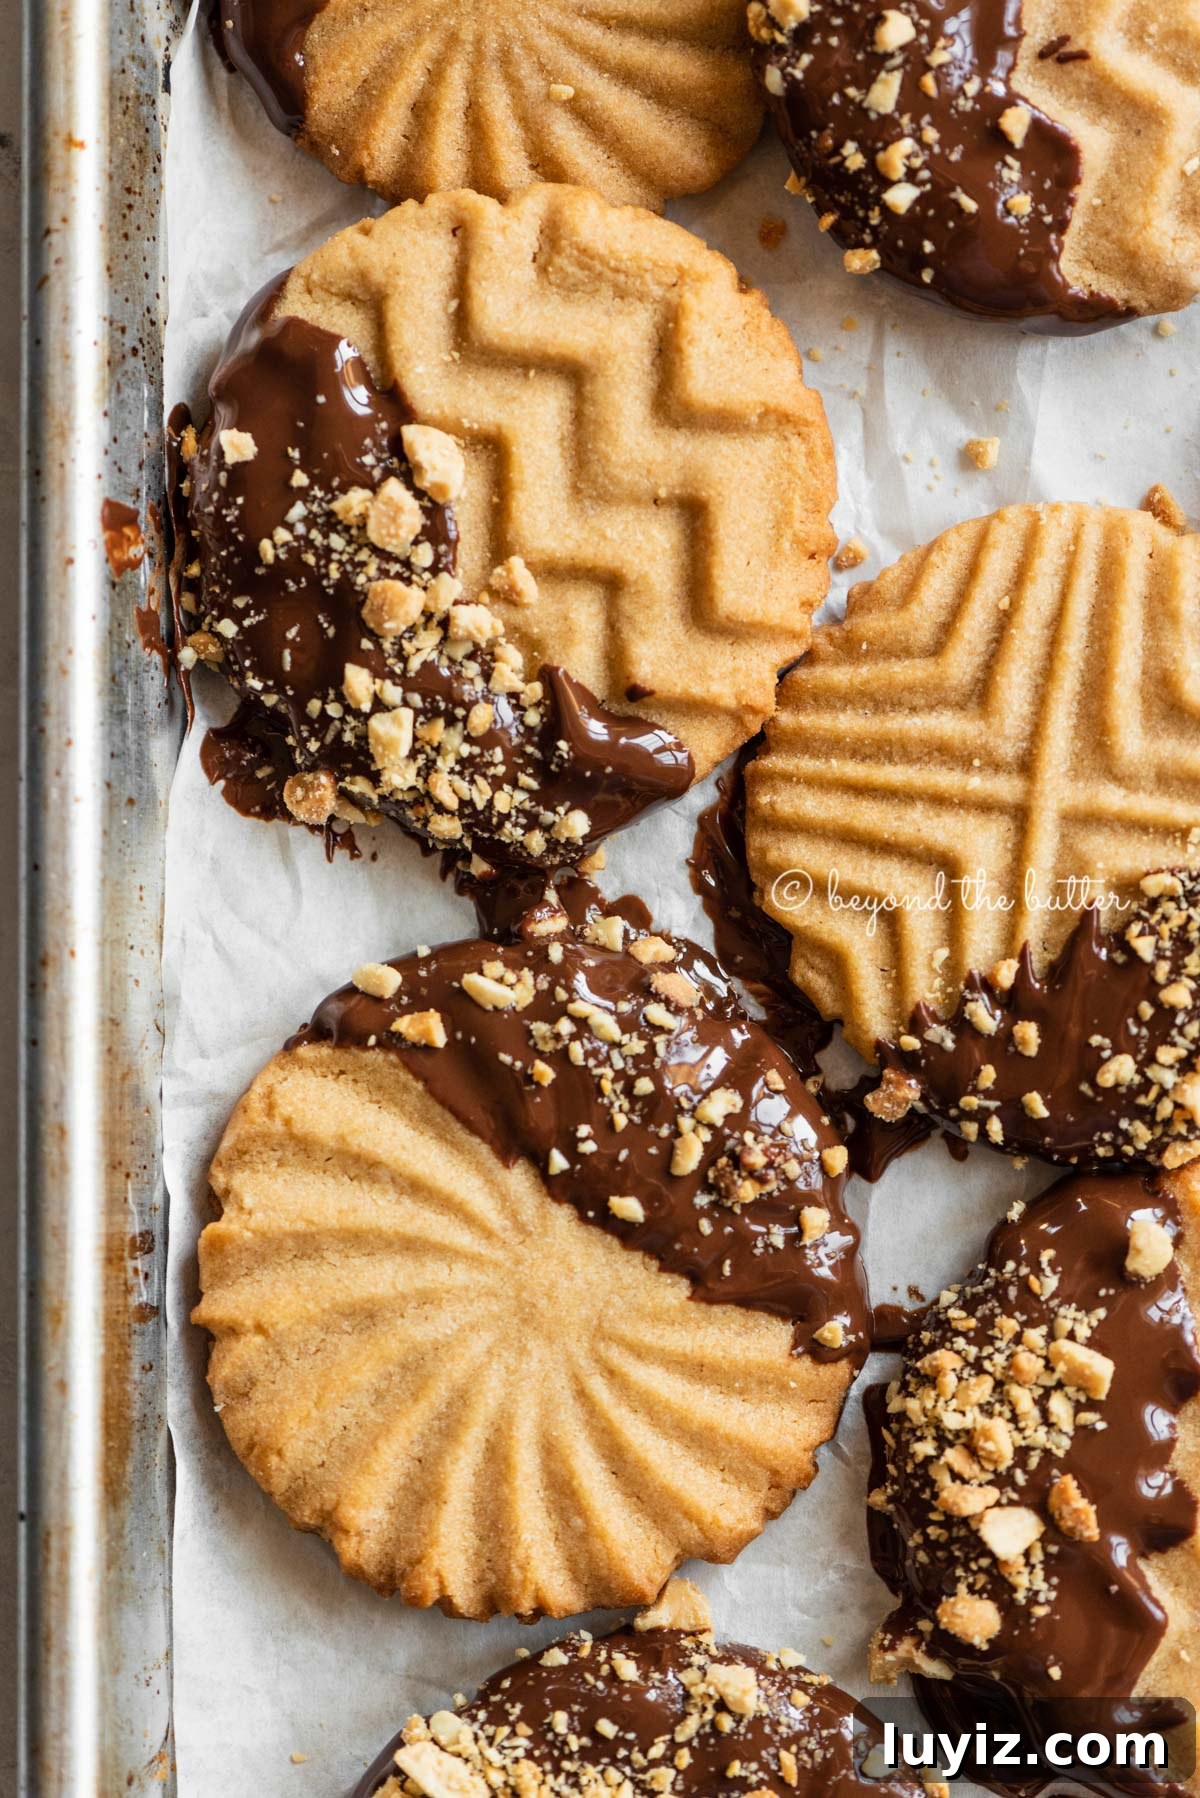
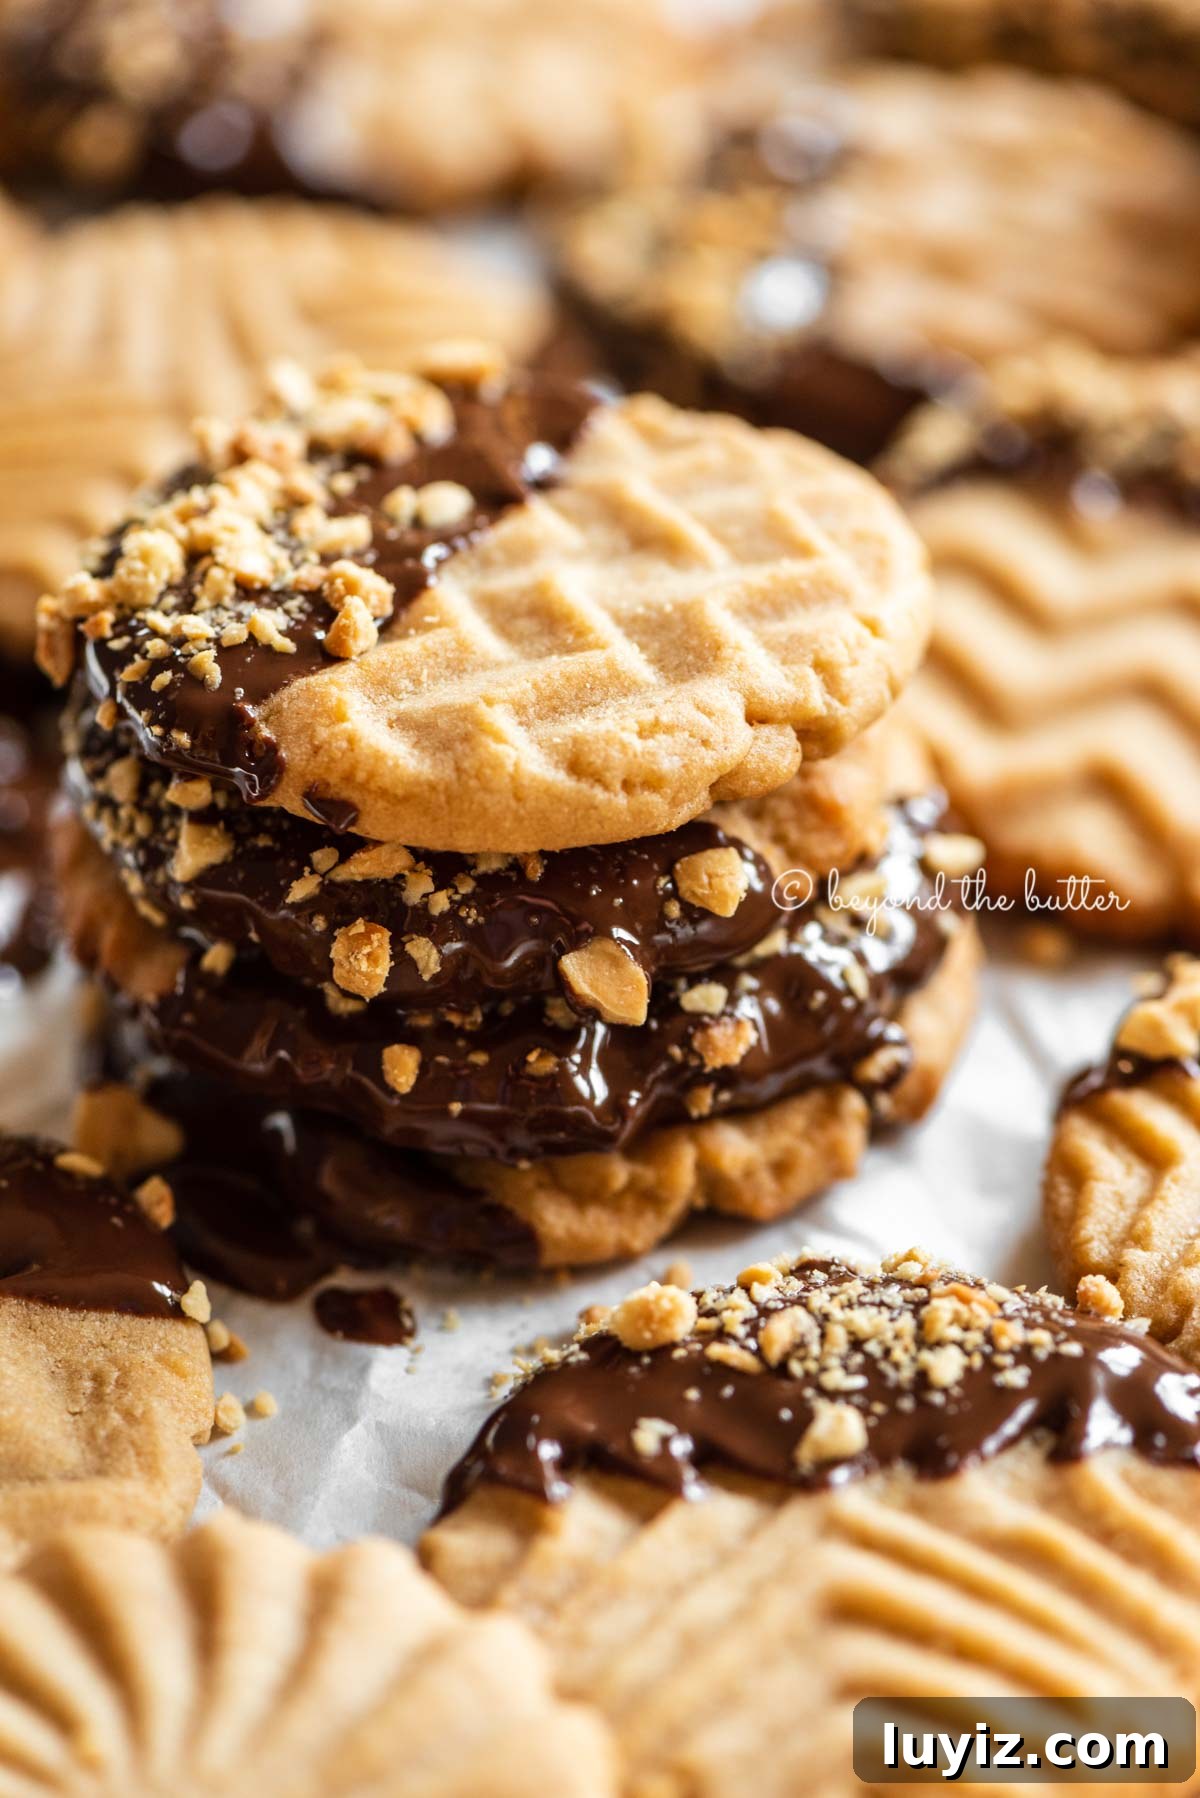
This recipe is a slight adaptation of my late Grammy’s peanut butter cookie. It’s tried and true: family members and friends consistently praise these cookies. They keep well at room temperature in a tightly sealed container and remain soft—add a slice of bread to the container if you want to help maintain extra moisture.
The peanut butter aroma is irresistible, and the flavor is rich and satisfying. If you love peanut butter and chocolate together, these cookies are a perfect homemade gift or snack.
Table of Contents
- Ingredients Needed
- Substitutions
- Cookie Stamps
- Freezing
- Recipe FAQs
- More Chocolate Peanut Butter Desserts
- Super Soft & Chewy Peanut Butter Cookies Recipe
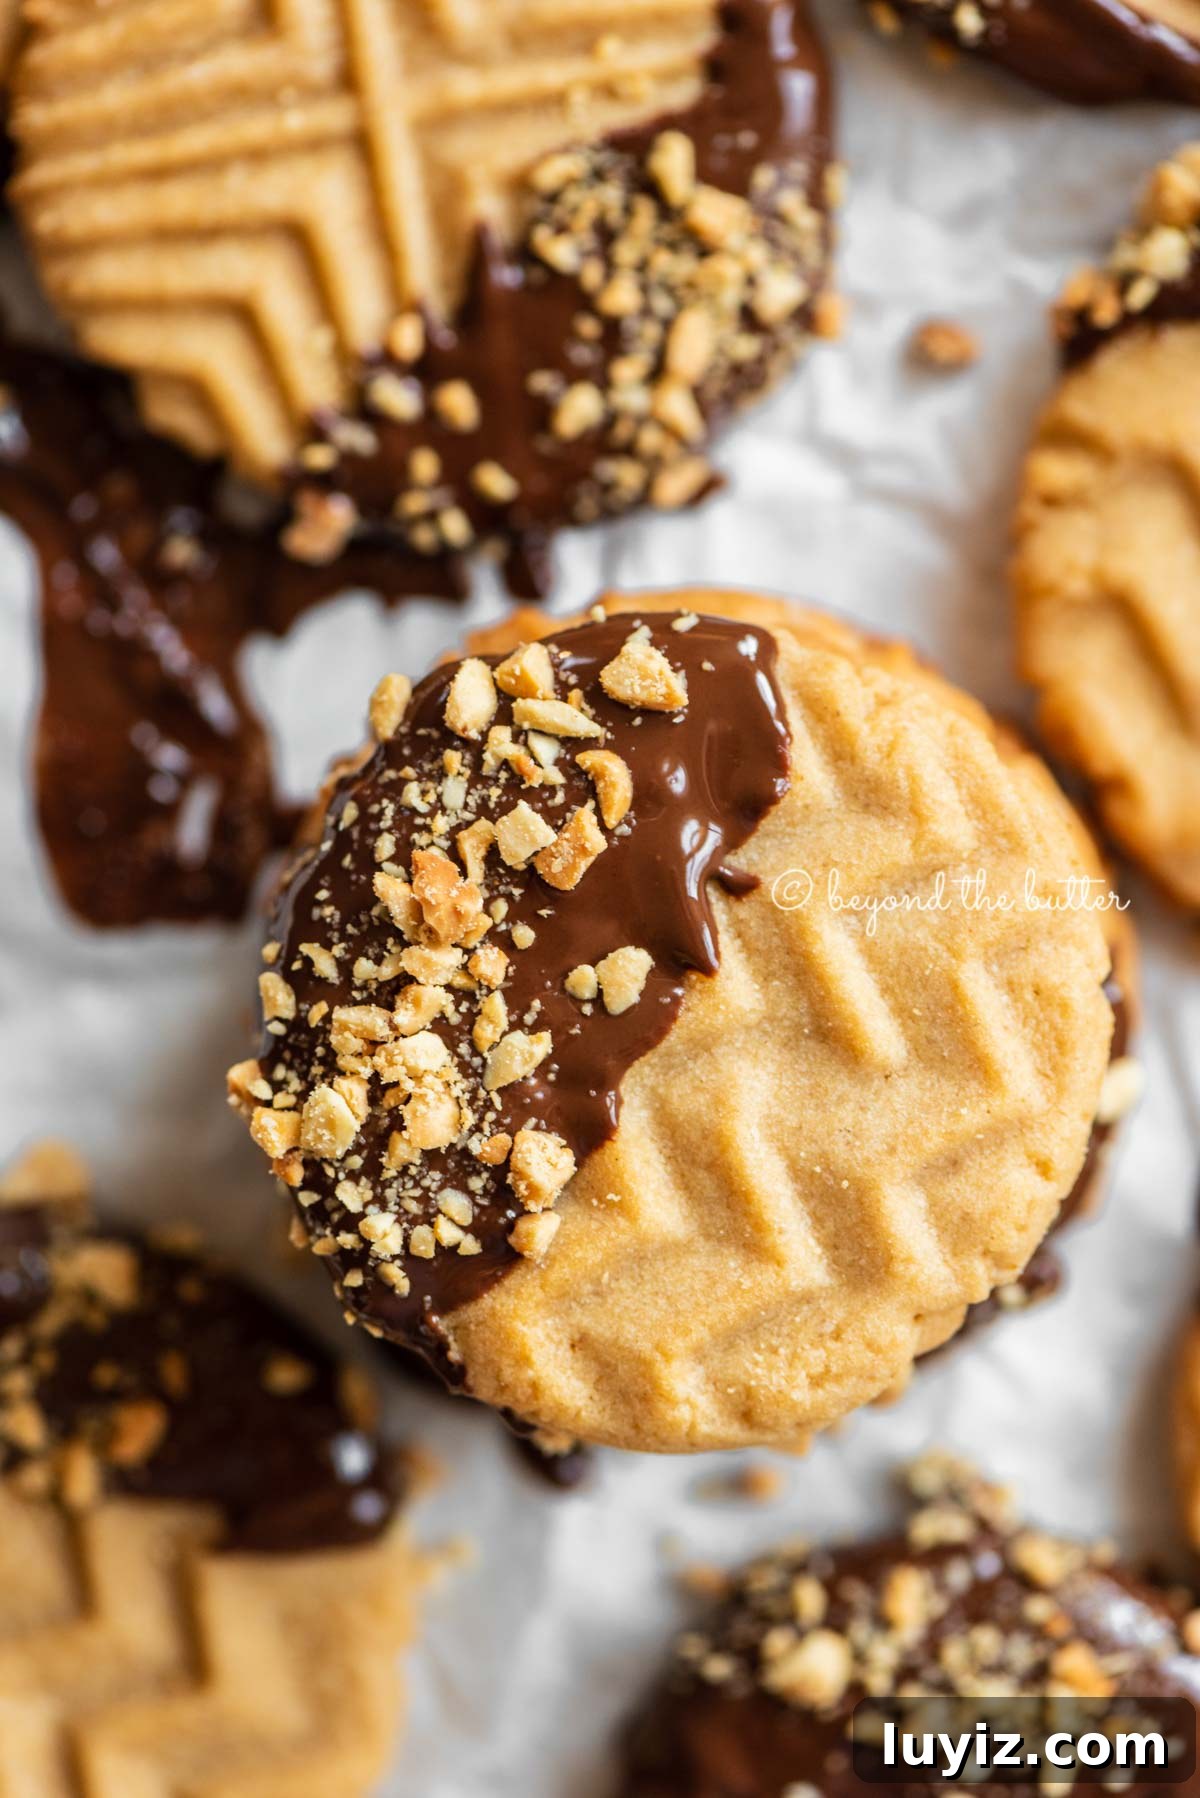
Ingredients Needed
Gather these ingredients to make the chocolate‑dipped peanut butter cookies:
- All‑Purpose Flour – the base for the dough.
- Baking Soda and Baking Powder – for lift; check freshness.
- Salt – balances the sweetness.
- Unsalted Butter – room temperature for easier blending.
- Peanut Butter – use creamy, stirred peanut butter for best texture.
- Sugar – light brown sugar and granulated sugar.
- Milk – 1 tablespoon of any dairy milk.
- Vanilla Extract – enhances flavor.
- Egg – one large, at room temperature.
- Semi‑Sweet Chocolate Chips – for dipping; optional if you prefer plain cookies.
- Vegetable Shortening – a teaspoon to thin and gloss the melted chocolate.
- Chopped Salted Peanuts – optional garnish.
Substitutions
Shortening for butter: You can substitute vegetable shortening for the butter; a butter‑flavored shortening works well if you prefer that taste.
Milk chocolate: Swap semi‑sweet chips for milk chocolate or another chocolate variety if you like.
Coconut oil: Use coconut oil instead of vegetable shortening when melting chocolate for a glossy finish. Note this swap applies only to the melted chocolate, not to the cookie dough.
I did not test this recipe with alternative flours, non‑dairy milks, sugar, or egg replacements, so results may vary with those swaps.
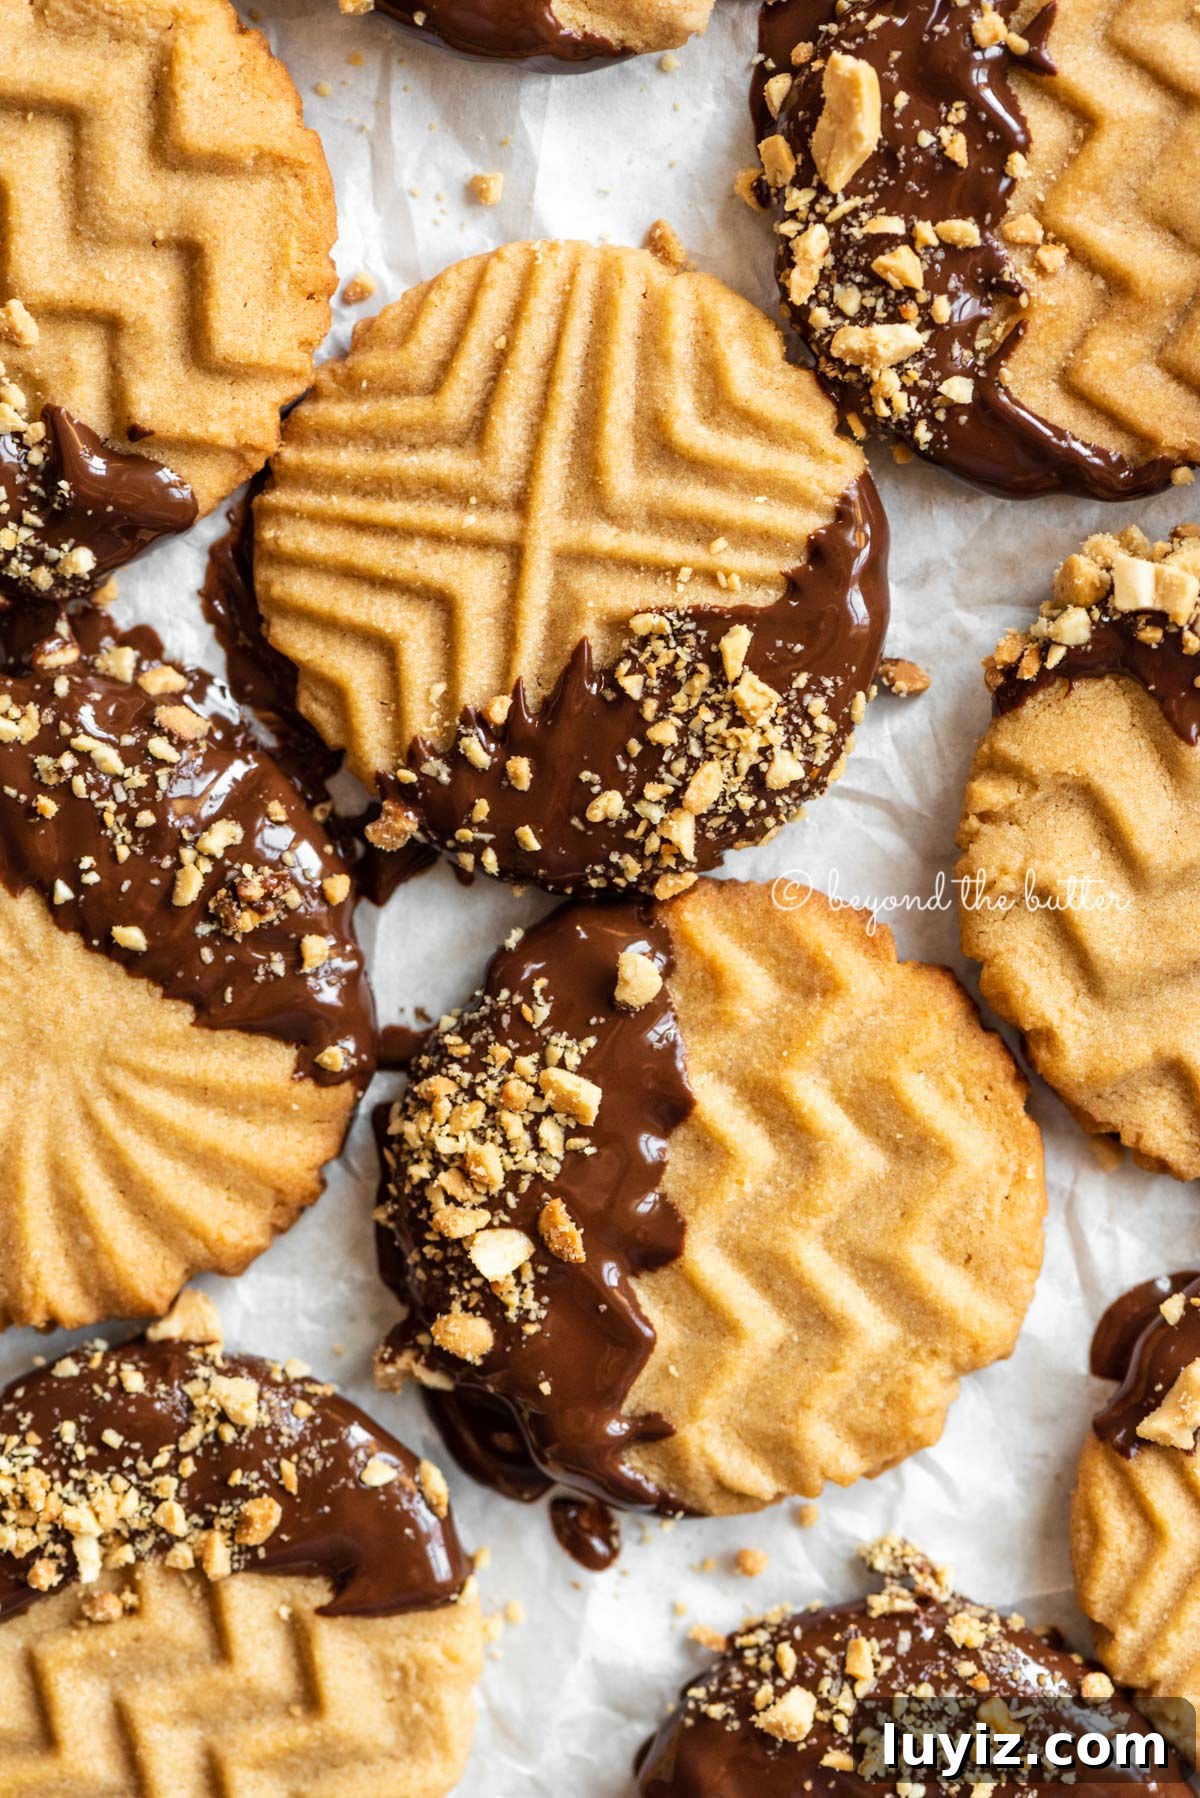
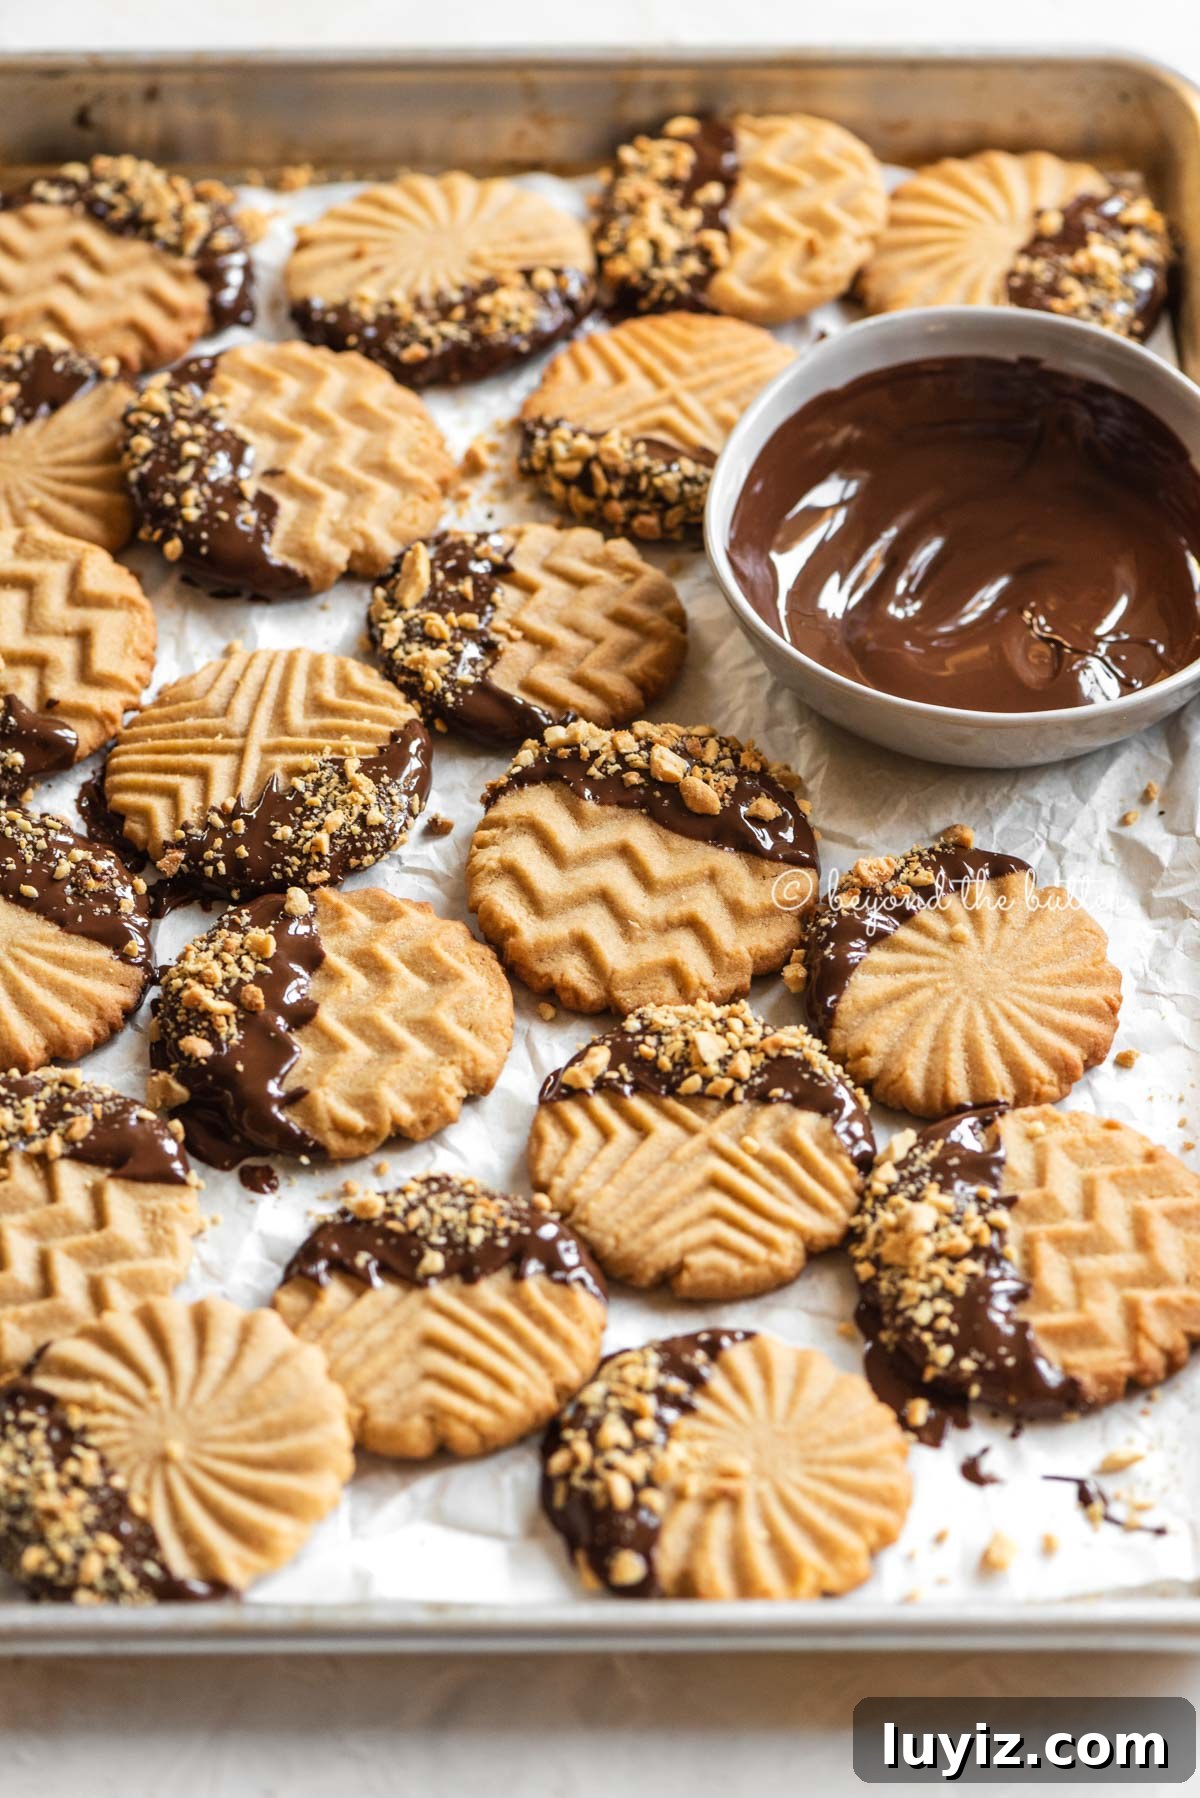
Cookie Stamps
I used Nordic Ware’s Geo Cast stamps to create the stamped pattern on these cookies. To stamp cookies:
Step 1. Roll dough into 1‑inch balls and place on a parchment‑lined sheet, spacing 1½–2 inches apart.
Step 2. Dip the stamp in all‑purpose flour, then press gently into each ball to create the design. Press more for a thinner cookie or less for a thicker cookie.
Step 3. Re‑flour the stamp every 2–3 cookies to prevent sticking. If dough sticks, peel it off carefully with fingers or a butter knife, or re‑roll and try again.
Freezing
Freezing shaped cookie dough is a great time saver. Roll the dough into 1‑inch balls, stamp or press with a fork, and freeze on a lined baking sheet until solid. Transfer to an airtight container and freeze up to 3 months. Add layers of wax paper between cookies if desired. Bake from frozen, adding a few extra minutes to the baking time.
Recipe FAQs
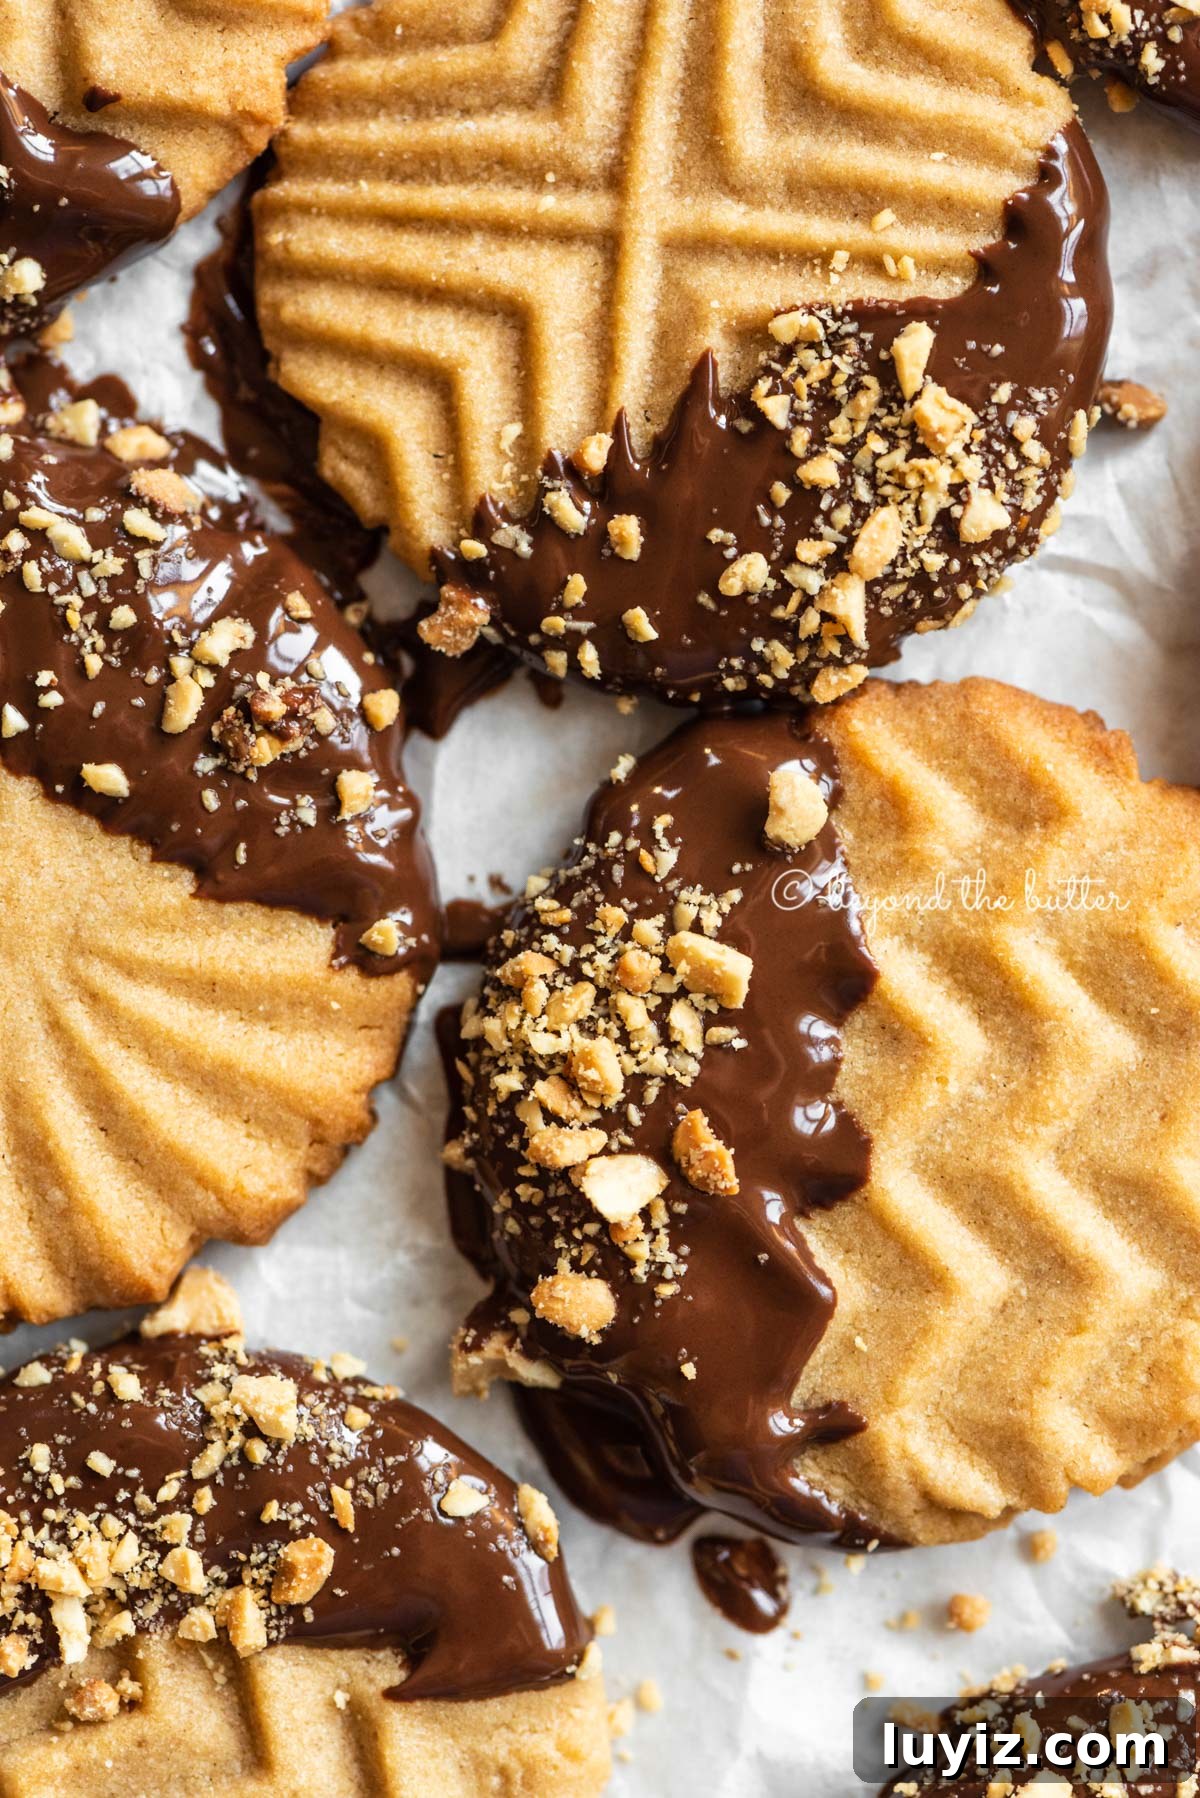
Nordic Ware Geo Cast Stamps are what I used; they’re well made and have a satisfying weight.
A fork works well for the classic criss‑cross pattern—dip it in cold water first to prevent sticking.
Coat the stamp with flour every 2–3 cookies. If dough sticks, gently peel it off or re‑roll the dough ball and try again.
Bake 8–10 minutes at 375ºF. Cookies will spread slightly and turn a light golden brown.
Stored in a tightly sealed container, they stay fresh up to a week.
More Chocolate Peanut Butter Desserts!
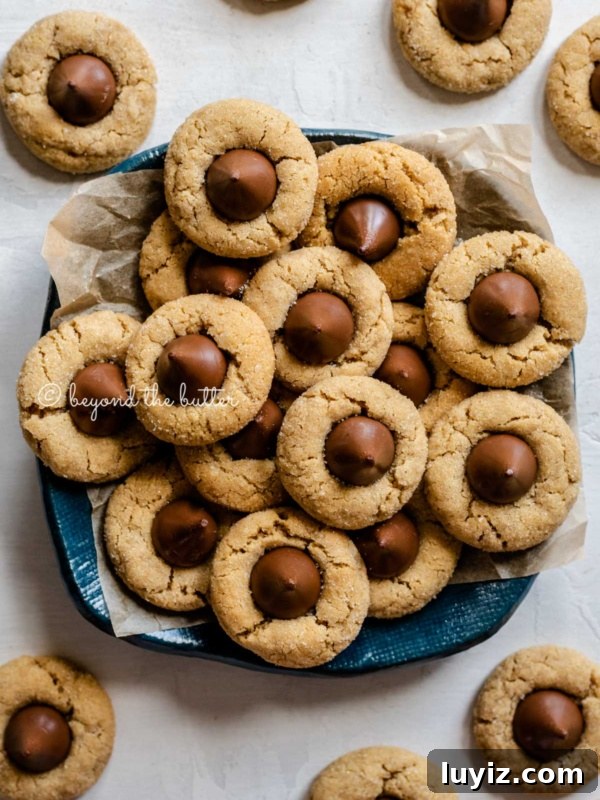
Classic Peanut Butter Blossoms
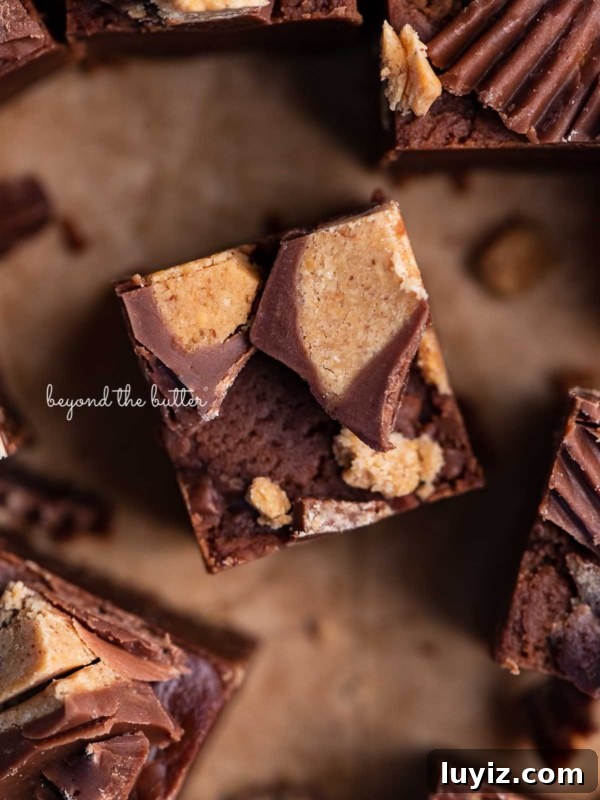
Easy Chocolate Peanut Butter Fudge
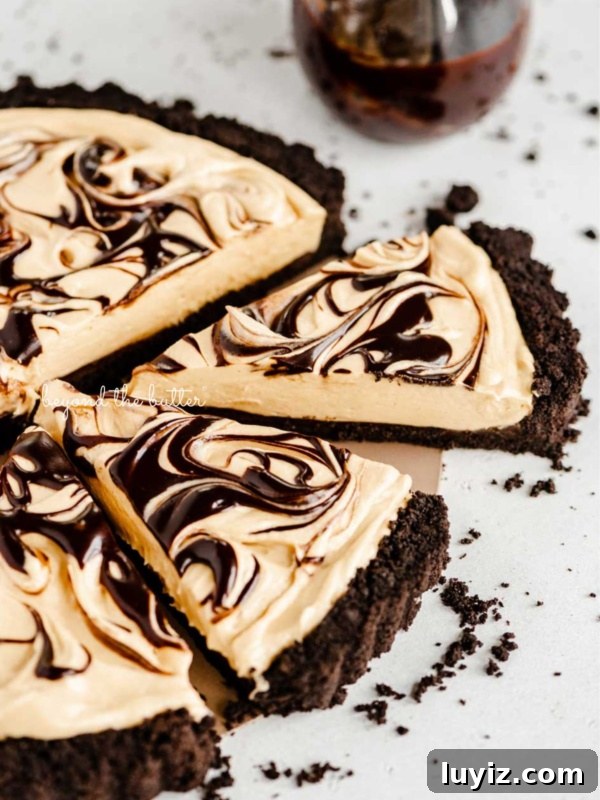
Chocolate Peanut Butter Swirl Tart
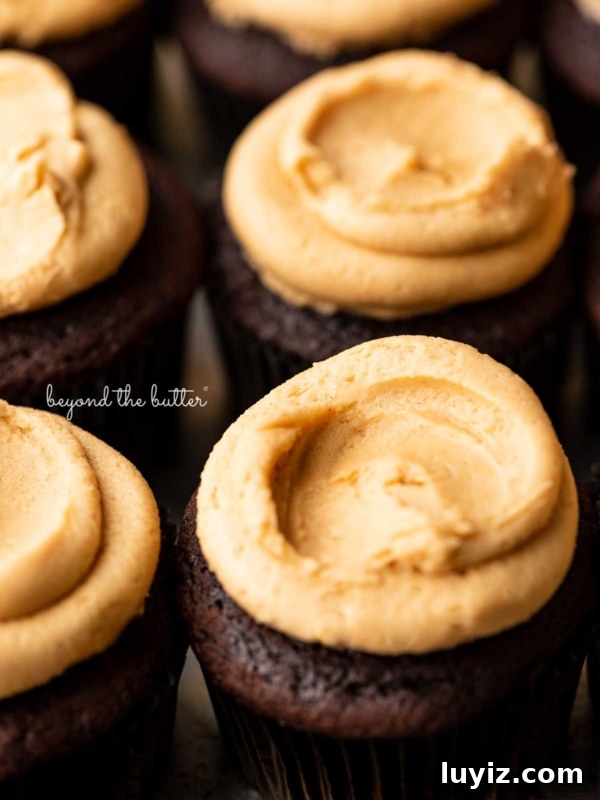
Devil’s Food Cupcakes with Peanut Butter Frosting
If you tried this Chocolate Dipped Peanut Butter Cookies Recipe, please leave a star rating and share your thoughts in the comments. Thanks for visiting!
Super Soft & Chewy Peanut Butter Cookies

Equipment
- Nordic Ware Geo Cast Cookie Stamps (optional)
Ingredients
- 1 1/4 cup All‑Purpose Flour
- 3/4 tsp Baking Soda
- 1/2 tsp Baking Powder
- 1/4 tsp Salt
- 1/2 cup Unsalted Butter, room temperature
- 1 cup Peanut Butter, creamy
- 3/4 cup Light Brown Sugar, firmly packed
- 1/4 cup Granulated Sugar
- 1 tbsp Milk
- 1 tsp Vanilla Extract
- 1 Large Egg, room temperature
- 1 cup Semi‑Sweet Chocolate Chips, melted (for dipping)
- 1 tsp Vegetable Shortening (for melting with the chocolate)
- 2/3 cup Salted Peanuts, chopped
Instructions
- Position the oven rack one level above center and preheat to 375ºF.
- Line two cookie sheets with parchment paper or silicone mats; set aside.
- Whisk together flour, baking soda, baking powder, and salt in a medium bowl; set aside.
- Cream the butter, peanut butter, brown sugar, granulated sugar, milk, and vanilla on medium‑high until combined. Add the egg and mix well.
- Reduce mixer speed to low and gradually add the dry ingredients until fully incorporated.
- Roll dough into 1‑inch balls and space 1½–2 inches apart on the prepared sheets. Coat a cookie stamp with flour and press into each ball. Re‑coat the stamp every 2–3 cookies to prevent sticking.
- Bake 8–10 minutes at 375ºF. Allow cookies to cool on the sheets about 5 minutes before transferring to a rack to cool completely; they will be soft, so use a spatula.
Alternative cross‑hatch method
- If you don’t have stamps, roll 1‑inch balls and dip a fork in cold water, then press a crisscross pattern into each dough ball before baking.
For dipping the cookies into melted chocolate
- Place chocolate chips and 1 tsp shortening in a microwave‑safe bowl and heat in 30‑second intervals, stirring until smooth. Dip part of each cooled cookie into the chocolate and sprinkle with chopped peanuts. Let chocolate set before serving.
Notes
- Nordic Ware Geo Cast stamps create the pressed pattern; a fork works as a simple alternative.
- Coat stamps with flour every few cookies to avoid sticking. If dough sticks, gently remove it and re‑form the ball.
- Bake 8–10 minutes at 375ºF until cookies are lightly golden at the edges.
- Store in a tightly sealed container at room temperature for up to a week.
Nutrition
Nutritional information is an estimate and will vary based on the specific ingredients you use.