Homemade Chocolate Curls, Step By Step
This walkthrough breaks down how to make chocolate curls into easy steps, with instructions, a video, and a list of the tools you will need…
- Prep
- 15 mins
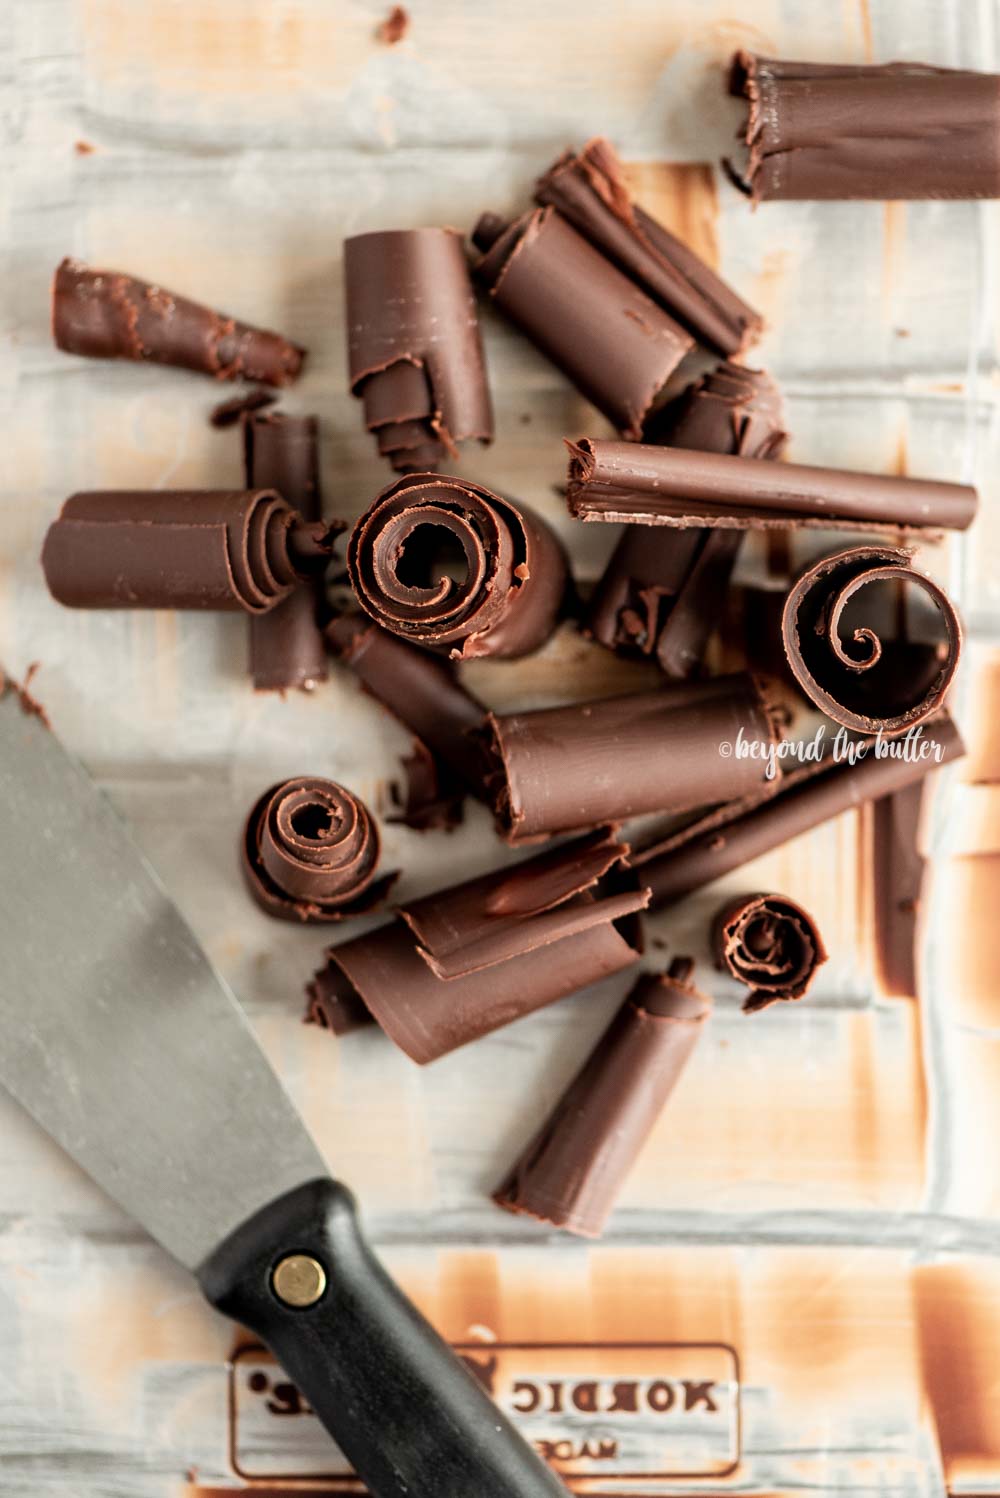
This How to Make Chocolate Curls guide is easy to follow. Each step comes with clear instructions and a video, along with a list of the tools you will need.
Chocolate Curls Walkthrough
Step 1 – Melt the chocolate and vegetable shortening.
In a medium glass bowl, combine the chocolate and vegetable shortening, then microwave in 45-second bursts at 50% power until the shortening is hot and fully melted. Stir with a small spatula until the mixture is nice and smooth.
What you'll need: 3 ounces of good-quality bar chocolate, 1 tablespoon of vegetable shortening, a medium glass bowl, and a small spatula
Step 2 – Spread the melted chocolate onto a cookie sheet or jelly roll pan.
Right away, use an offset spatula to spread the melted chocolate into a thin layer on the underside of a cookie sheet or jelly roll pan. Keep spreading until the layer is evenly thin.
Items needed: small offset spatula, small cookie sheet or jelly roll pan
Step 3 – Freeze the thin layer of chocolate.
Slide the cookie sheet or jelly roll pan into the freezer and let it sit for about 4 minutes. You want a sweet spot: not too soft, yet not rock hard, or it will shatter when you try to curl it. It is ready when the chocolate loses its shine and a light touch of your fingertip leaves a faint print instead of a dent.
Items needed: just your freezer and a timer!
Step 4 – Carve out the curls.
Here comes the fun part, but take a deep breath first! You can do this!
Hold the putty knife or bench scraper in your dominant hand at roughly a 45-degree angle, starting at the bottom of the pan. With your other hand, steady the back of the cookie sheet or jelly roll pan.
Gently push forward to start the curl, and stop once it looks right to you. Push all the way across the pan for a larger curl, or stop every few inches. It is up to you! Carefully lift each curl onto a plate with your fingers or tweezers.
Keep going until every curl has been moved to a plate, then freeze them for 15-20 minutes to firm up. The refrigerator works too, but it may take a little longer.
Items needed: putty knife or bench scraper, a plate or small pan for the curls, tweezers, and a knife for cutting longer curls
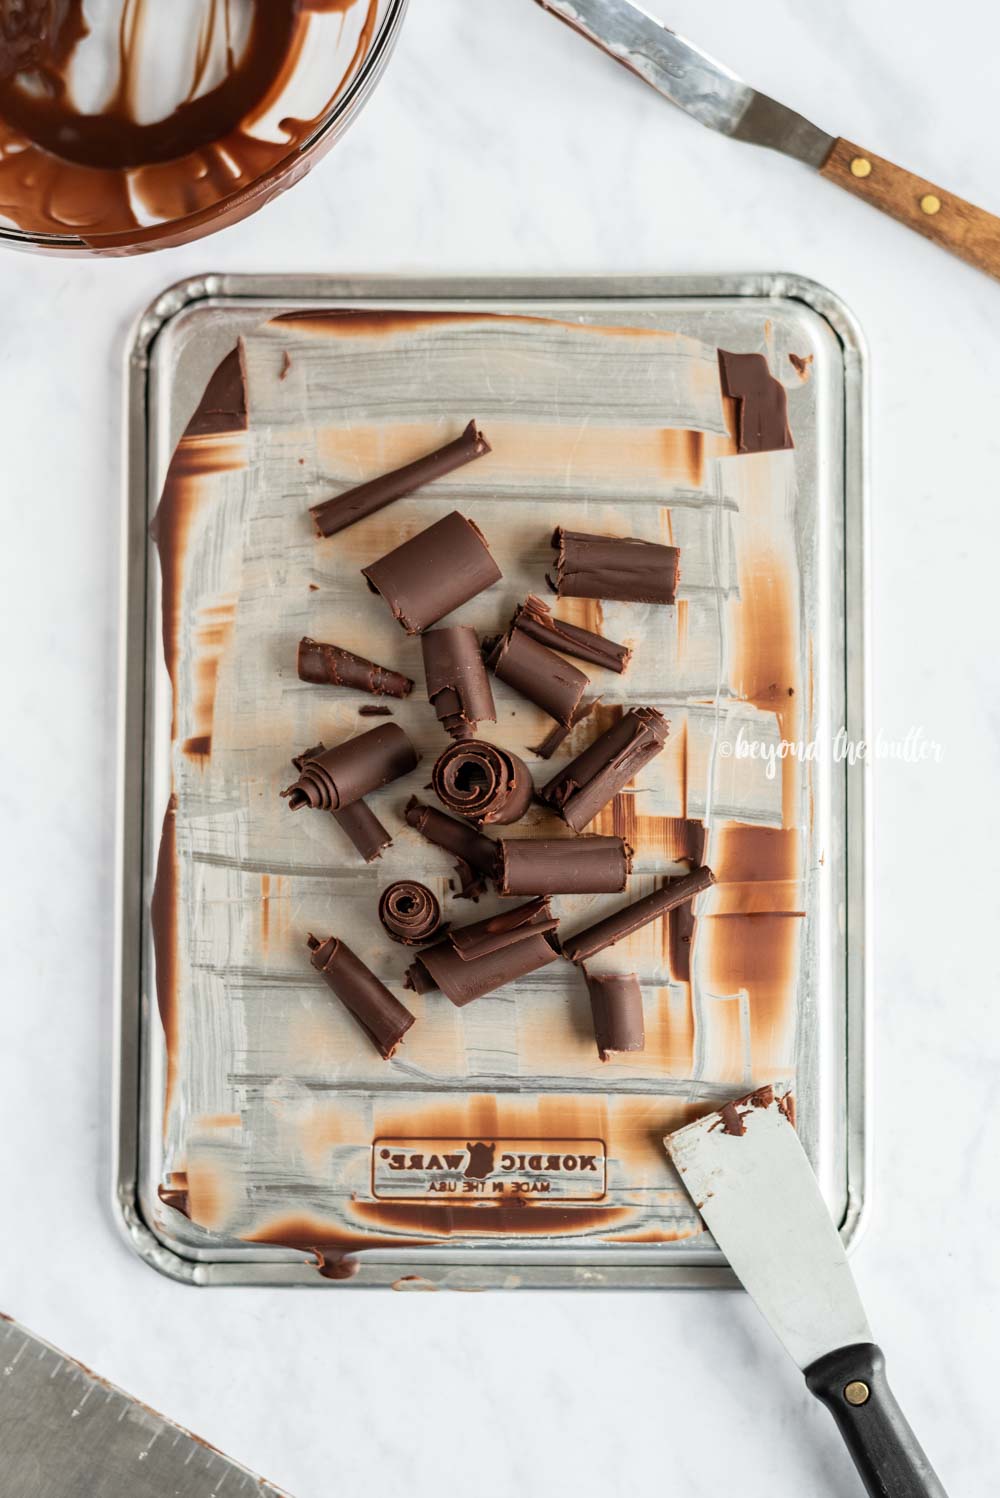
Extra Tips Before You Start Making Chocolate Curls
- Check your freezer space before you begin, since you need room for a sheet pan or cookie sheet. My freezer is small, so I used a quarter-size jelly roll pan.
- Also make sure the underside of your cookie sheet or jelly roll pan is smooth. Some cookie sheets have ripples on the top and bottom, and those would not work well for this.
- If you would rather use both hands to guide the putty knife or bench scraper, set your cookie sheet or jelly roll pan against a wall to brace it. In the video I made these curls that way, and I also used my kitchen counter as a brace. Both methods work, so pick whichever feels more comfortable!
- I do not recommend doubling this unless you have the freezer space and a larger cookie sheet or pan.
- If you like topping your desserts with chocolate curls, you can make a big batch ahead of time and store them in a tightly sealed container in the freezer for several months.
Frequently Asked Questions
What type of chocolate did you use?I used 3 ounces of a Lindt 70% Cocoa Excellence Bar. You do not have to use dark chocolate or this exact brand, but I recommend a good-quality bar.
What tool can you use to create the chocolate curls?The putty knife in the video is 1.5 inches wide, and I bought it just for making chocolate curls. You can use a wider putty knife, or a bench scraper (the kind used for cutting pie and bread dough), then trim the curls to your preferred width with a sharp knife.
What should I do if my chocolate starts to get too soft?If the chocolate gets too soft while you are curling it, pop it back in the freezer for 1-2 minutes.
Check Out a Few Popular Chocolate Desserts!
Homemade Chocolate Curls, Step By Step
Learn how to make your own chocolate curls with this easy, step-by-step tutorial!
- Prep
- 15 mins
Ingredients
- 3 oz Chocolate, use a good quality bar of chocolate
- 1 tbsp Vegetable Shortening
Method
- In a medium glass bowl, melt the chocolate and vegetable shortening together in 30-45 second bursts, until the shortening has fully melted and is hot. Stir until the chocolate is melted and smooth. If needed, microwave for another 15 seconds.
- Pour the melted chocolate onto the underside of a cookie sheet or jelly roll pan, then spread it into a thin layer with an offset spatula.
- Put the cookie sheet or pan in the freezer for about 4 minutes. You want the chocolate in the sweet spot, not so soft that it smears and not so hard that it cracks when you curl it. It is ready when it is no longer shiny and your fingertip leaves a faint print when you lightly touch it, not a dent.
- Hold the putty knife or bench scraper in your dominant hand at about a 45 degree angle, starting at the bottom of the pan. Use your other hand to brace the back of the cookie sheet or jelly roll pan. Gently push forward to start the curl, and stop once it looks right to you. Push all the way across for a larger curl, or stop every few inches. Carefully move the curl to a plate with your fingers or tweezers.
- Keep going until every curl has been moved to a plate, then freeze them for 15-20 minutes to firm up. The refrigerator works too, but it may take a little longer.