
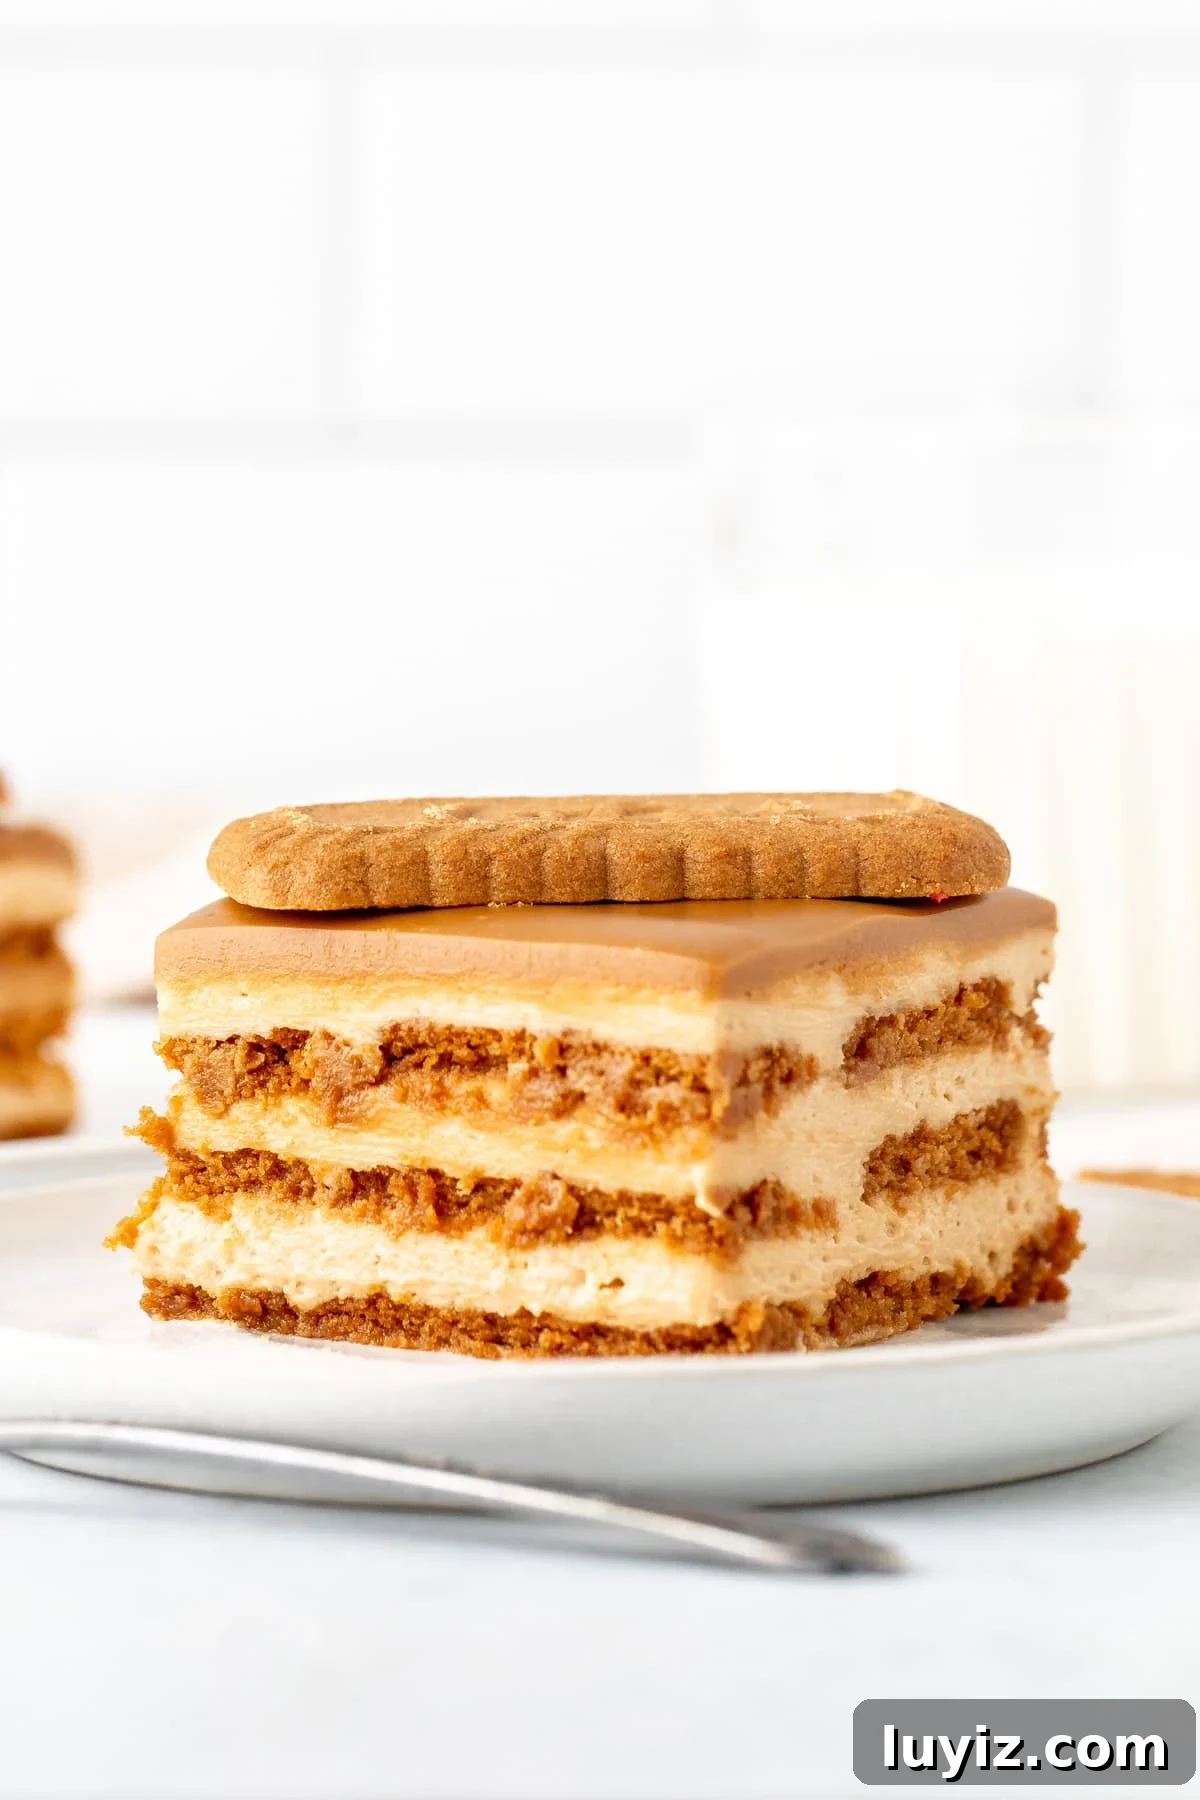
If you love cookie butter, try this simple Biscoff icebox cake. Layers of creamy no‑bake Biscoff cheesecake filling alternate with Lotus (speculaas) cookies for a quick, indulgent dessert full of warm cinnamon‑caramel flavor.
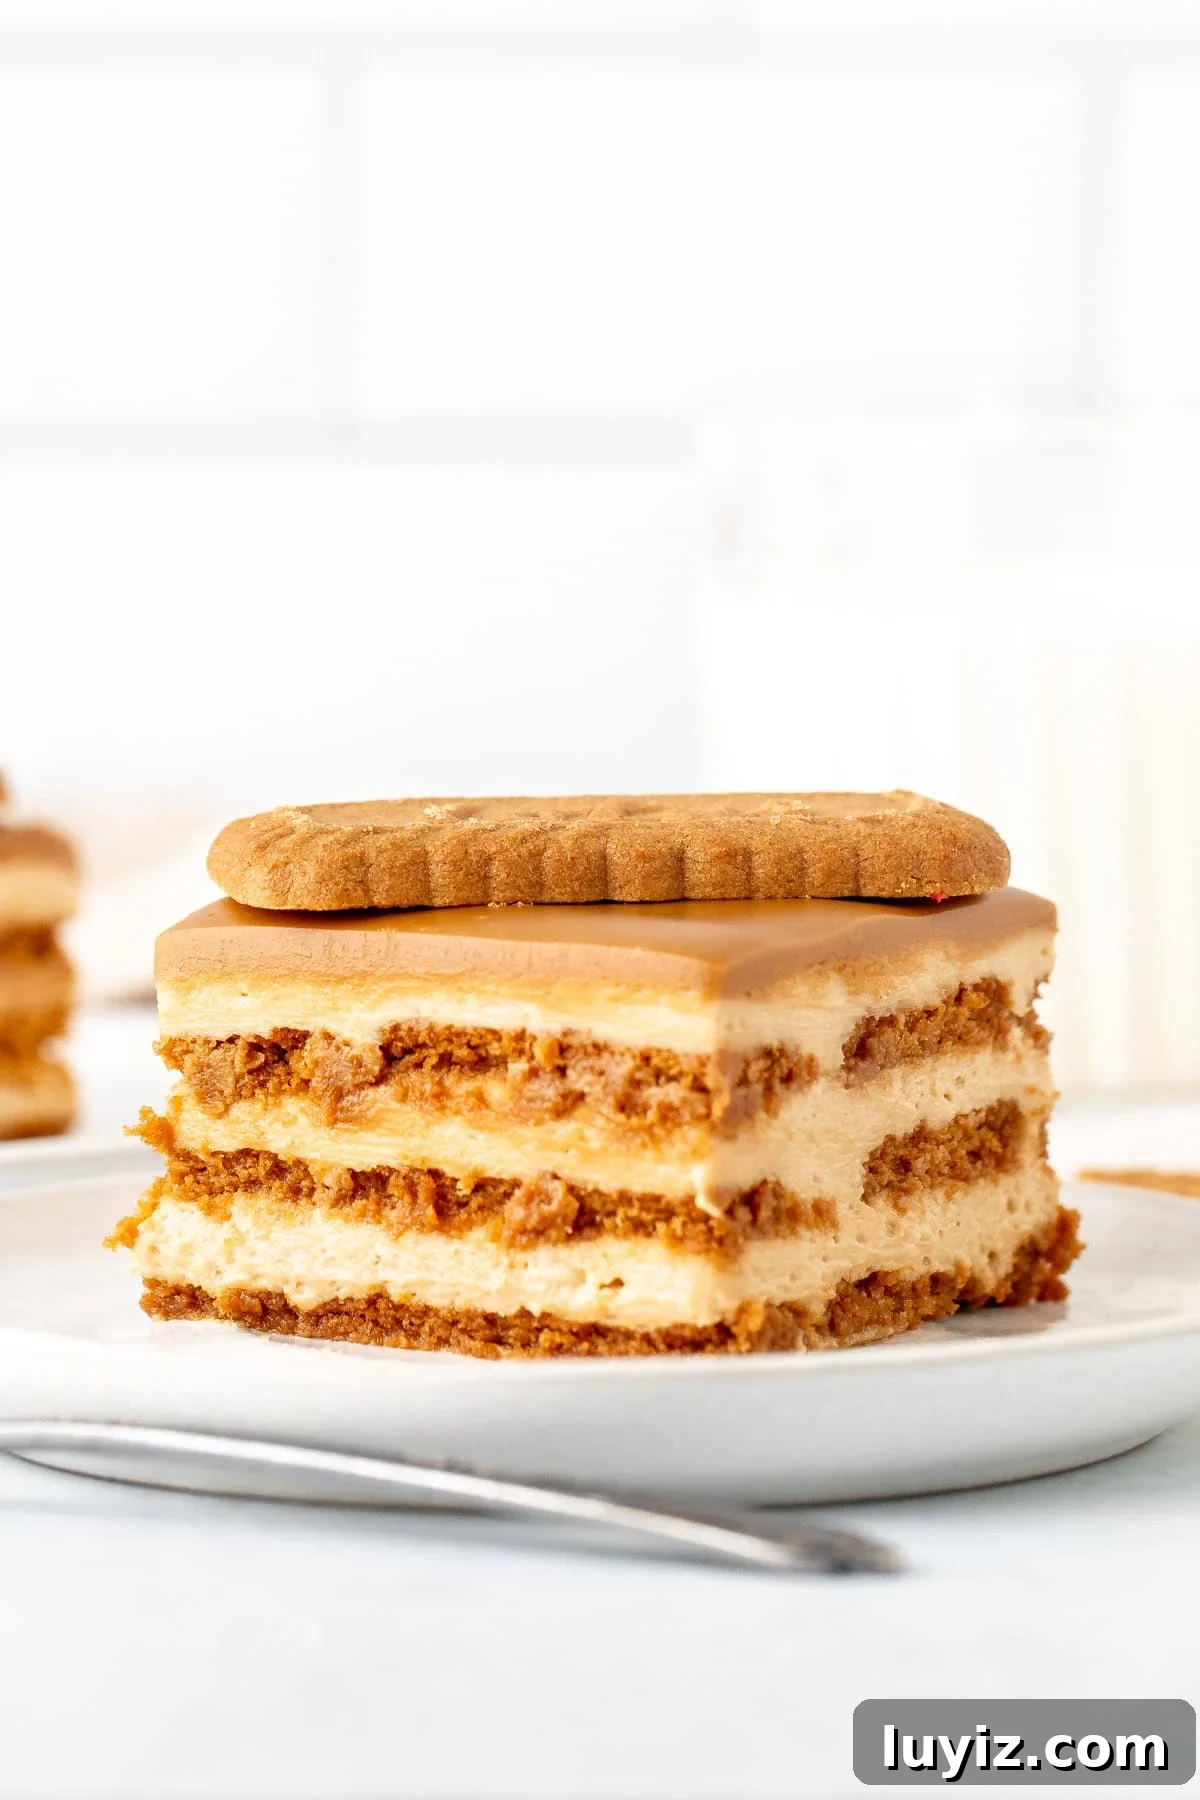
An icebox cake is traditionally made by layering whipped cream with cookies or biscuits, letting the cookies soften in the fridge to create a cake‑like texture. There are countless variations — from fruit additions to different cookie choices. This version uses a smooth Biscoff (cookie butter) cheesecake filling and layers of speculaas cookies for a classic spiced cookie flavor. I used Lotus brand cookie butter and cookies, but any cookie butter and speculaas or similar spiced cookies will work well.
Method – with Photos
Below is a concise, step‑by‑step method for making the filling and assembling the cake.
Start by preparing the filling:
- Whip the cream to stiff peaks and set aside.
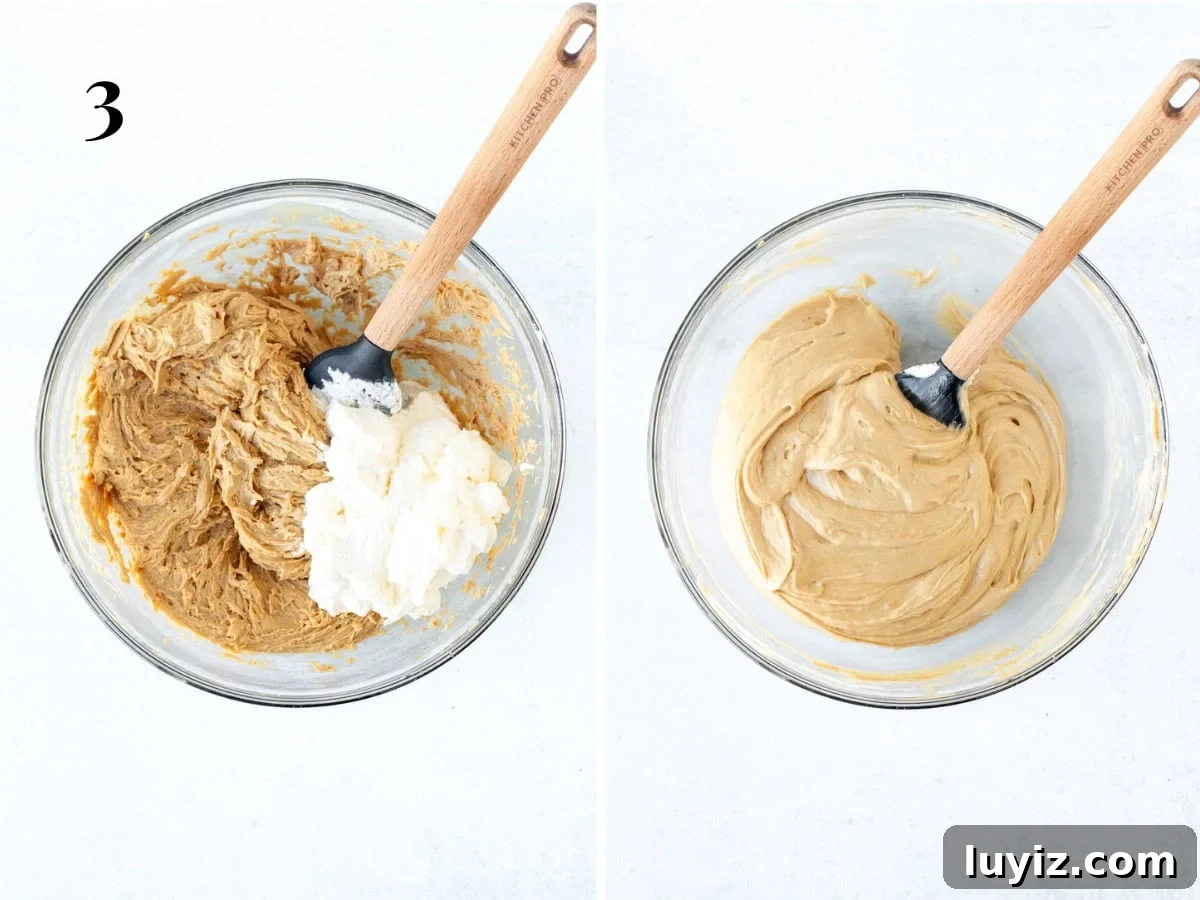
- In another bowl, beat the cream cheese, Biscoff (cookie butter) and powdered sugar until smooth.
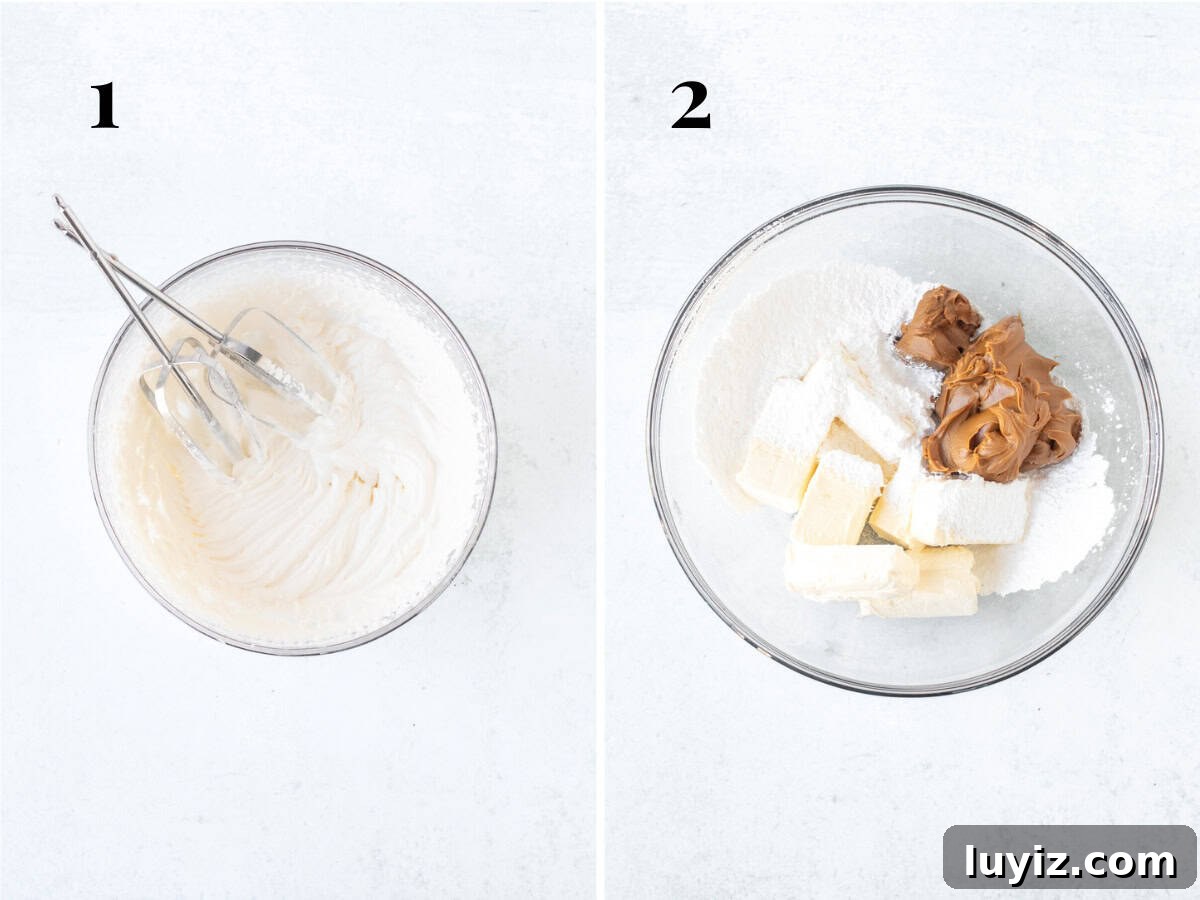
- Gently fold the whipped cream into the cream cheese mixture until evenly combined with no streaks.
Assemble the cake:
- Optionally line an 8×8 inch pan with parchment paper, leaving an overhang for easy removal and cleaner slices.
- Spoon a thin layer of filling onto the bottom of the pan to help the cookies adhere.
- Quickly dip each cookie in milk, shake off excess, and arrange an even layer on the bottom of the pan. Dipping keeps the cookies from being too hard to slice once chilled.
- Spread about one‑third of the Biscoff filling over the cookie layer.
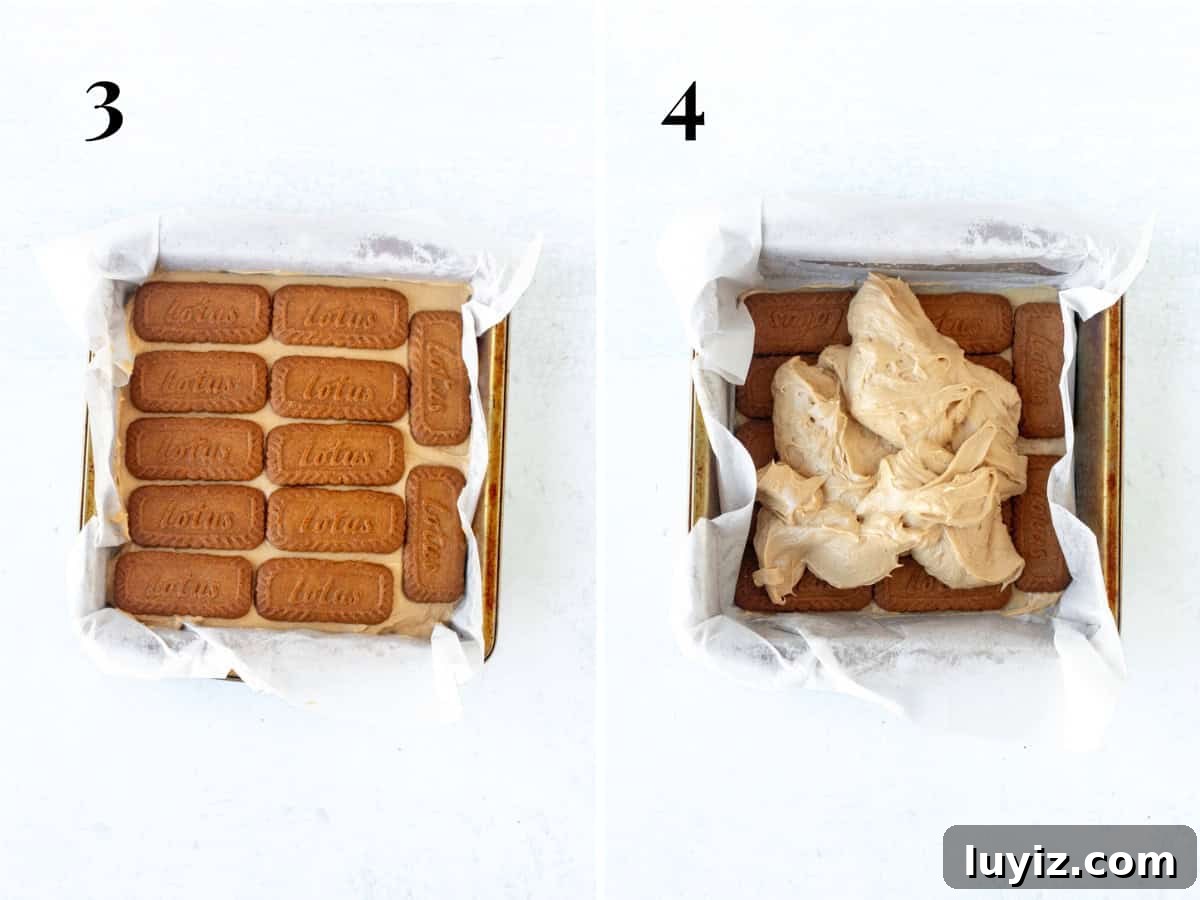
- Repeat the layering so you end up with: cookie layer, 1/3 filling, cookie layer, 1/3 filling, cookie layer, final 1/3 filling.
- Cover and chill the cake in the refrigerator (or freeze if you prefer a firmer texture).
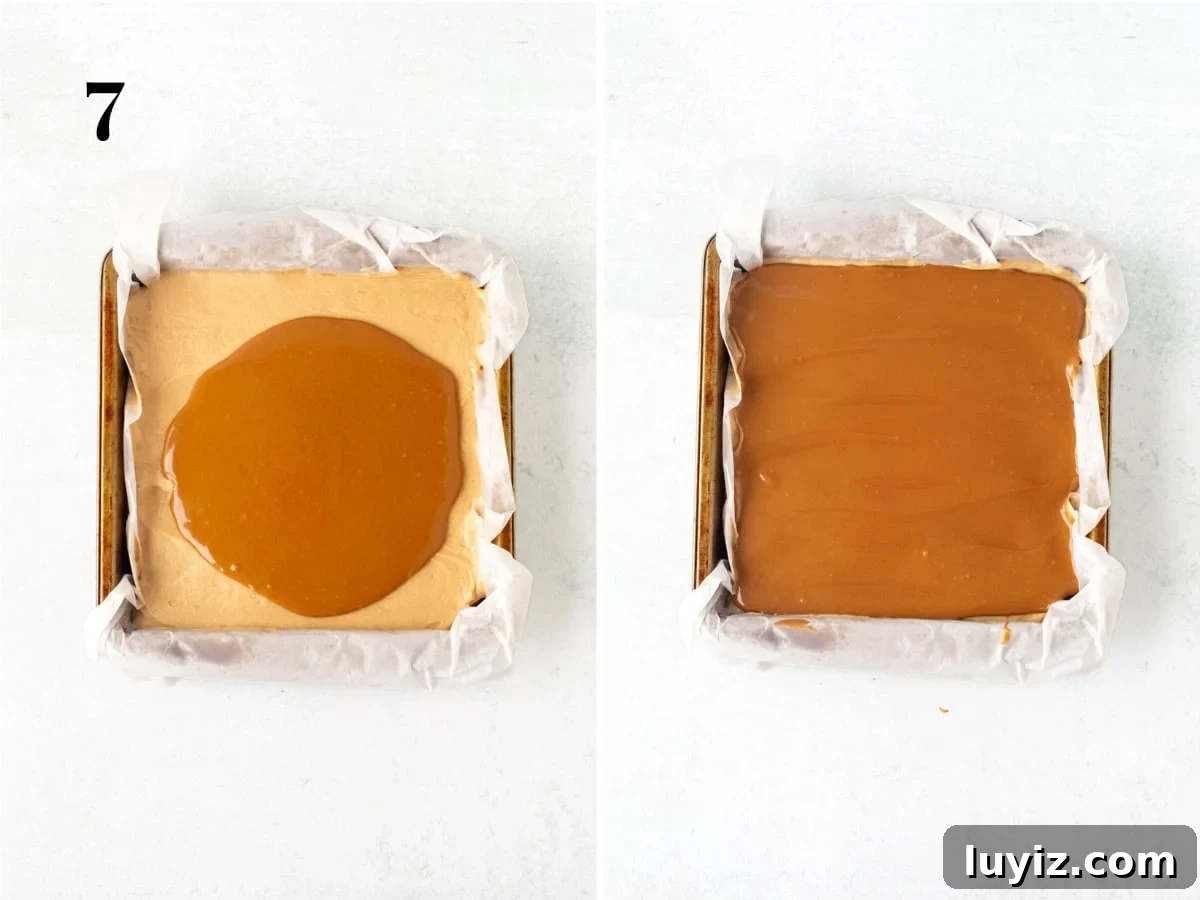
- Warm 1/2 cup Biscoff in short intervals until pourable, then pour it over the chilled top and spread evenly. Return to the fridge until fully set.
Recipe Tip
Serve chilled from the fridge for the creamiest texture. If you freeze the cake, be sure to dip the cookies in milk before assembling so they stay sliceable instead of rock hard.
Slicing & Serving
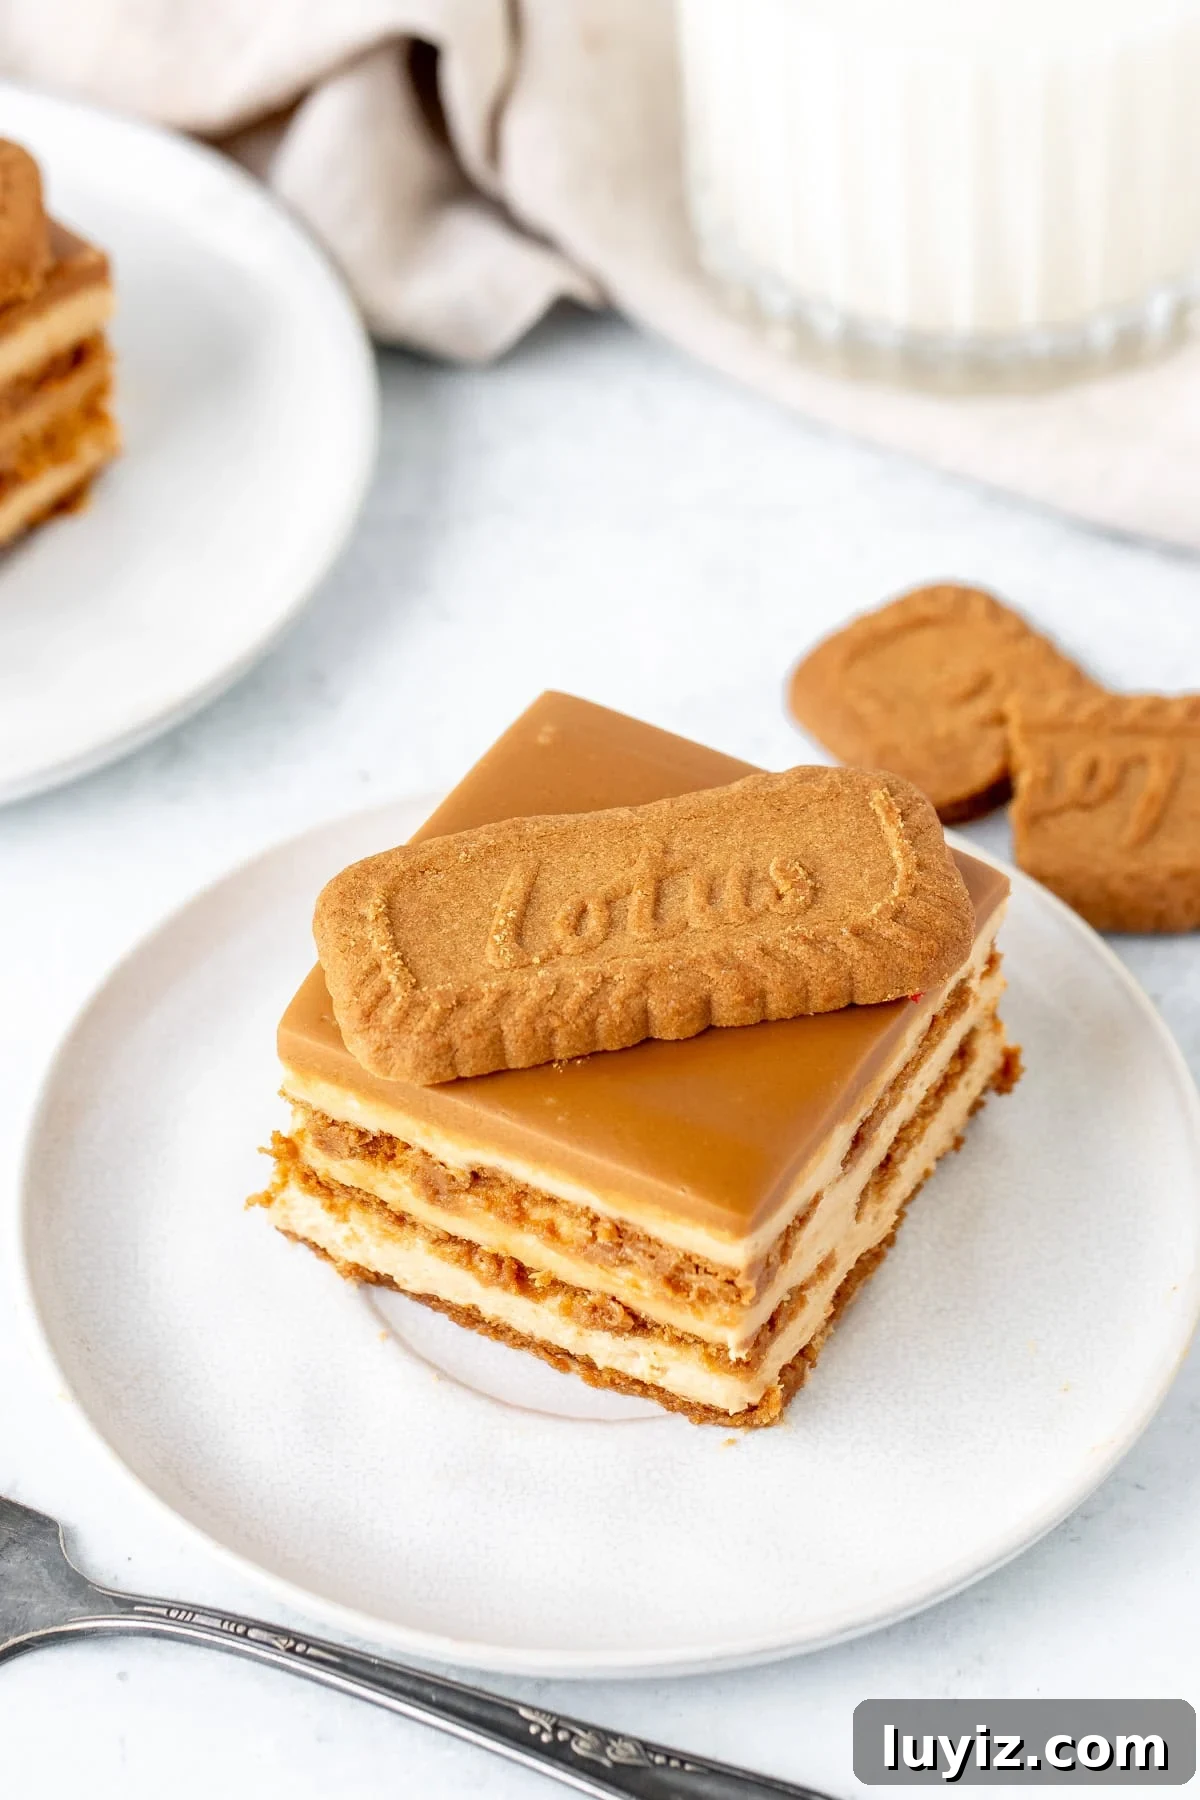
Use the parchment overhang to lift the cake from the pan onto a cutting board for neat slices. Slice with a large, sharp knife in a single motion, wiping the blade between cuts. If you skipped lining the pan, slice carefully in the pan and lift pieces with a pie lifter or offset spatula. For presentation, top each slice with additional Lotus cookies or cookie crumbs if desired.
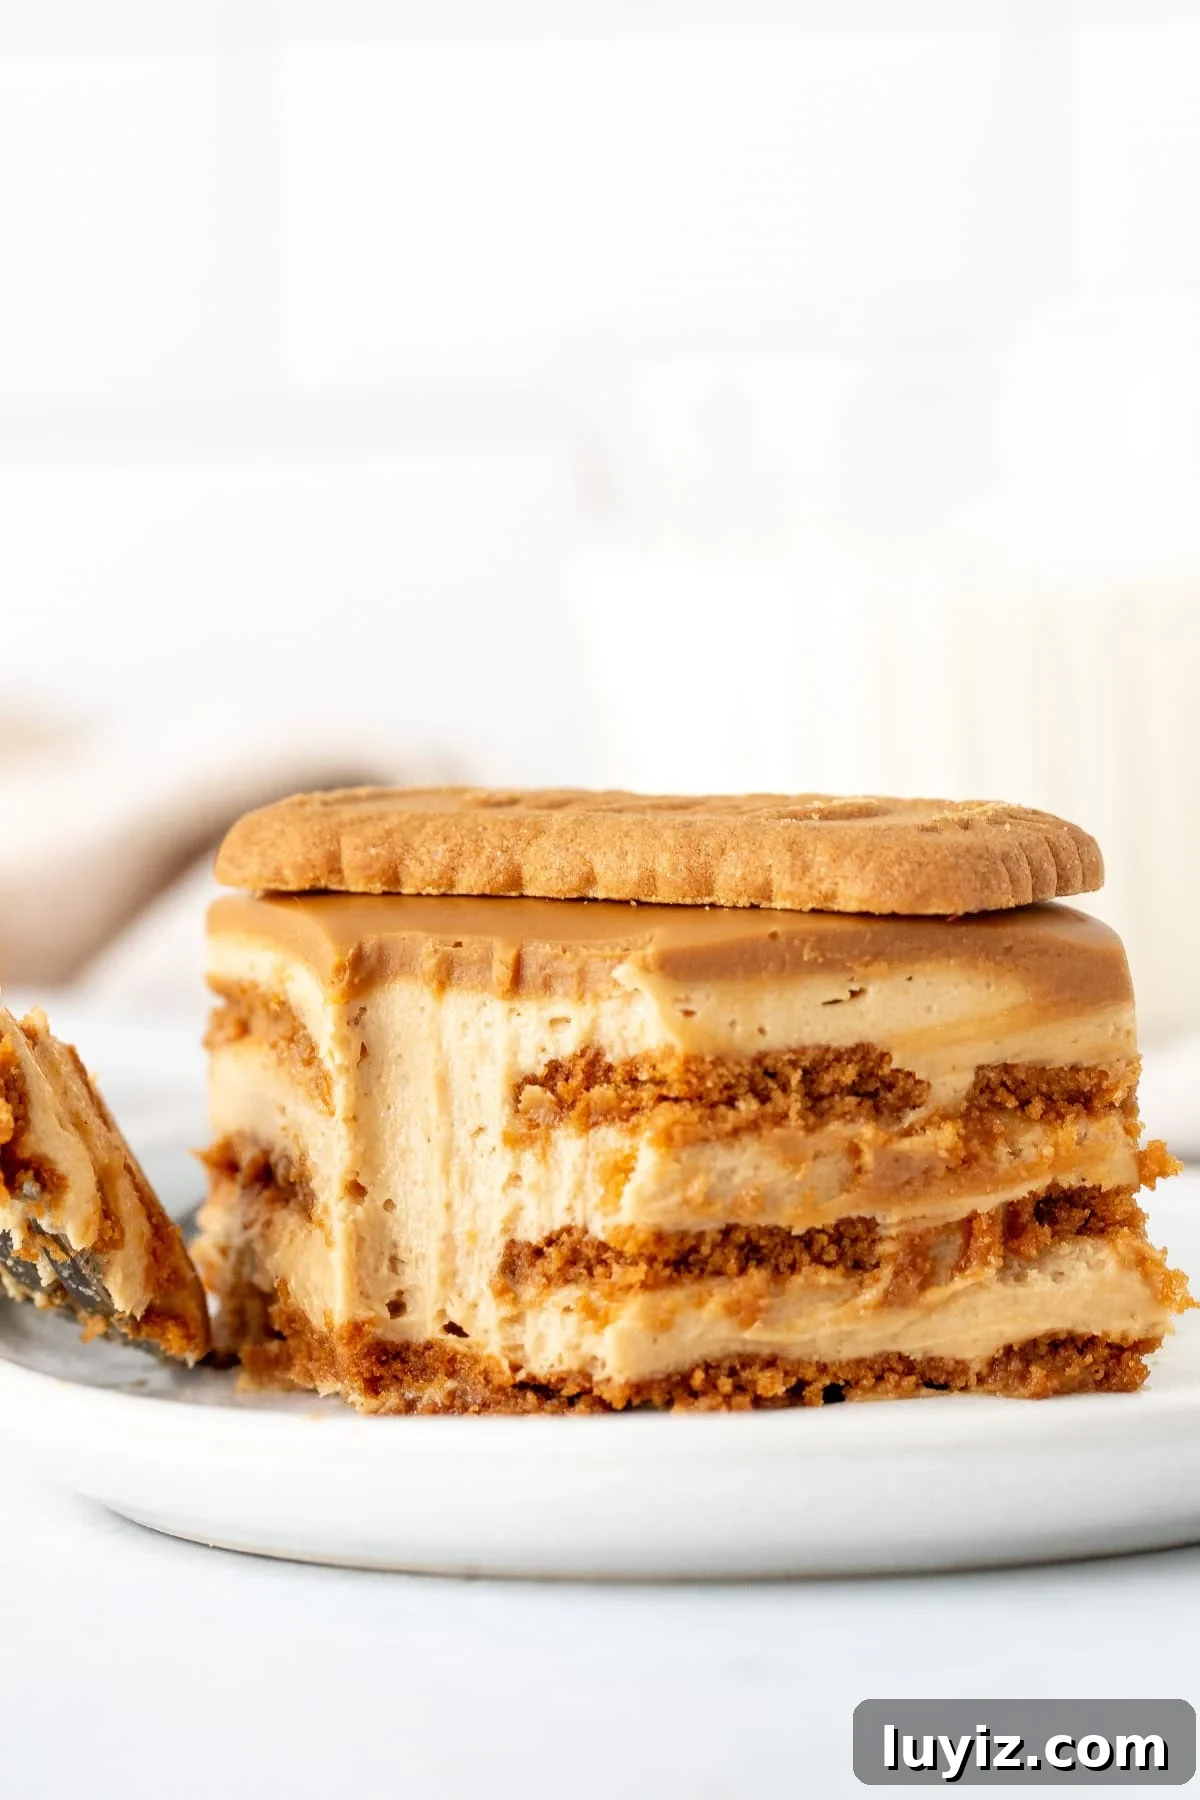
This no‑bake Biscoff icebox cake is fast to prepare and full of cookie butter flavor. It serves about 12 people and stores covered in the refrigerator for up to three days.
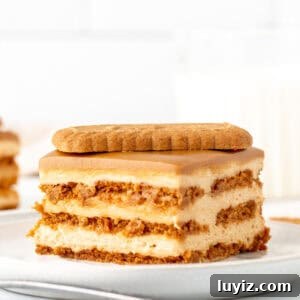
Biscoff Icebox Cake
Equipment
- 8×8 inch (20×20 cm) pan
Ingredients
Biscoff Icebox Cake
- 2/3 cup whipping cream (160 ml)
- 8 ounces cream cheese (226 g), full‑fat, brick style
- 2/3 cup Biscoff (cookie butter) or any cookie butter
- 1/2 cup powdered sugar (55 g)
- 36 speculaas cookies (Lotus or similar)
- 1/4 cup milk (about 60 ml) for dipping cookies
Topping
- 1/2 cup Biscoff, warmed until pourable
- Extra speculaas cookies or crumbs (optional)
Instructions
Biscoff Icebox Cake Filling
- Beat the whipping cream until stiff peaks form. Set aside.
- In a separate large bowl, beat the cream cheese, cookie butter and powdered sugar until smooth. Scrape the bowl to remove any lumps.
- Gently fold the whipped cream into the cream cheese and Biscoff mixture until fully combined and even in texture.
Assemble
- Optionally line the pan with parchment, leaving an overhang for easy removal.
- Spread 1–2 tablespoons of the filling on the bottom of the pan.
- Dip cookies quickly in milk, shake off excess, and arrange a layer in the pan. I used two rows of five horizontally and two vertically on the side.
- Spread about one‑third of the filling evenly over the cookies.
- Repeat to build three cookie layers with filling between each layer, finishing with the last third of filling.
- Cover and chill in the fridge or place in the freezer for faster setting.
- Warm the remaining 1/2 cup Biscoff in a small bowl until pourable (short microwave bursts), pour over the top, spread evenly, and return to the fridge until set.
Slicing and Serving
- If lined, use the parchment overhang to lift the cake from the pan and place on a cutting board. Slice with a sharp knife and lift pieces with a pie lifter.
- If not lined, slice carefully in the pan, wiping the knife between cuts, and lift pieces with a pie lifter or spatula.
- Top slices with extra cookies or crumbs if desired.
Notes
- Whipping cream: You can substitute thawed whipped topping (use 1 cup) in place of whipped cream; skip whipping step if using that.
- Biscoff: Any brand of cookie butter works; smooth cookie butter is recommended for the creamiest filling.
- Fridge vs Freezer: Chilling in the fridge yields a softer, creamier cake; freezing produces a firmer texture.
- Storage: Store covered in the refrigerator for up to 3 days.
- Nutrition: Nutrition info is an estimate per slice assuming 12 servings.