Small Batch 6-Inch Chocolate Layer Cake
This 6-inch chocolate cake is tender, moist, and just the right size for a chocolate craving, whether you enjoy it solo or…
- Prep
- 20 mins
- Cook
- 28 mins
- Total
- 48 mins
- Makes
- 6 servings
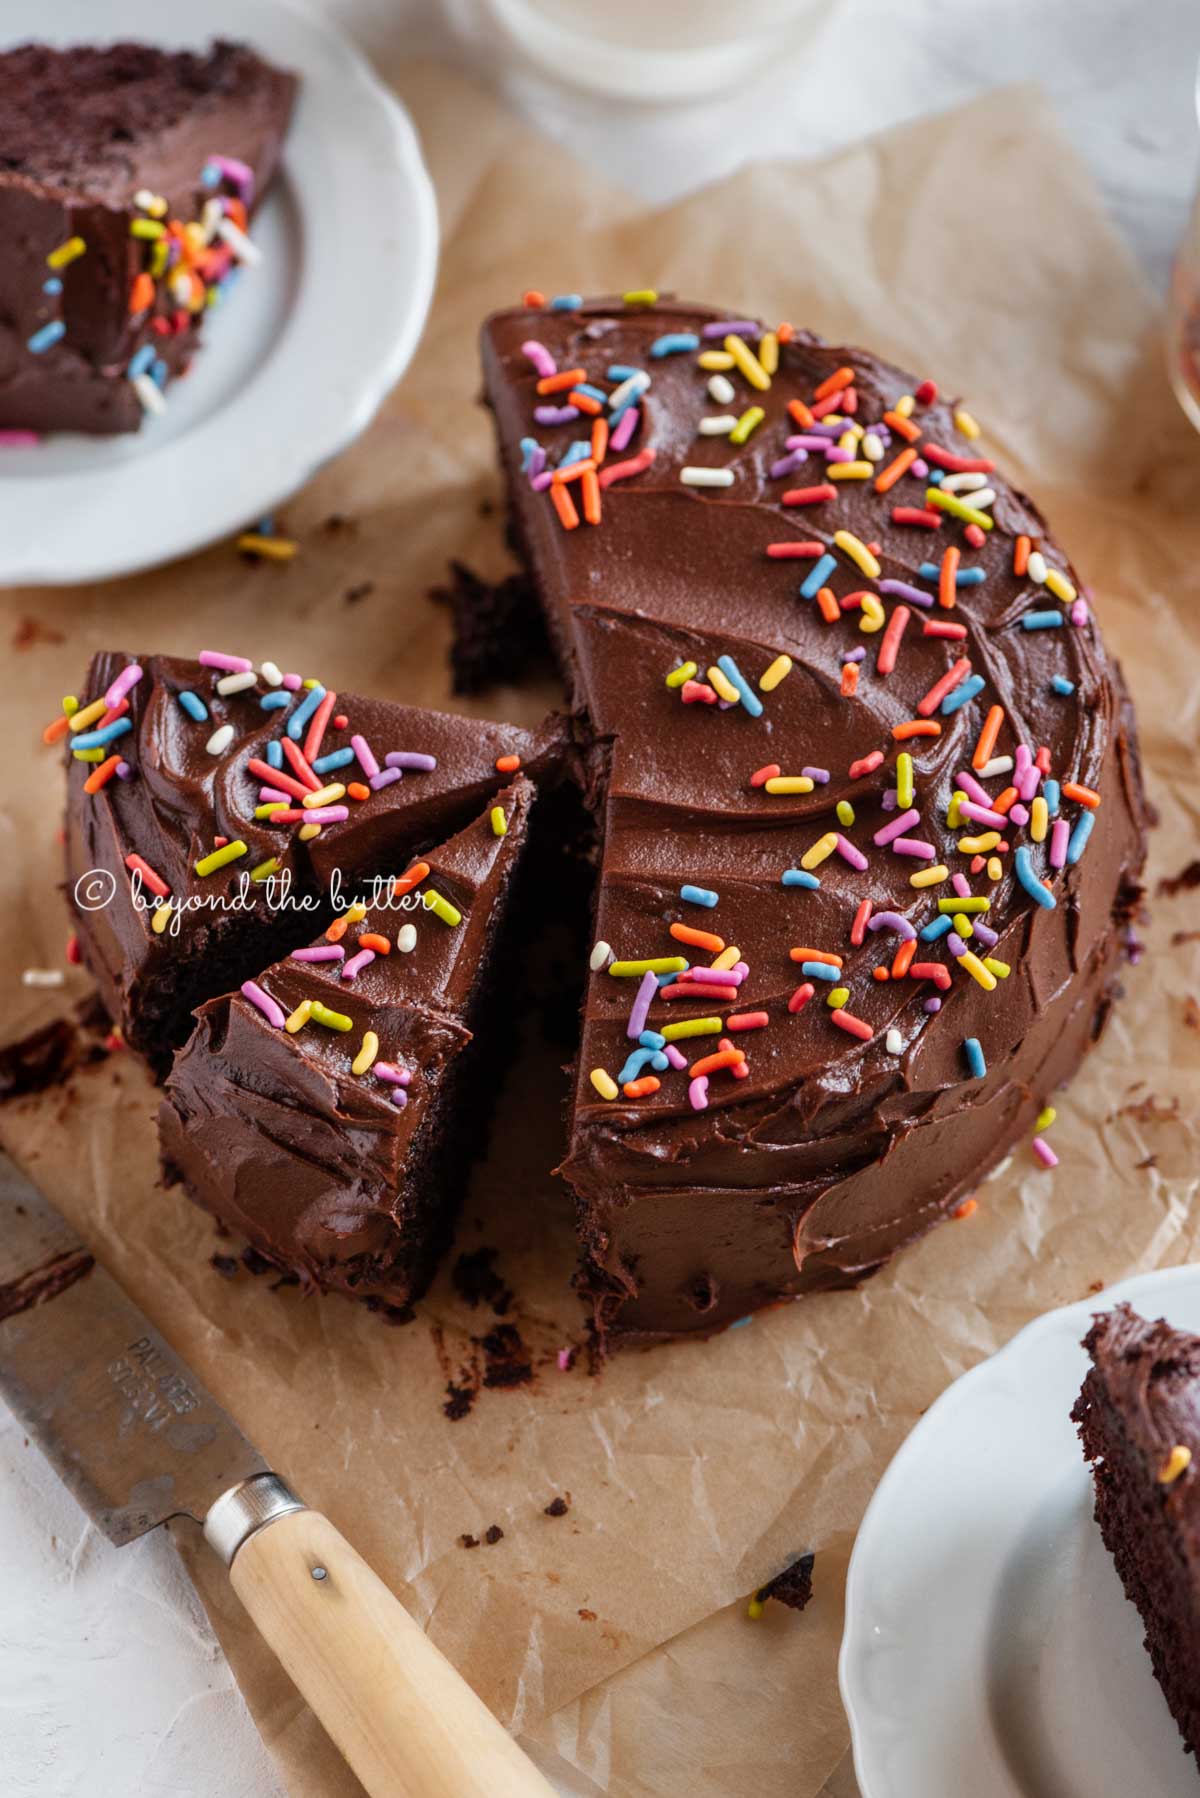
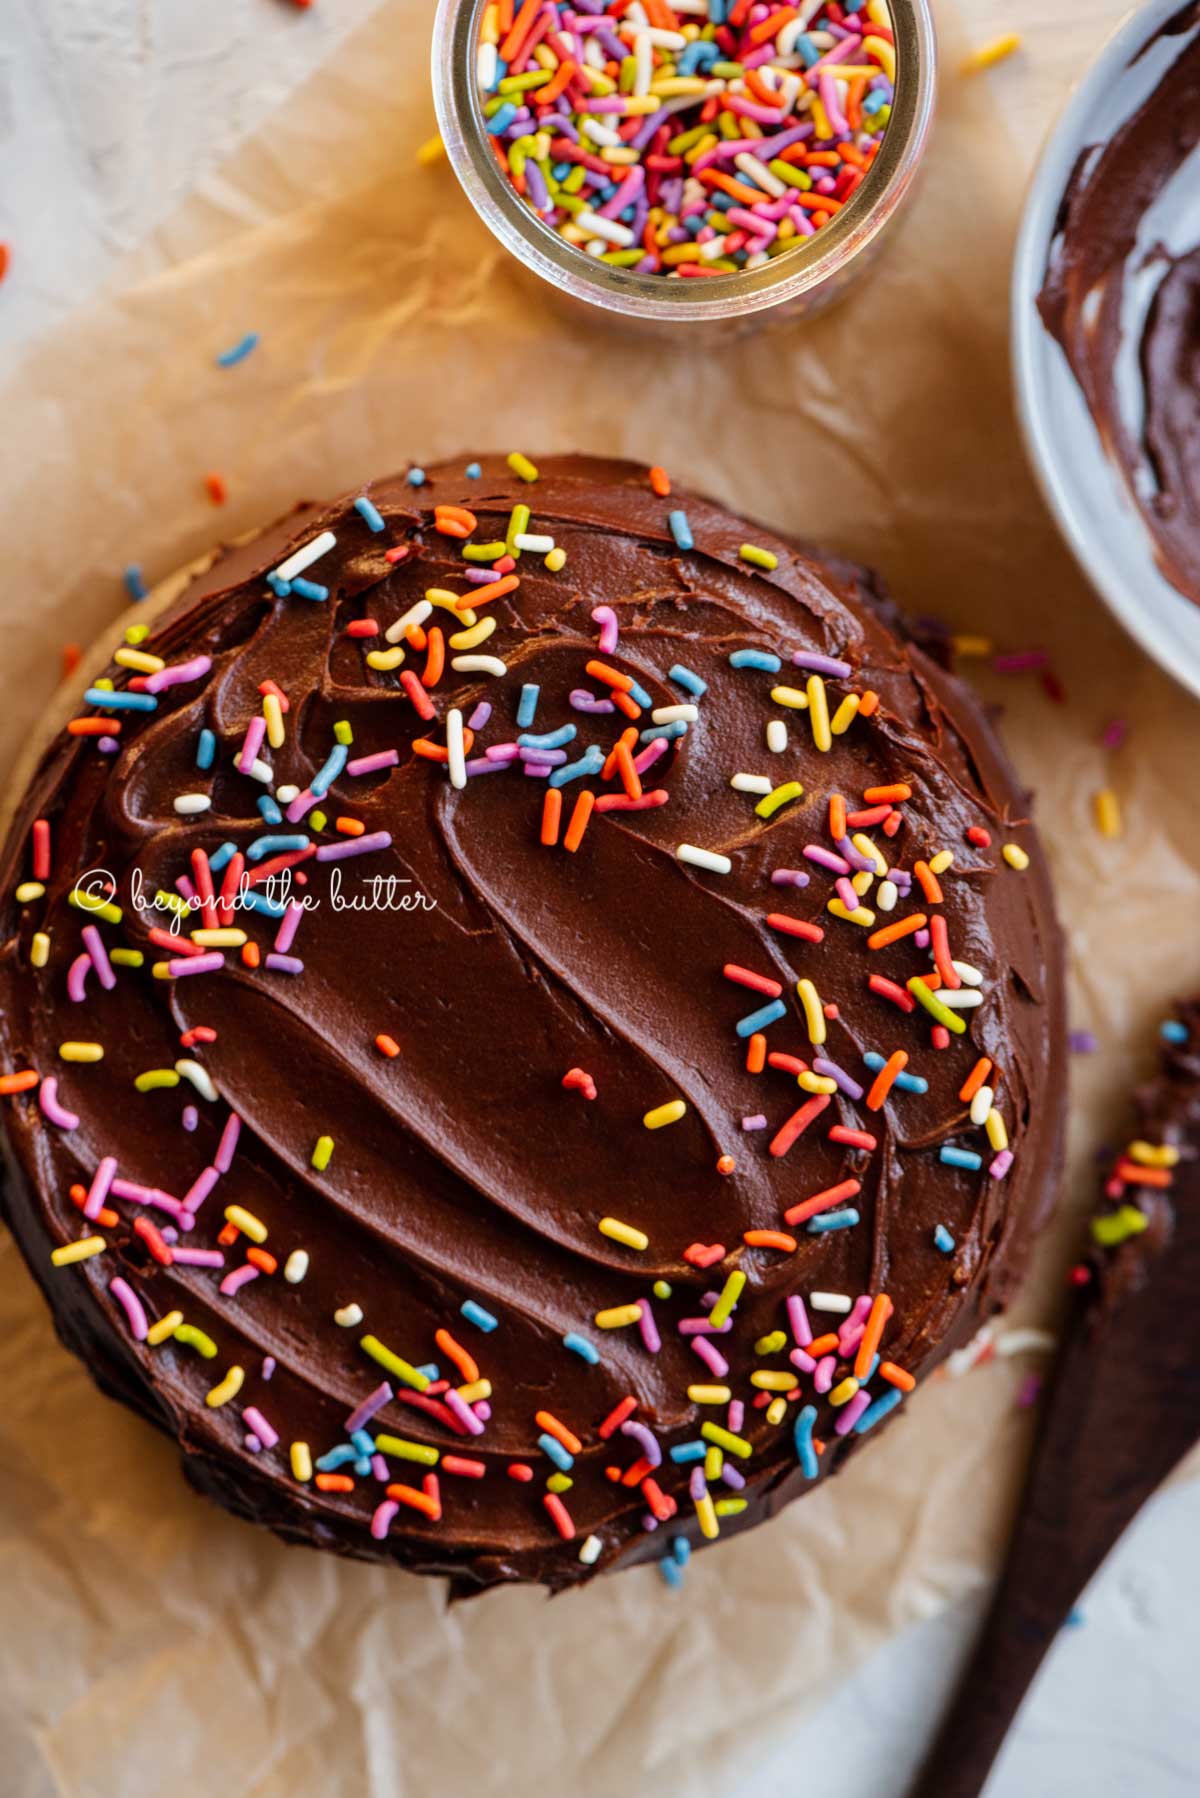
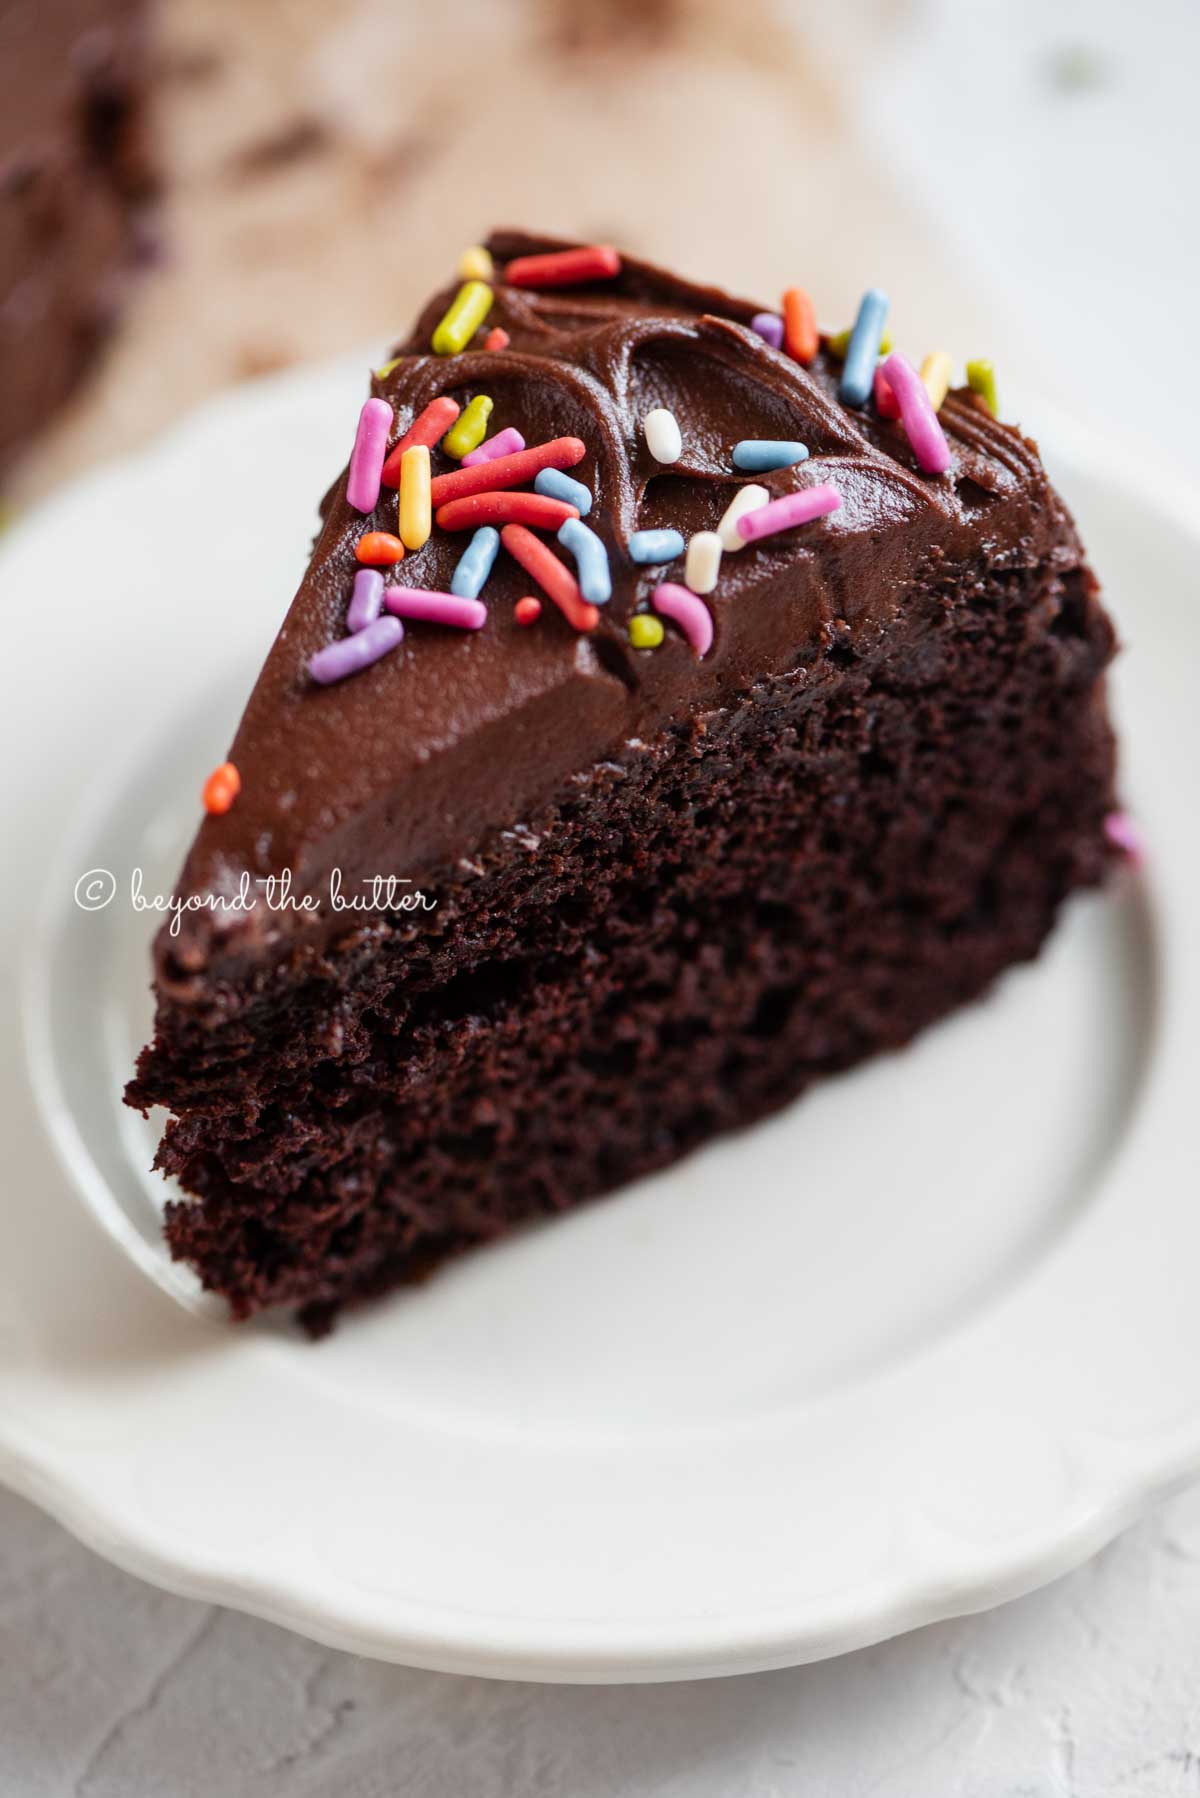
This Single Layer Chocolate Cake measures 6 inches and stays soft and moist, with just enough chocolate to share with someone you love or savor on your own. Dust it with powdered sugar or top it with rich milk chocolate frosting and rainbow jimmies. Don’t forget the milk!
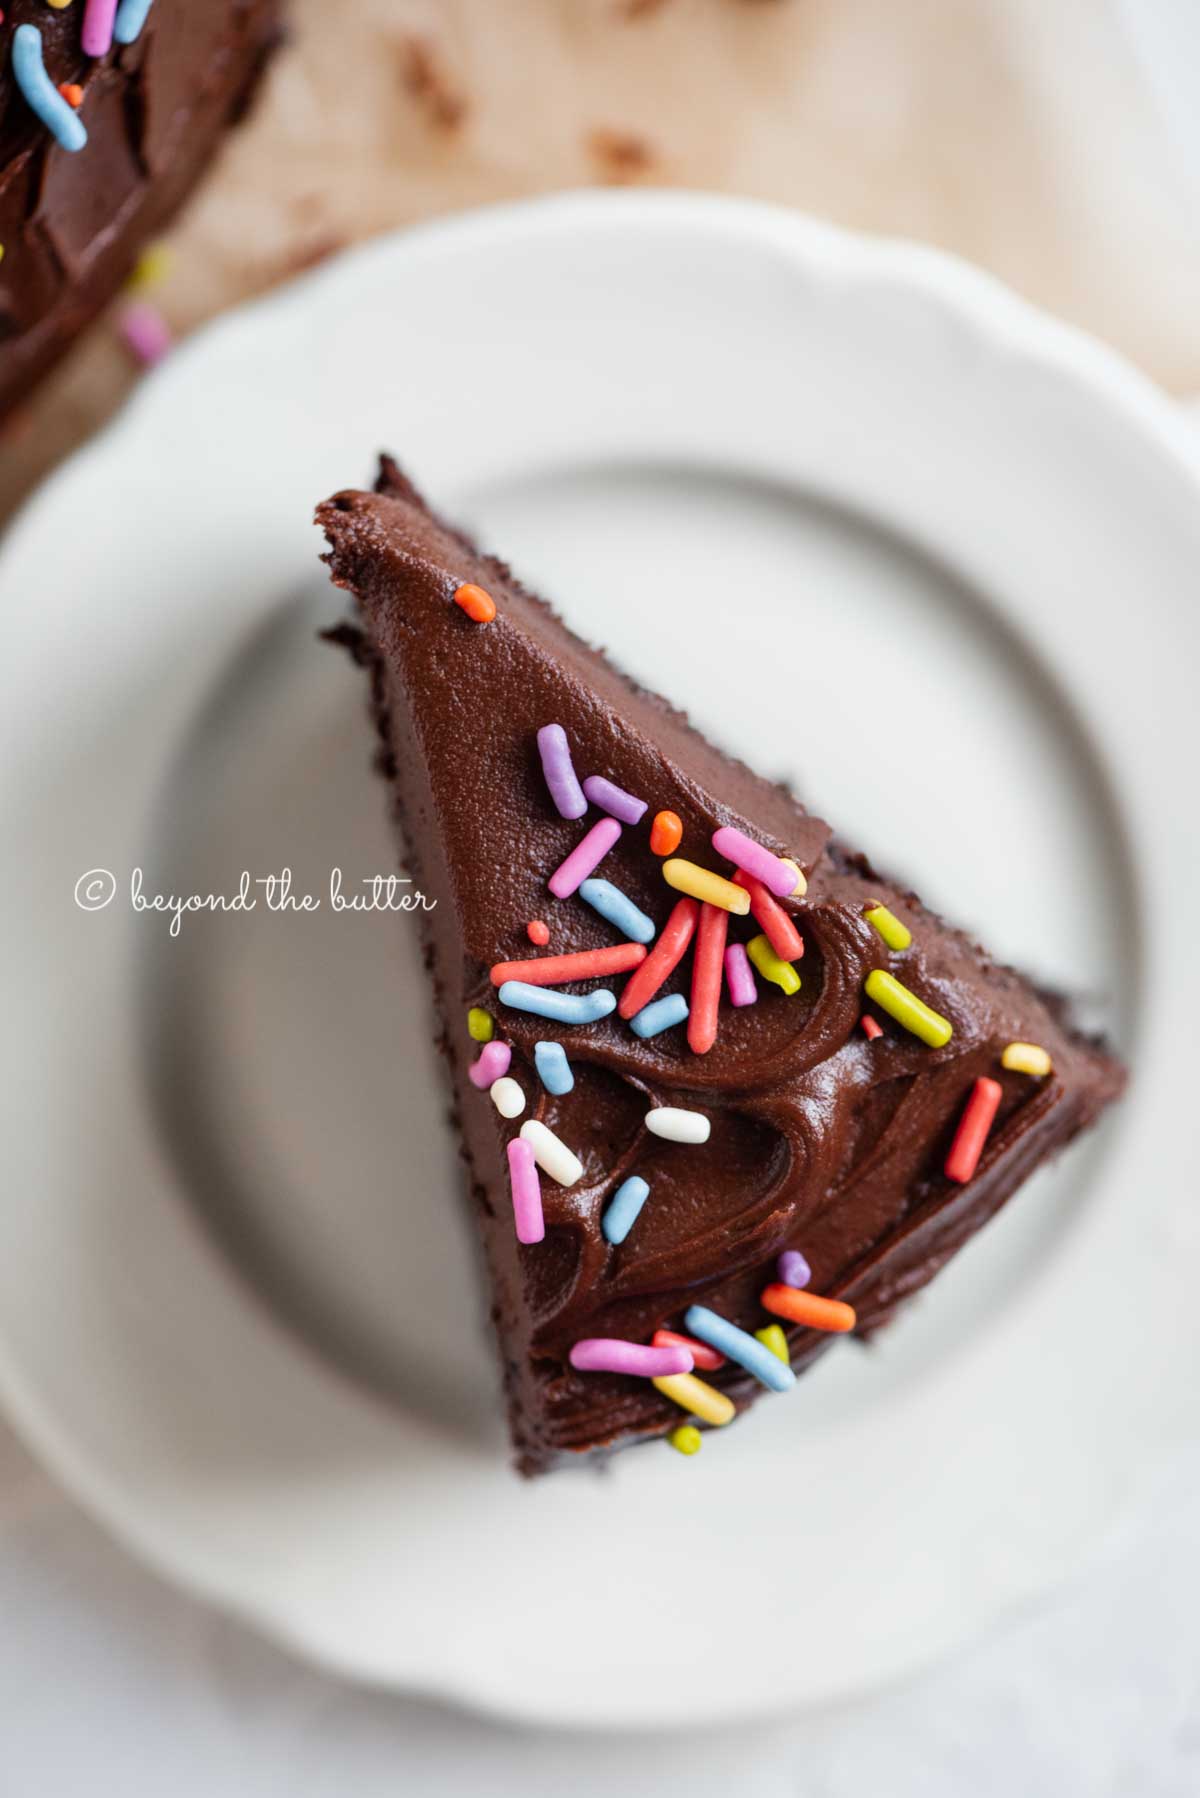
Reasons to Make This Cake
- It’s a single 6-inch layer of chocolate cake
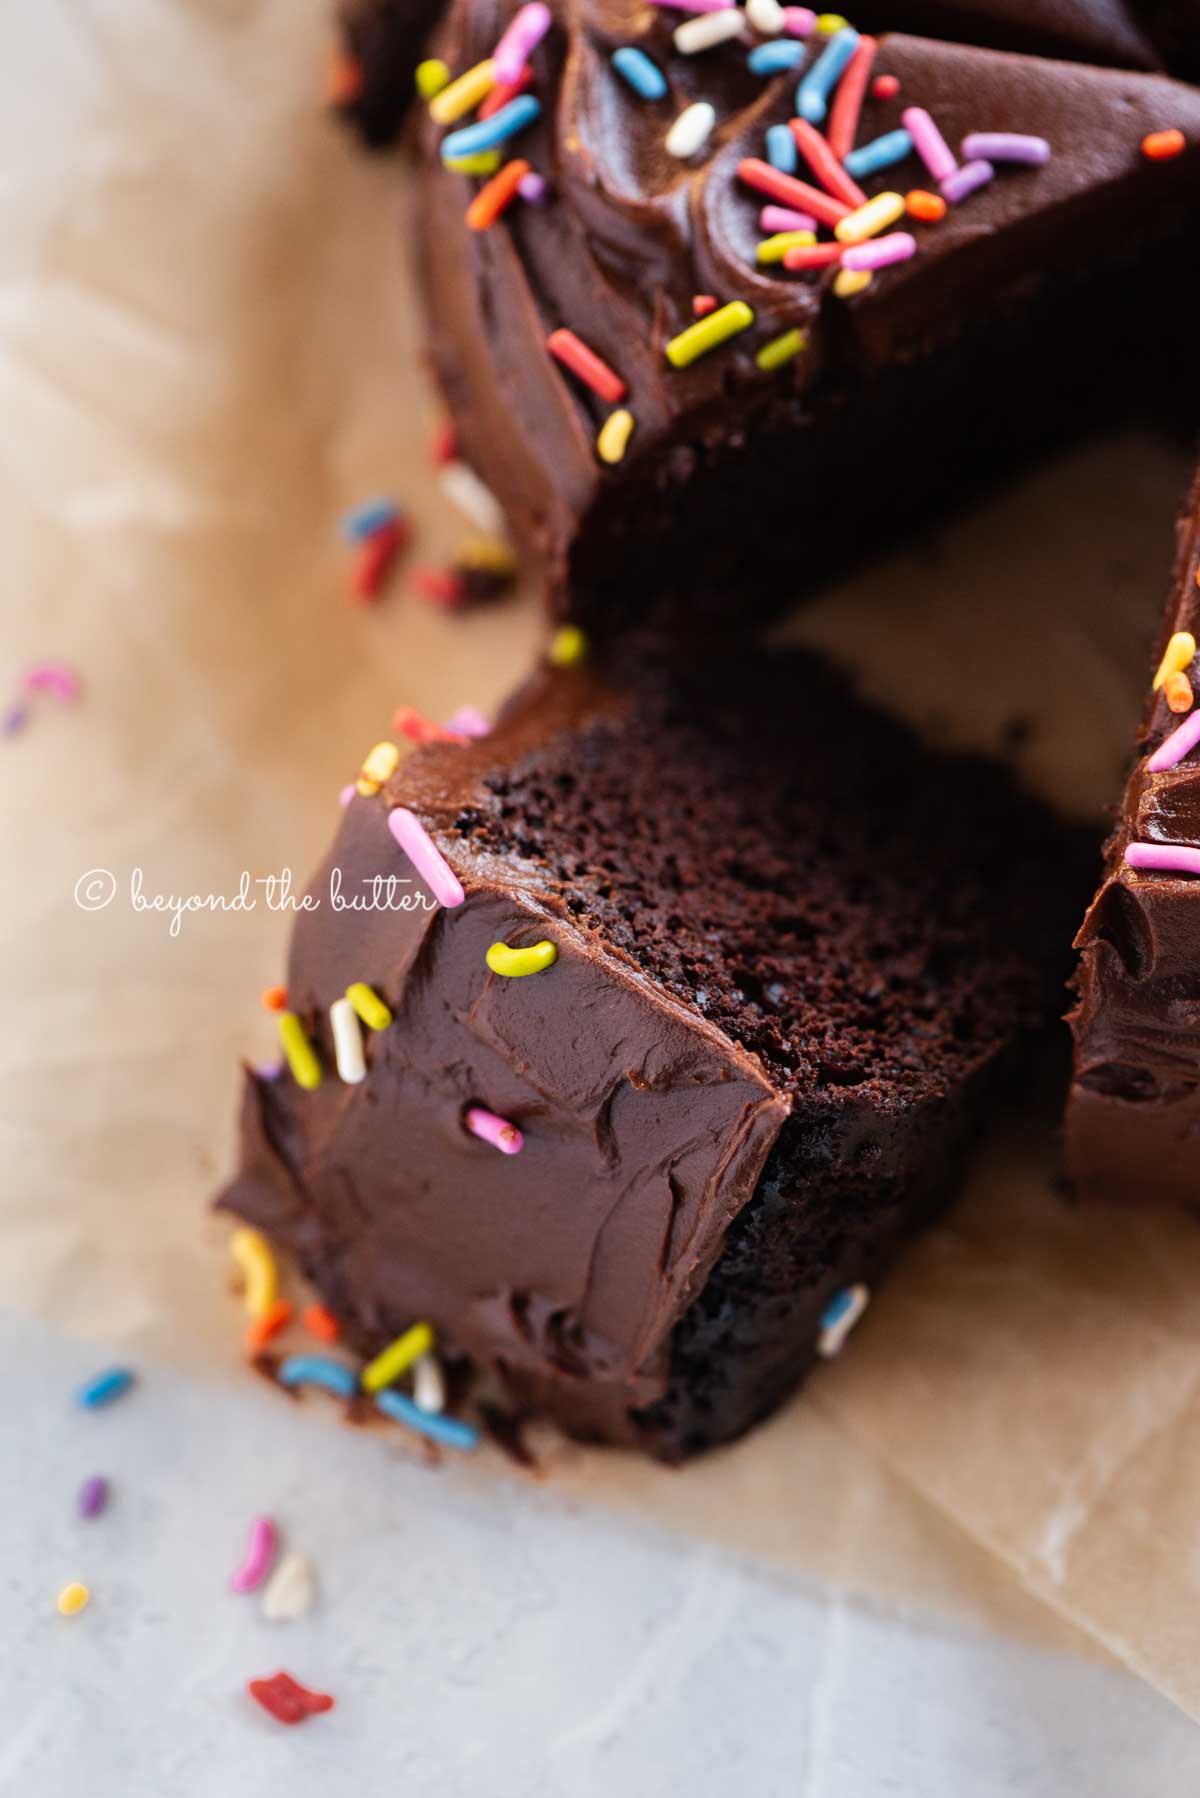
- Tender and moist throughout
- Packed with chocolate flavor in every bite
- Simple to bake
- Ideal for a solo treat or for sharing with someone special, and great for birthdays too
- It’s topped with a small batch of milk chocolate frosting
- Add rainbow jimmies or sprinkles for extra fun
I love chocolate cake, but I don’t always want a two- or three-layer version. Does anyone else? Adapted from my small batch chocolate cupcakes recipe, this 6-inch single layer chocolate cake is the latest addition to my recipe collection. It’s easy to make and tastes wonderful!
What You’ll Need
Here is everything you need to bake this single layer chocolate cake. You likely have most of it in your pantry already!
- All-Purpose Flour. Any brand works, but I prefer King Arthur Flour. In my humble opinion, it’s the best.
- Sugars. This recipe calls for granulated sugar and light brown sugar. If you measure the light brown sugar with cups, pack it in lightly.
- Unsweetened Cocoa Powder. I used Hershey’s, but use whatever you have. Hershey’s extra dark cocoa powder works fine as well. I haven’t tested this with Dutch process or black cocoa powder.
- Baking Powder and Baking Soda. The familiar leaveners. Make sure they’re fresh and not expired.
- Salt. Only a pinch needed!
- Egg. You only need one, ideally at room temperature.
- Milk. I used 1%, though fat-free, 2%, whole, or lactose-free milk all work. I haven’t tested non-dairy options like almond or soy milk.
- Vegetable Oil. A small amount goes a long way, and it helps keep the chocolate moist.
- Vanilla Extract. Pure vanilla is best, or you can swap in this cocoa vanilla extract from Heilala Vanilla. All of their flavored extracts are great!
- Hot Water. Aim for water that’s hot to the touch but not boiling.
Extras You Can Add
These extras are optional for this chocolate cake. The first two add a deeper chocolate taste, and the rainbow jimmies simply make it more festive!
- Dark Chocolate. You need very little. Chocolate chips or a chocolate bar both work. I used two squares of Ghirardelli 60% dark chocolate.
- Espresso Powder. Dissolve it in the hot water before adding it to the other wet ingredients. You can leave it out, but you still need the hot water. Instant coffee works as a stand-in, using the same amount and method.
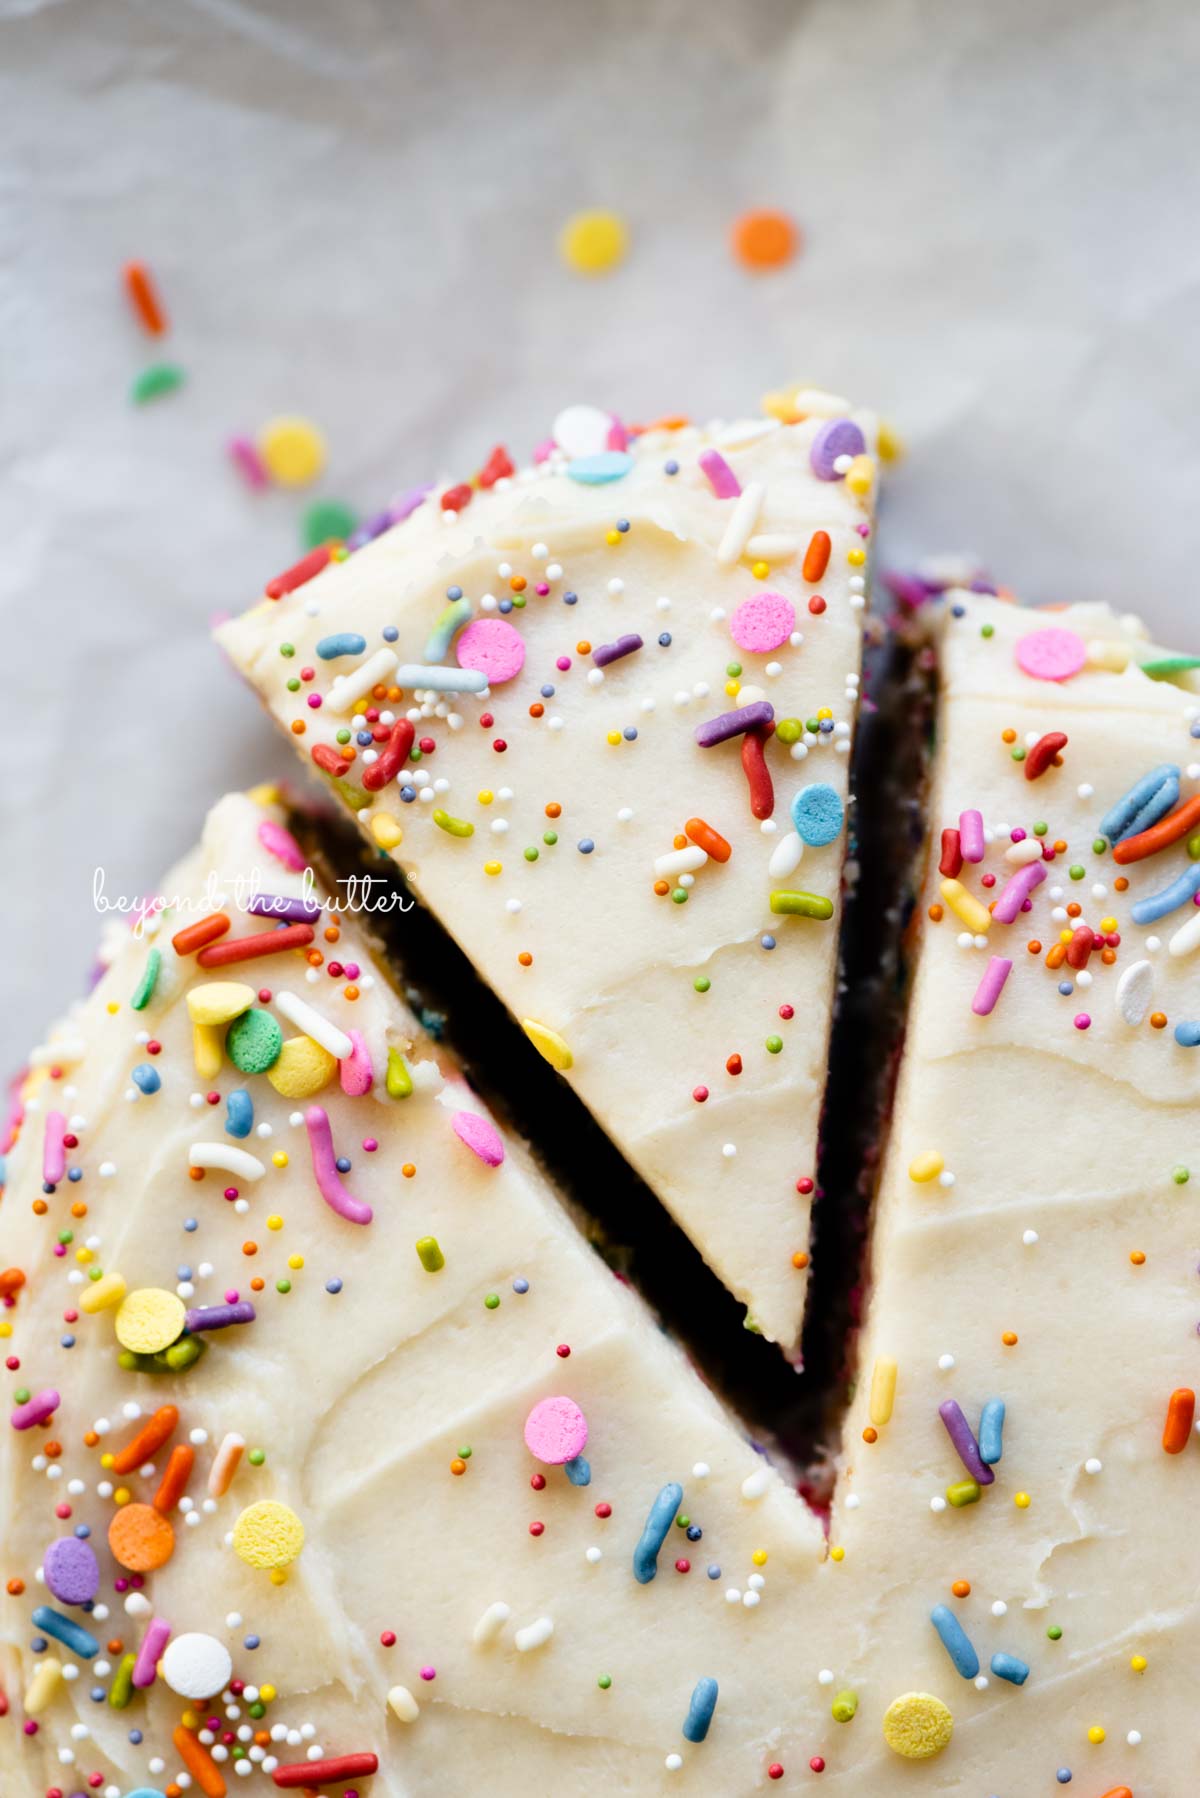
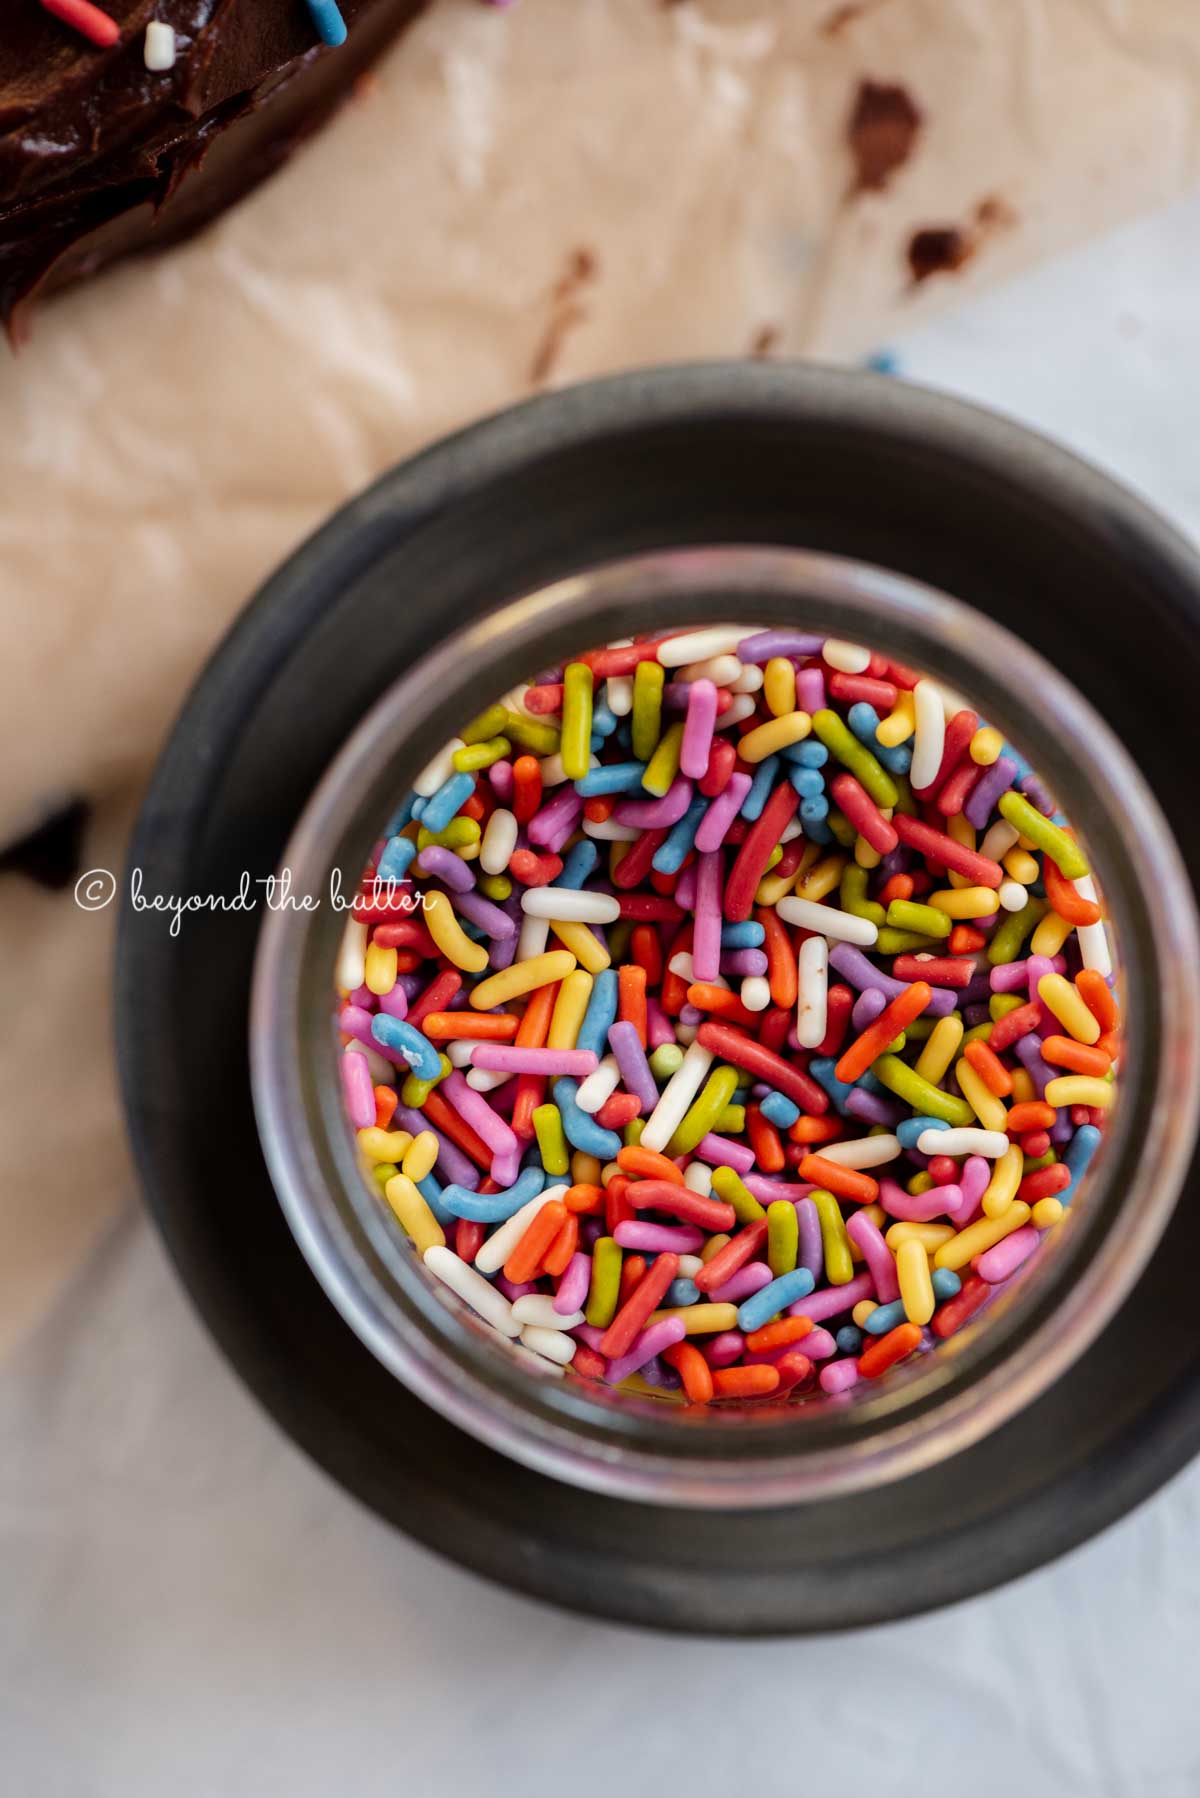
- Rainbow Jimmies. These go nicely on top of the milk chocolate frosting. If you’re using powdered sugar instead, skip them.
Method at a Glance
No mixer needed for the cake. Mixing bowls, a whisk, and a spatula are all you need for the batter. For the milk chocolate frosting, though, a hand or stand mixer is a good idea.
Prep the pan thoroughly. Few things are more frustrating than a cake that sticks. Baker’s Joy is my answer. No one is paying me to say this; I simply love it and rely on it for every cake I make! I’ve bought it online and at Walmart.
Avoid overmixing the batter. Skipping the mixer lowers the risk, but it can still happen. Stir until the ingredients are just combined, meaning no dry streaks remain. This matters most when you add the dry ingredients to the wet ones.
Include the optional ingredients. As noted above, melted chocolate and espresso powder are both optional here. The melted chocolate deepens the chocolate flavor, and the espresso powder gives it a lovely lift.
Using melted chocolate can make the top of the cake sink a little or pucker in the center. In most cakes that would be a problem, but here it’s perfectly fine.
I recommend doing the toothpick test after baking, since baking issues can still crop up. If a toothpick inserted into the center comes out clean, the cake is done.
Use cake strips. I should mention these more often with my cake recipes. Cake strips do a lot for getting a level, flat top. I own a set from Wilton and use them all the time.
Cool the cake fully. Let it sit in the pan for only about 10 minutes, then flip it onto a wire rack to finish cooling. This is one of my favorite steps, because the smell of chocolate cake that fills the kitchen when you turn it out is wonderful.
If you plan to frost the cake the same day you bake it, make sure it has cooled completely first.
Keep it simple. If making the milk chocolate frosting feels like too much, just dust the top with powdered sugar. Either way, you’ll satisfy that chocolate craving!
Can I Make This Recipe Ahead?
Yes, definitely! You can prepare both the cake and the frosting in advance.
The 6-inch chocolate cake keeps for up to 2 months in the freezer when stored properly.
The milk chocolate frosting can be made up to 2-3 days ahead and kept in a tightly sealed container in the refrigerator. Before spreading it on the cake, you may want to put it back in the stand mixer bowl to loosen it up a bit.
How to Freeze an Unfrosted Single Layer Cake
Freezing this single layer chocolate cake takes just a few steps.
- Let the cake cool completely.
- Wrap it snugly in 2-3 layers of plastic wrap.
- Put it in a freezer bag and lay it flat in the freezer.
- Label the bag with the contents and the date so you know what it is!
To thaw this single layer chocolate cake, move it to the refrigerator 2-3 hours before frosting. It won’t be fully thawed, which is actually good, since a fully thawed cake tends to shed more crumbs when you frost it.
Are Frosted Slices Freezable?
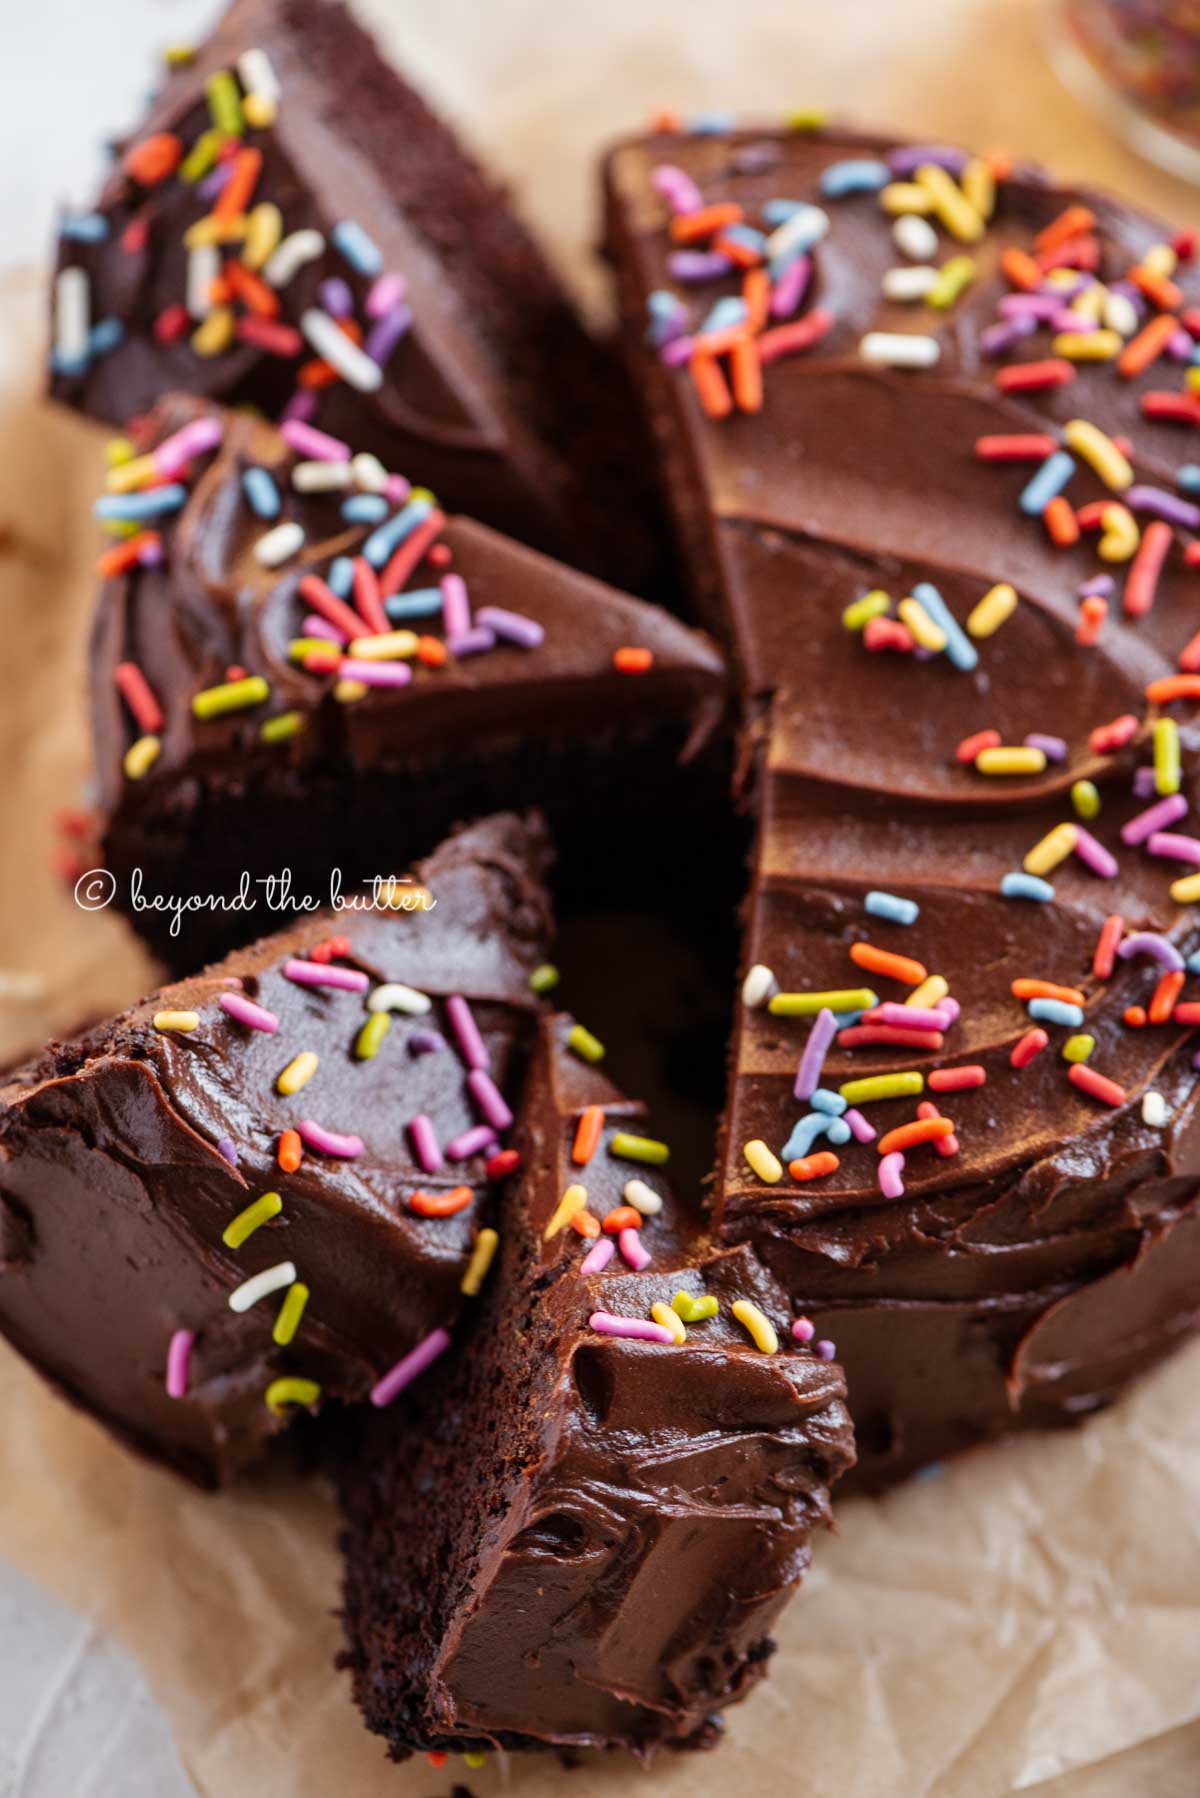
Absolutely! I used this chocolate cake recipe for my birthday cake and froze the leftover slices for later.
To freeze frosted cake slices, wrap each slice 2-3 times in plastic wrap, then add a layer of aluminum foil. Write what it is on the outside with a permanent marker so you don’t forget.
Once wrapped, lay the slices on a baking sheet, plate, or other flat surface in the freezer. They’ll keep for up to 2 months.
To thaw the frosted slices, let them come to room temperature on the counter or in the refrigerator.
Baking Tools I Recommend
Here are a few baking tools I suggest for this moist single layer chocolate cake! Scroll through the carousel below for more!
- 6 inch Cake Pan. Mine is a Wilton pan that came in a set of four. You can find them online or at craft and baking supply stores.
- Mixing Bowls. Useful for both the dry and wet ingredients.
- Glass Measuring Cup. I used this to melt my chocolate!
- Whisks and Spatulas. Keep a few on hand while you bake this cake. I rely on GIR whisks and spatulas. They also make spoonulas, a hybrid of a spatula and a spoon, which I especially like for cake batter!
More Small Batch Desserts to Try!
Small Batch 6-Inch Chocolate Layer Cake
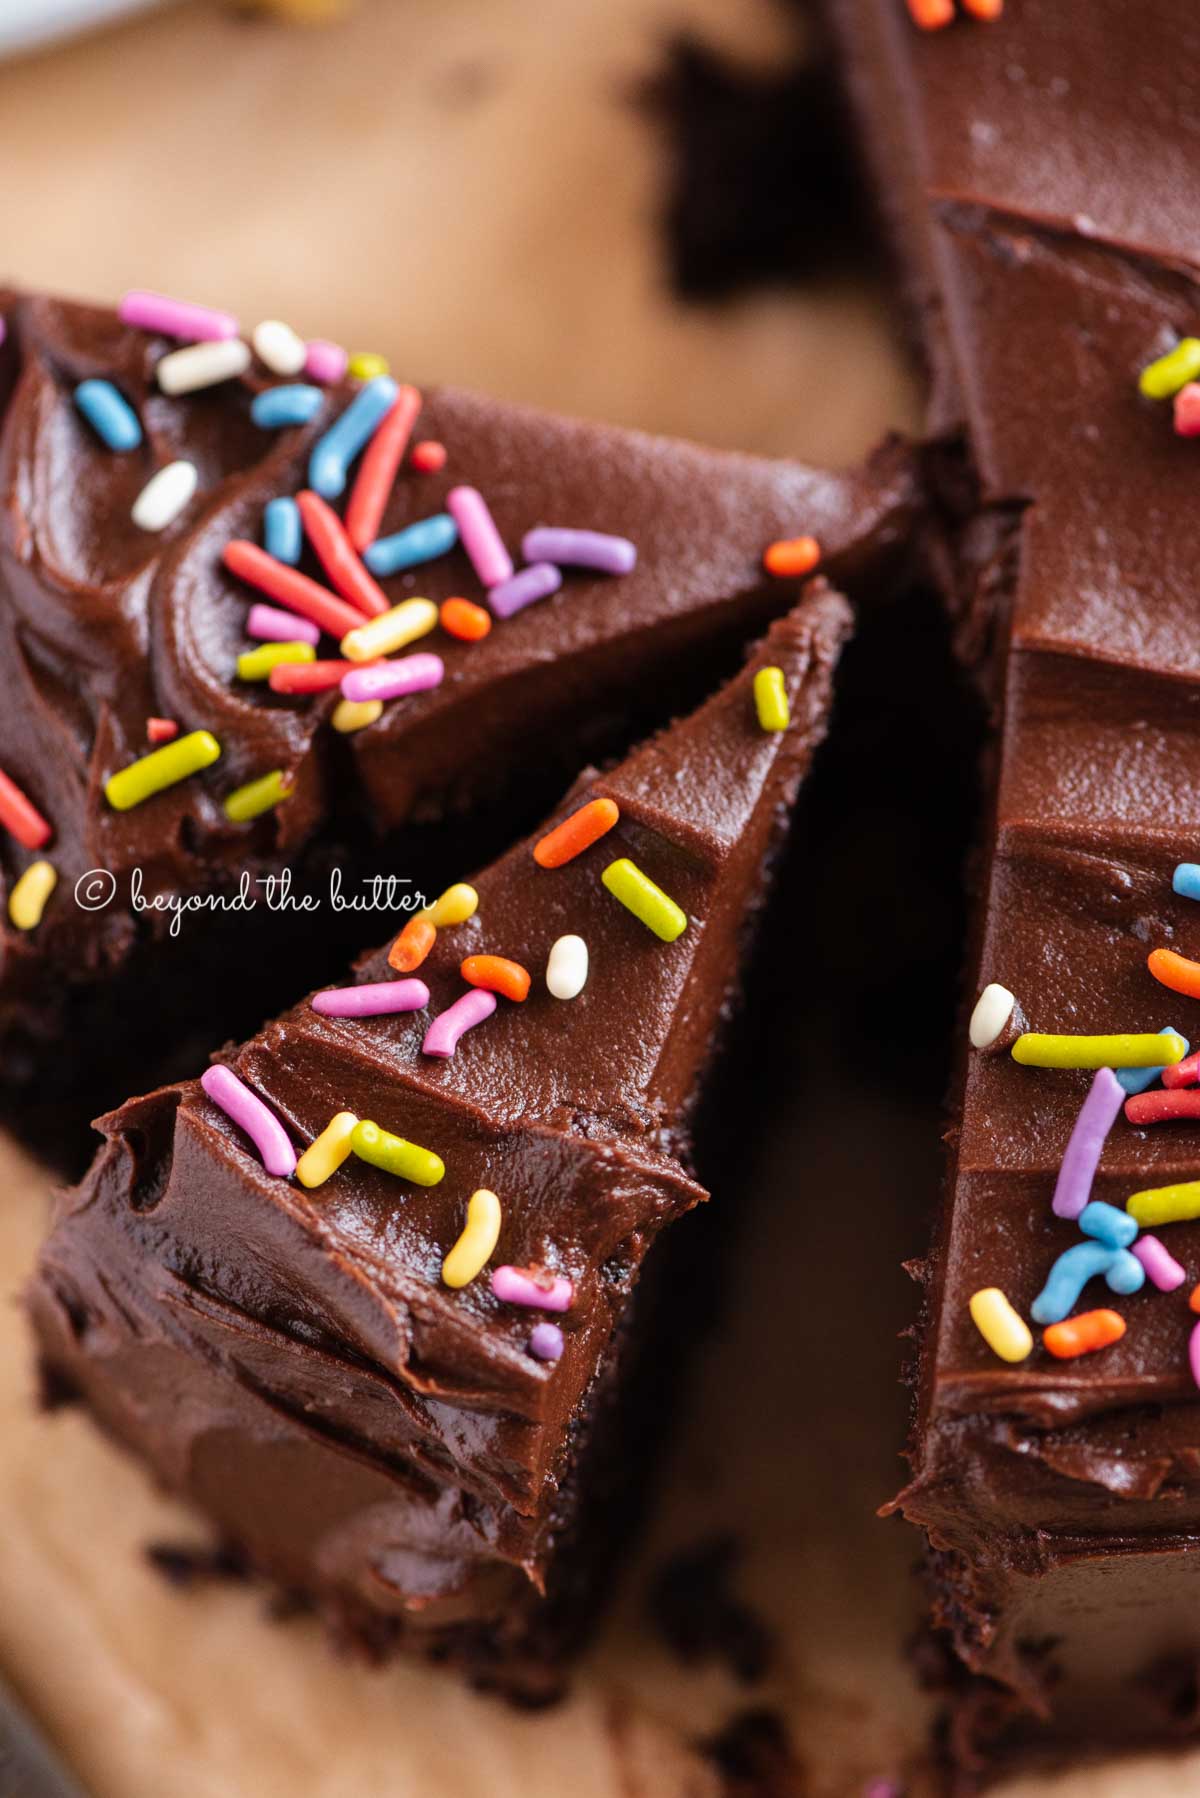
This 6-inch chocolate cake is soft and moist, with just the right amount of chocolate to enjoy by yourself or with someone you love! Top it with powdered sugar or with this rich milk chocolate frosting and rainbow jimmies!
- Prep
- 20 mins
- Cook
- 28 mins
- Total
- 48 mins
- Makes
- 6 servings
Ingredients
6 inch single layer chocolate cake
- 1/2 cup All-Purpose Flour
- 1/4 cup Granulated Sugar
- 1/4 cup Light Brown Sugar, lightly packed
- 1/4 cup Unsweetened Cocoa Powder
- 1/2 tsp Baking Powder
- 1/2 tsp Baking Soda
- 1/8 tsp Salt
- 1 Large Egg
- 1/4 cup Milk, any type (I used 1%)
- 2 tbsp Vegetable Oil
- 1/2 tsp Vanilla Extract
- 2 tbsp Hot Water
- 1 oz Dark Chocolate (optional), melted
- 1/2 tsp Espresso Powder (optional), dissolve in the hot water
- 1/2 cup Rainbow Jimmies (optional), for cake garnish
small batch milk chocolate frosting
- 2.5 oz Milk Chocolate Chips
- 6 tbsp Unsalted Butter, room temperature
- 1/3 cup Sifted Powdered Sugar
- 1/4 cup Unsweetened Cocoa Powder
- 1/8 tsp Salt
- 2 tbsp Light Corn Syrup
- 1 tsp Vanilla Extract
Method
- Move an oven rack to the 2nd position (just above center) and heat the oven to 350ºF. Generously coat a 6-inch cake pan with flour-based baking spray, or grease and flour it. If you like, place a 6-inch parchment circle on the bottom of the pan too. Set it aside.
- Melt the dark chocolate in a microwave-safe bowl or measuring glass at full power in 30-45 second bursts, stirring until smooth and creamy. Set it aside to cool slightly.
- In a small bowl, whisk together the all-purpose flour, granulated sugar, light brown sugar, unsweetened cocoa powder, baking powder, baking soda, and salt. Set it aside.
- In a separate medium bowl, whisk the egg, milk, vegetable oil, vanilla extract, and the hot water with the espresso powder dissolved in it.
- Stir in the melted chocolate.
- Fold the dry ingredients into the wet ingredients and whisk until just combined. Take care not to overmix the batter.
- Pour the batter into the prepared pan and bake for 25-28 minutes at 350ºF, or until a toothpick inserted in the center comes out clean.
- Let the cake cool in the pan for 10 minutes, then turn it onto a wire rack to cool all the way.
- Once cool, dust with powdered sugar or frost with this small batch milk chocolate frosting, top with rainbow jimmies, and enjoy!
- Melt the milk chocolate in a microwave-safe bowl or measuring glass at full power in 30-45 second bursts, stirring until smooth and creamy. Set it aside to cool slightly.
- With a hand or stand mixer fitted with a paddle attachment, beat the unsalted butter, sifted powdered sugar, unsweetened cocoa powder, and salt on medium speed until blended. Scrape down the bowl as needed.
- Add the light corn syrup, vanilla extract, and melted chocolate, then mix until the frosting is smooth and well blended.
- Frost the cake once it has fully cooled.
Baker’s notes
- The chocolate cake is adapted from my Small Batch Chocolate Cupcakes recipe, and the milk chocolate frosting is adapted from my Chocolate Zucchini Cake recipe.
- Store the frosted cake in the refrigerator, wrapped in plastic wrap (1-2 layers works well), for up to 3 days.