Flaky Strawberry Rhubarb Pie From Scratch
This strawberry rhubarb pie balances the tart and sweet flavors of strawberries and rhubarb, baked together in a buttery, flaky homemade crust…
- Prep
- 1 hr 30 mins
- Cook
- 1 hr 45 mins
- Total
- 3 hrs 15 mins
- Makes
- 12 servings
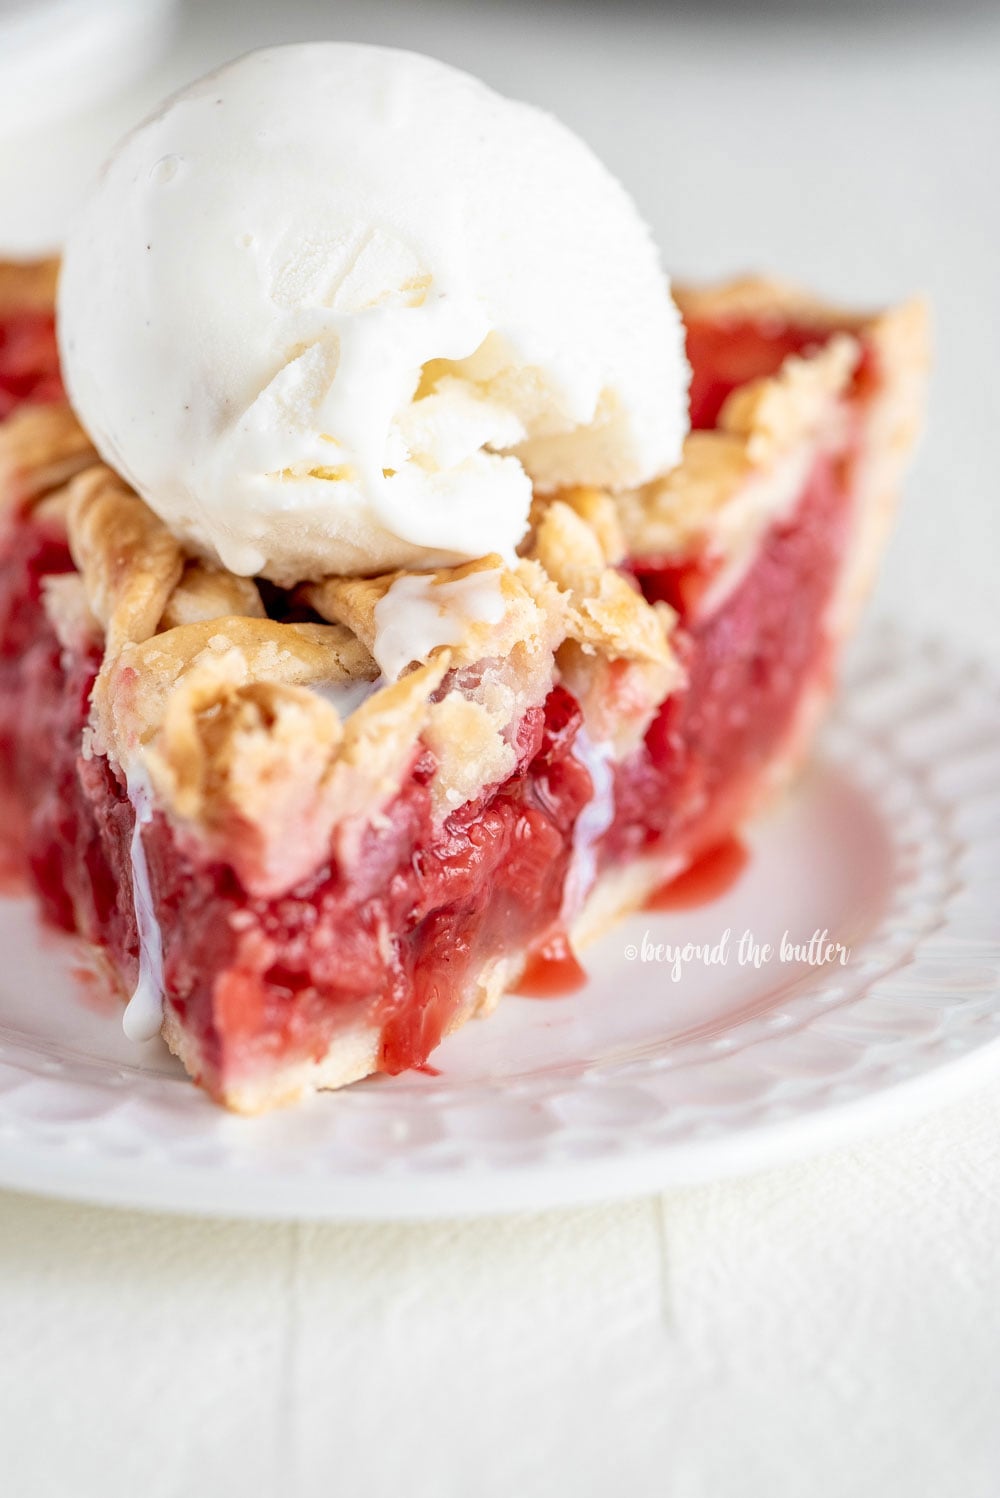
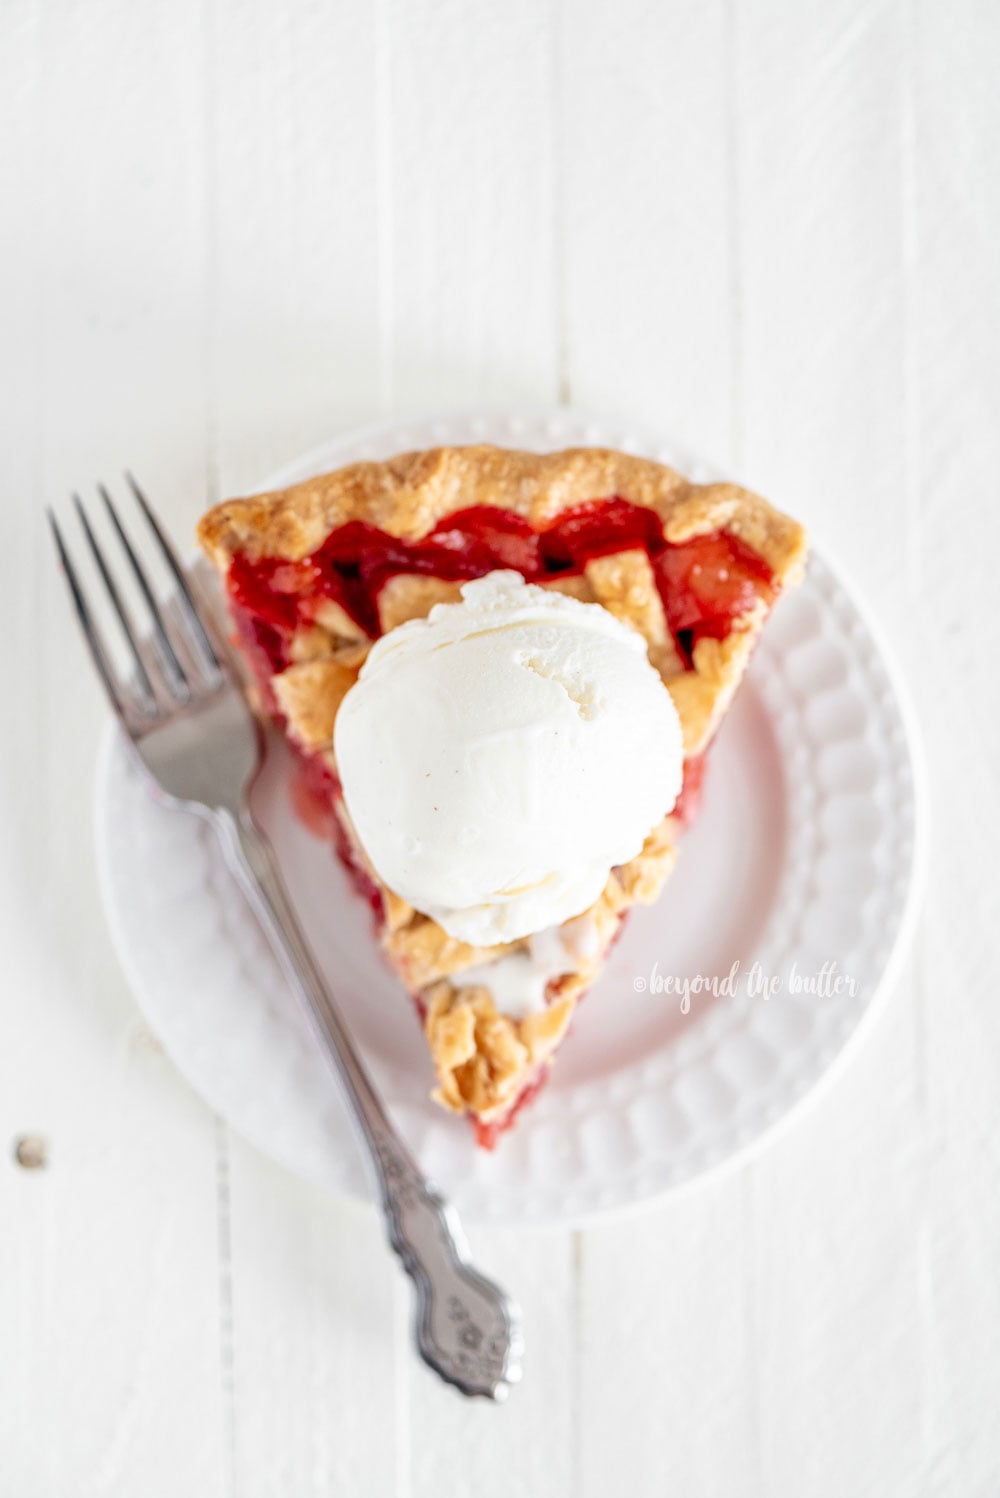
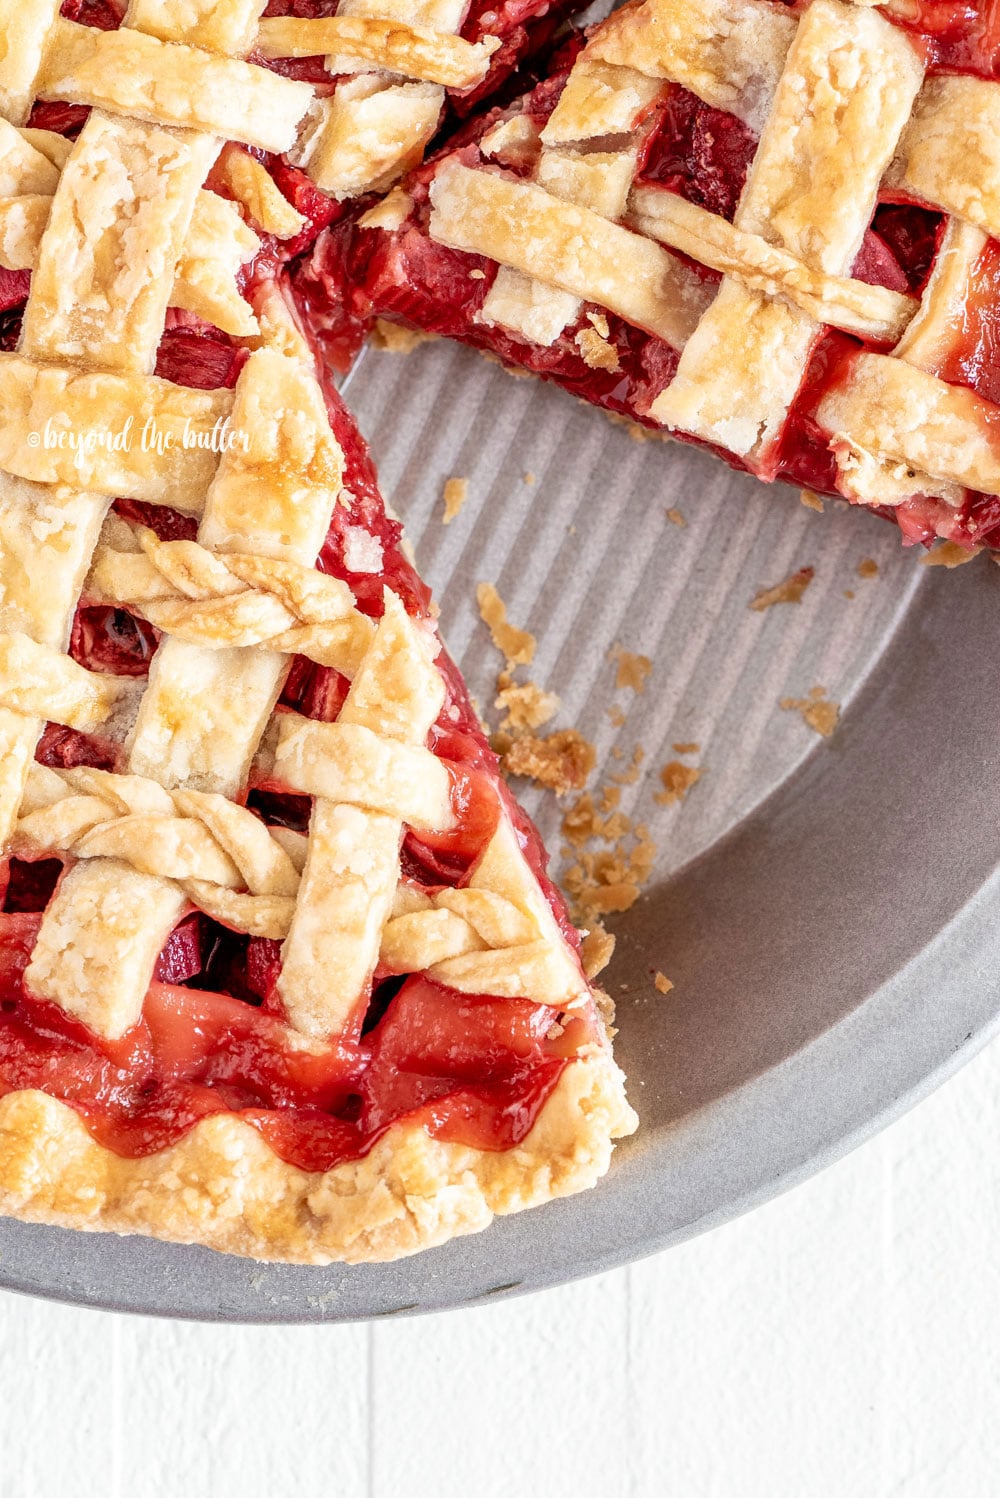
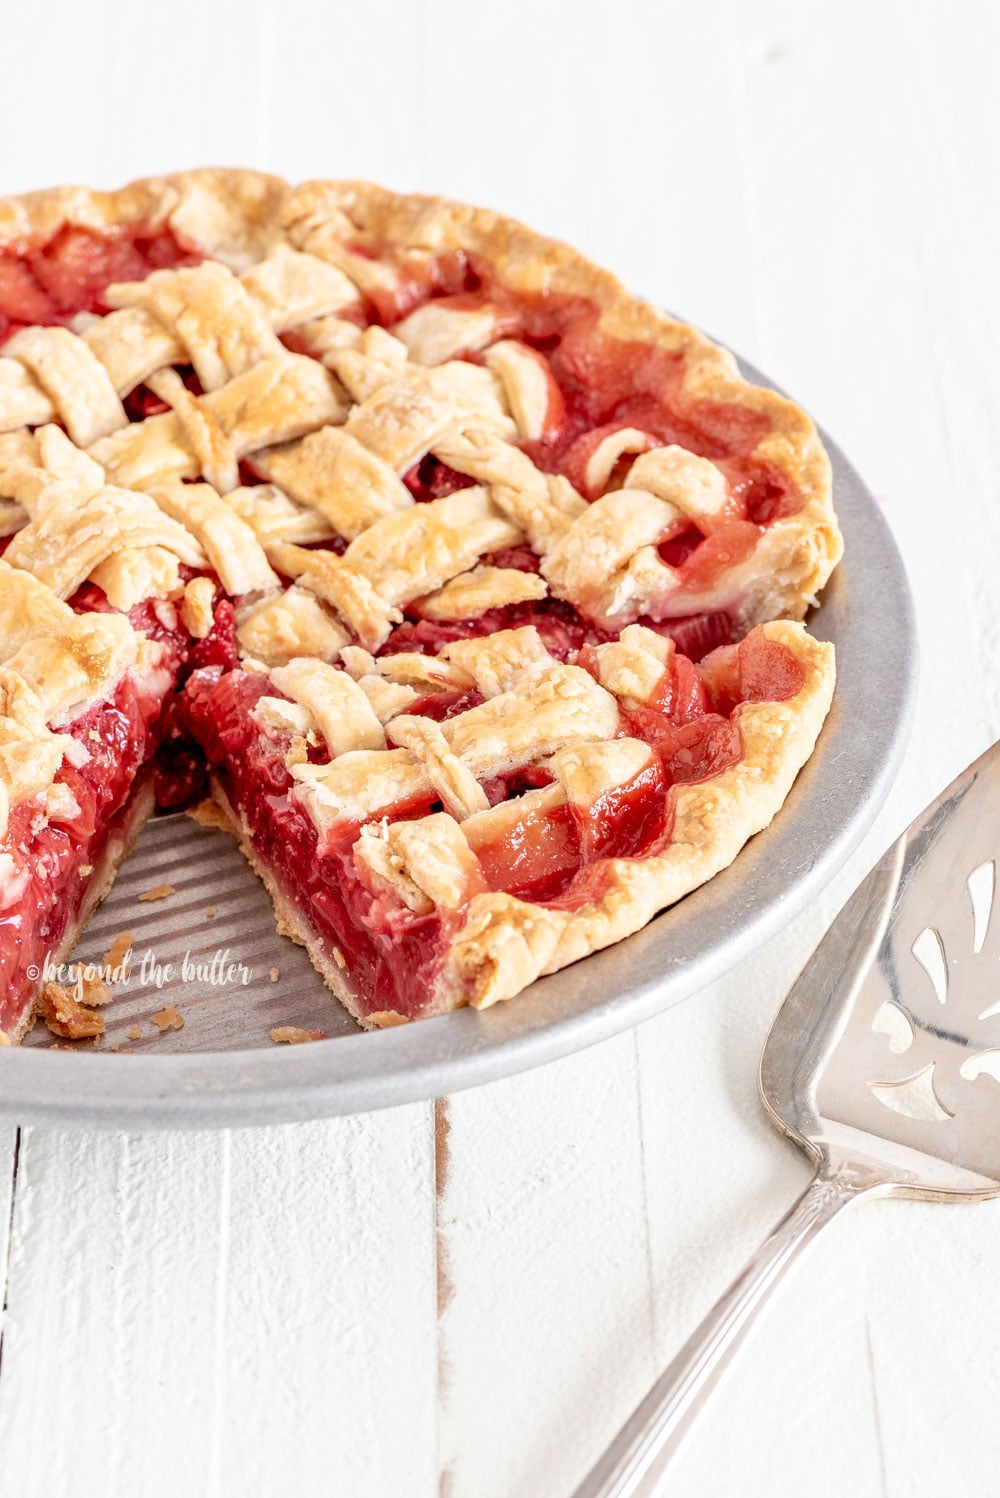
This Strawberry Rhubarb Pie brings together the tart and sweet flavors of strawberries and rhubarb, baked inside a homemade buttery, flaky crust. Enjoy it chilled or warmed up with a big scoop of vanilla ice cream on top. One bite and you’ll be hooked!
Reasons to Make This Pie
The flavor. Rhubarb’s tartness pairs beautifully with the sweetness of the strawberries, and the combination sits in a homemade all-butter double crust. For extra richness, add a scoop of vanilla bean ice cream to each slice!
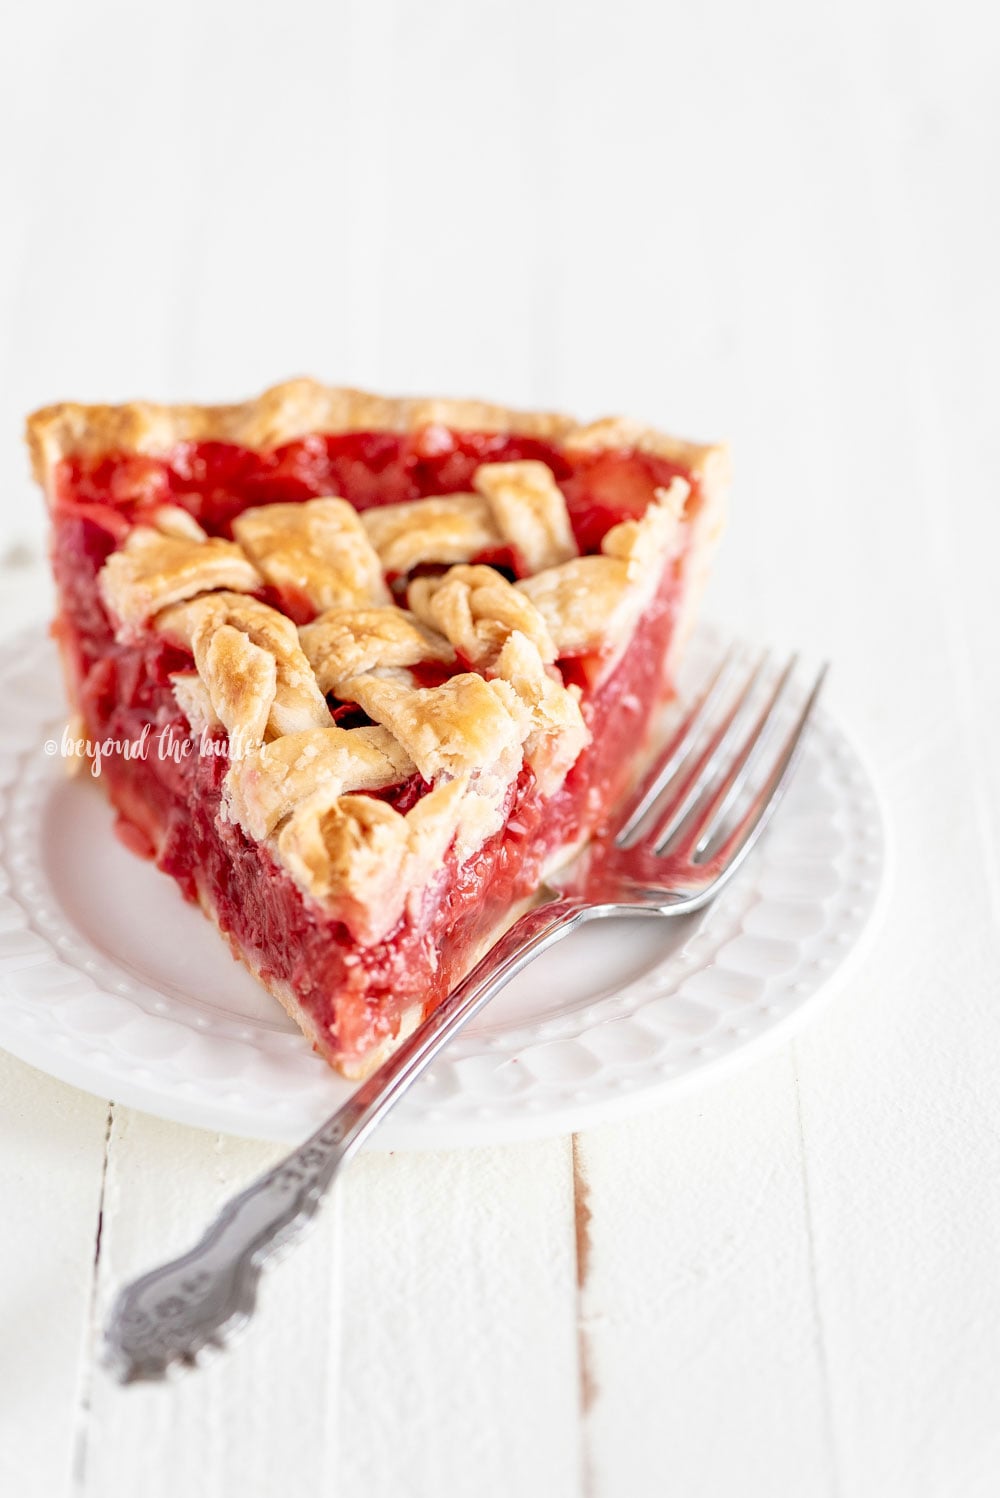
The consistency. Each bite offers the right balance between the soft, lightly thickened strawberry rhubarb filling and the flaky crust. It’s truly delicious.
Easy to make. The filling comes together the same day you bake, while the double crust can be frozen for up to a month ahead of time.
How to Make Them
Here is a quick look at how to make this easy strawberry rhubarb pie! The full recipe is in the recipe card below.
STEP ONE. Make the homemade pie crust. The crust is where this pie starts. For a flaky result, keep your butter, vegetable shortening and water VERY COLD.
STEP TWO. Chill the pie dough. Once the dough is made, split it into two discs (about 1″ thick) and wrap each one tightly in plastic wrap. Refrigerate them in the coldest spot, usually the very back, for at least 1 hour before rolling.
STEP THREE. Make the strawberry rhubarb filling. This part is quick and simple. In a large bowl, combine the chopped rhubarb and strawberries with brown sugar, granulated sugar, cornstarch, vanilla extract, lemon juice and cold cubed butter, stirring until the juices start to form.
STEP FOUR. Bake the pie! This pie uses two temperatures. Start by baking it for 15 minutes at 425ºF, then turn the oven down to 375ºF and bake for another 50-60 minutes. You can leave the pie in the oven during the switch.
Useful Tips
A few pointers to keep in mind as you make this easy strawberry rhubarb pie. They are repeated in the recipe card as well.
- Cold fats (butter and vegetable shortening) create the flaky layers, and ice-cold water keeps those fats solid. Dropping ice cubes into the water helps, but pick them out before you add the water to the dough.
- Once the crust is rolled out, placed in the pie plate and the edges are finished, return it to the refrigerator while you prepare the filling. The fats stay firm and set up even more, which helps stop the crust from slumping in the oven.
- If homemade crust feels like too much, store-bought crusts are a fine swap. You can usually find them in the refrigerated section near the cookie dough.
- When spooning the filling into the crust, use a slotted spoon to leave some of the extra juice behind. Too much liquid can make the pie soggy.
- This pie has TWO baking stages: 425ºF for 15 minutes, followed by 375ºF for 50-60 minutes.
- I always set a jelly roll pan or cookie sheet under my fruit pies in case any juice bubbles over. Slide it directly under the pie, or place it on the rack below.
- Fifteen minutes into baking, when you lower the oven temperature, I like to add a pie crust shield to keep the edges from getting too dark and overbaking. I just bought one like this pie crust shield, and it works really well. Aluminum foil strips work too.
How to Prevent a Soggy Bottom
- Choose a Metal Pie Plate. A metal plate helps the bottom crust bake up crisp, not soggy. If you use glass, make sure it’s rated for the oven.
- Chill the Crust. Give the crust at least 1 hour in the fridge before rolling. Once it’s in the pie plate, chill it again in the fridge or freezer while you make the filling.
- Bake on a Preheated Jelly Roll Pan. A baking sheet works too, and I personally prefer a baking steel (the kind used for pizza). Set the jelly roll pan on the middle rack and preheat the oven. Once it’s hot, set the pie directly on top. I do this whenever I’m not par or blind baking.
- Egg Wash the Bottom Crust. Before adding the filling, brush a thin layer of egg wash over the unbaked bottom crust. It acts as a barrier between the crust and the juicy filling. Don’t skip the edges!
Recommended Baking Tools
- 1, 9″ Pie Plate
- Pastry Blender
- Pastry Cutter
- Rolling Pin
- Tovolo Silicone Mat
- Pie Crust Shield
- Jelly Roll Pan or Cookie Sheet. Set it under the pie plate to catch any drips
- Covered Pie Pan Container
- Pie Crust Cutter. I used one from Talisman Designs, which I showed off in an Instagram reel. It makes the top crust look especially fancy!
More Pie Recipes to Love!
Flaky Strawberry Rhubarb Pie From Scratch
This strawberry rhubarb pie blends the tart and sweet flavors of strawberries and rhubarb, baked in a homemade buttery, flaky crust. Serve it chilled or warm with a big scoop of vanilla ice cream. One bite and you’ll be hooked!
- Prep
- 1 hr 30 mins
- Cook
- 1 hr 45 mins
- Total
- 3 hrs 15 mins
- Makes
- 12 servings
Ingredients
homemade flaky pie crust (makes 2, 9" pie crusts)
- 2 cups All-Purpose Flour
- 1 tsp Salt
- 6 tbsp Unsalted Butter, cold and cut into small cubes
- 1/2 cup Vegetable Shortening, cold and cut into cubes
- 4-6 tbsp Ice Cold Water
strawberry rhubarb pie filling
- 3 cups Rhubarb, sliced in half and cut into small pieces
- 3 cups Strawberries, hulled and sliced into small pieces
- 1/2 cup Light Brown Sugar, lightly packed
- 1/2 cup Granulated Sugar
- 1/4 cup Cornstarch
- 2 tsp Vanilla Extract
- 1 tbsp Lemon Juice
- 3 tbsp Unsalted Butter, cut into small cubes
- 1 Large Egg White, to be brushed onto the pie crust for shine
Method
- In a large bowl, use a pastry blender (or two forks) to mix the all-purpose flour, salt, cold cubed butter and cold vegetable shortening until the pieces are about the size of small peas. A few larger pea-sized bits are fine. If the blender gets clogged, scrape it clean with a knife while you work.
- Add ice-cold water 1 tablespoon (tbsp) at a time, mixing with a spatula or your hands, until the dough holds together in a ball and is no longer crumbly. If you find dry crumbs, add just a tiny bit more water so they blend in.
- Once the dough forms a ball, set it on a lightly floured, clean surface and divide it in half with a pastry cutter. Flatten each half into a disc 1″-1 1/2″ thick, wrap each tightly in plastic wrap, and refrigerate them in the coldest part of the fridge (usually the back) for at least 1 hour.
- Move the oven rack to the 2nd position from the top (just above center) and preheat the oven to 425ºF.
- On a well-floured, clean surface, roll one disc of dough out (or unroll a store-bought crust) and fit it into a 9″ pie plate. Trim the edges to your liking, then return it to the fridge while you make the filling.
- In a large bowl, combine the rhubarb, strawberries, light brown sugar, granulated sugar, cornstarch, vanilla extract, lemon juice and cubed butter. The mixture will get juicy, which is perfectly normal!
- Take the pie plate out of the fridge and spoon in the filling with a slotted spoon to drain off some of the excess juice. Spread it out so the top is fairly even. Set the pie aside while you roll out your 2nd chilled disc on a well-floured, clean surface.
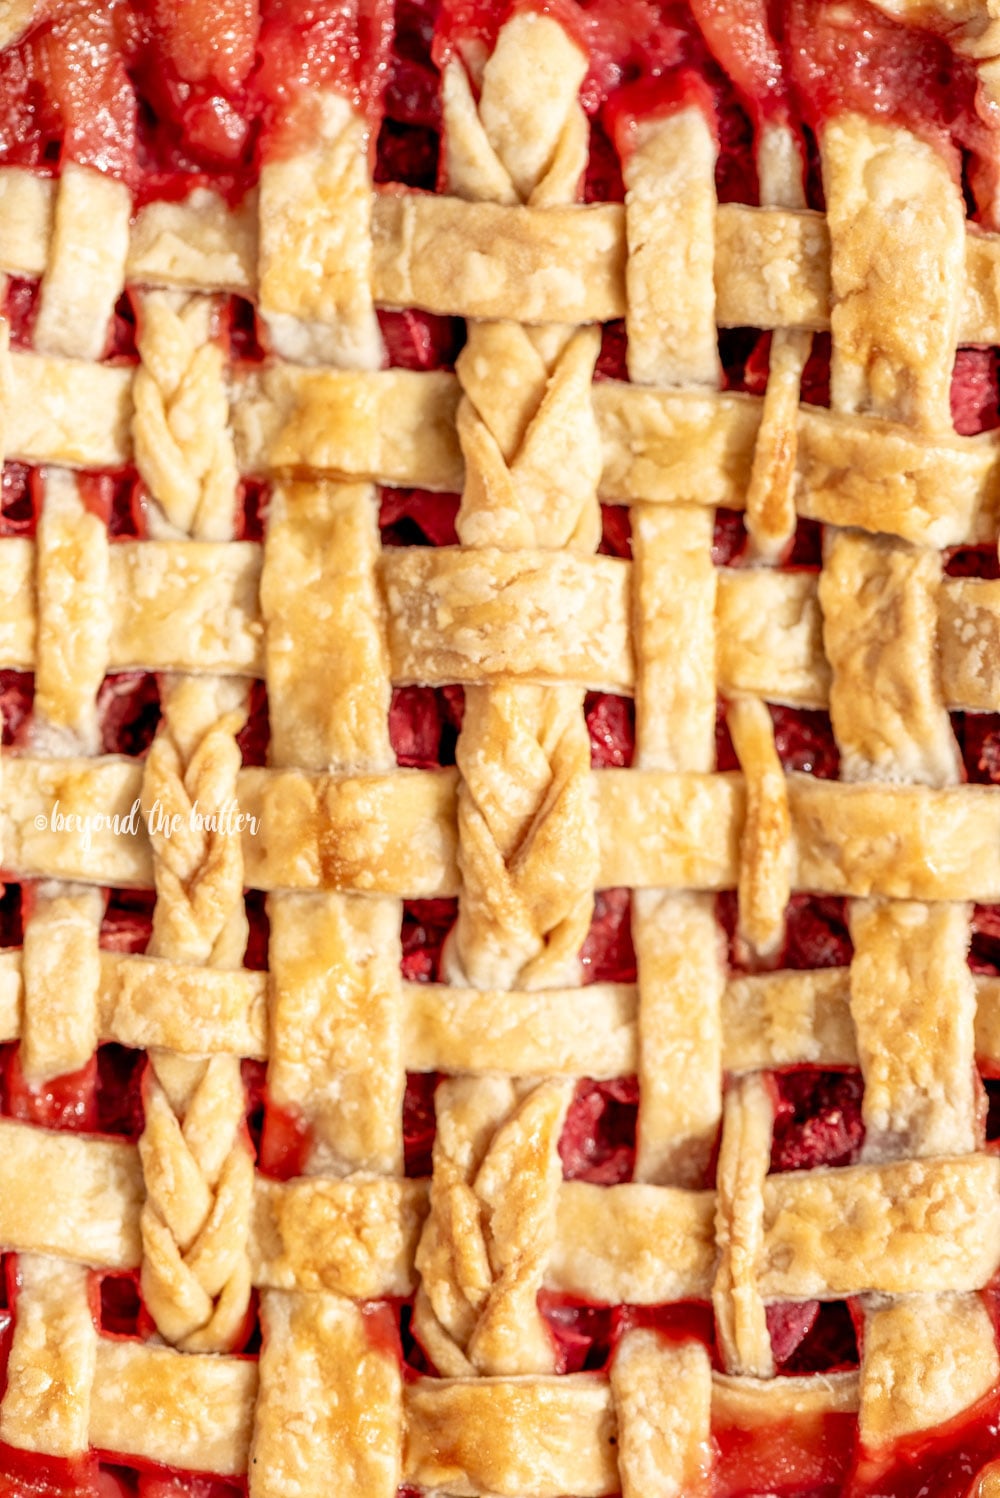
- For the top crust, you can get as creative as you like. The simplest option is to lay the top layer over the pie, trim the edges, fold the bottom crust over it, press the two together, crimp with a fork or your fingers, and cut a few vents across the top. For a decorative touch, cut shapes from the rolled top layer with a cookie cutter (see my Homemade Cherry Pie recipe), or weave a more detailed lattice of overlapping strips.
- Once the top crust is on, lightly brush it with egg white. You won’t need all of it, just enough for a little coverage.
- Set the pie on the jelly roll pan or cookie sheet, slide it into the oven and bake for 15 minutes at 425ºF.
- After 15 minutes, lower the oven to 375ºF and bake for another 50-60 minutes. Now is a good time to add a pie crust shield so the edges don’t burn. You can use a shield like the one I just bought, or wrap the edges with strips of aluminum foil.
- When it’s finished, take it out of the oven and let it cool completely.
Baker’s notes
- Cold fats (butter and vegetable shortening) create the flaky layers, and ice-cold water keeps those fats solid. Dropping ice cubes into the water helps, but pick them out before you add the water to the dough.
- Once the crust is rolled out, placed in the pie plate and the edges are finished, return it to the refrigerator while you prepare the filling. The fats stay firm and set up even more, which helps stop the crust from slumping in the oven.
- If homemade crust feels like too much, store-bought crusts are a fine swap. You can usually find them in the refrigerated section near the cookie dough.
- When spooning the filling into the crust, use a slotted spoon to leave some of the extra juice behind. Too much liquid can make the pie soggy.
- This pie has TWO baking stages: 425ºF for 15 minutes, followed by 375ºF for 50-60 minutes.
- I always set a jelly roll pan or cookie sheet under my fruit pies in case any juice bubbles over. Slide it directly under the pie, or place it on the rack below.
- Fifteen minutes into baking, when you lower the oven temperature, I like to add a pie crust shield to keep the edges from getting too dark and overbaking. I just bought one like this pie crust shield, and it works really well. Aluminum foil strips work too.
- For an easy top crust design, try this pie crust cutter!
- Adapted from the 1987 St. Stephen’s Family cookbook.