
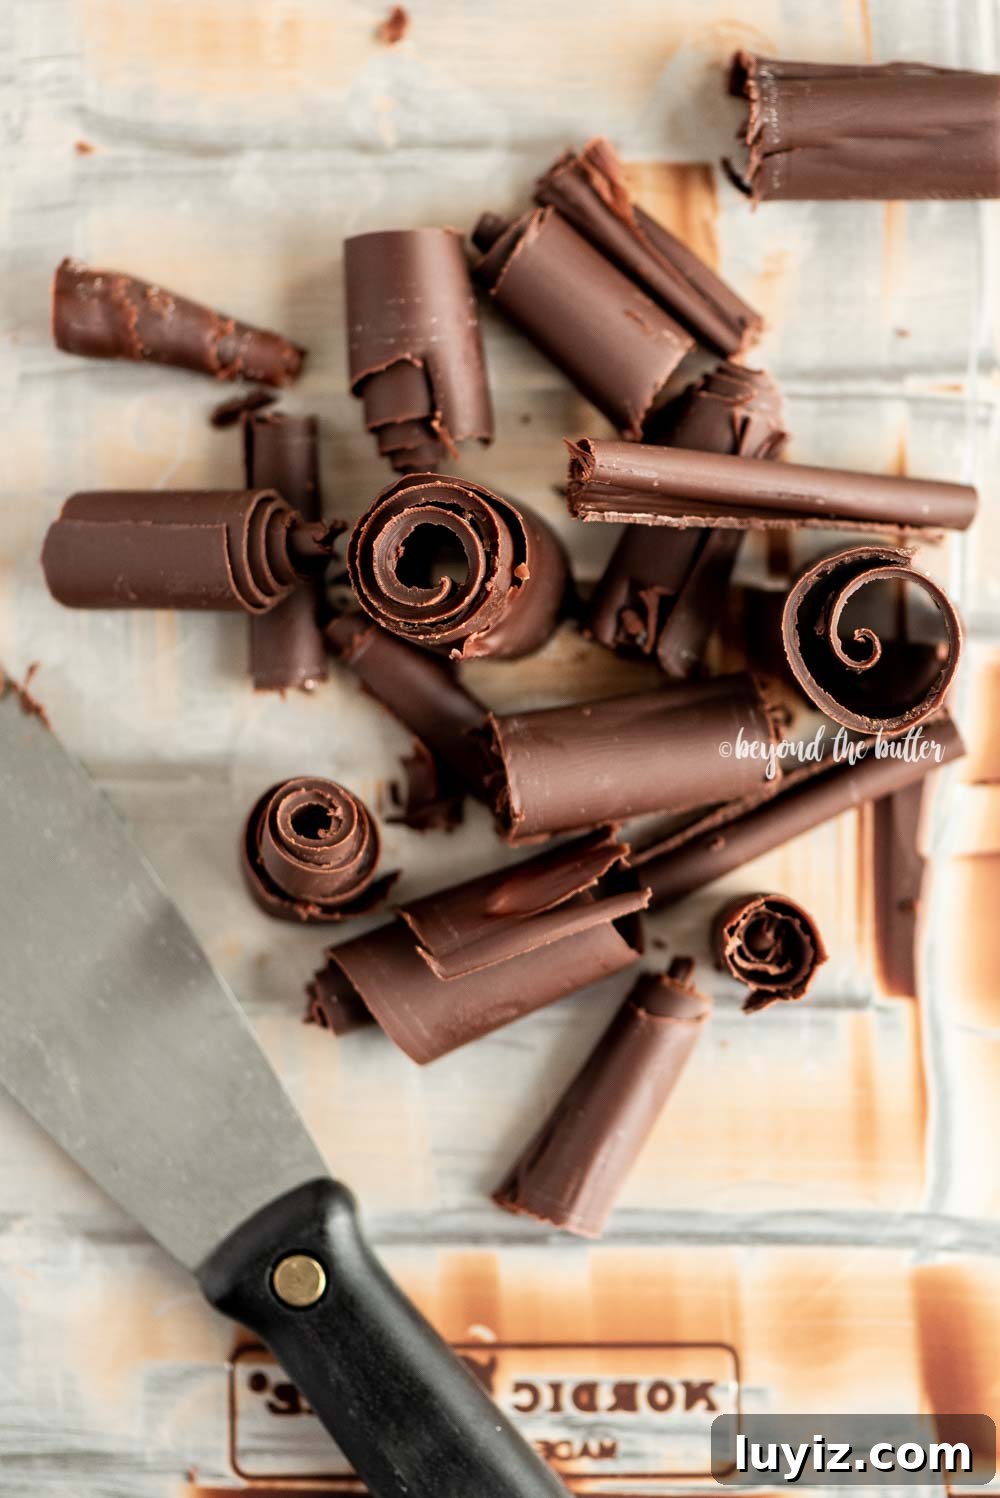
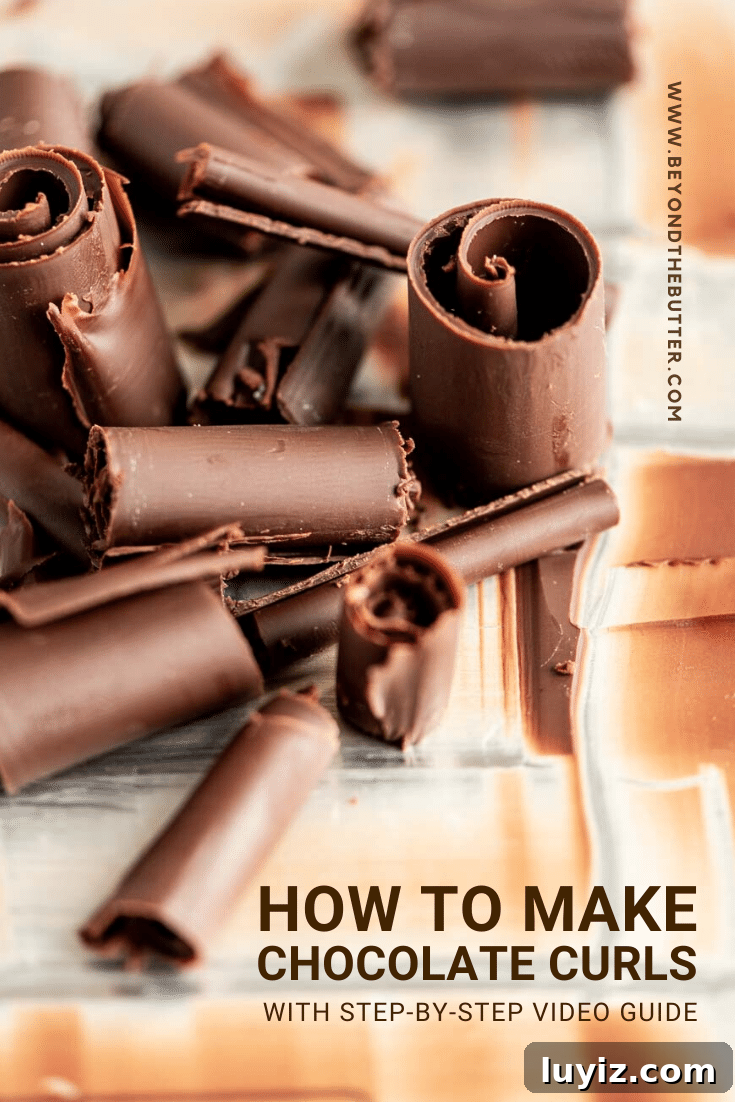
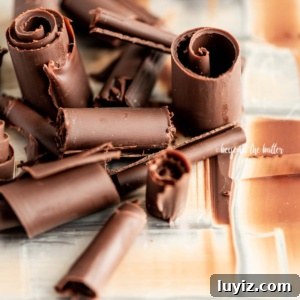
This tutorial on How to Make Chocolate Curls walks you through each step with clear instructions and helpful images. Follow these simple directions to create elegant chocolate curls for decorating cakes, pies, and other desserts.
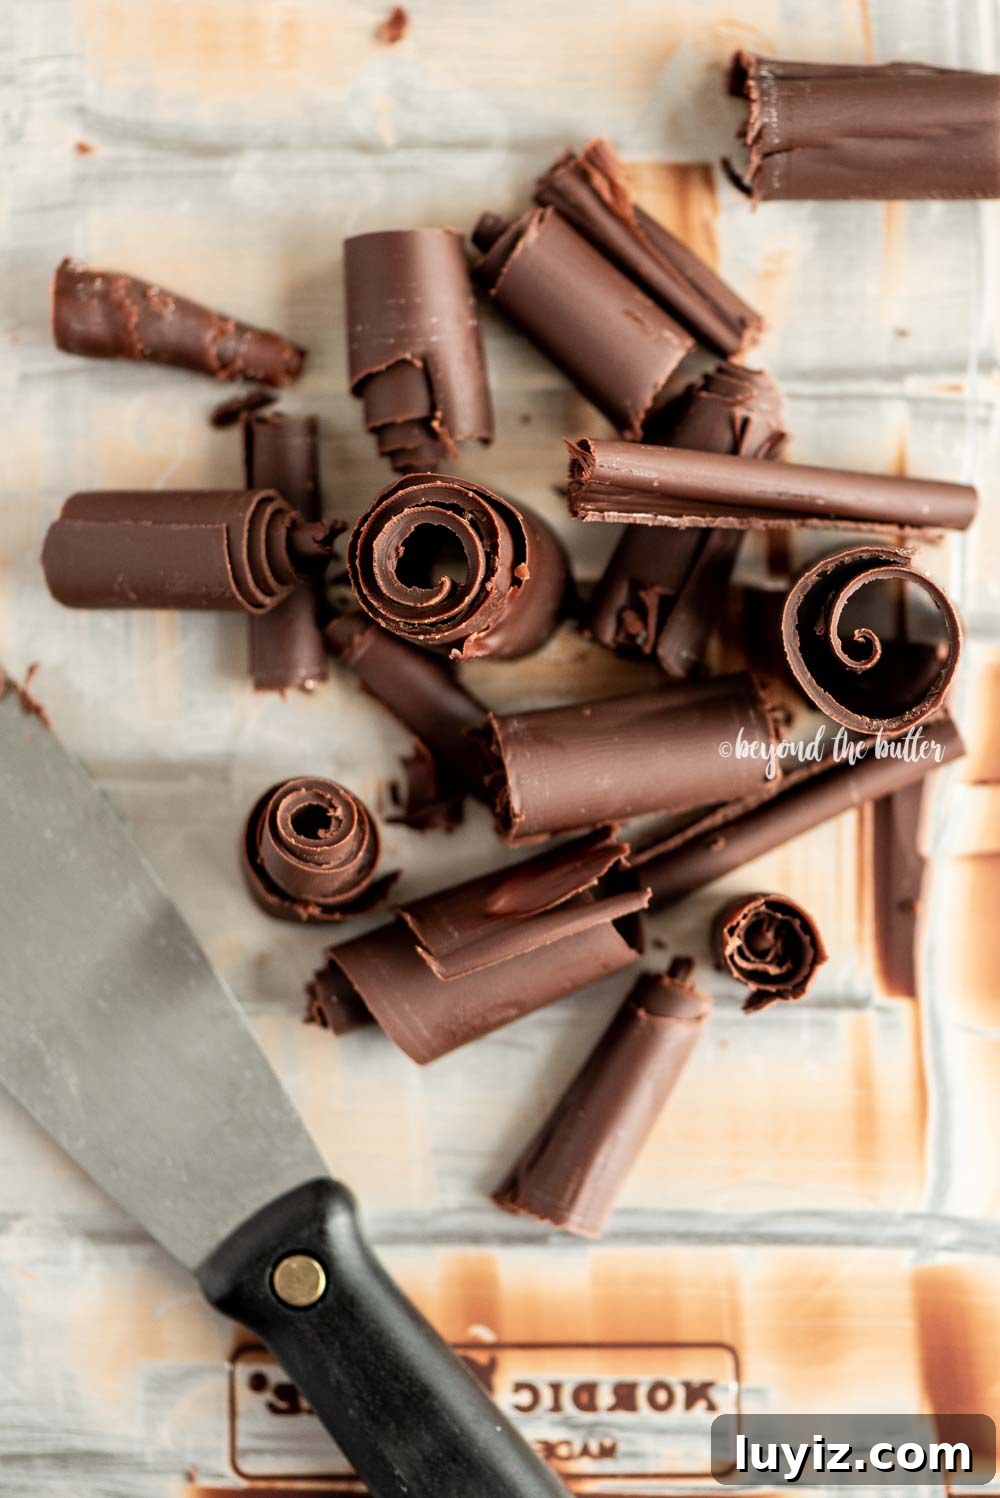
Table of Contents
- How to Make Chocolate Curls Tutorial
- Additional Tips Before Making Homemade Chocolate Curls
- FAQs
- Check Out A Few Popular Chocolate Desserts
- How to Make Chocolate Curls Recipe
How to Make Chocolate Curls Tutorial
Step 1 – Melt the chocolate and vegetable shortening
Place the chocolate and vegetable shortening in a medium glass bowl. Microwave at 50% power in 30–45 second increments, stirring between intervals, until the shortening is hot and fully melted and the chocolate becomes smooth. If needed, heat an additional 15 seconds at a time to finish melting without overheating.
Items needed: 3 ounces of a good-quality chocolate bar, 1 tablespoon vegetable shortening, medium glass bowl, small spatula.
Step 2 – Spread the melted chocolate onto a cookie sheet or jelly roll pan
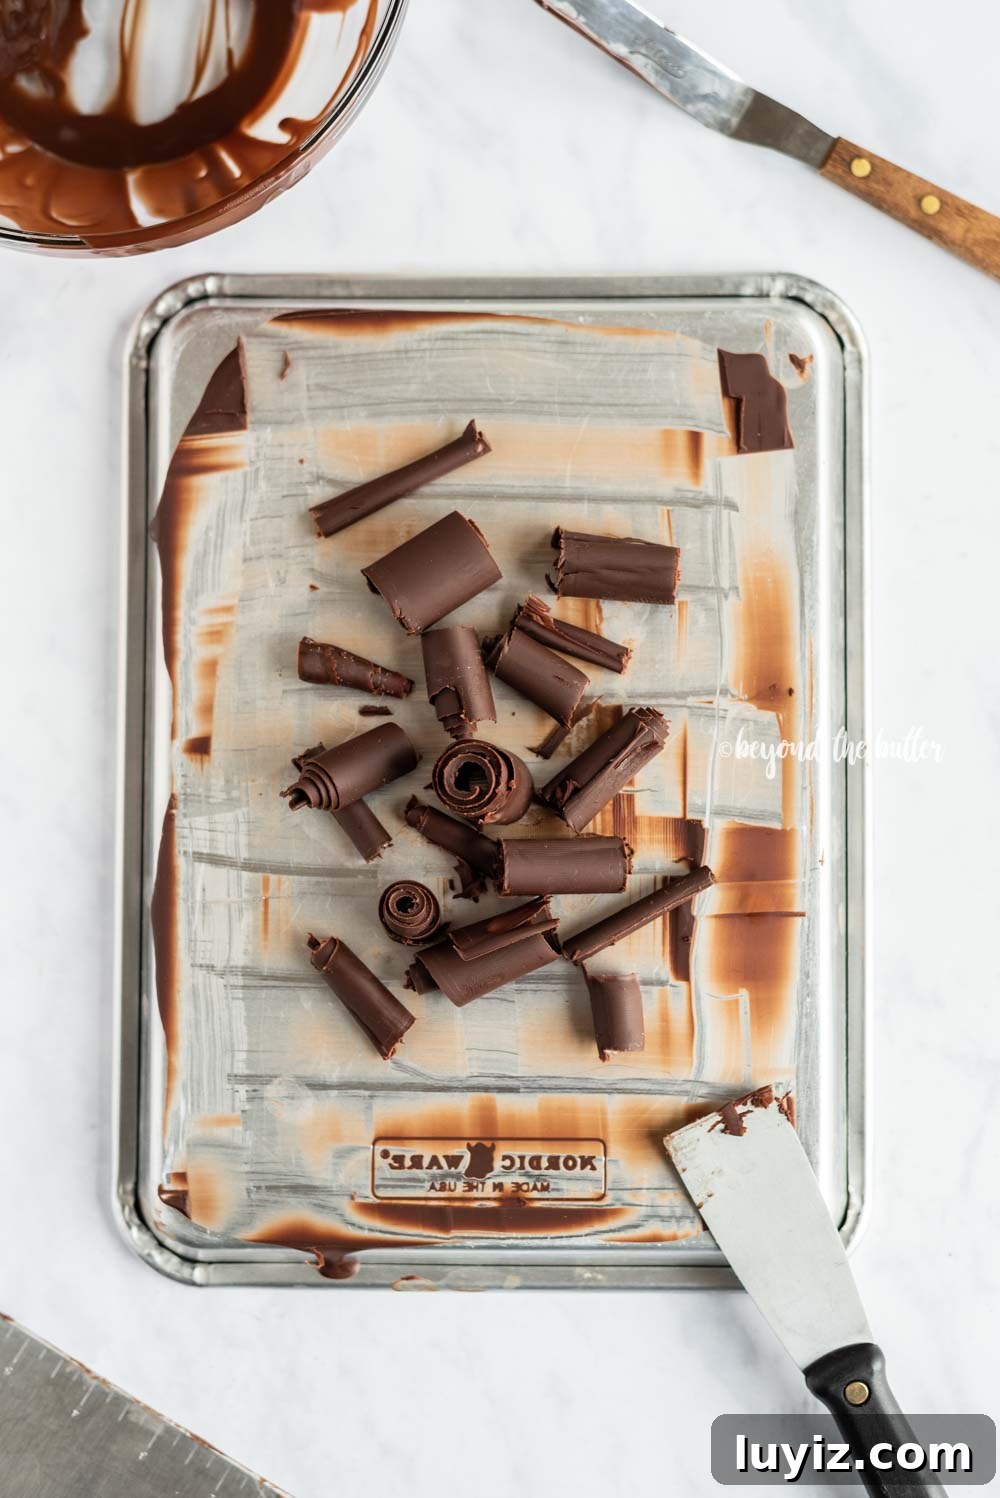
Turn the baking sheet over so you are working on the underside, which is usually smoother. Pour the melted chocolate onto the underside and use an offset spatula to spread it into a thin, even layer. Aim for consistent thickness so the curls form cleanly.
Items needed: offset spatula, small baking sheet or jelly roll pan.
Step 3 – Chill the thin layer of chocolate
Carefully place the pan in the freezer for about 4 minutes. You want the chocolate to reach a “sweet spot”—no longer glossy, but still slightly soft to the touch. Lightly pressing with a fingertip should leave a very shallow mark, not a deep dent. If it still looks shiny, give it another minute or two.
Items needed: freezer and a timer.
Step 4 – Carve the curls
Hold a putty knife or bench scraper at about a 45-degree angle in your dominant hand, starting at the bottom edge of the pan. Use your other hand to brace the pan. Gently push forward to begin forming the curl, stopping when the curl looks right. You can scrape across the whole pan to form long curls, or stop and start to make shorter ones. Transfer each curl carefully to a plate with your fingers or tweezers to avoid breaking them.
When you have collected all the curls, chill them in the freezer for 15–20 minutes to fully harden. You can also refrigerate them; it will just take slightly longer.
Items needed: putty knife or bench scraper, plate or small pan to hold curls, tweezers, and a knife for trimming if you want longer curls cut to size.
Additional Tips Before Making Homemade Chocolate Curls
- Confirm you have freezer space to hold a sheet pan. If space is limited, use a quarter-size jelly roll pan or a small baking sheet.
- Use a pan with a smooth underside. Wavy or textured sheets won’t produce smooth curls.
- If you prefer both hands on the scraper, brace the pan against a wall or the counter backsplash for stability.
- Do not double the recipe unless you have a larger sheet pan and freezer space; thicker layers are harder to curl.
- Make curls in advance and store them in an airtight container in the freezer for several months. Remove just before decorating to avoid condensation on warm kitchen surfaces.
FAQs
Use a good-quality chocolate bar for best flavor and texture. The example used here was a 70% Lindt bar, but any high-quality chocolate will work.
A narrow putty knife (about 1.5 inches) works well. A wider putty knife or a bench scraper can also be used—cut wider curls down to size with a sharp knife if desired.
If the chocolate softens during carving, return the pan to the freezer for 1–2 minutes to firm it up again.
Check Out A Few Popular Chocolate Desserts
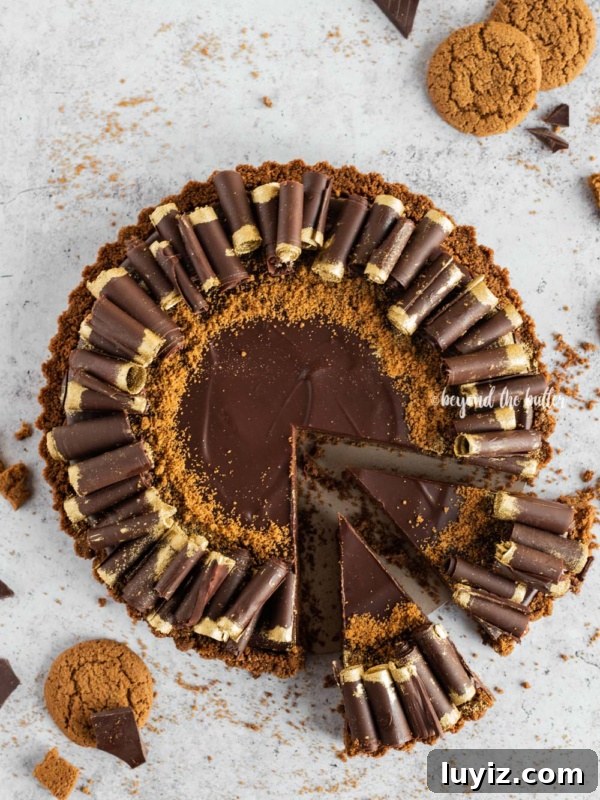
Dark Chocolate Gingersnap Tart
The Best Salted Pecan Pie Brownies
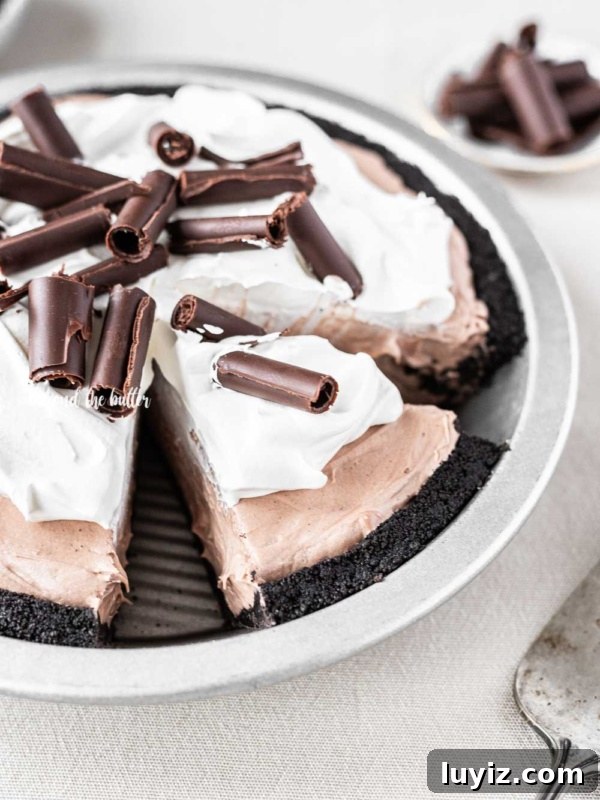
No Bake Chocolate Cream Pie with Chocolate Wafer Crust
Salted Brownie Cookies
How to Make Chocolate Curls
Equipment
- Small baking sheet or jelly roll pan
- Medium mixing bowl
- Spatula
- Offset spatula
- Putty knife or bench scraper
Ingredients
- 3 oz chocolate (use a good-quality bar)
- 1 tbsp vegetable shortening
Instructions
- In a medium glass bowl, melt the chocolate and vegetable shortening in 30–45 second increments at medium-low power, stirring until smooth. Use additional 15-second bursts if necessary.
- Pour the melted chocolate onto the underside of a cookie sheet or jelly roll pan. Spread into a thin, even layer with an offset spatula.
- Freeze the pan for about 4 minutes. The chocolate should lose its shine and be just firm enough that a light touch leaves a shallow print without denting.
- Hold a putty knife or bench scraper at a 45-degree angle and push gently to form curls. Transfer each curl carefully to a plate or tray using tweezers or your fingers.
- Chill the curls in the freezer for 15–20 minutes to harden fully before using. Refrigeration will also work but may take longer.