
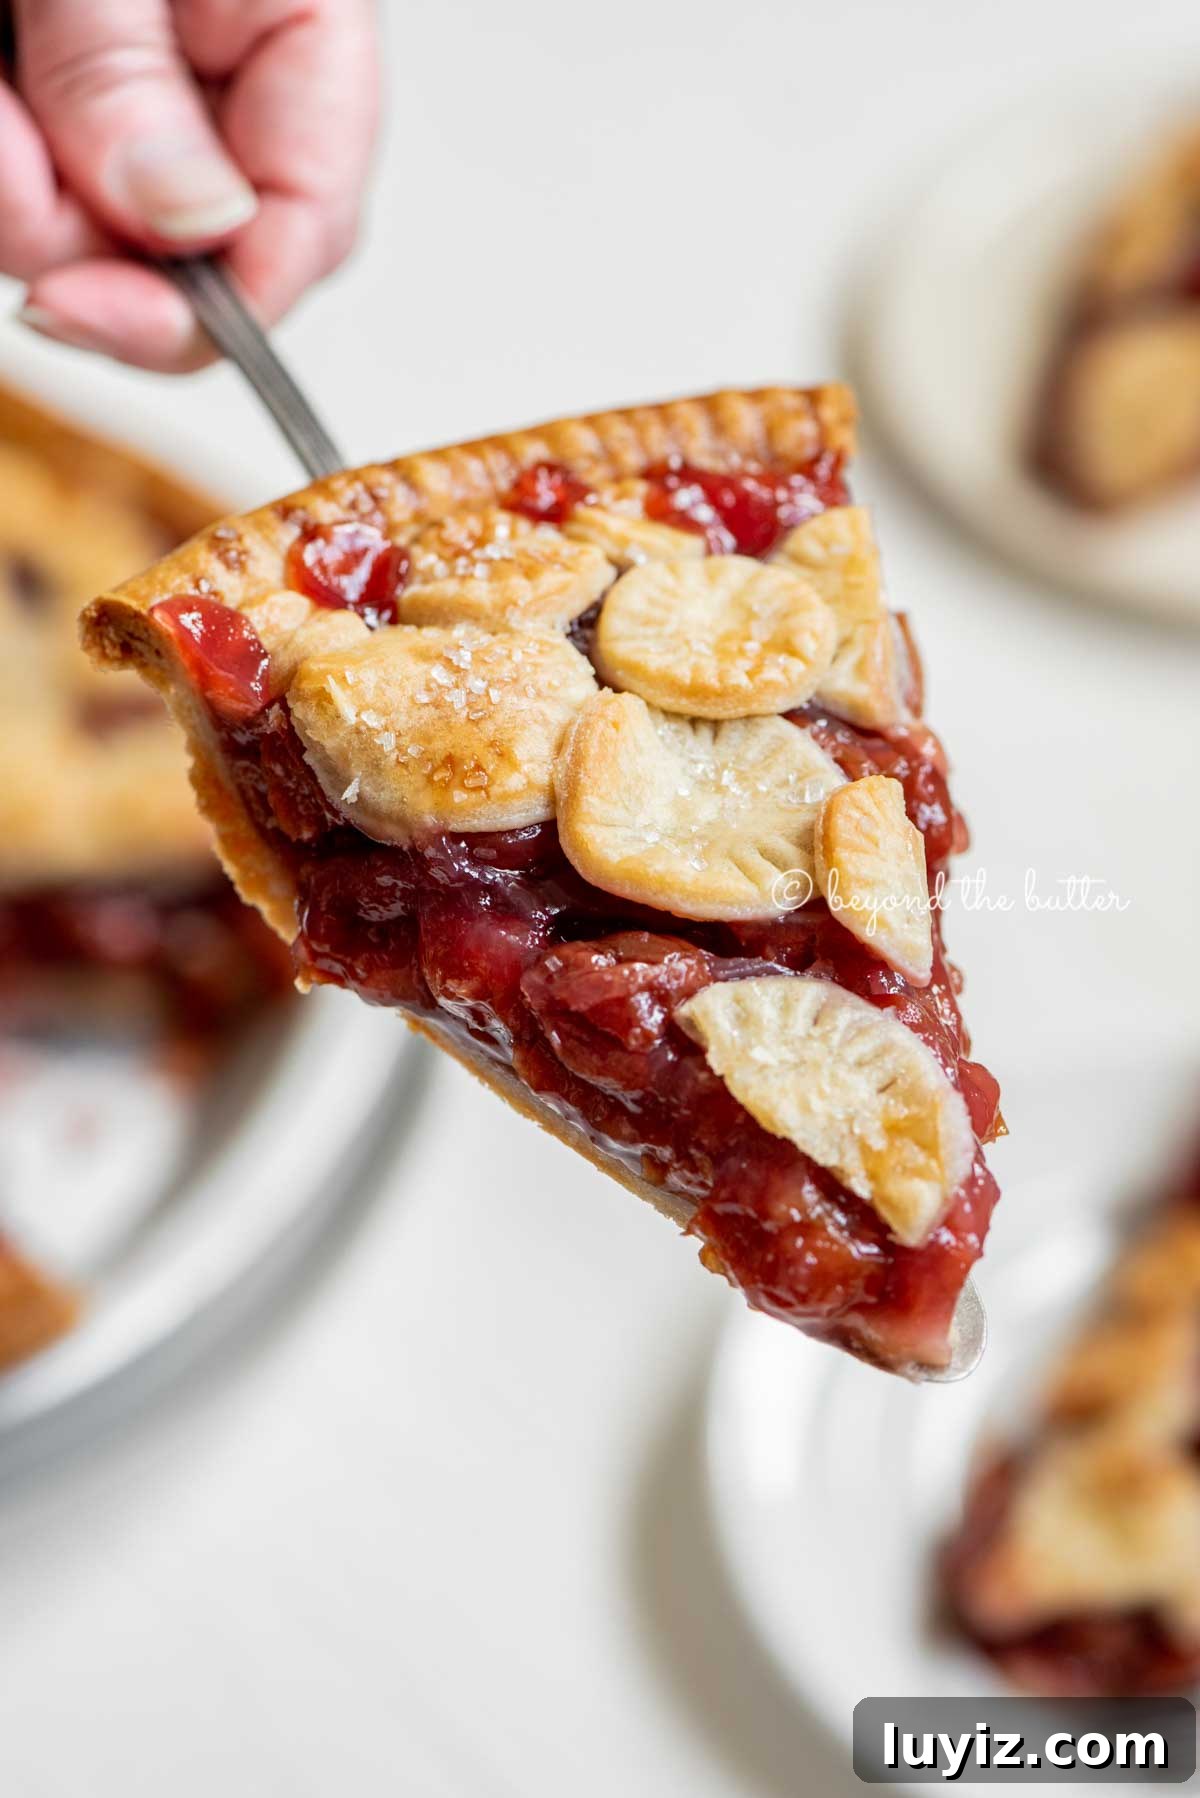
Each bite of this Homemade Cherry Pie delivers a thick, perfectly sweetened cherry filling tucked into a flaky, buttery pie crust made from scratch. This easy, classic pie is comforting and delicious any time of year.
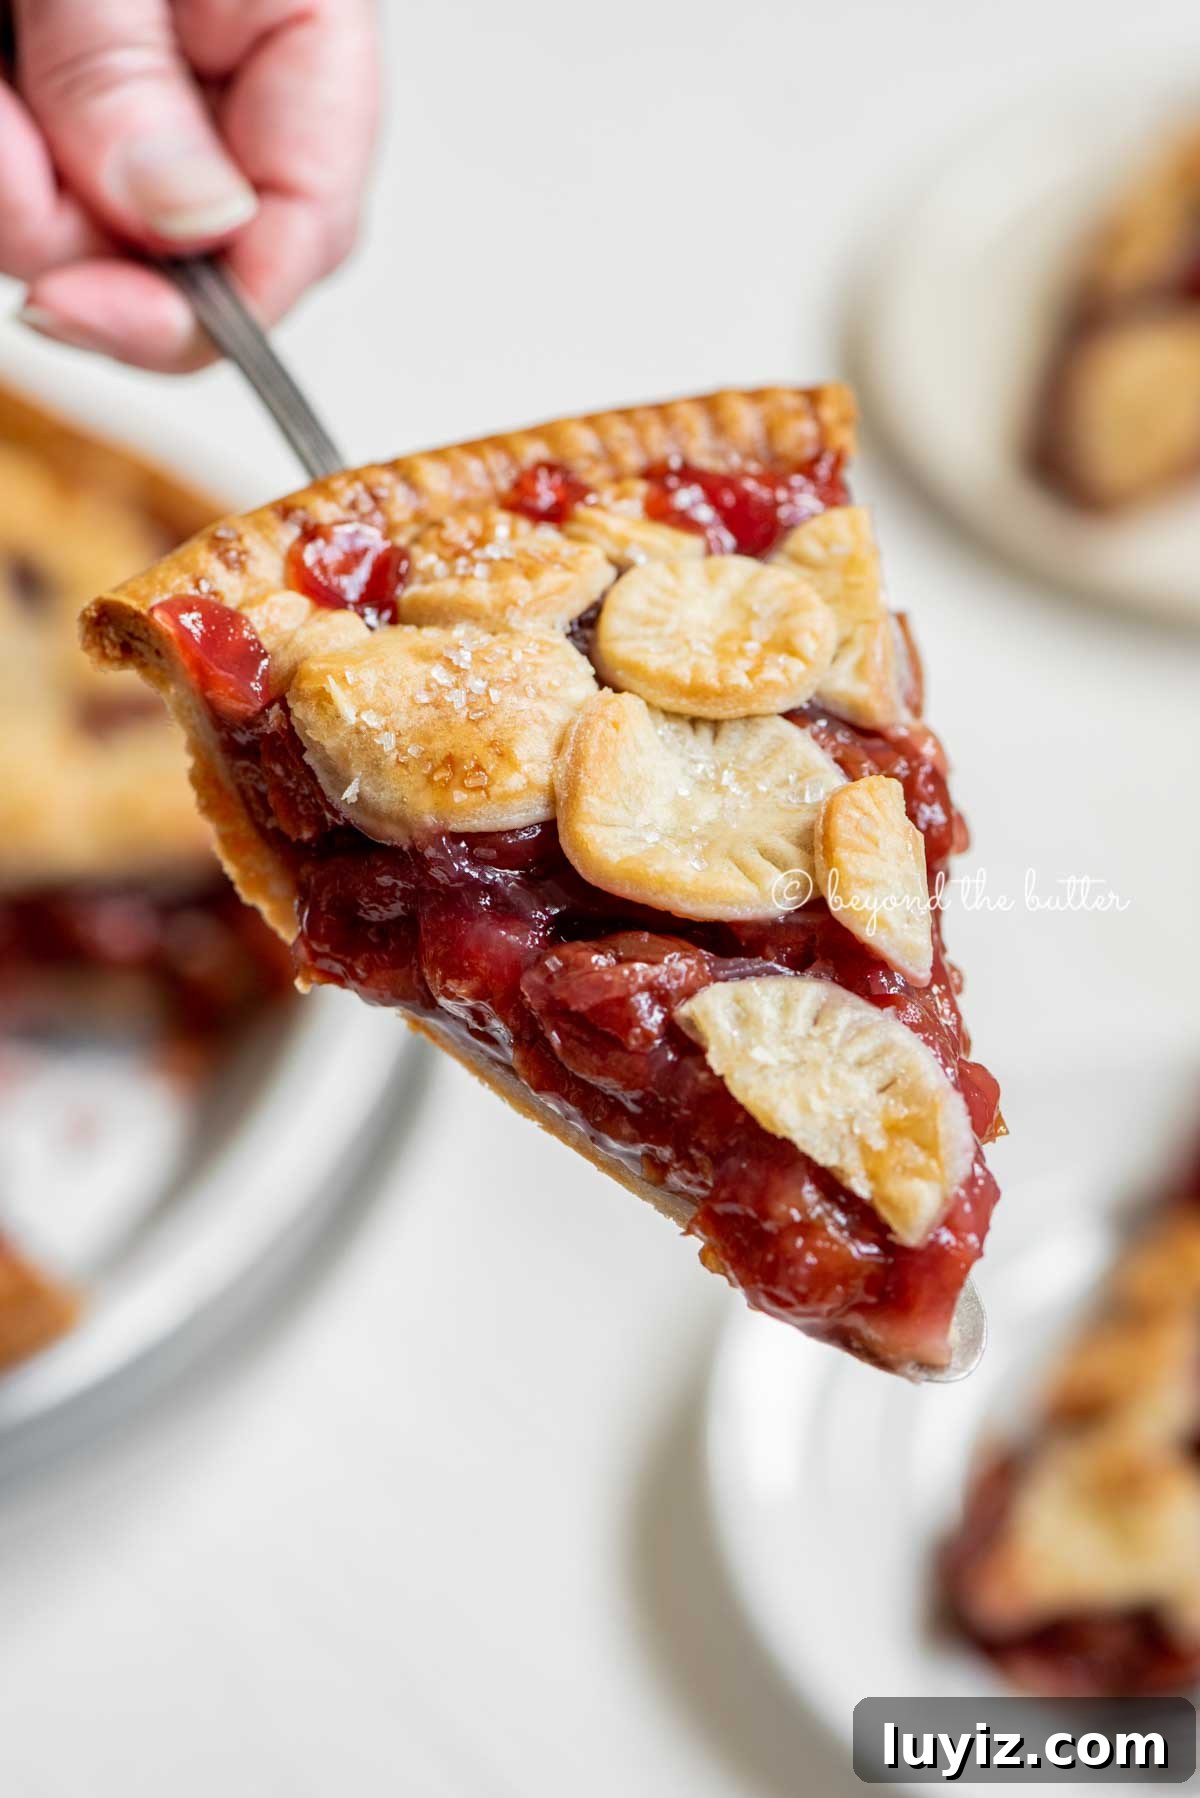
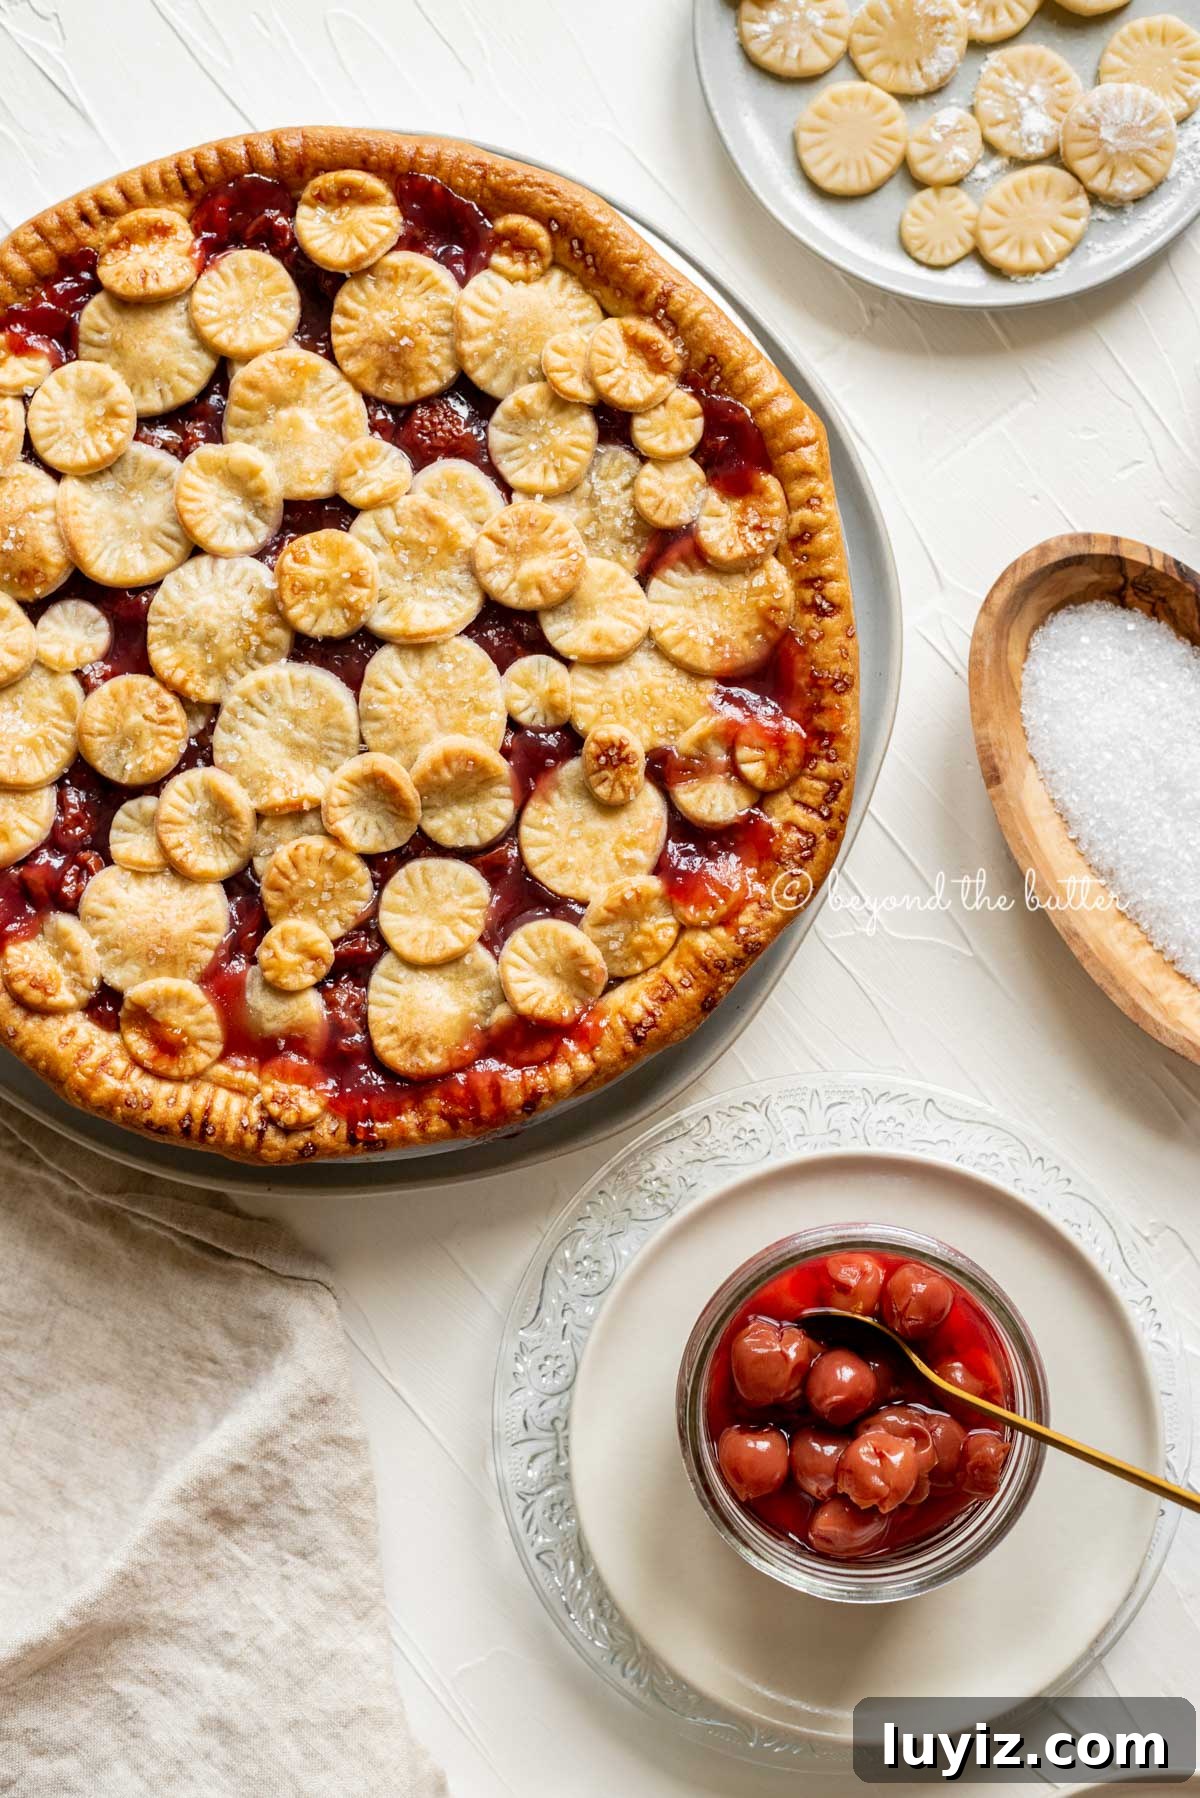
Table of Contents
- A Dedication to My Father-in-Law
- How to Make the Recipe
- Homemade Cherry Pie Filling Tips
- Freezing Cherry Pie
- Creative Ways to Decorate Pie Crust
- Essential Pie Baking Tools
- More Delicious Pies from Beyond the Butter®!
- Homemade Cherry Pie Recipe
A Dedication to My Father-in-Law
This dedication is from the original post of my Homemade Cherry Pie on 11/19/2018.
This recipe is a new tradition in our home and is dedicated to my father-in-law, who passed away recently. He asked for this cherry pie—like the ones his mother used to make—and it was an honor to bake it for him. While I didn’t have his mother’s exact recipe, I gathered the best approach from cookbooks and trusted resources and took care to make the pie with attention and love.
He treated me like family and had a distinctive, quirky personality I adored. We shared moments over football games, shrimp dipped in his “spicy” cocktail sauce, and memorable birthday cards filled with stories from his travels. I’m grateful for every memory and this pie is my small tribute to him.
Love, Jenn
How to Make the Recipe
Here’s a concise overview of how this canned cherry pie comes together. The full recipe is included below.
Make the filling. The filling uses canned cherries packed in water, cornstarch, granulated sugar, a pinch of salt, almond extract, and vanilla. Bring the mixture to a boil so the cornstarch activates, then reduce heat and simmer until thick. Cool completely before filling the crust.
Prepare the crusts. You’ll need two 9-inch pie crusts. Keep fats and water very cold for the flakiest result. Chill the dough for at least 1 hour before rolling.
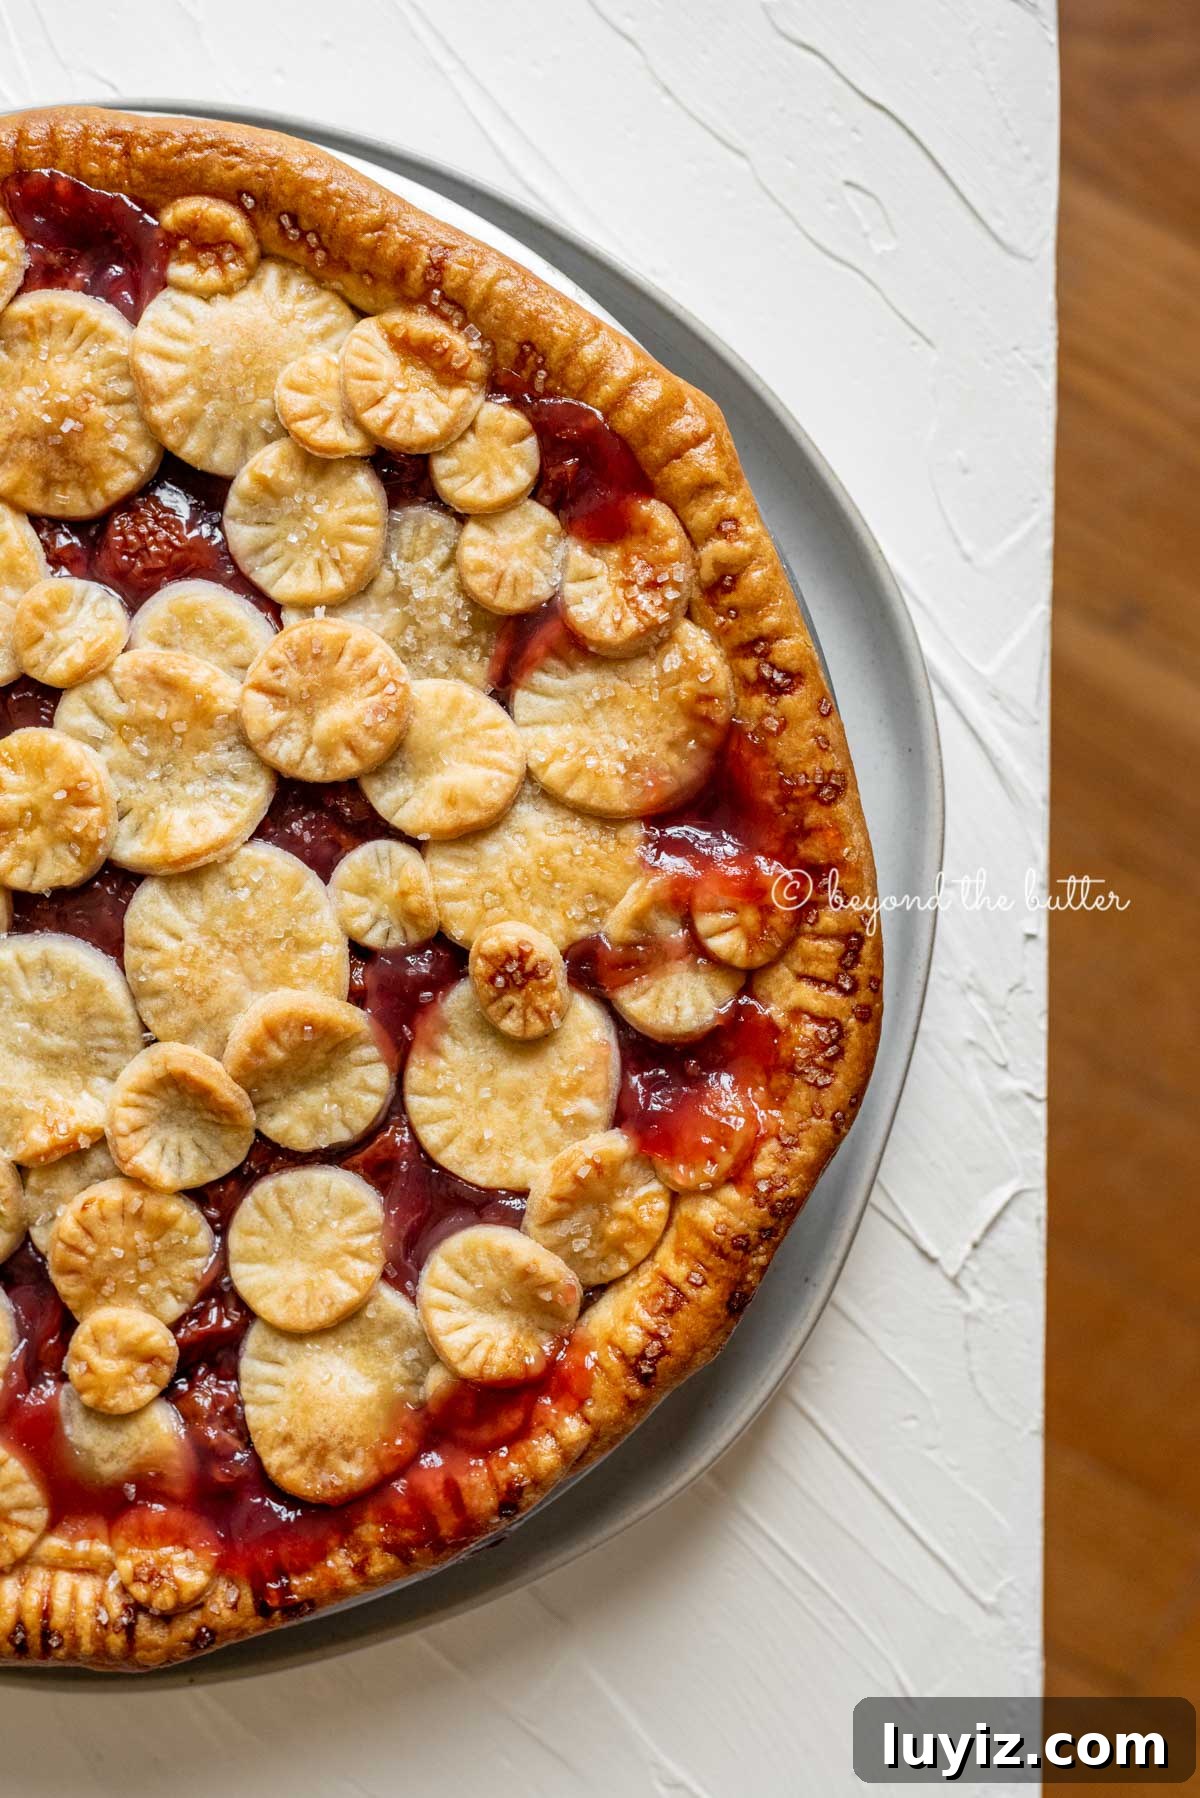
Assemble the pie. Roll out and fit the bottom crust into your pie plate, trim, then add the cooled filling. Top with your chosen top crust—lattice, cutouts, or a full top with vents—seal and crimp the edges. Brush with egg wash and sprinkle with sparkling sugar if desired.
Bake. Start at 425ºF for 15 minutes, then lower the oven to 375ºF and bake 30–40 more minutes until the crust is golden and the filling is bubbling.
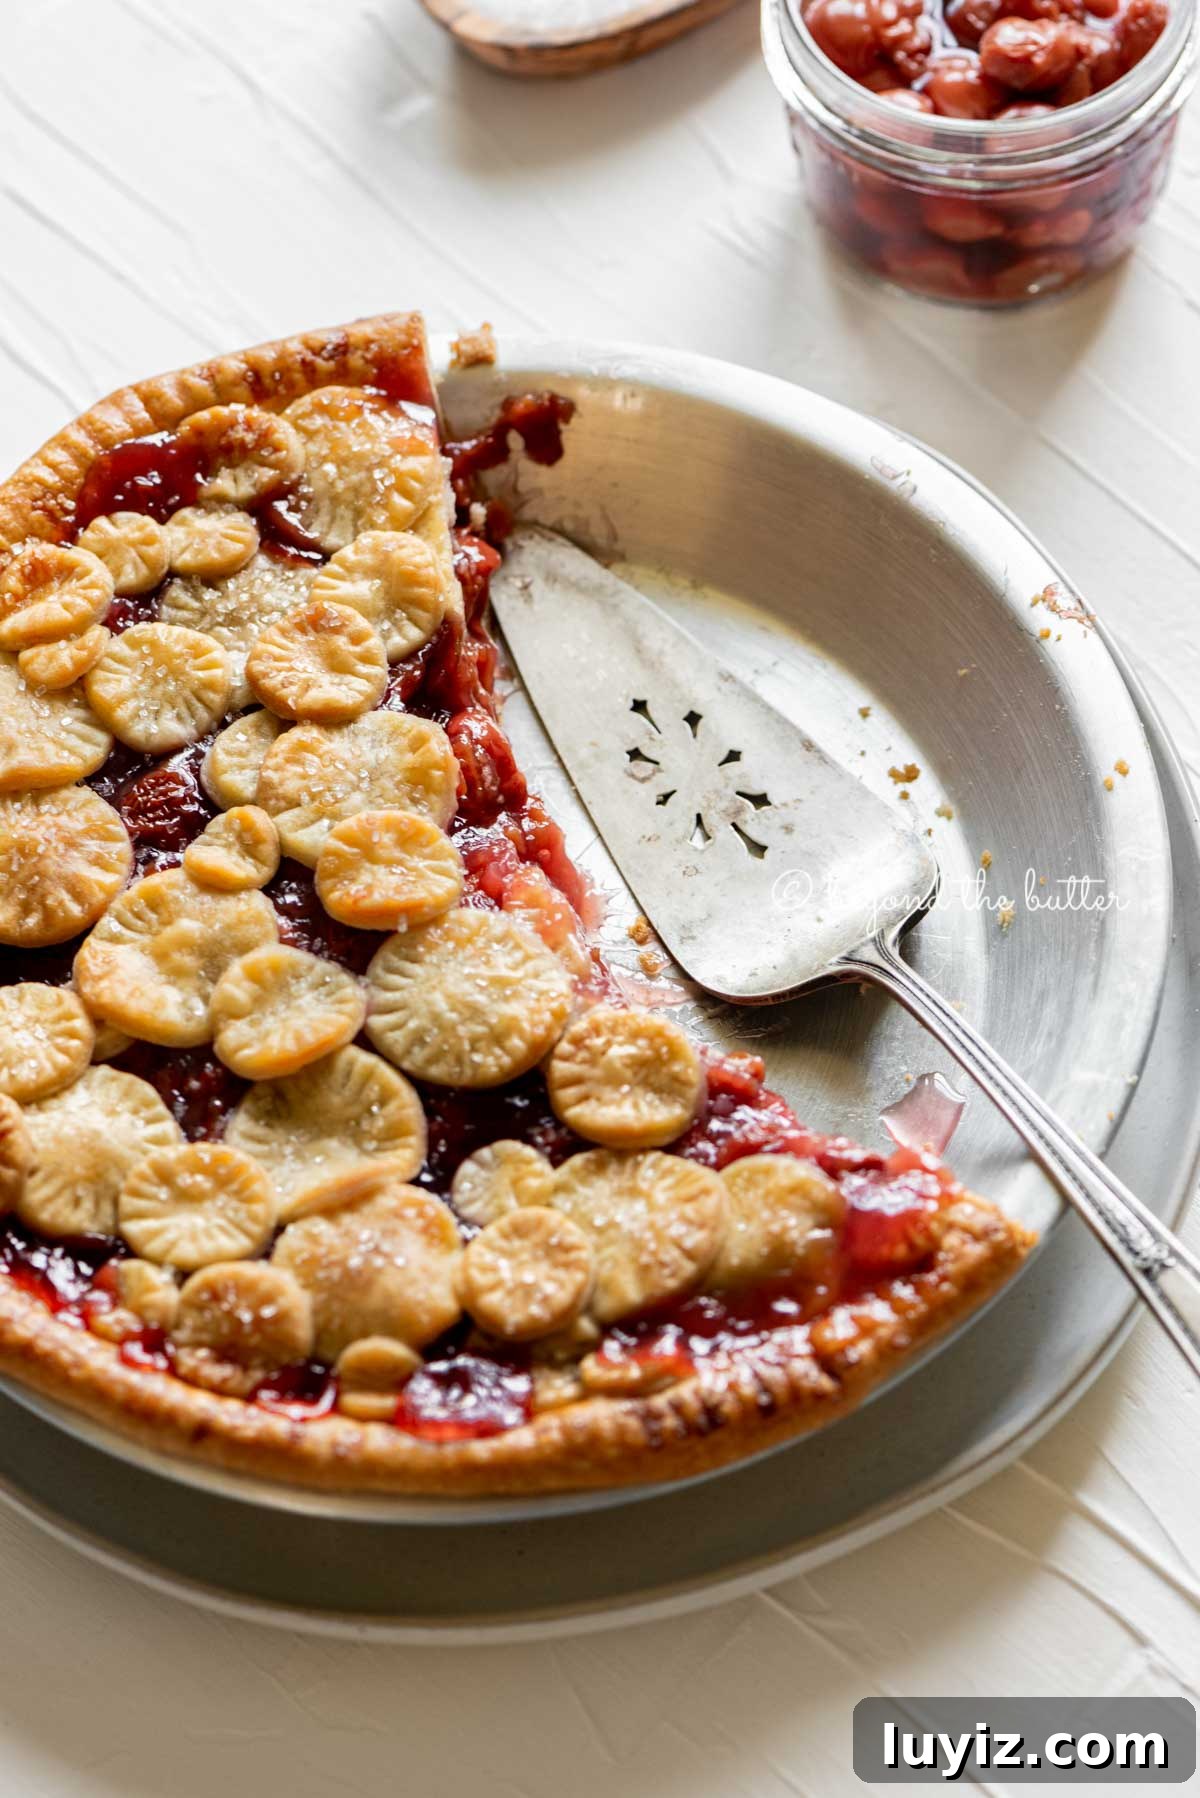
Cool. Let the pie cool on a wire rack for 2–3 hours so the filling sets. You can serve at room temperature or refrigerate after cooling; refrigerated pie keeps up to 5 days covered.
Homemade Cherry Pie Filling Tips
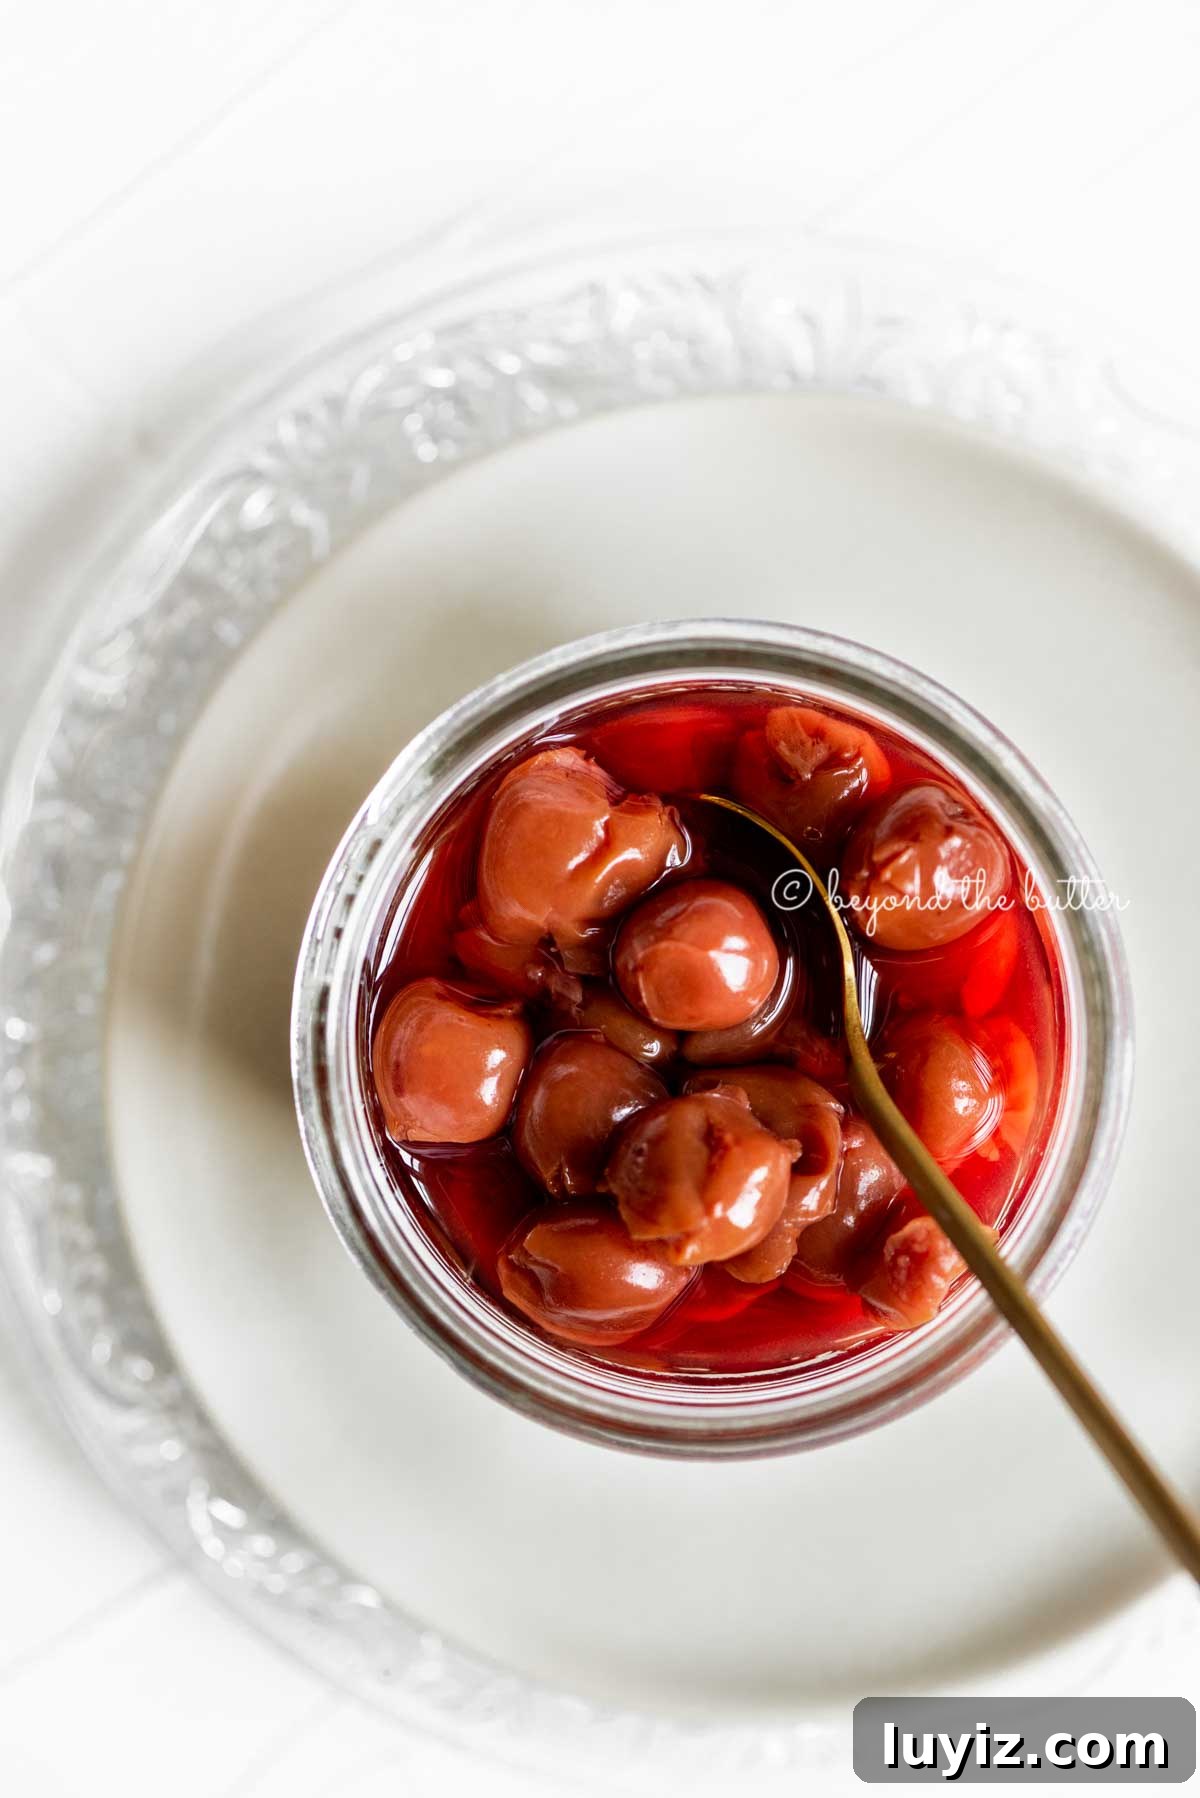
Choose cherries packed in water. Avoid cherries packed in heavy syrup—water-packed tart cherries keep the sweetness balanced since the recipe adds sugar.
Use the canned liquid. Add the water from 1 1/2 cans of cherries into the saucepan. A practical method: pour the first can (cherries and water) into the pan; from the second can, add half the water while keeping the cherries; drain the remainder of cherries in a colander and add the drained cherries from the remaining can.
Make filling ahead. The filling benefits from chilling a day or two in the refrigerator; this improves flavor and helps prevent a soggy crust.
Bring to a boil. After combining ingredients, boil briefly to activate the cornstarch, then reduce heat and simmer until thickened.
Store properly. Kept in a sealed container, unused cherry pie filling will last up to two weeks in the refrigerator.
Freezing Cherry Pie
To freeze: fully bake the pie, cool it until the filling has set, then place it uncovered in the freezer until solid. Wrap tightly in plastic wrap and then aluminum foil, labeling with the date. Frozen pies keep up to 6 months.
For best results, defrost in the refrigerator overnight before serving.
Creative Ways to Decorate Pie Crust
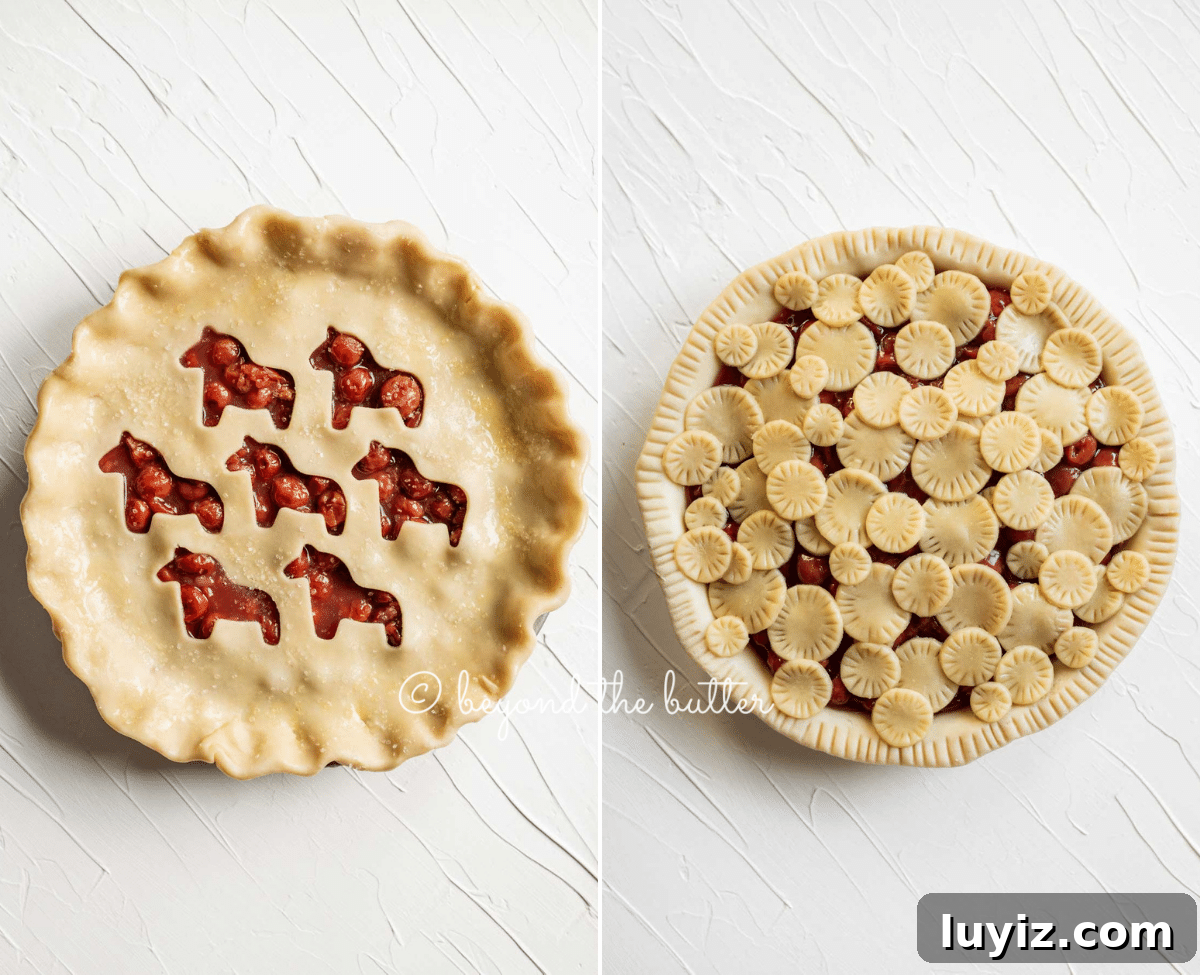
Here are a few simple top-crust ideas:
- Basic vents: Cut a few slits for steam release.
- Lattice: Weave strips for a classic look.
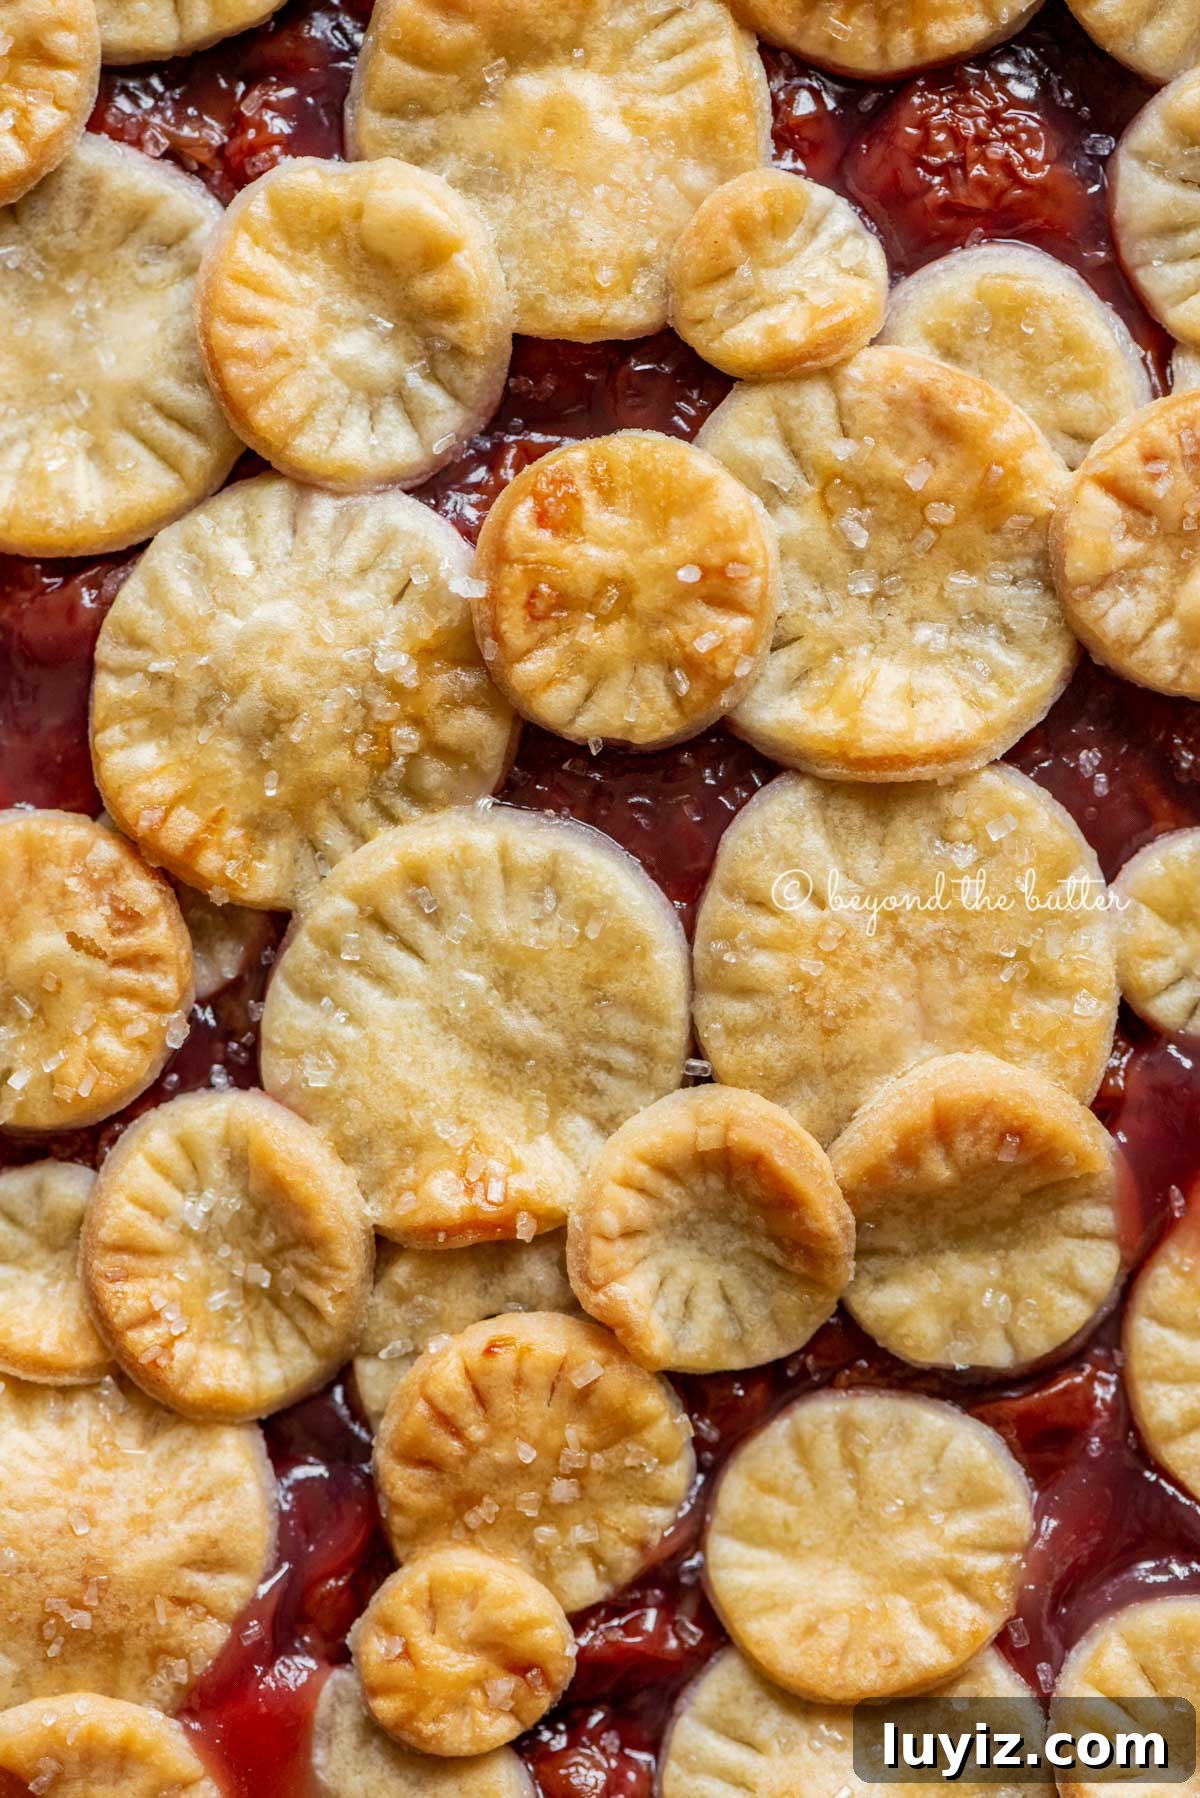
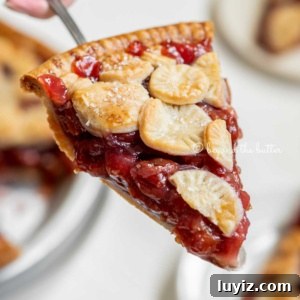
- Cookie cutter shapes: Cut shapes from rolled dough and arrange them across the top for a decorative finish.
These techniques let you personalize the pie for holidays or special occasions.
Essential Pie Baking Tools
Useful tools for making this pie include a pastry blender or two forks for cutting fat into flour, a rolling pin, a 9-inch pie plate, a pastry brush for egg wash, and a baking sheet or steel placed under the pie while baking to ensure even browning.
More Delicious Pies from Beyond the Butter®!

Easy Lemon Cream Pie
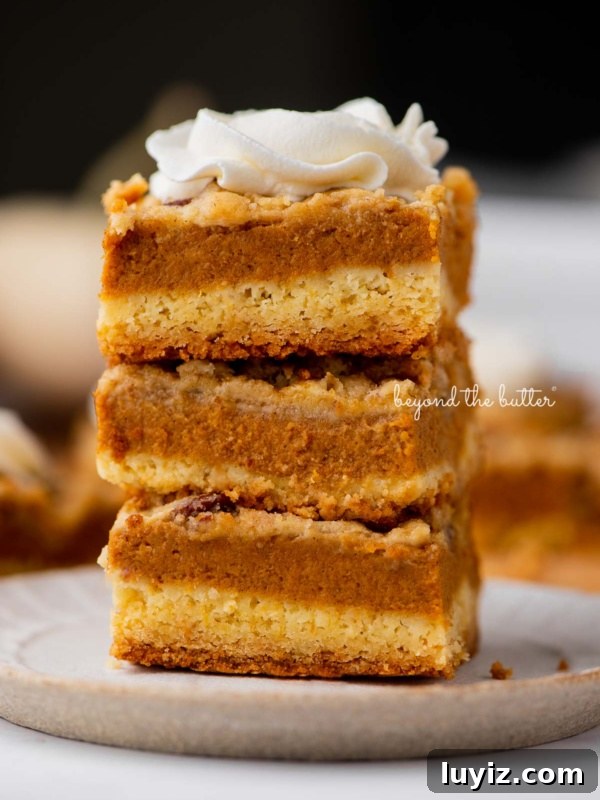
Pumpkin Pie Cake Bars

Mini Lemon Meringue Pies

Gingerbread Whoopie Pies
If you tried this Homemade Cherry Pie Recipe or any other recipe on my website, please leave a star rating and let me know what you thought in the comments below. Thanks for visiting!
Homemade Cherry Pie
Ingredients
Homemade pie crusts
- 2 cups All-Purpose Flour
- 1 tsp Salt
- 6 tbsp Unsalted Butter, cold and cut into cubes
- 1/2 cup Vegetable Shortening, cold and cut into small pieces
- 4–6 tbsp Ice Cold Water
Homemade cherry pie filling
- 3 cans Red Tart Cherries packed in water, plus the water from 1 1/2 cans
- 4 tbsp Cornstarch
- 1 1/2 cups Granulated Sugar
- 1/8 tsp Salt
- 1/4 tsp Vanilla Extract
- 1/4 tsp Almond Extract
Optional egg wash and garnish
- 1 Egg or Egg White with 1 tbsp Water, for egg wash (optional)
- Sparkling Sugar for garnish (optional)
Instructions
Homemade pie crusts (makes 2, 9 inch pie crusts)
- In a large bowl, use a pastry blender or two forks to cut together flour, salt, cold cubed butter, and cold shortening until pea-size pieces remain.
- Add 1 tbsp ice cold water and work it into the dough. Continue adding water, 1 tbsp at a time, until dough just comes together. Do not overwork.
- Form into two discs, double wrap in plastic wrap, and chill in the coldest part of the refrigerator for at least 1 hour.
Homemade cherry pie filling
- In a large saucepan, combine cherries, 1 1/2 cans worth of the cherry liquid, cornstarch, sugar, salt, vanilla, and almond extract. Bring to a boil, then reduce to medium-low and stir until thick and bubbly.
- Remove from heat and transfer to a glass or metal bowl. Cool completely before filling the pie to prevent a soggy crust.
Assembling the cherry pie
- Preheat oven with a baking sheet or steel on the center rack to 425ºF.
- Fit the bottom crust into the pie plate and trim the edges as needed (do not crimp yet).
- Pour the cooled filling into the crust. Add the top crust in your chosen style; trim and crimp the edges to seal.
- Brush with egg wash and sprinkle sparkling sugar if desired.
- Bake at 425ºF for 15 minutes, then reduce oven to 375ºF and bake another 30–40 minutes. Shield the crust with foil if it’s browning too fast.
- Remove from the oven and cool completely on a wire rack (about 2–3 hours) before slicing. Refrigerate after cooling if you prefer a chilled pie.
Notes
- Store-bought pie crusts can be used as a shortcut; let them sit at room temperature for a few minutes before unrolling to prevent cracking.
- This recipe was adapted from community and family sources and refined for reliable results with canned tart cherries.
Nutrition
Carbohydrates: 53 g |
Protein: 3 g |
Fat: 17 g |
Saturated Fat: 7 g |
Sugar: 31 g
Nutritional information is an estimate and will vary based on ingredients used.