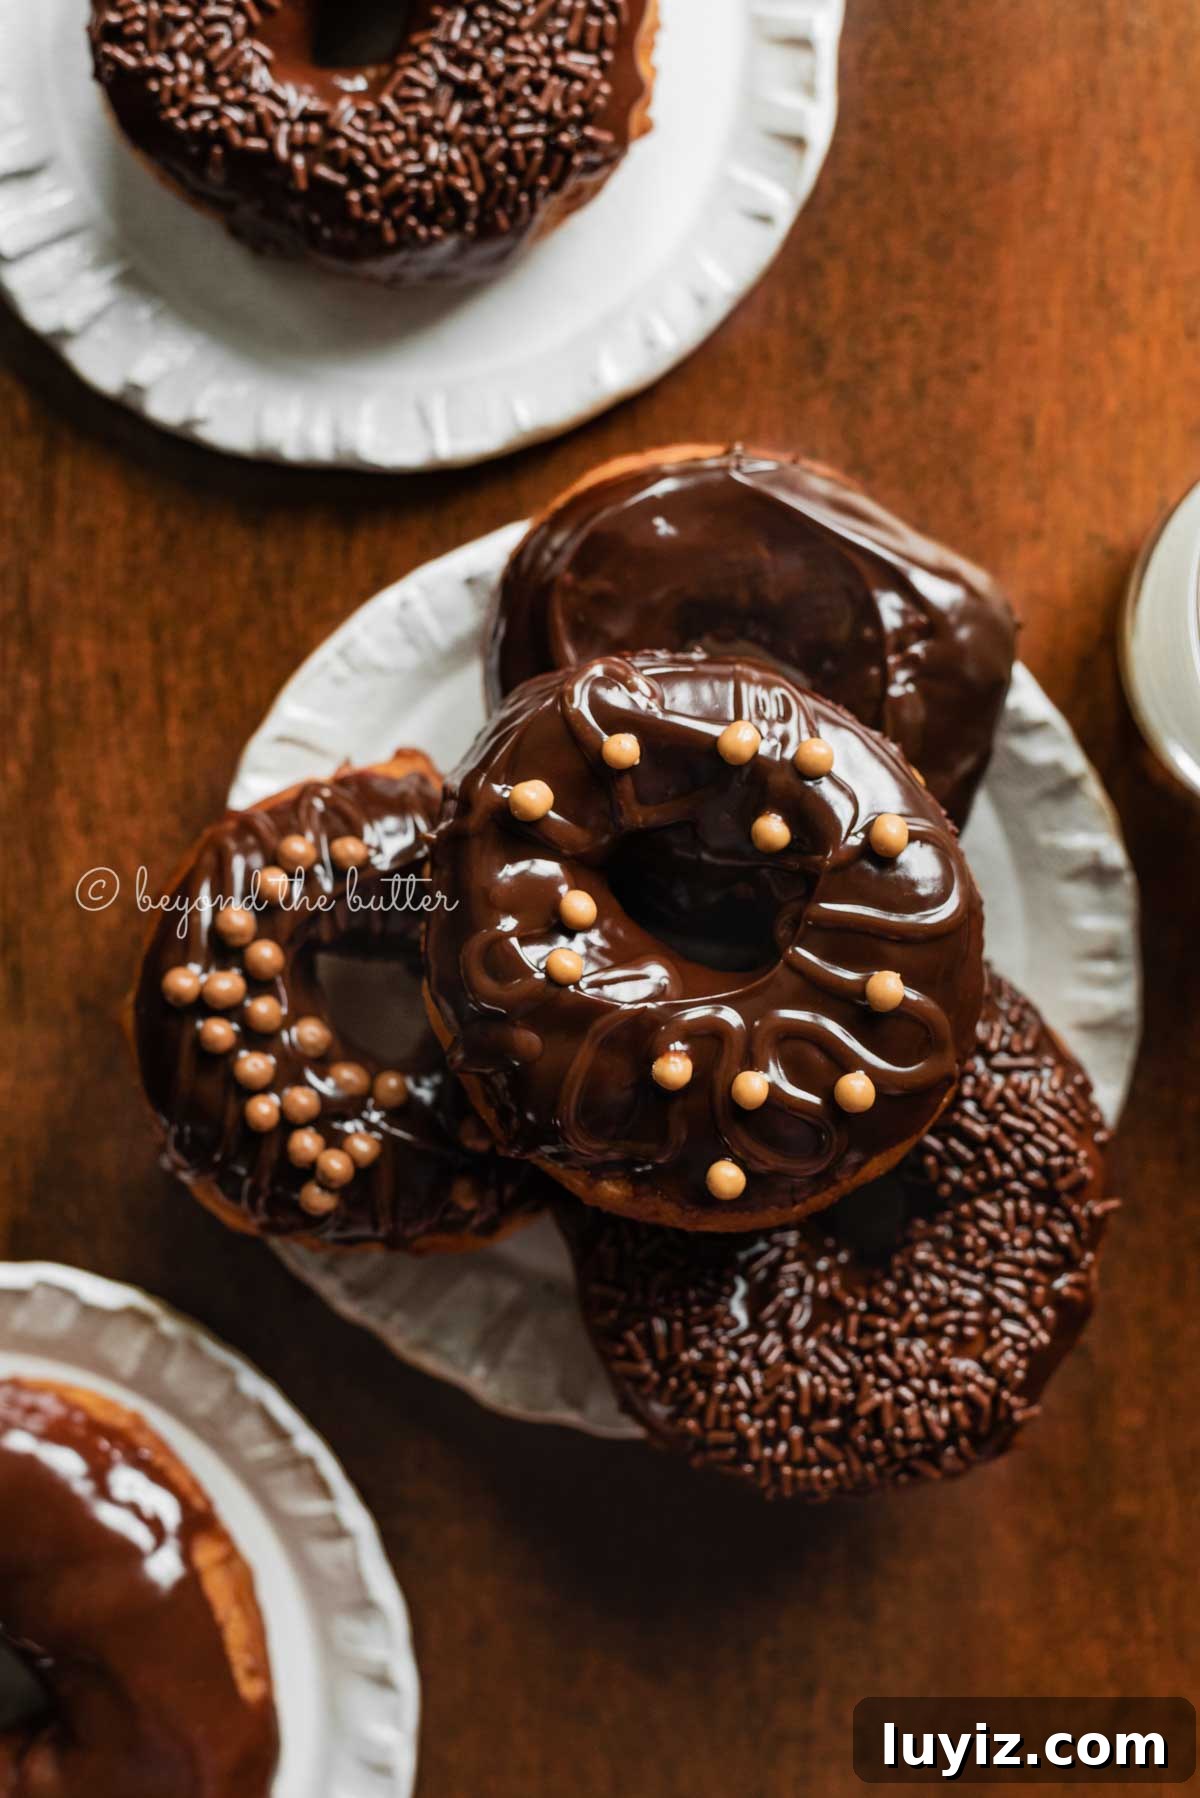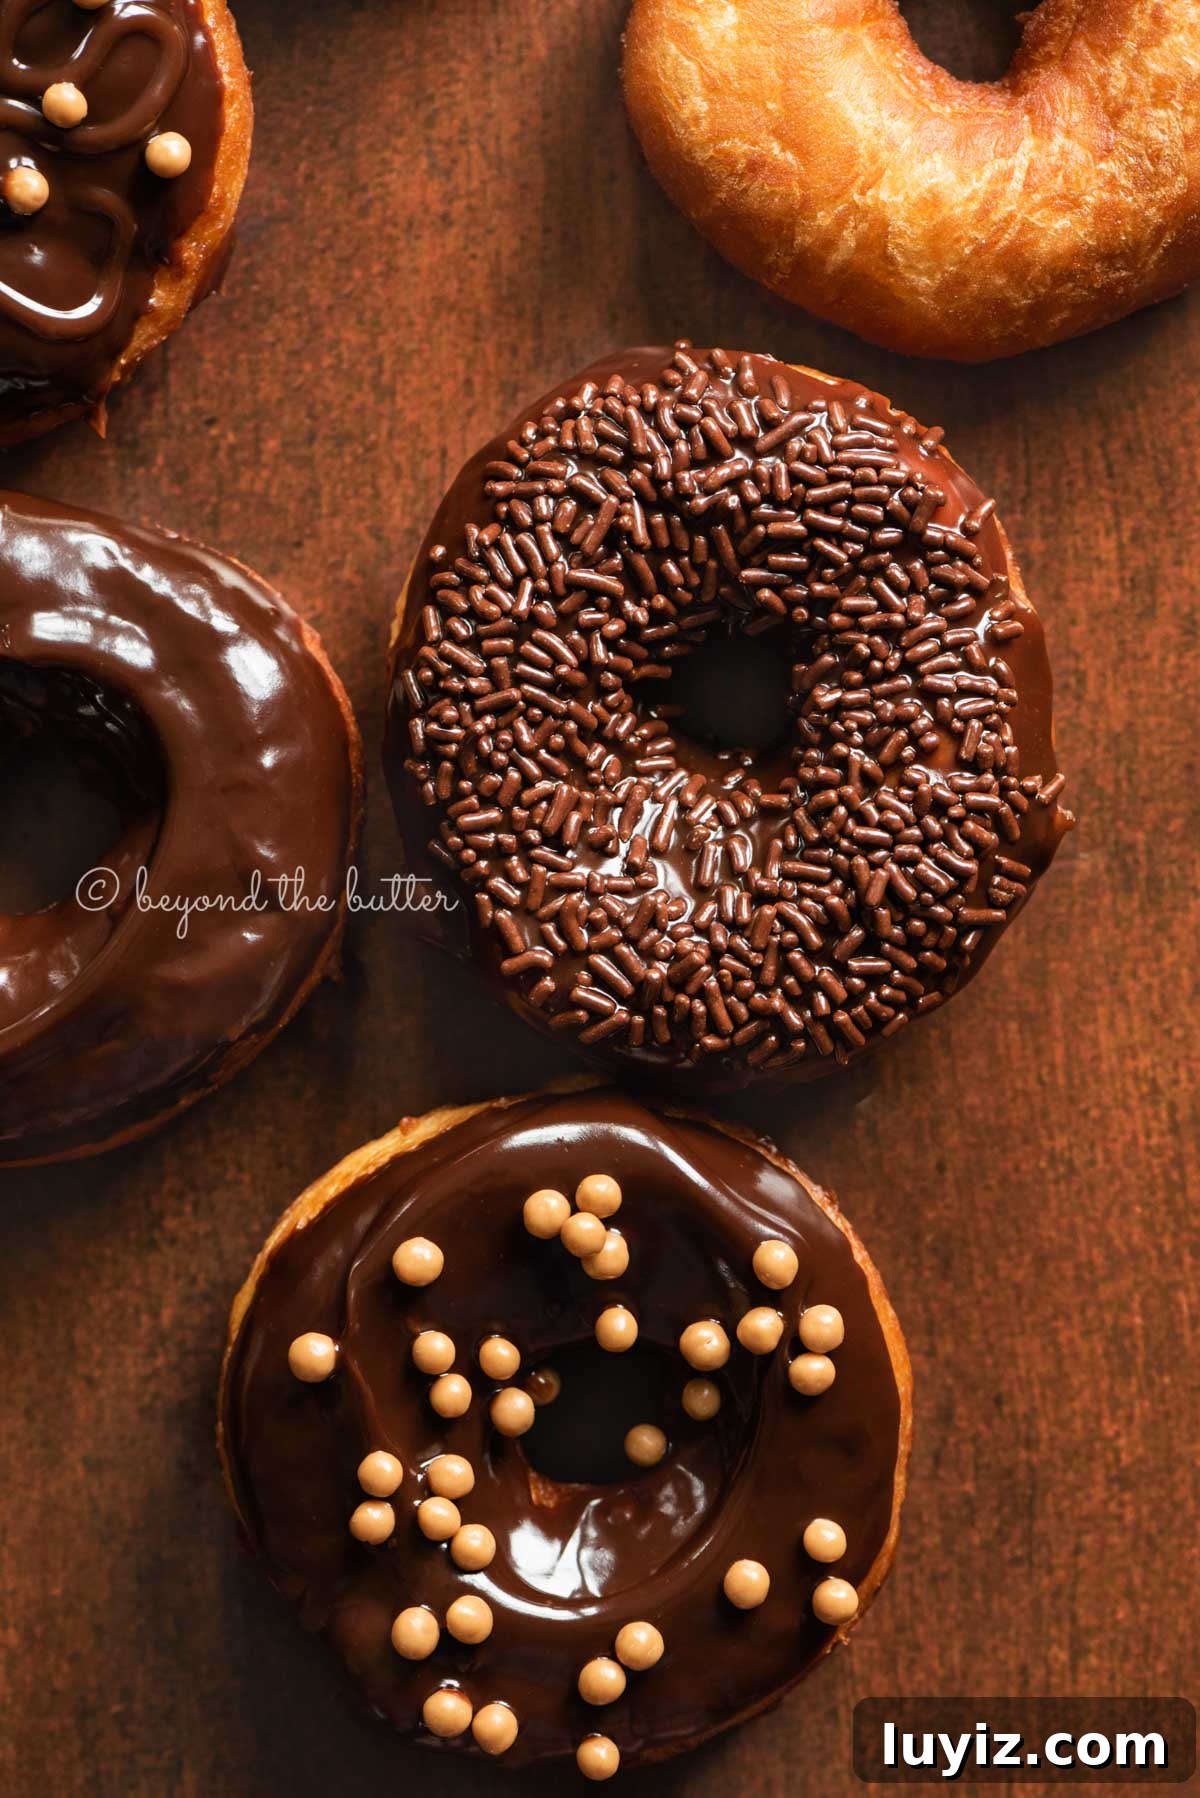
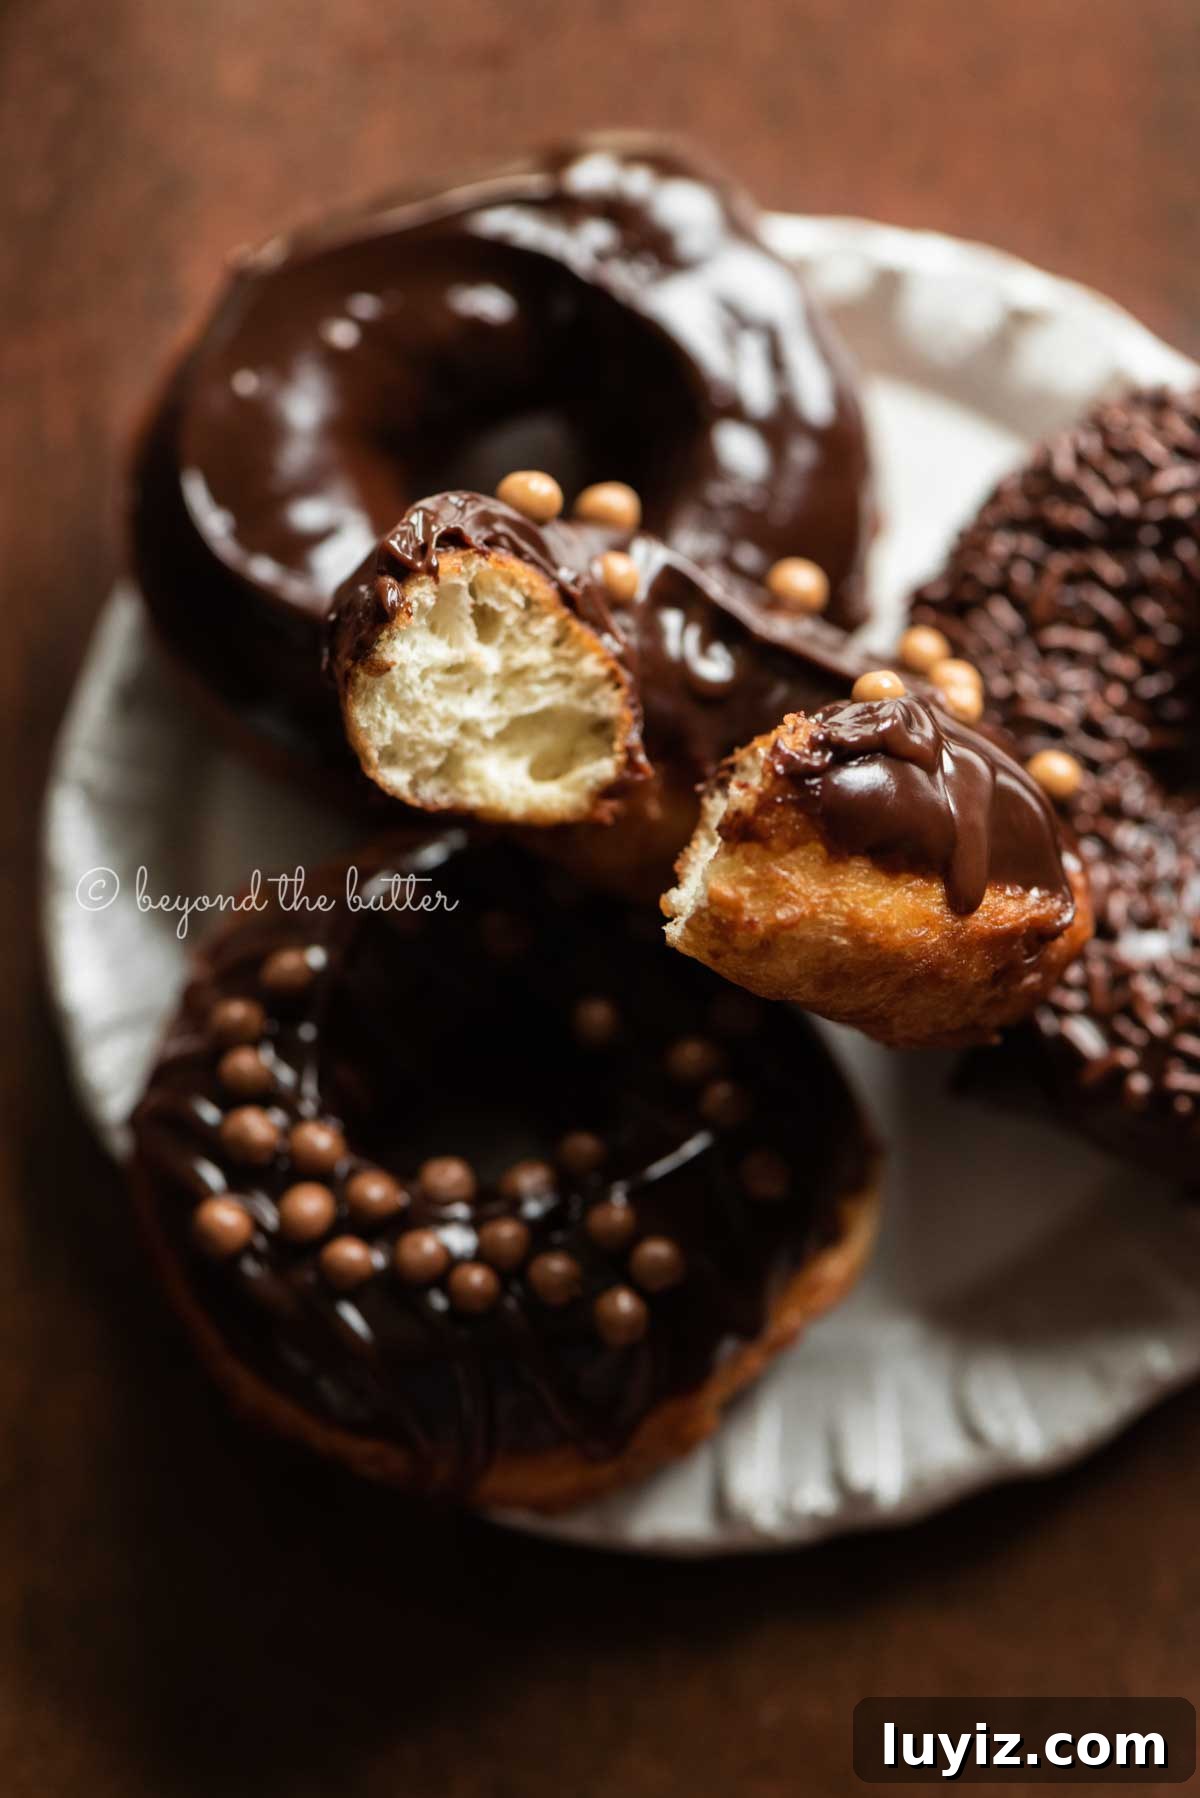
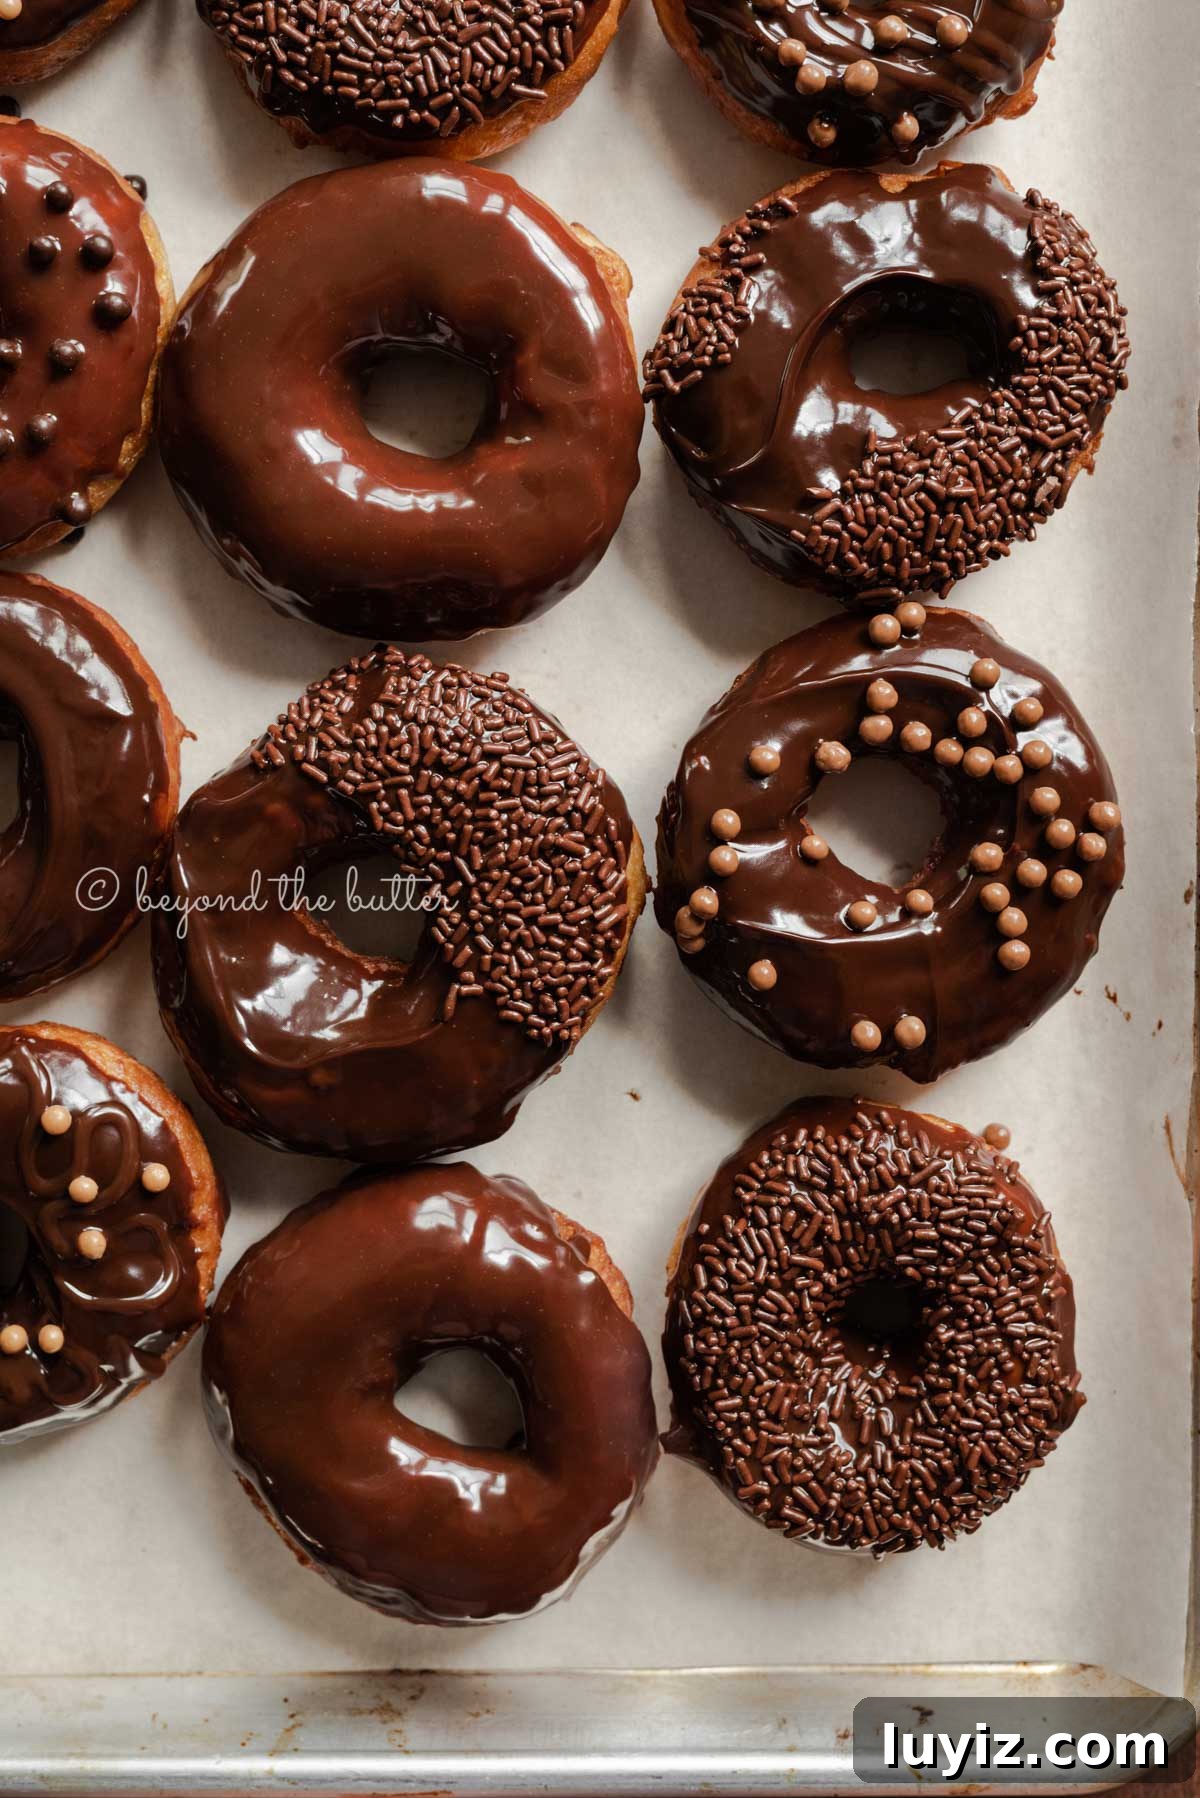
Forget the store-bought donuts—make these Easy Homemade Donuts from Scratch instead. They fry to a golden brown crust with a soft, pillowy interior and finish with a silky chocolate glaze that comes together in minutes. Perfect for a special breakfast, weekend baking project, or to share with family and neighbors.
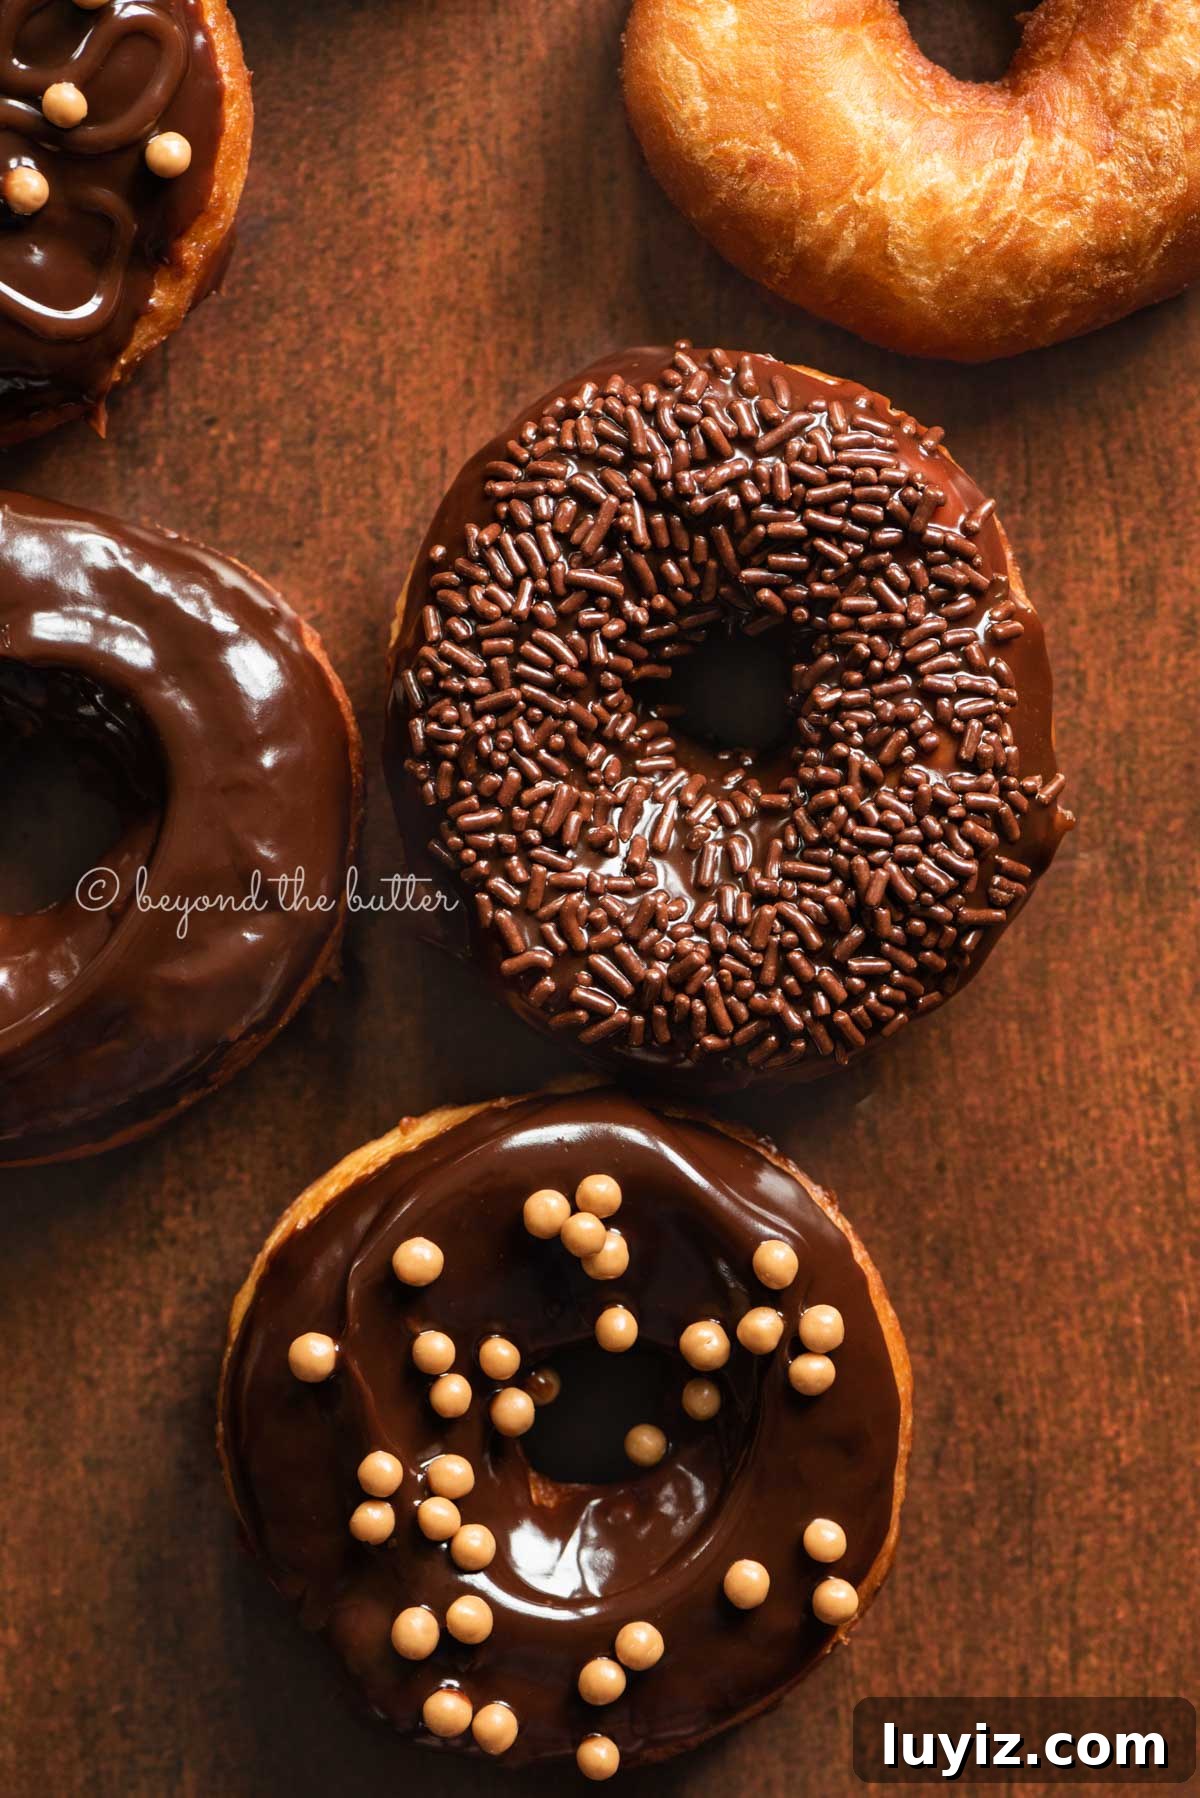
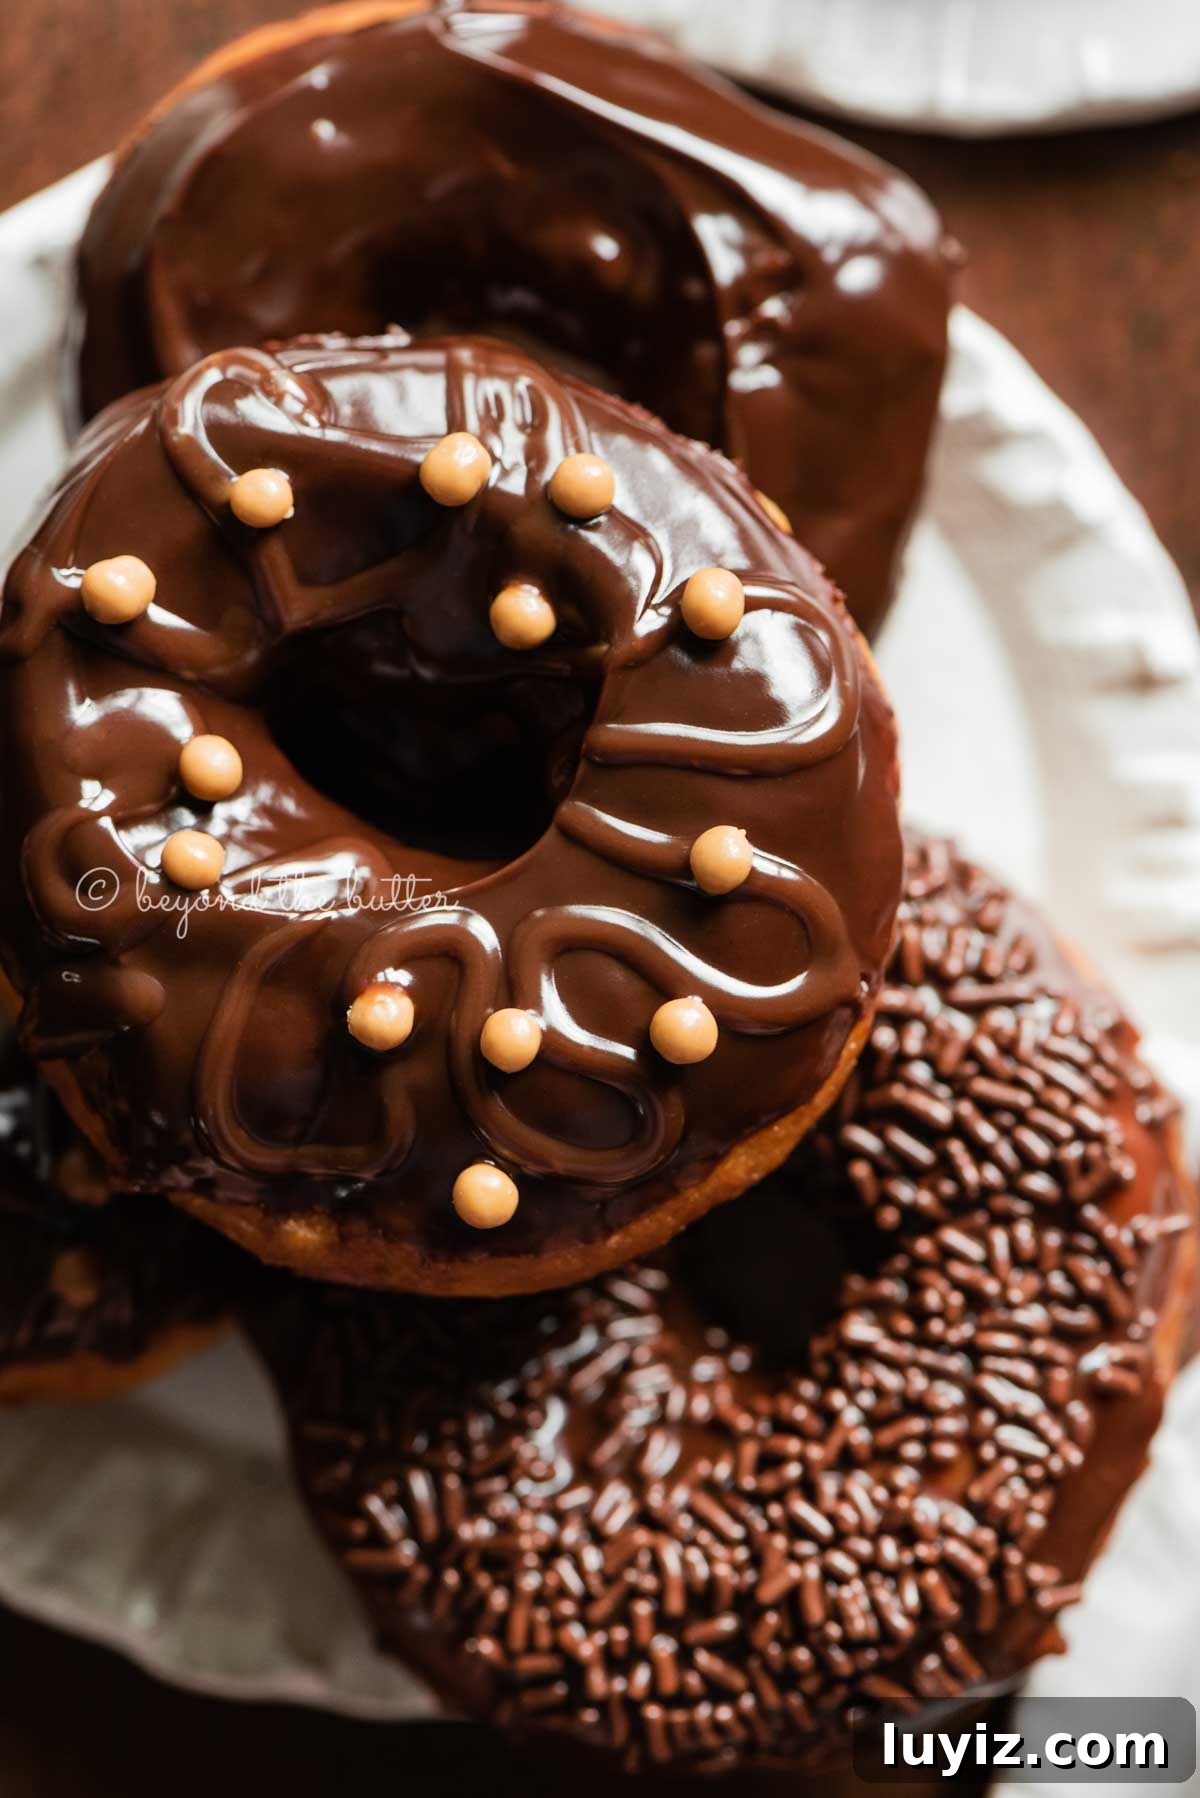
Table of Contents
- Reasons You’ll Love This Homemade Donuts Recipe
- The Best Oil to Use for Frying Donuts
- Making Donuts in Advance
- Frying Donuts with a Deep Fryer
- Deep Fryer Alternatives
- My Top Six Essential Donut-Making Tools
- What is the Best Temperature for Frying Donuts?
- How to Tell if Your Active Dry Yeast Has Gone Bad
- Last Minute Tips Before Starting
- More Breakfast Sweets to Enjoy!
- Homemade Donuts from Scratch Recipe
Reasons You’ll Love This Homemade Donuts Recipe
- No deep fryer required (but you can use one if you have it).
- Endless flavor and topping possibilities.
- Simple to make and fun to decorate—great with kids.
- Golden and crisp on the outside, soft and fluffy inside.
- Perfect when dipped in a silky chocolate or classic vanilla glaze.
- Makes about 14–15 donuts—ideal for sharing.
The dough does require two rises—one after mixing and another after cutting—but the results are well worth the wait.
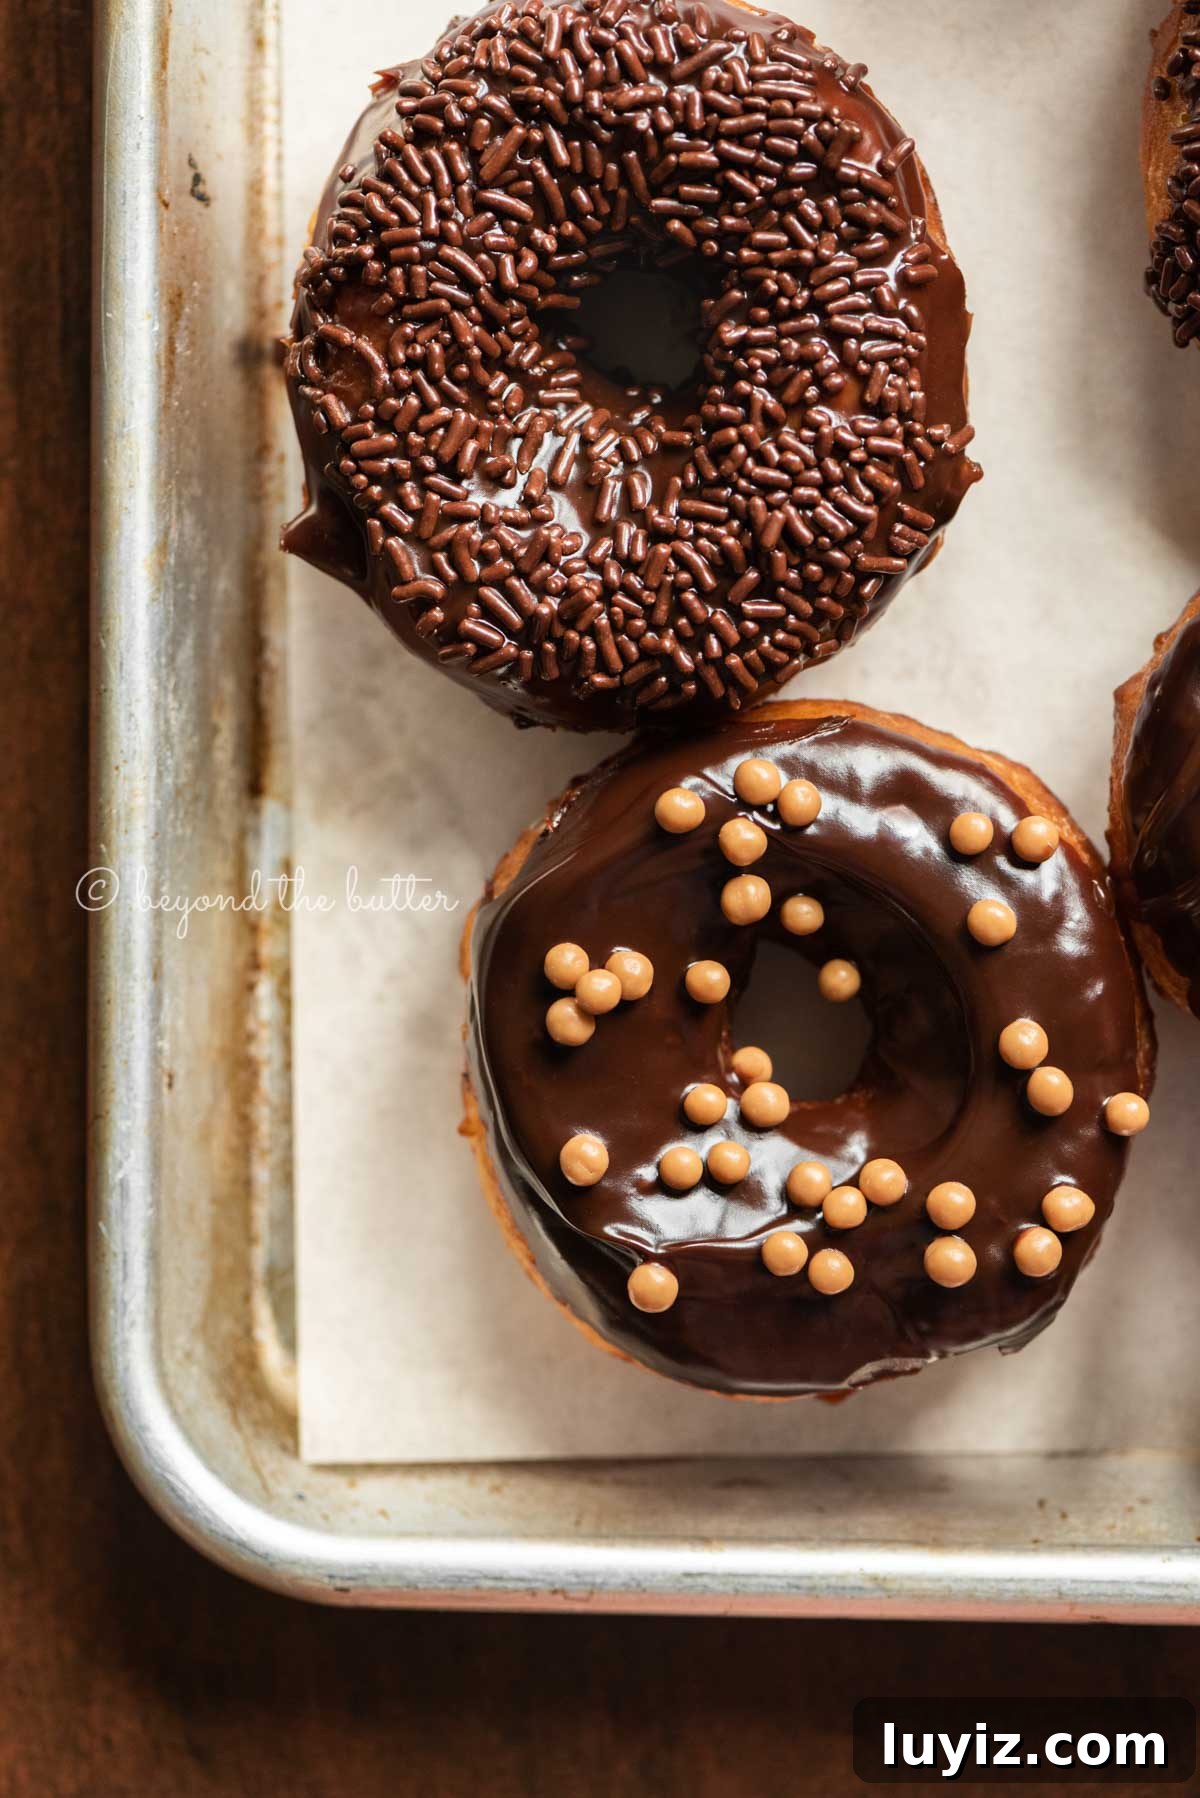
The Best Oil to Use for Frying Donuts
Canola oil is recommended for frying these donuts—whether you’re using a deep fryer, skillet, or stock pot—because of its neutral flavor and high smoke point. Vegetable oil is also a fine choice. Some bakers use vegetable shortening for a different texture, but that was tested only in a skillet and is not recommended for deep fryers.
If you’re frying in a skillet or stock pot, add the oil before heating so it warms evenly. Use a thermometer to maintain a steady frying temperature.
Making Donuts in Advance
You can prepare the dough the night before. Complete the recipe through the dough-making step and cover the dough with plastic wrap. Refrigerate overnight. In the morning, remove it and let it sit at room temperature for an hour before rolling, cutting, and frying.
Frying Donuts with a Deep Fryer
You don’t need a deep fryer, but it makes frying easier and more consistent. A fryer with temperature control and a removable basket saves time and reduces splatter. If you do use a deep fryer, follow the manufacturer’s fill and safety guidelines.
Deep Fryer Alternatives
If you don’t have a deep fryer, use one of these:
- Deep, heavy skillet
- Large stock pot (10–12 quart)
My Top Six Essential Donut-Making Tools
Tools that make donut-making easier:
1. Deep fryer, large skillet, or stock pot. One of these is necessary for frying.
2. Donut cutters. A 3–3.5 inch cutter with a center hole works well. If you don’t have a donut cutter, round cookie cutters can substitute.
3. Candy thermometer. Essential when frying in a skillet or pot to maintain the correct oil temperature.
4. Large baking sheets. One lined with parchment for proofing, another to catch fried donuts and drain excess oil.
5. Cooling rack. Lets excess oil drip away and keeps the donuts from getting soggy—place paper towels under the rack for extra absorption.
6. Tongs or slotted spoon. Useful for turning and removing donuts from hot oil.
What is the Best Temperature for Frying Donuts?
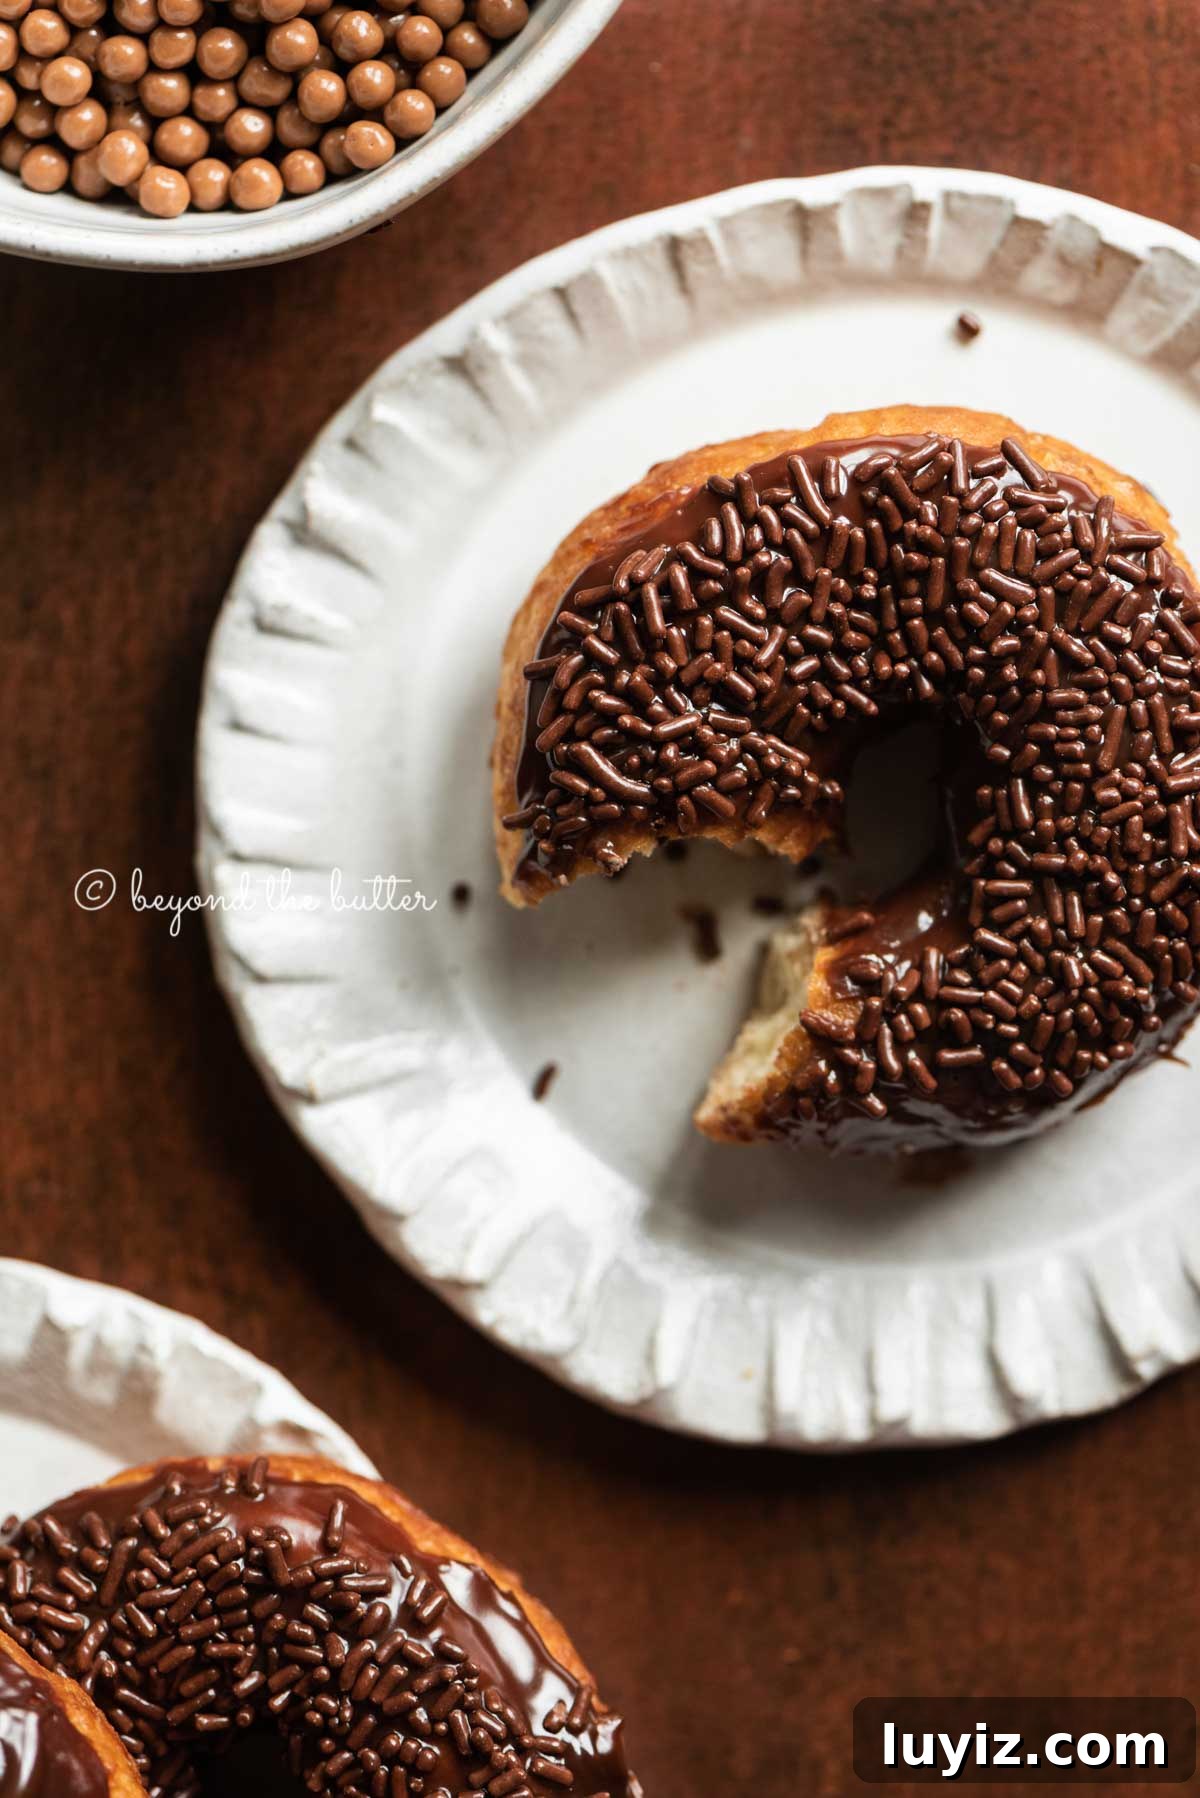
Maintain the oil at 365ºF and fry each side for about 45 seconds. At this temperature the donuts should turn a medium golden brown and remain light and airy inside. If you’re not using a deep fryer, monitor the temperature with a candy thermometer and use a timer for consistent results.
How to Tell if Your Active Dry Yeast Has Gone Bad
When mixed with warm water, active dry yeast should bubble and foam within a few minutes. If it does not, add a pinch of sugar and wait briefly; if there’s still no activity, the yeast is likely inactive and should be replaced.
Last Minute Tips Before Starting
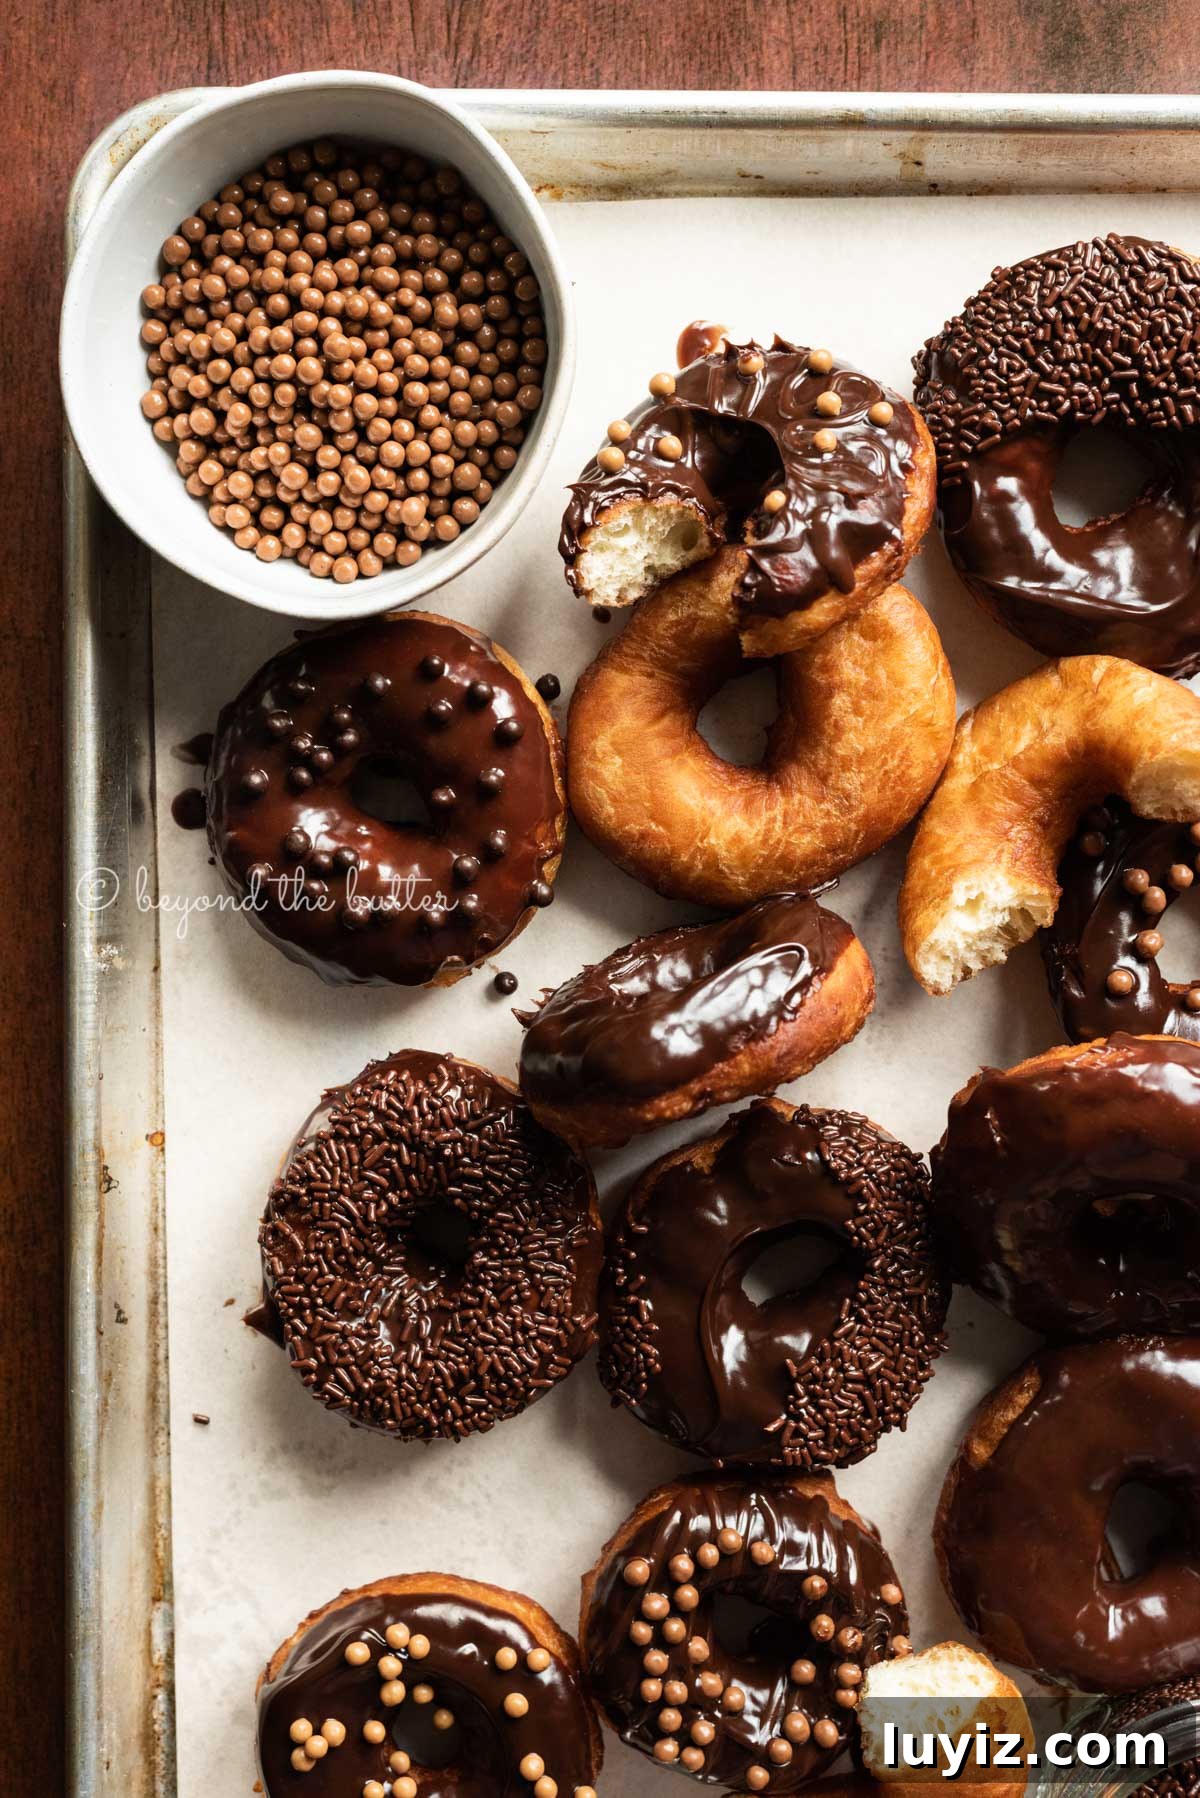
- Glaze prep is quick—about five minutes for either chocolate or vanilla.
- Store leftovers in an airtight container at room temperature up to 2 days; best served the day they’re fried and glazed.
- Reheat donuts briefly (about 15 seconds) in the microwave.
- Do not pour used frying oil down the drain. Let it cool, then store for reuse or discard properly.
- The recipe includes both chocolate and vanilla glaze options—use whichever you prefer.
More Breakfast Sweets to Enjoy!
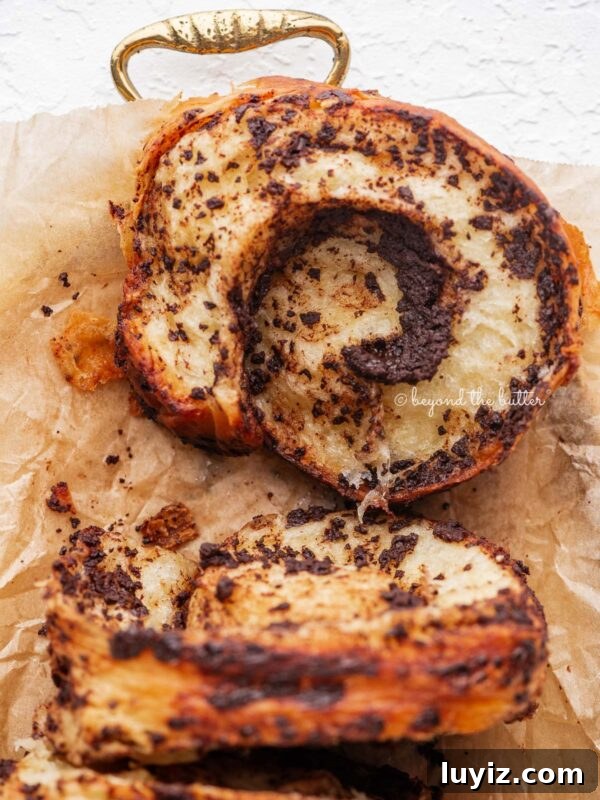
Chocolate Croissant Loaf
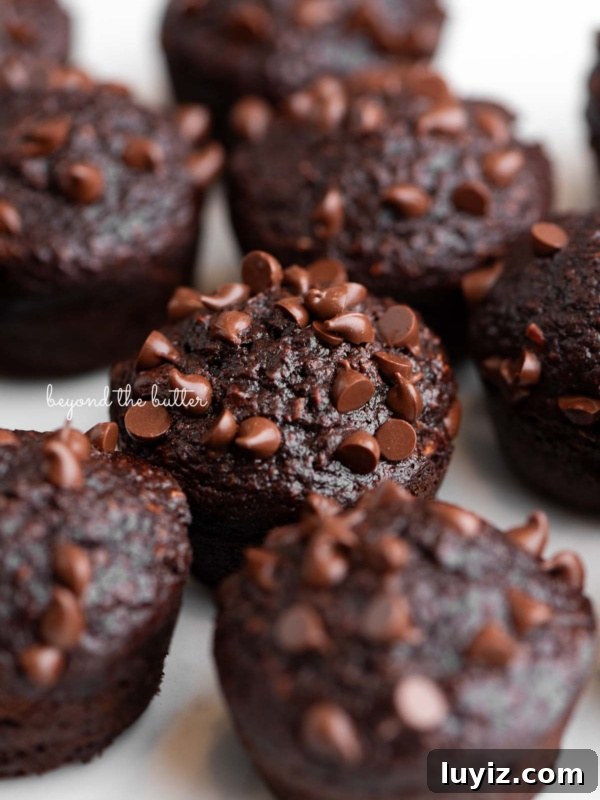
Mini Chocolate Banana Blender Muffins
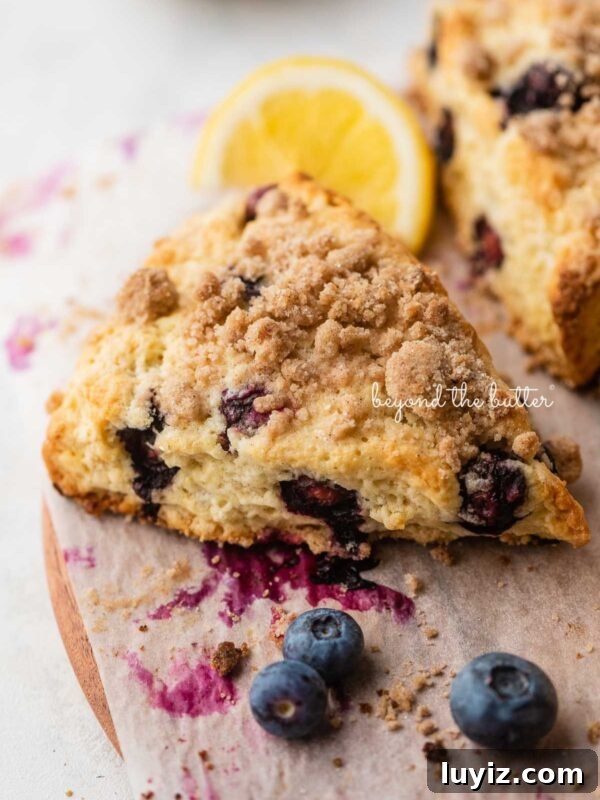
Lemon Blueberry Streusel Scones
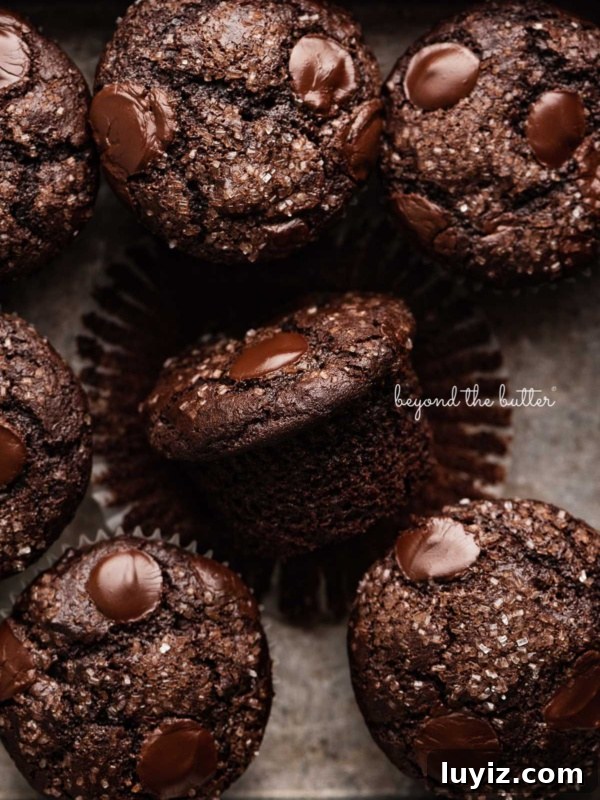
Double Chocolate Muffins
Homemade Donuts from Scratch

Equipment
- Deep fryer or heavy skillet or large stock pot
- Donut cutter
- Candy or deep fryer thermometer
- Baking sheets
- Paper towels
- Tongs / slotted spoon
Ingredients
Homemade Donuts
- 2 1/4 tsp Active Dry Yeast (1 packet)
- 3/4 cup Warm Water
- 1/3 cup Granulated Sugar
- 1/2 tsp Salt
- 1/4 cup Unsalted Butter, room temperature
- 1 Large Egg, room temperature
- 1 Large Egg Yolk, room temperature
- 1 tsp Vanilla Extract
- 3 cups All-Purpose Flour, plus extra for rolling
- 4 cups Canola Oil (for frying)
Chocolate Glaze
- 1/2 cup Semi-Sweet Chocolate Chips
- 1/4 cup Heavy Whipping Cream
- 1 tsp Vanilla Extract
Vanilla Glaze
- 2 cups Powdered Sugar, sifted
- 1/4 cup Water
- 1 1/2 tsp Vanilla Extract
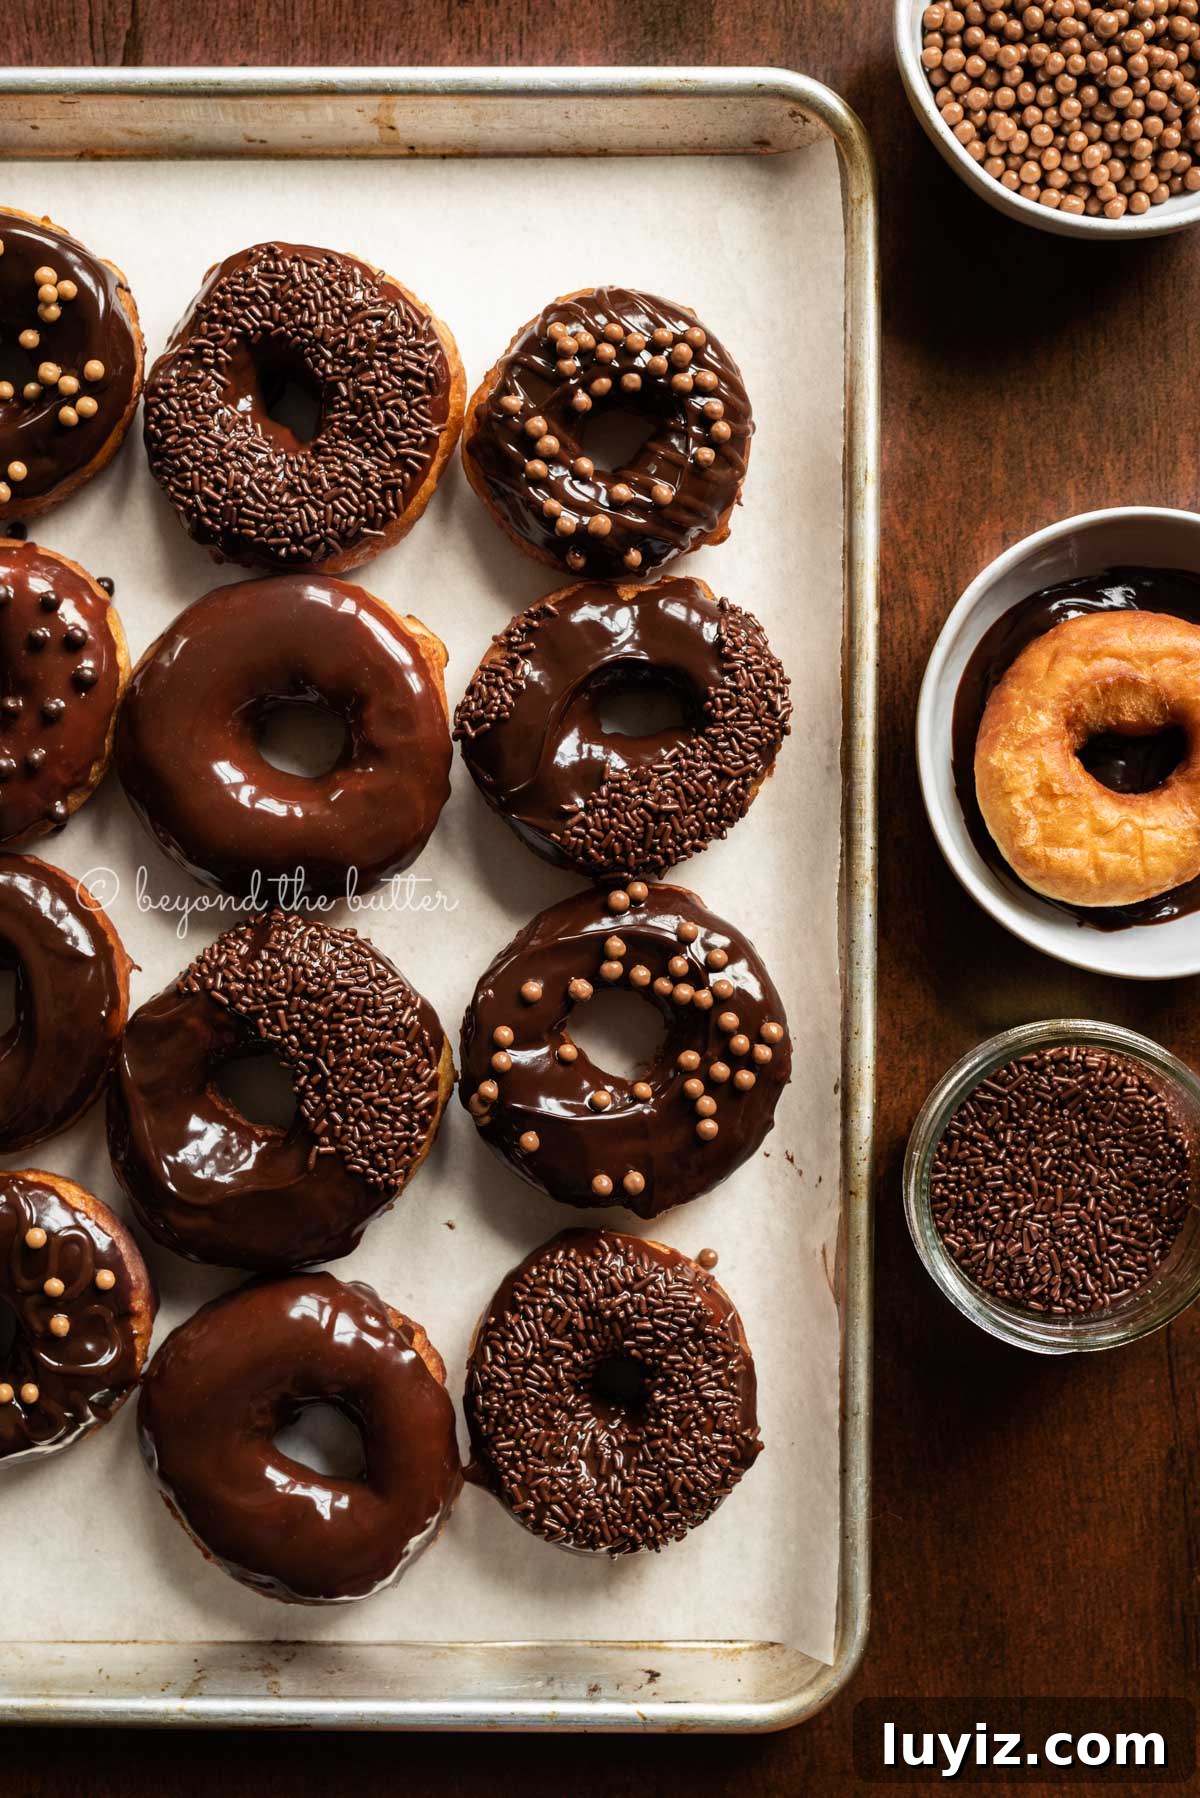
Suggested Toppings (optional)
- Chocolate jimmies
- Rainbow sprinkles
- Chocolate pearls
- Crushed Oreos
Instructions
homemade donuts
- Combine the active dry yeast and warm water in the bowl of a stand mixer fitted with a dough hook. Cover with a tea towel and let sit for 10 minutes until foamy.
- Add the sugar, salt, butter, egg, egg yolk, vanilla, and flour. Mix on low and knead until the dough pulls away from the bowl. If sticky, add 1 tablespoon of flour at a time until the dough is soft and slightly tacky.
- Transfer the dough to a lightly greased medium bowl, flip once to coat, cover tightly with plastic wrap, and let rise in a warm, draft-free spot about 1 hour or until nearly doubled.
- Punch down the dough, turn onto a lightly floured surface, and knead briefly (6–7 times) until smooth.
- Roll the dough to about 1/2 inch thickness. Flour your donut cutter and cut out donuts, placing them on a parchment-lined baking sheet about 1 1/2 inches apart. Use scraps to make holes or reroll to cut more donuts. Optionally spray parchment with baking spray to prevent sticking.
- Cover the baking sheet with a clean towel and let the donuts rest for 1 hour until nearly doubled.
- Prepare a baking sheet with two layers of paper towels and a cooling rack on top for draining. Heat oil in your deep fryer, skillet, or stock pot to 365ºF—use a candy thermometer if frying in a pot.
- Fry 1–2 donuts at a time for about 45 seconds per side, turning carefully with tongs or a slotted spoon. Aim for a medium golden brown and watch closely—donuts fry quickly at the correct temperature.
- Remove donuts and place on the cooling rack to drain. Let cool slightly before glazing and decorating.
chocolate glaze
- Place chocolate chips in a medium bowl.
- Heat the heavy cream in a heatproof bowl or glass measuring cup in the microwave for about 1 minute 15 seconds. Pour over the chocolate chips, cover loosely, and let sit 2 minutes.
- Remove the cover, add vanilla, and whisk until smooth. Use a spatula to help melt any remaining chips. Dip each slightly cooled donut into the glaze, swirl, and lift out. Place on parchment or a cooling rack and add toppings immediately.
vanilla glaze
- In a medium bowl, whisk together powdered sugar, water, and vanilla until smooth.
- Dip each slightly cooled donut into the glaze, swirl, and set on parchment or a cooling rack. Flip to glaze the other side if desired and add toppings immediately.
Notes
- Store leftover donuts in an airtight container at room temperature up to 2 days; best eaten the day they’re fried and glazed.
- Reheat donuts about 15 seconds in the microwave for a fresh-warmed bite.
- Allow used oil to cool before disposing of or storing for reuse—do not pour it down the drain.
Nutrition
Nutritional information provided above is an estimate only and will vary based on specific ingredients used.