
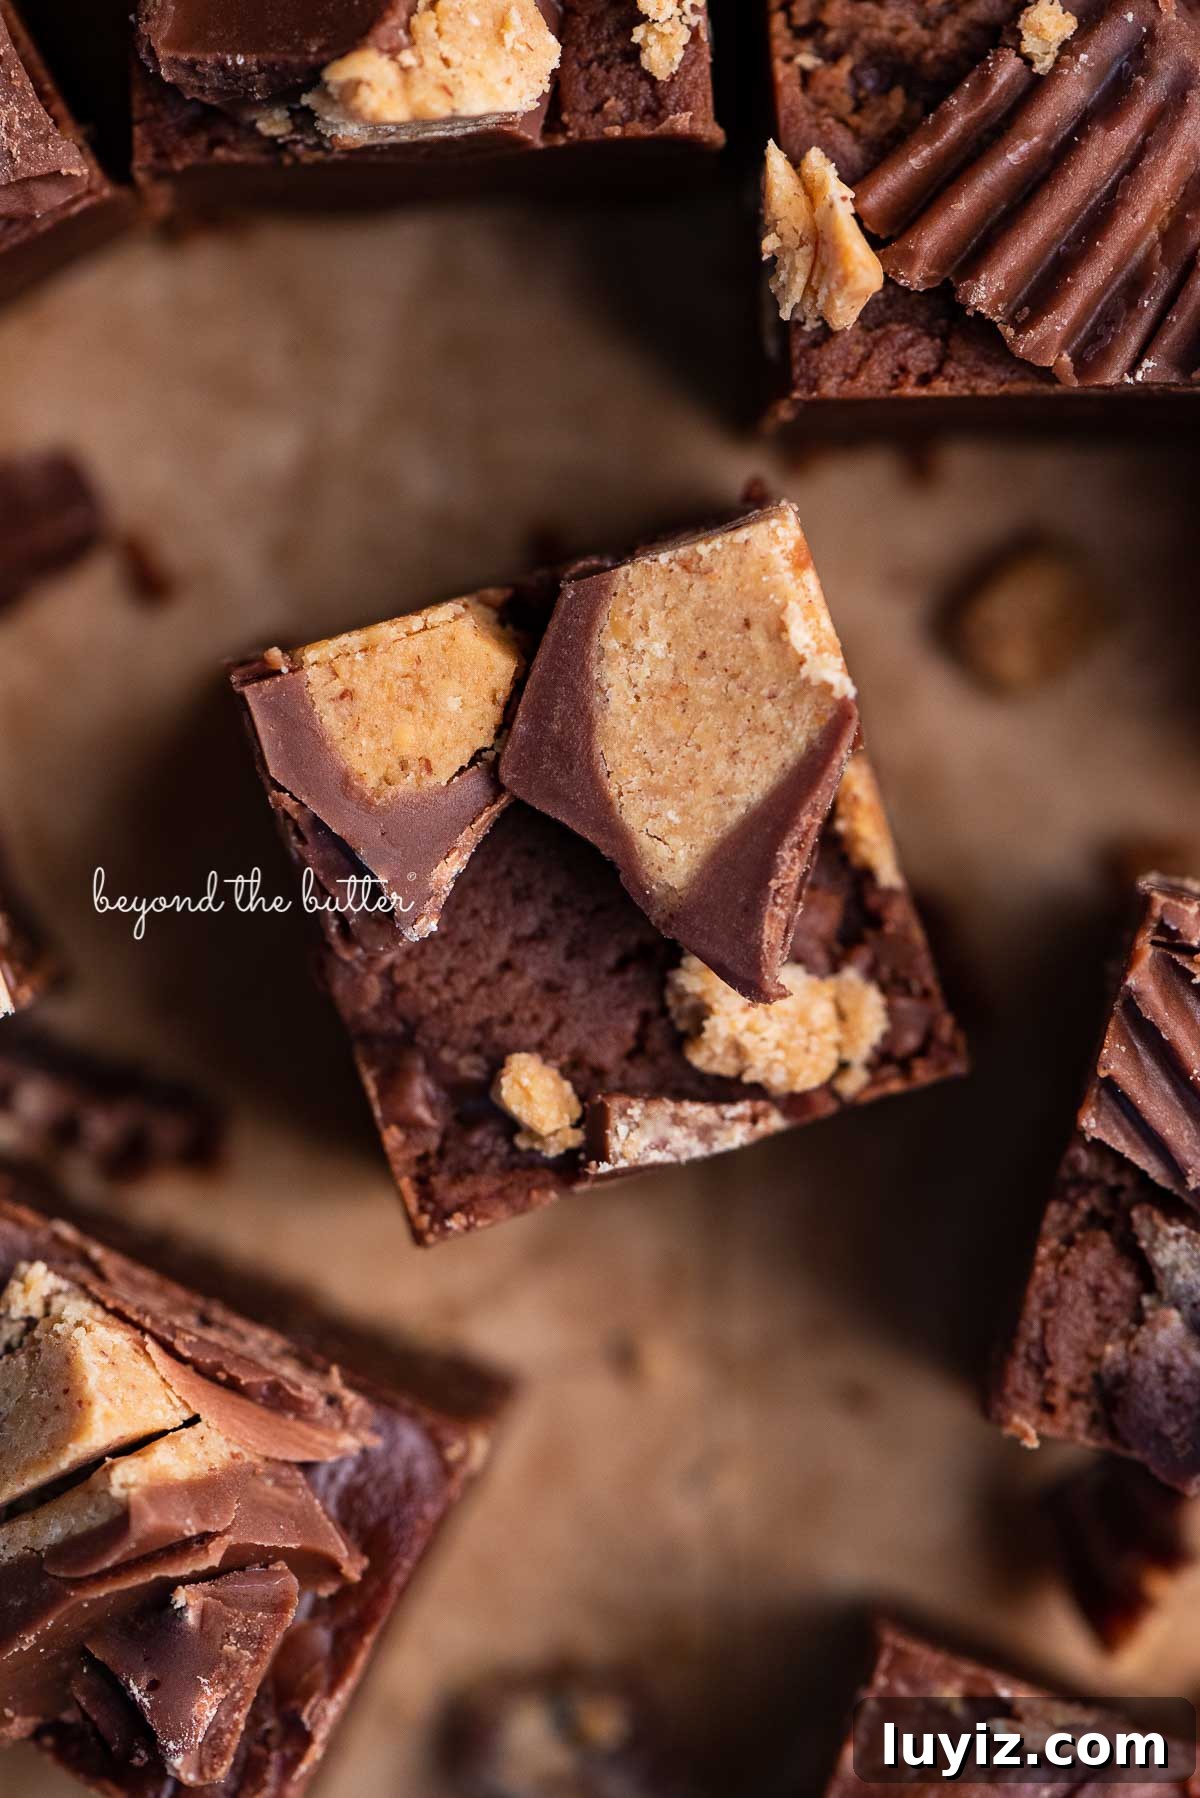
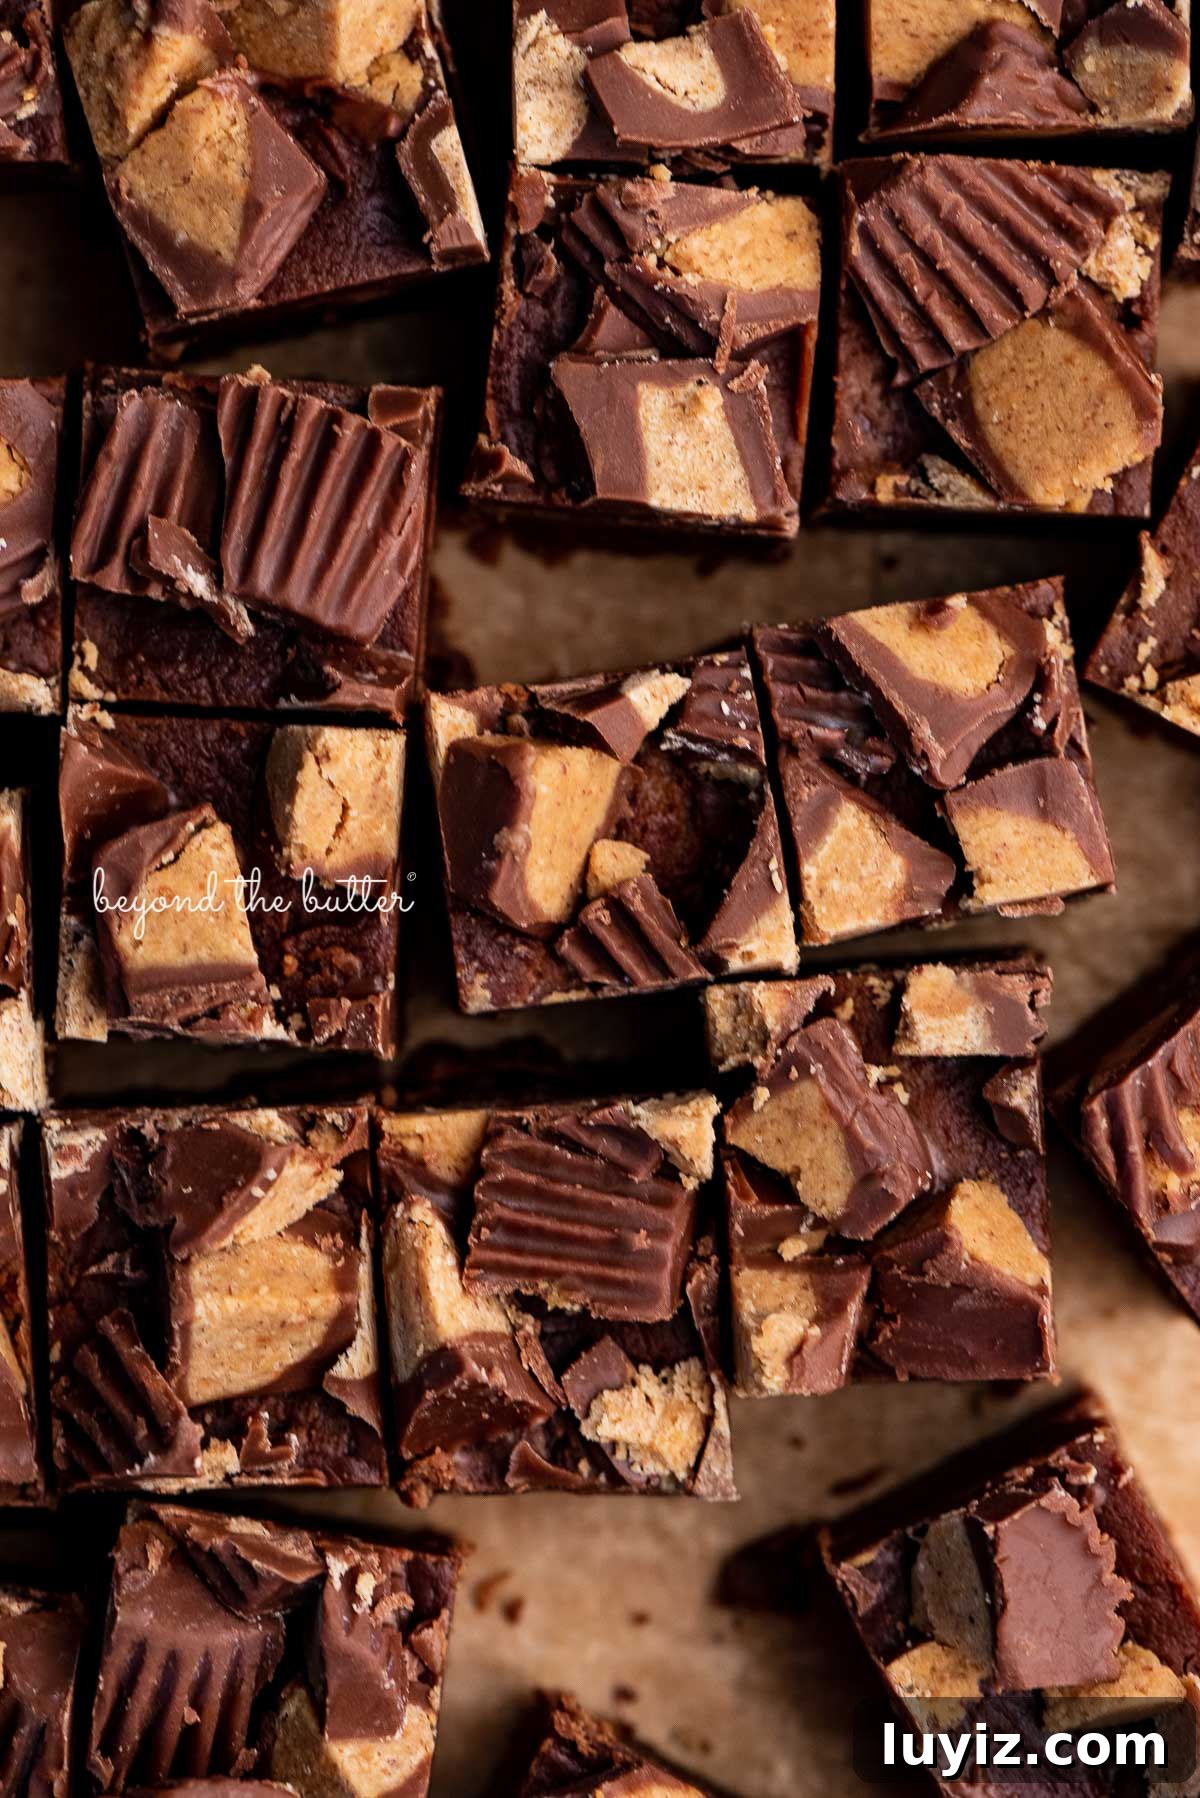
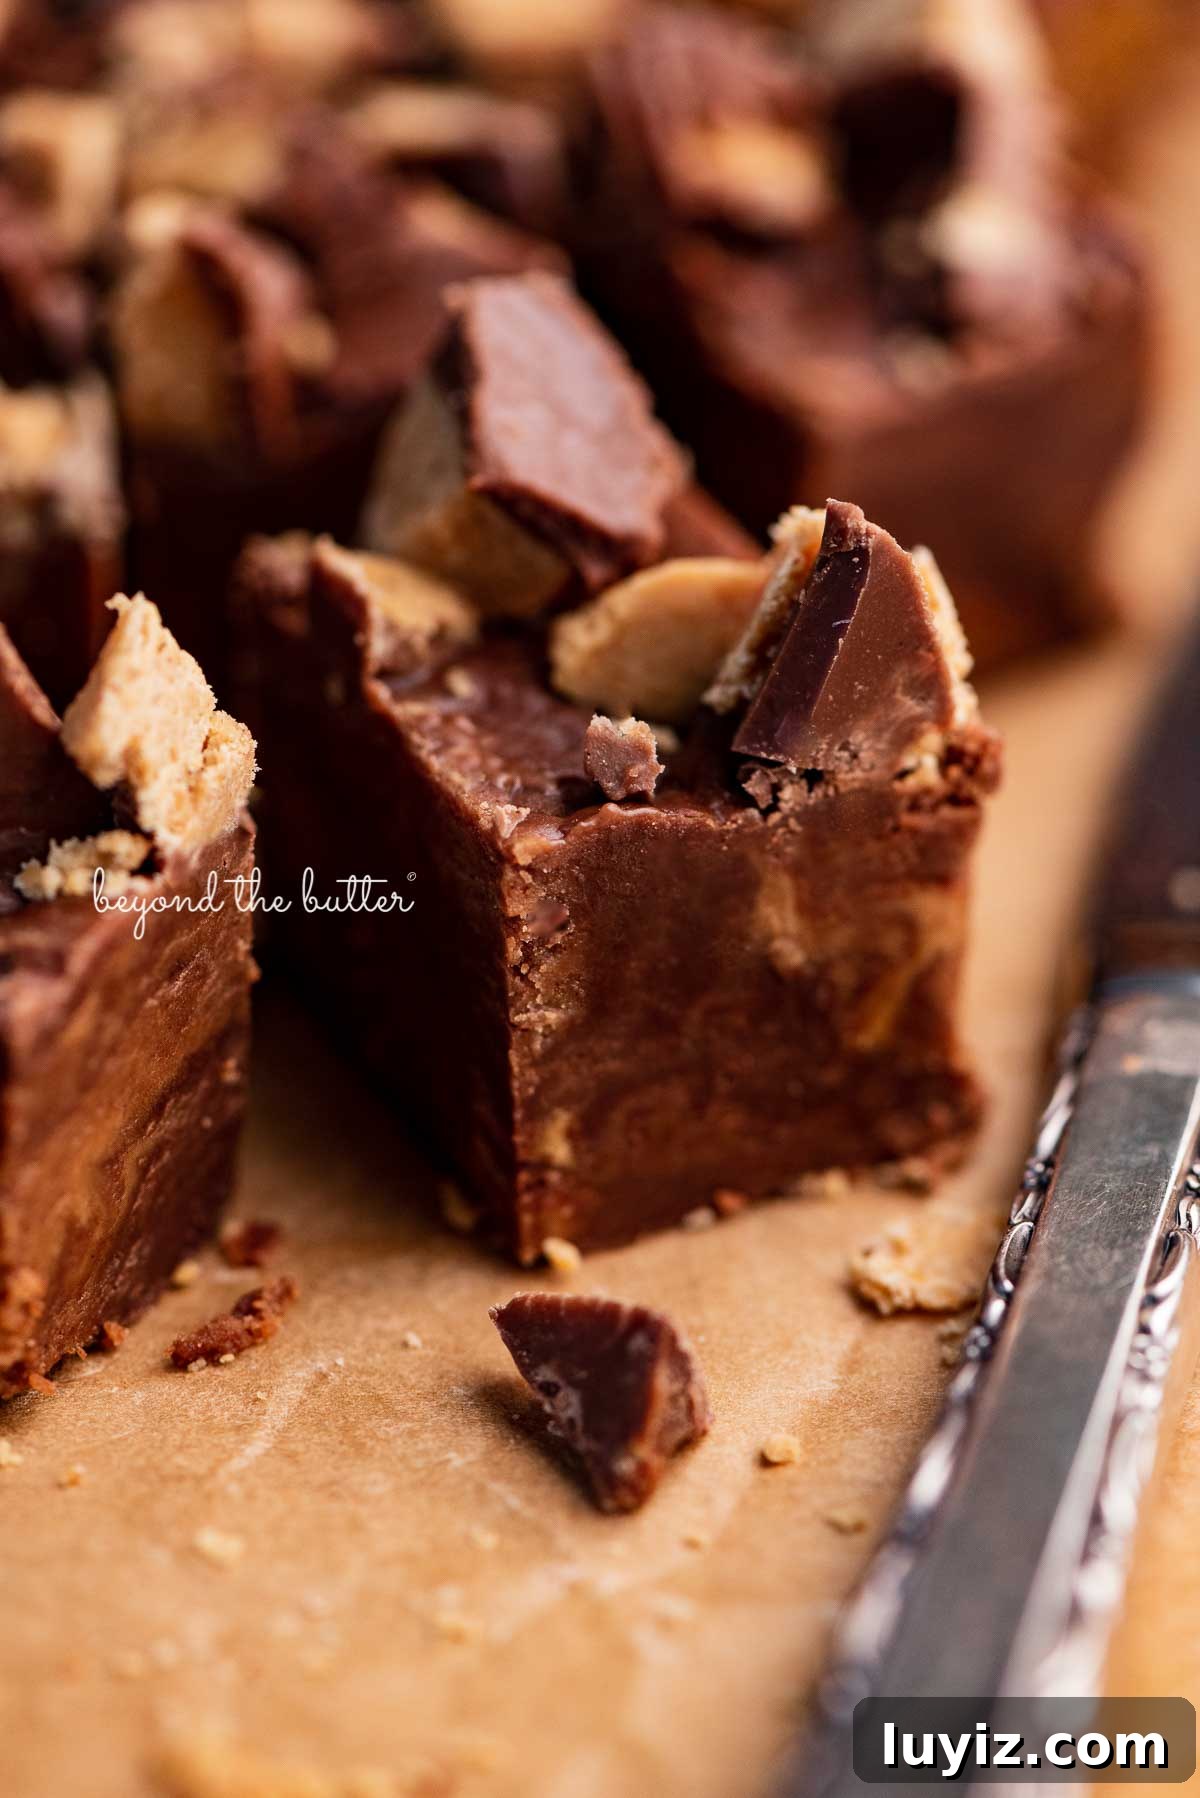
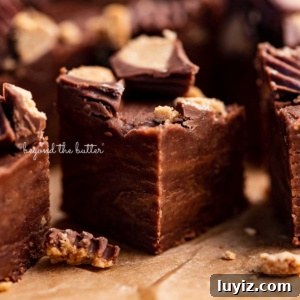
This easy homemade Chocolate Peanut Butter Fudge is a creamy, no-bake treat perfect for anyone who loves the combo of chocolate and peanut butter. With just six ingredients and under 15 minutes of hands-on time, it sets in the fridge and is ready to enjoy soon after.
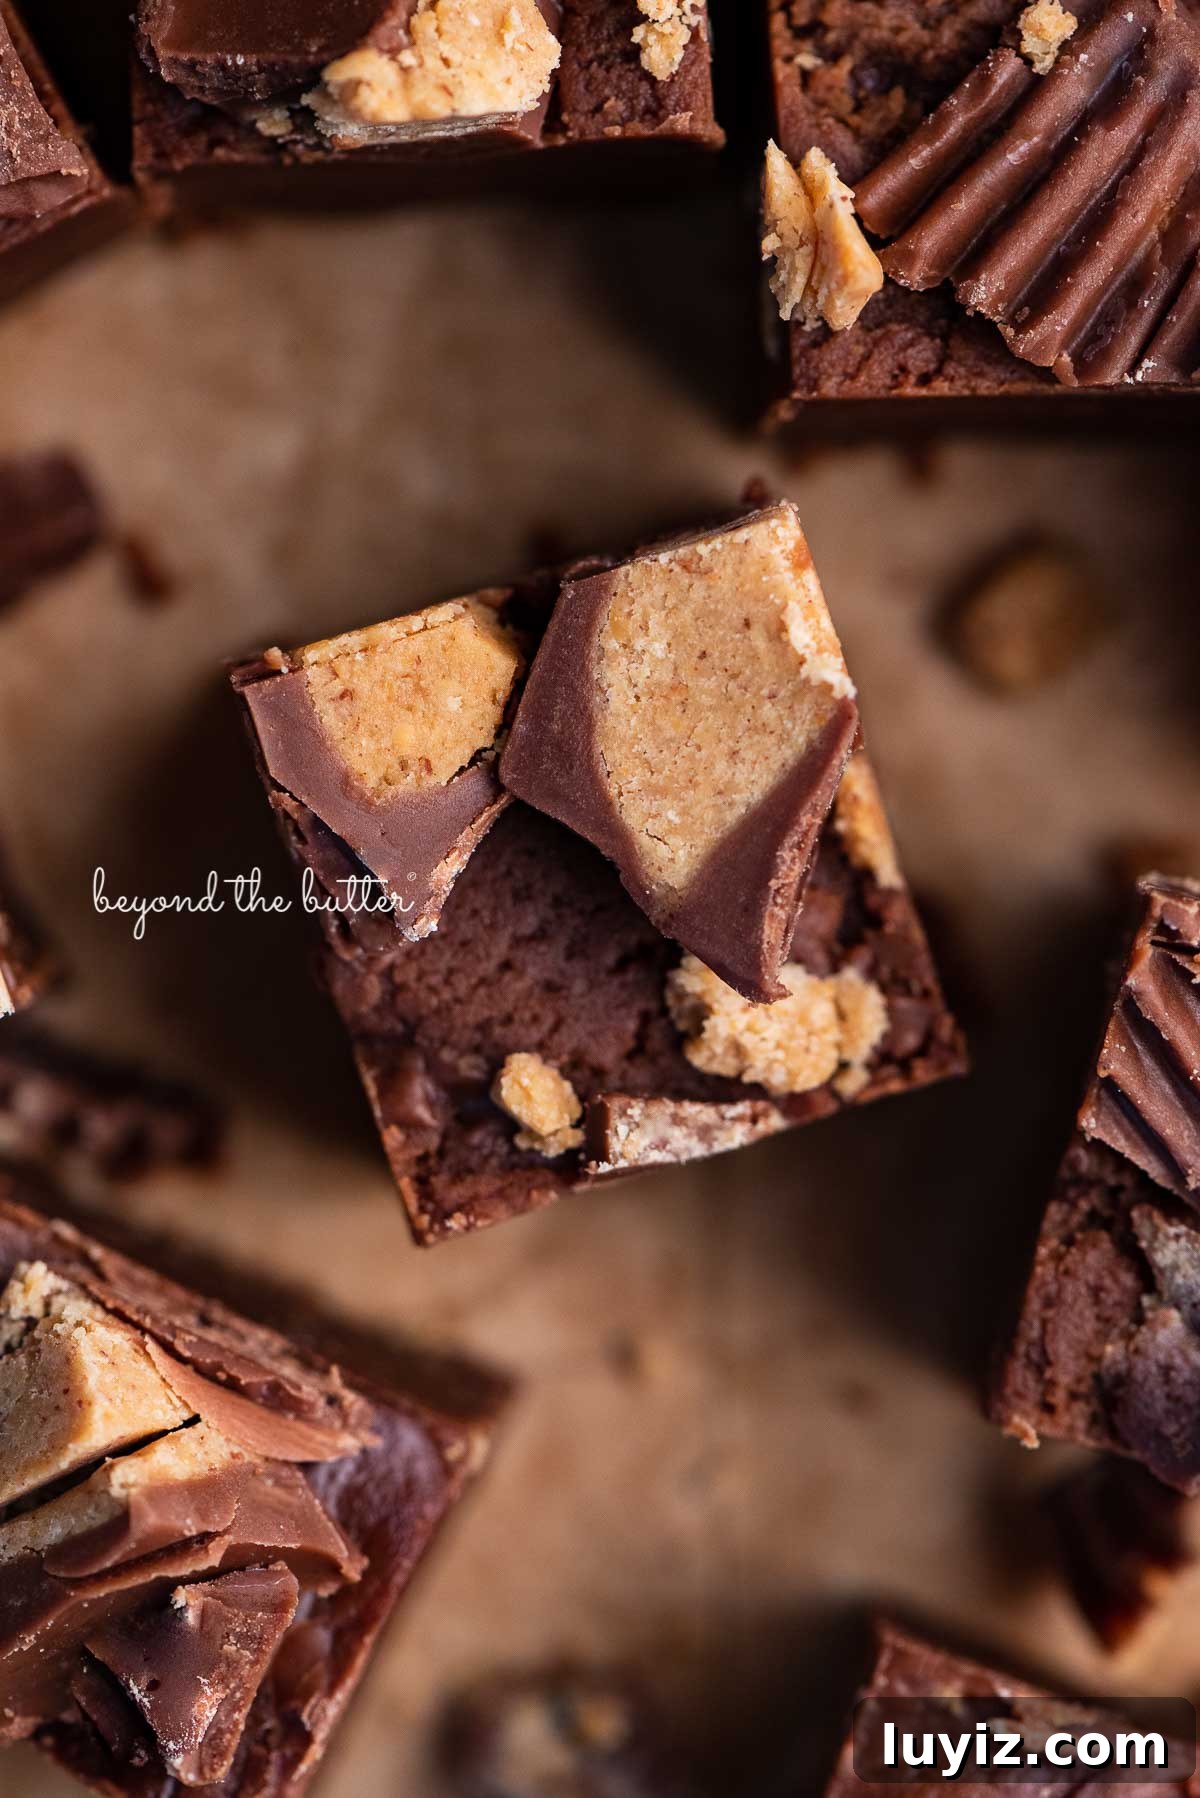
If you like quick no-bake desserts, this fudge is right up there with other simple favorites. It has a nostalgic flavor and is straightforward to prepare, making it ideal for gatherings or when you want to bring a small crowd a crowd-pleasing sweet.
Pair this fudge with other chocolate-peanut butter treats for variety, or serve it on its own as a rich, satisfying dessert.
Table of Contents
- Ingredients Needed
- How to Make the Recipe
- Helpful Baking Tools
- Recipe FAQs
- Enjoy These Other Chocolate Peanut Butter Treats!
- Chocolate Peanut Butter Fudge Recipe
Ingredients Needed
Only six ingredients are required to make this simple chocolate peanut butter fudge:
- Semi-Sweet Chocolate Chips — or a good quality 60–70% dark chocolate. Semi-sweet chips work well for a balanced chocolate flavor.
- Creamy Peanut Butter — choose a no-stir creamy peanut butter for the best texture.
- Sweetened Condensed Milk — one 14-ounce can. Do not substitute evaporated milk.
- Mini Peanut Butter Cups — chopped and used as a crunchy topping.
- Vanilla Extract — a small amount brightens the flavors.
- Salt — just a pinch to balance the sweetness.
How to Make the Recipe
Step 1 — Prepare the pan and topping. Line a 9-inch square pan with parchment paper or foil. Chop 25–30 mini peanut butter cups into small pieces and set aside.
Step 2 — Melt chocolate with sweetened condensed milk. In a large microwave-safe bowl combine the 14 oz sweetened condensed milk and 12 oz semi-sweet chocolate chips. Microwave 1 minute at full power, stir, then continue in 30–45 second bursts at 60% power, stirring between, until the chocolate is melted and smooth.
Step 3 — Add peanut butter and flavorings. Stir in 1 3/4 cups creamy peanut butter, 1 teaspoon vanilla extract, and 1/8 teaspoon salt until combined. A few gentle swirls of peanut butter are fine if you prefer a marbled look.
Step 4 — Transfer and top. Spread the mixture evenly into the prepared pan. Sprinkle the chopped mini peanut butter cups over the top and press them lightly into the surface.
Step 5 — Chill until set. Refrigerate uncovered for at least 1 hour, or longer for a firmer texture. You can also freeze the fudge for longer storage.
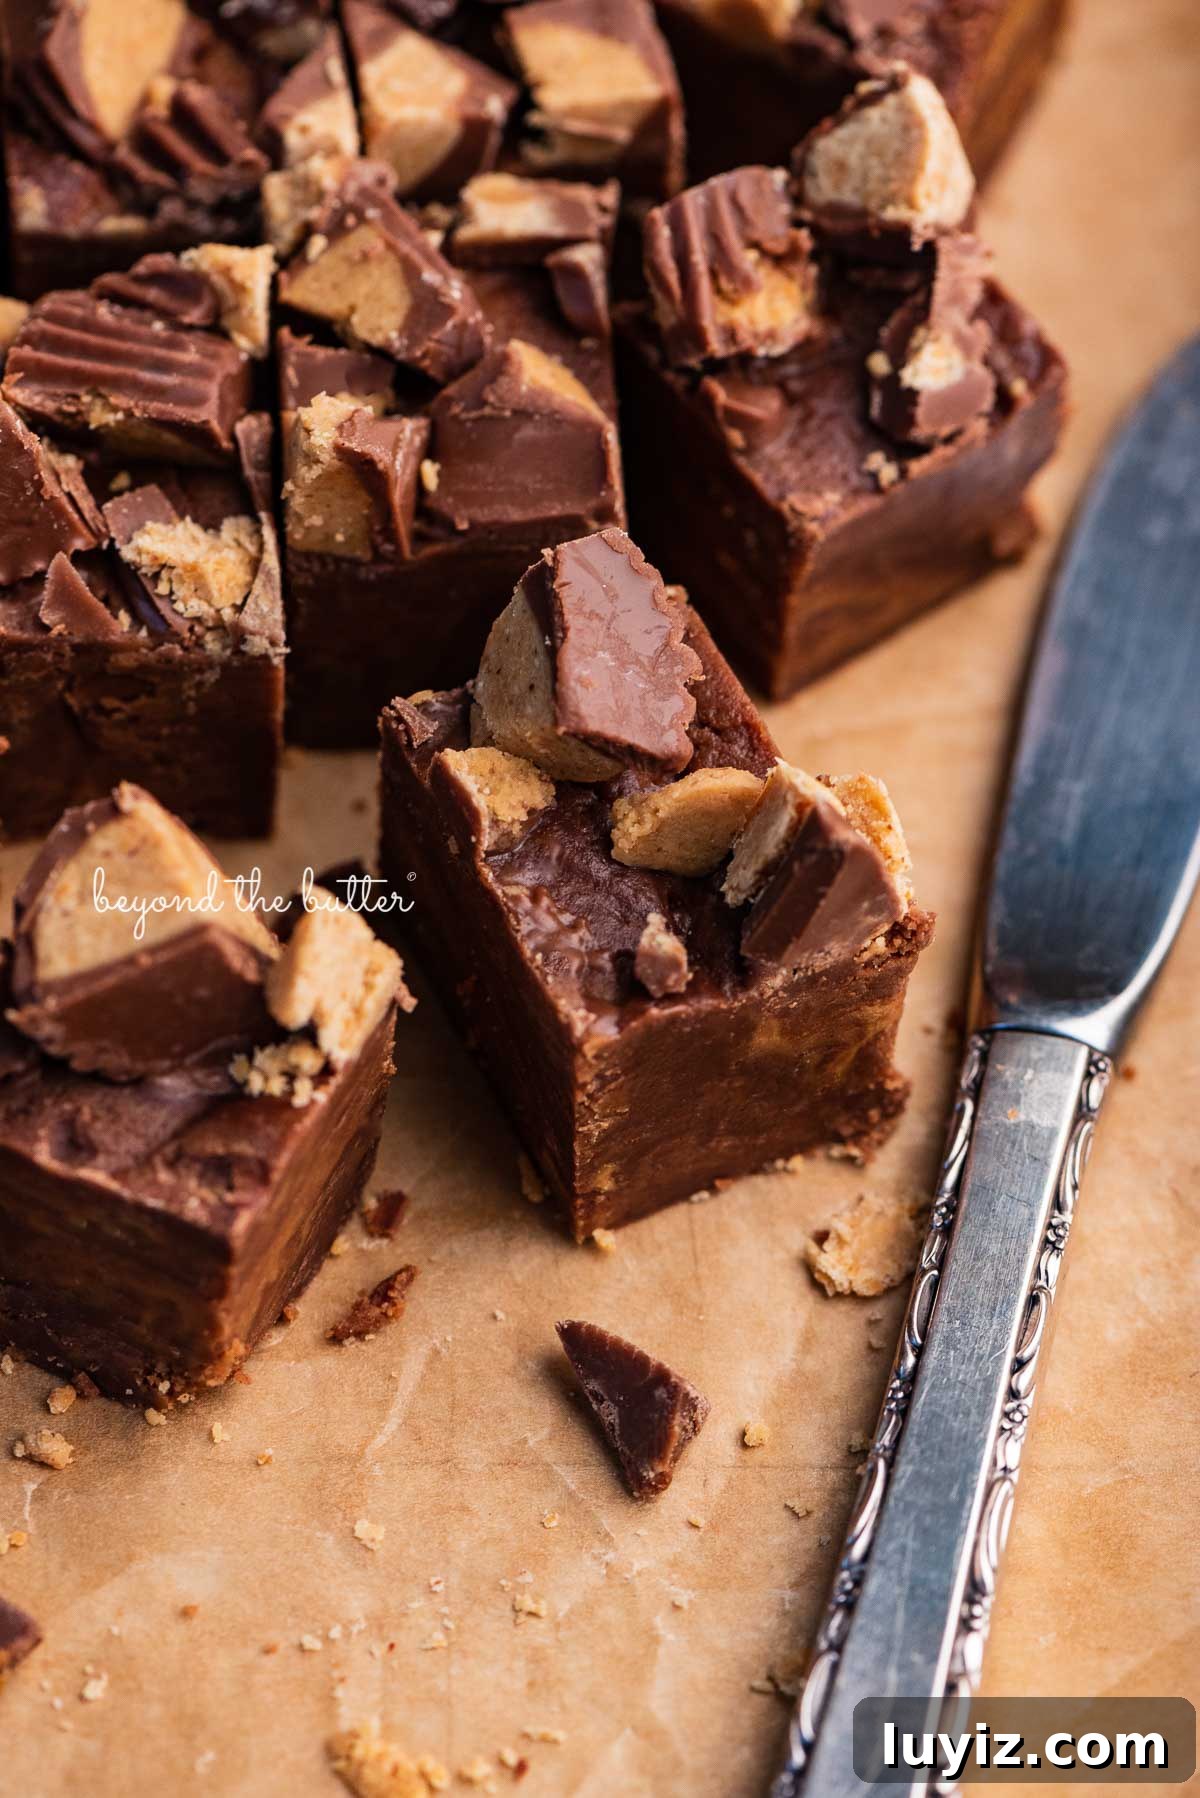
Quick Tip: For clean slices, run a knife under hot water, dry it, then cut.
Helpful Baking Tools
Tools that make this recipe easier:
- 9-inch Square Baking Pan — yields a good thickness; an 8-inch pan makes thicker fudge, while a larger pan makes thinner pieces.
- Parchment Paper or Aluminum Foil — lines the pan for easy removal and cleaner slices.
- Large Microwave-Safe Bowl — for melting the chocolate and condensed milk together.
- Whisk and Spatula — to combine and smooth the mixture.
- Microwave — used to melt the chocolate gently.
- Cutting Board and Knife — to chop the mini peanut butter cups and cut the fudge into squares.
Recipe FAQs
A 9-inch square pan is recommended. Use an 8-inch pan for slightly thicker fudge. For thinner pieces, a jelly-roll pan or rimmed baking sheet will work.
Natural peanut butter can separate and affect texture unless thoroughly stirred until no oil is visible. A creamy, no-stir peanut butter yields the best, most consistent results.
Store fudge in an airtight container in the refrigerator with wax paper between layers to prevent sticking. It keeps at room temperature for short periods, but refrigeration extends freshness.
Yes. Wrap tightly in plastic wrap (and aluminum foil if desired) and place in an airtight container. Frozen fudge will keep up to 3 months. Thaw to room temperature before slicing if it was stored as a single slab.
Enjoy These Other Chocolate Peanut Butter Treats!
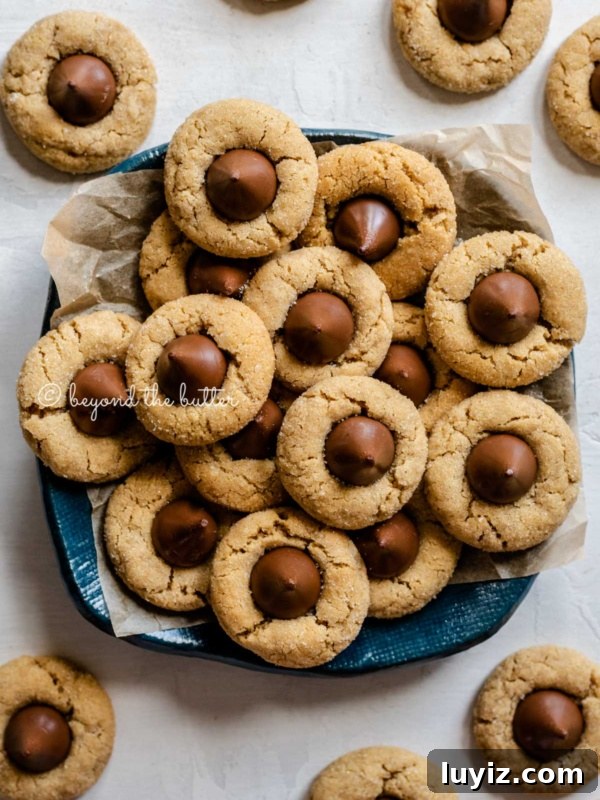
Classic Peanut Butter Blossoms

Chocolate Covered Peanut Butter Eggs
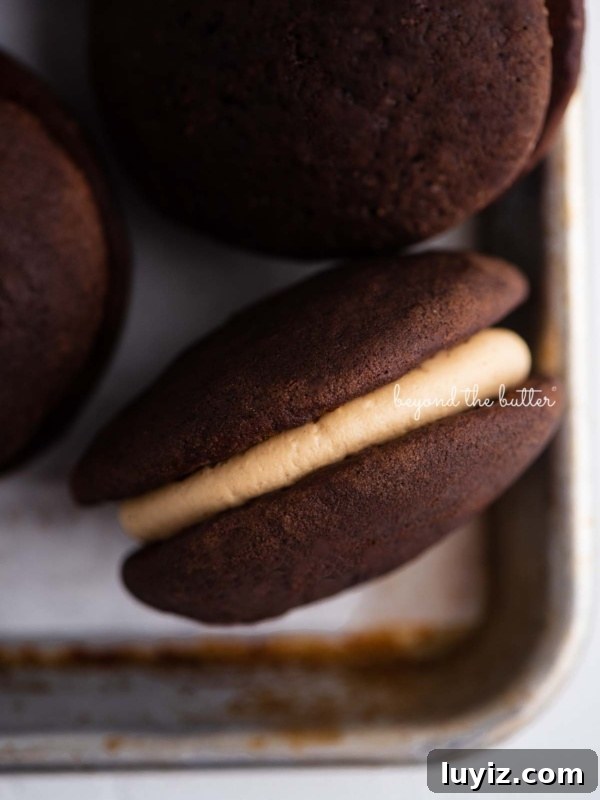
Chocolate Peanut Butter Whoopie Pies
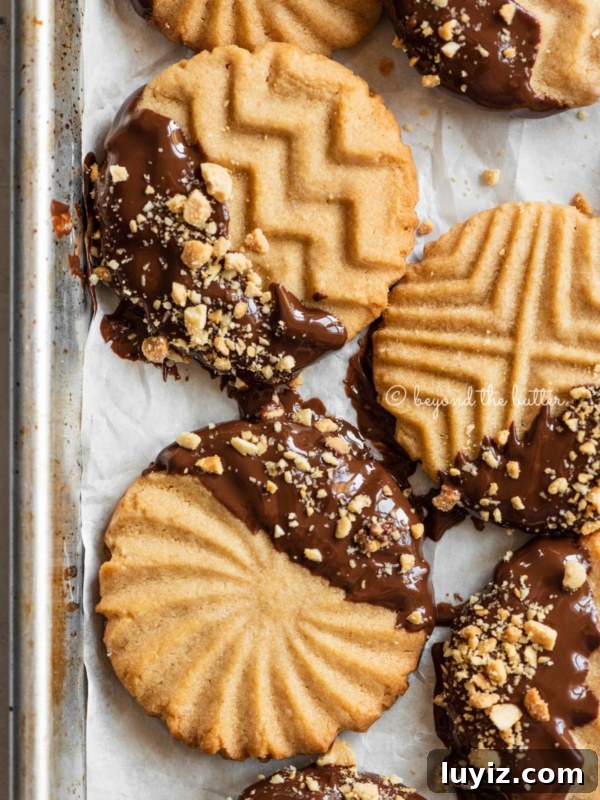
Chocolate Dipped Peanut Butter Cookies
Chocolate Peanut Butter Fudge
Ingredients
- 25-30 Mini Peanut Butter Cups, chopped
- 14 oz Sweetened Condensed Milk
- 12 oz Semi-Sweet Chocolate Chips
- 1 3/4 cups Creamy Peanut Butter
- 1 tsp Vanilla Extract
- 1/8 tsp Salt
Instructions
- Line a 9-inch square pan with parchment paper or foil.
- Chop the mini peanut butter cups and set aside.
- In a large microwaveable bowl, combine the sweetened condensed milk and chocolate chips. Microwave 1 minute, stir, then continue in 30–45 second increments at 60% power until smooth.
- Stir in the peanut butter, vanilla, and salt until well blended.
- Transfer to the prepared pan and top with the chopped peanut butter cups, pressing them lightly into the surface.
- Refrigerate uncovered for at least 1 hour to set.
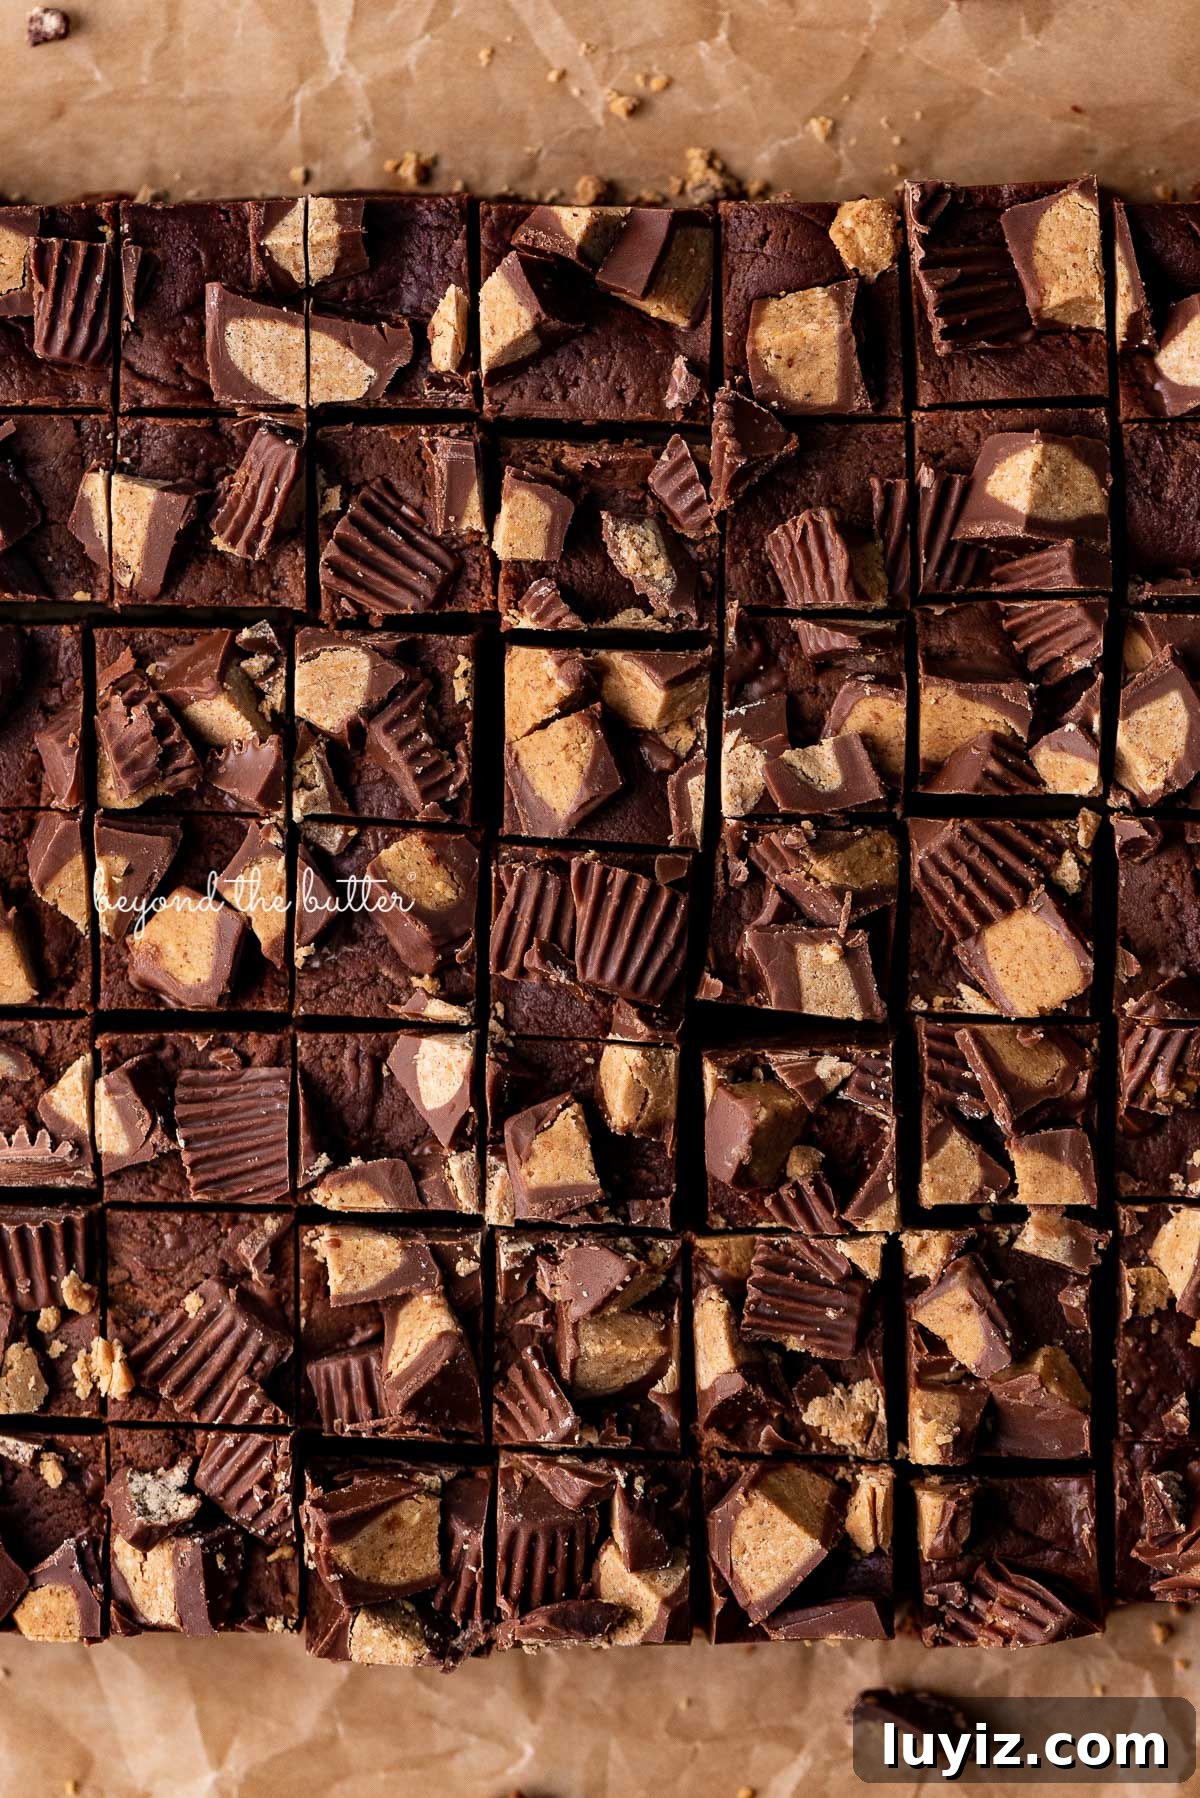
- Remove from the pan, peel away the lining, and cut into squares. This recipe yields about 49 one-inch squares when trimmed.
- Store in an airtight container in the refrigerator for up to 2 weeks, or freeze up to 3 months.
Notes
Nutrition
Nutritional information provided above is an estimate only and will vary based on specific ingredients used.