
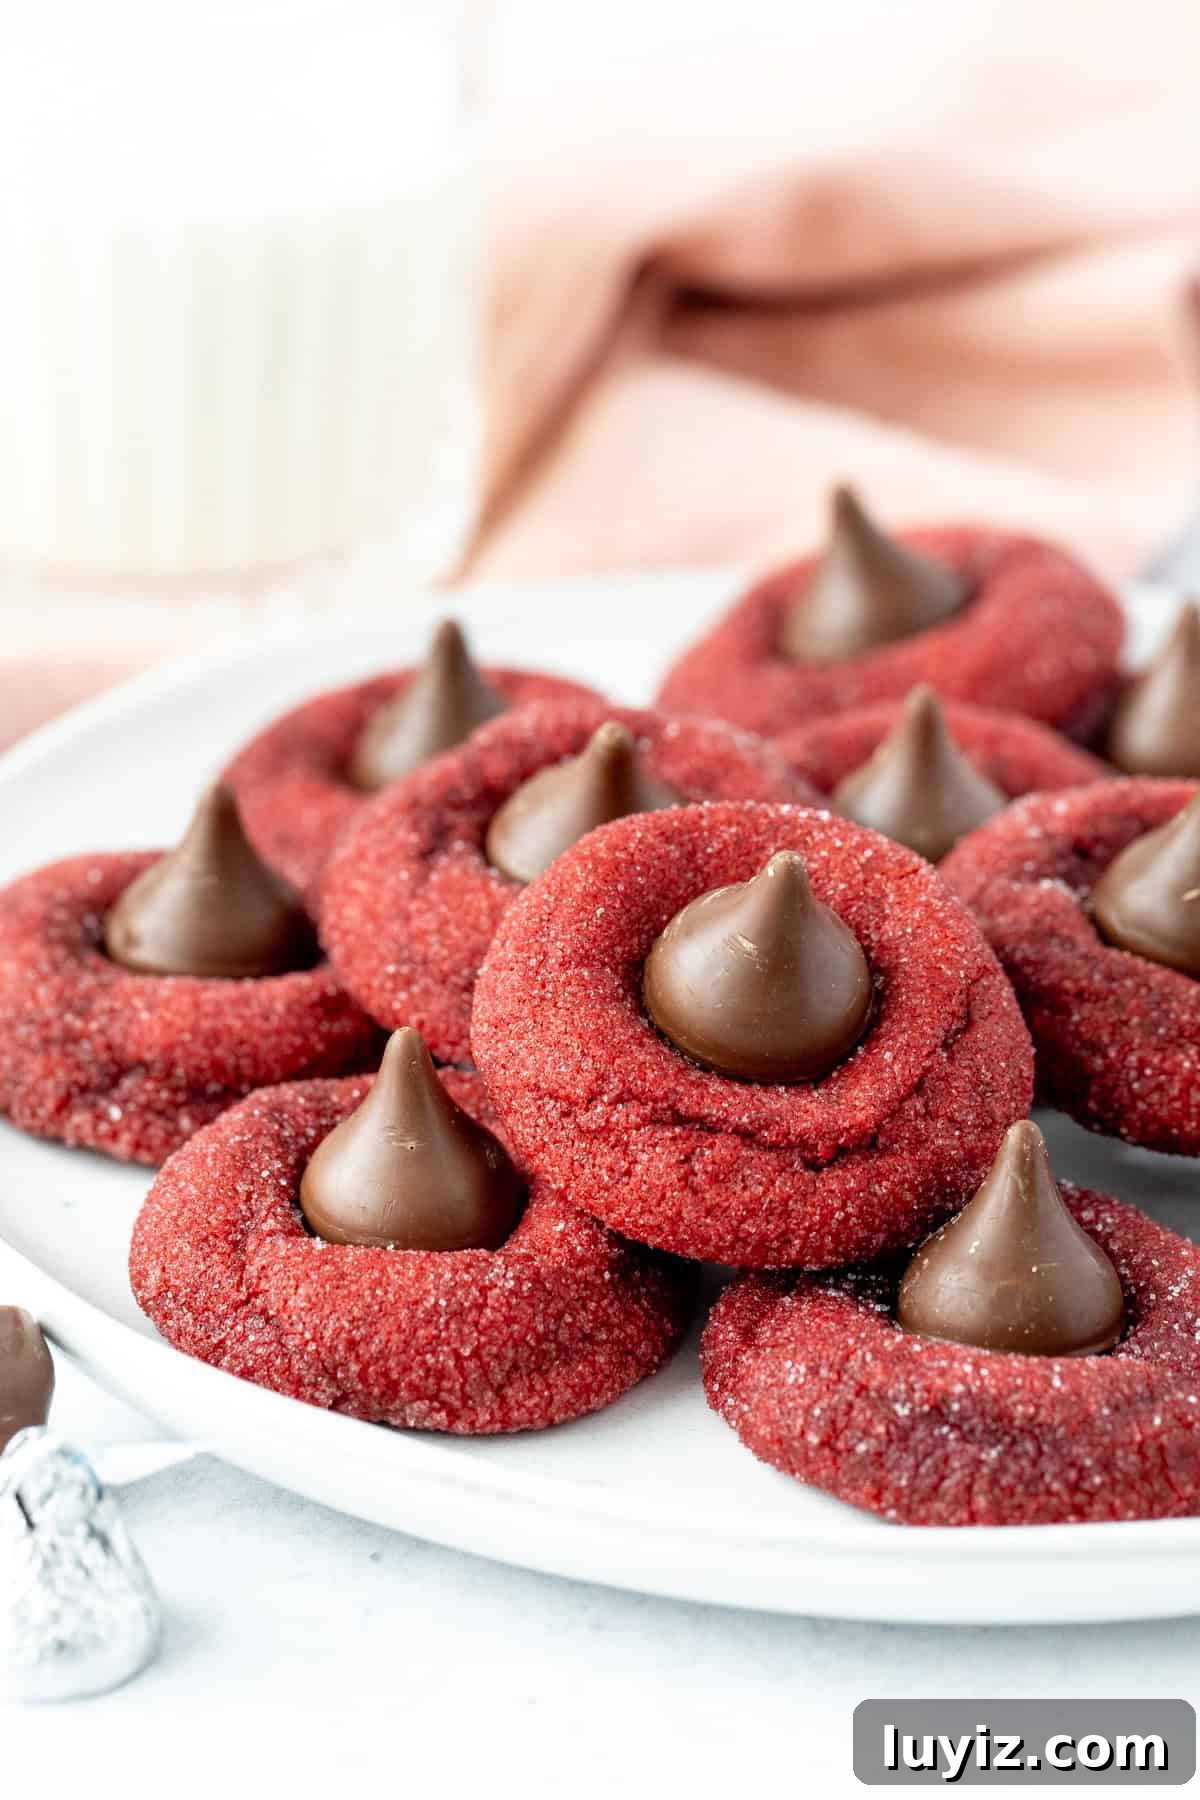
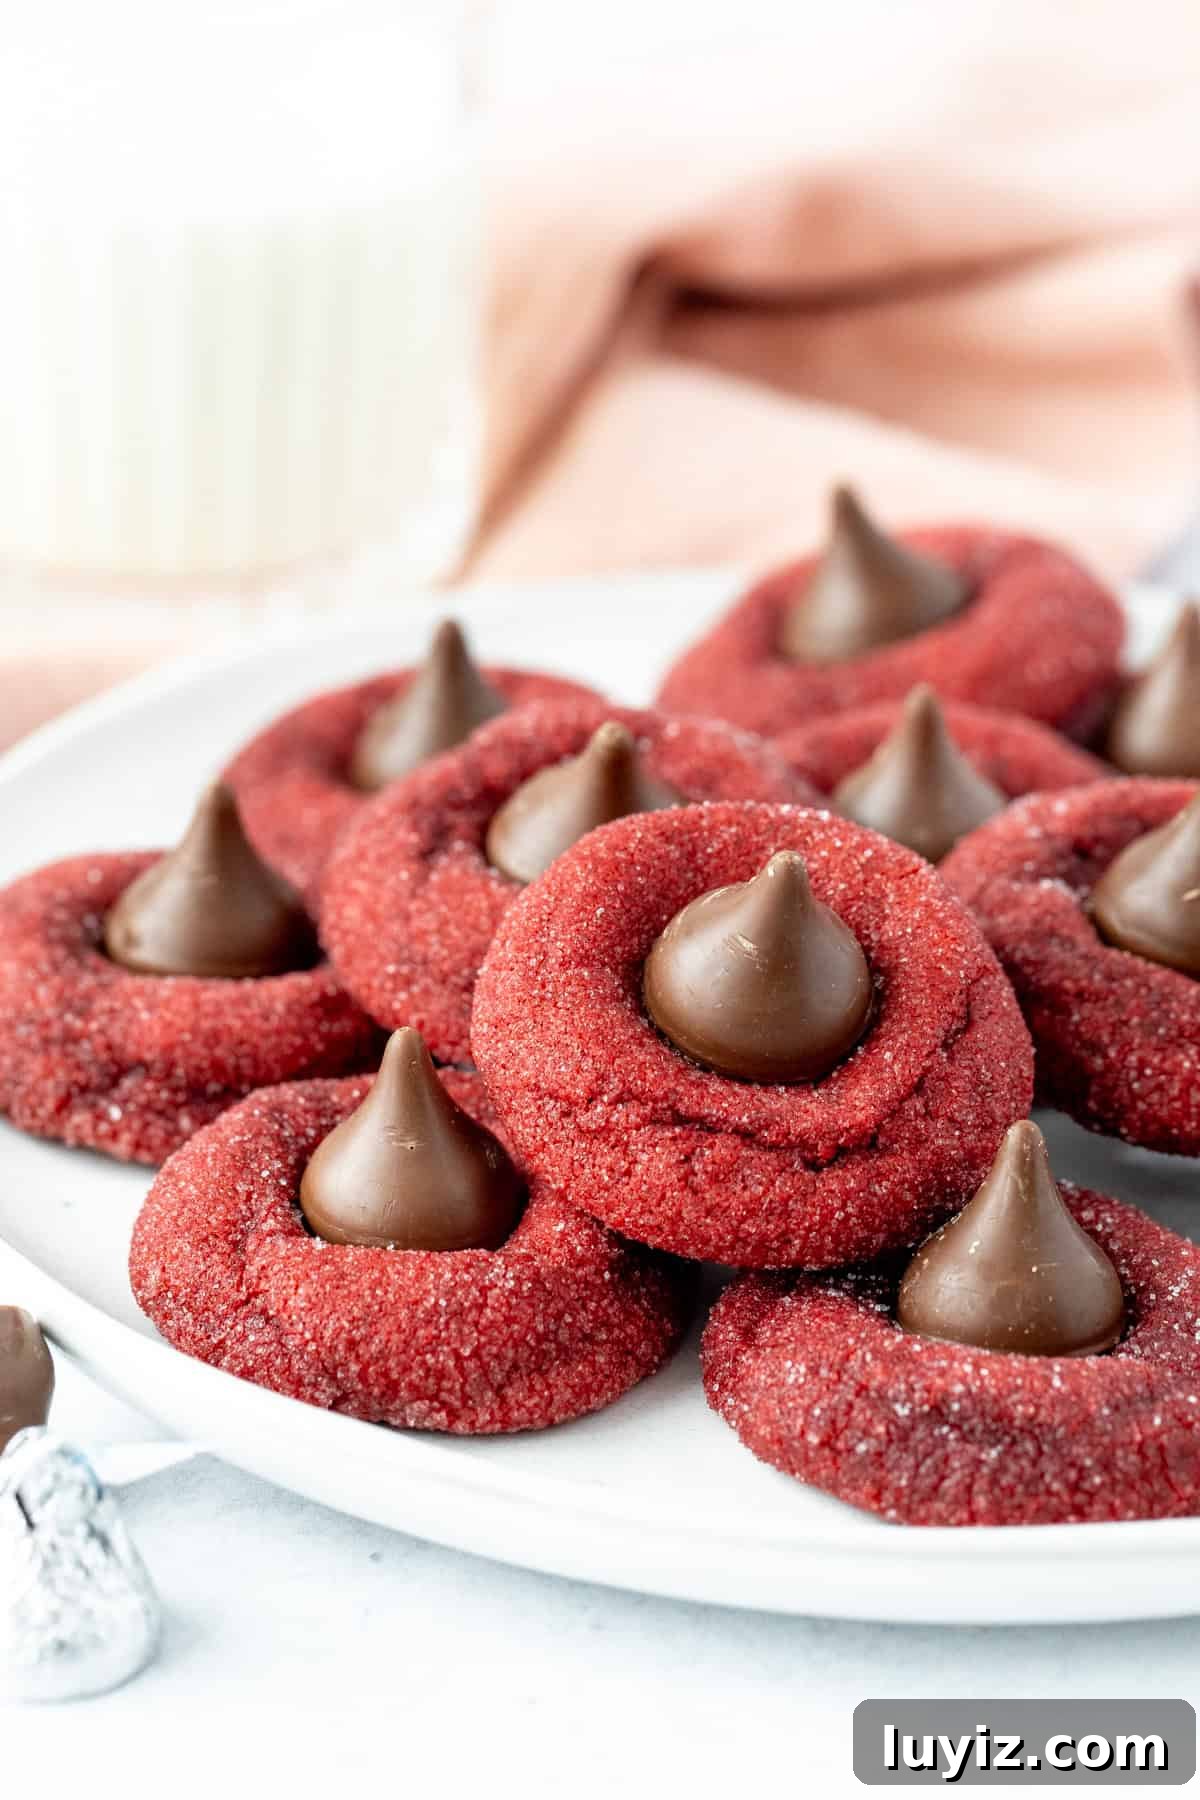
These red velvet blossom cookies are gorgeous and perfect for anyone who loves red velvet. Soft and chewy with a subtle cocoa note and vibrant red color, the dough balls are rolled in sugar before baking and finished with a Hershey’s Kiss pressed on top. Ideal for Valentine’s Day or holiday baking.
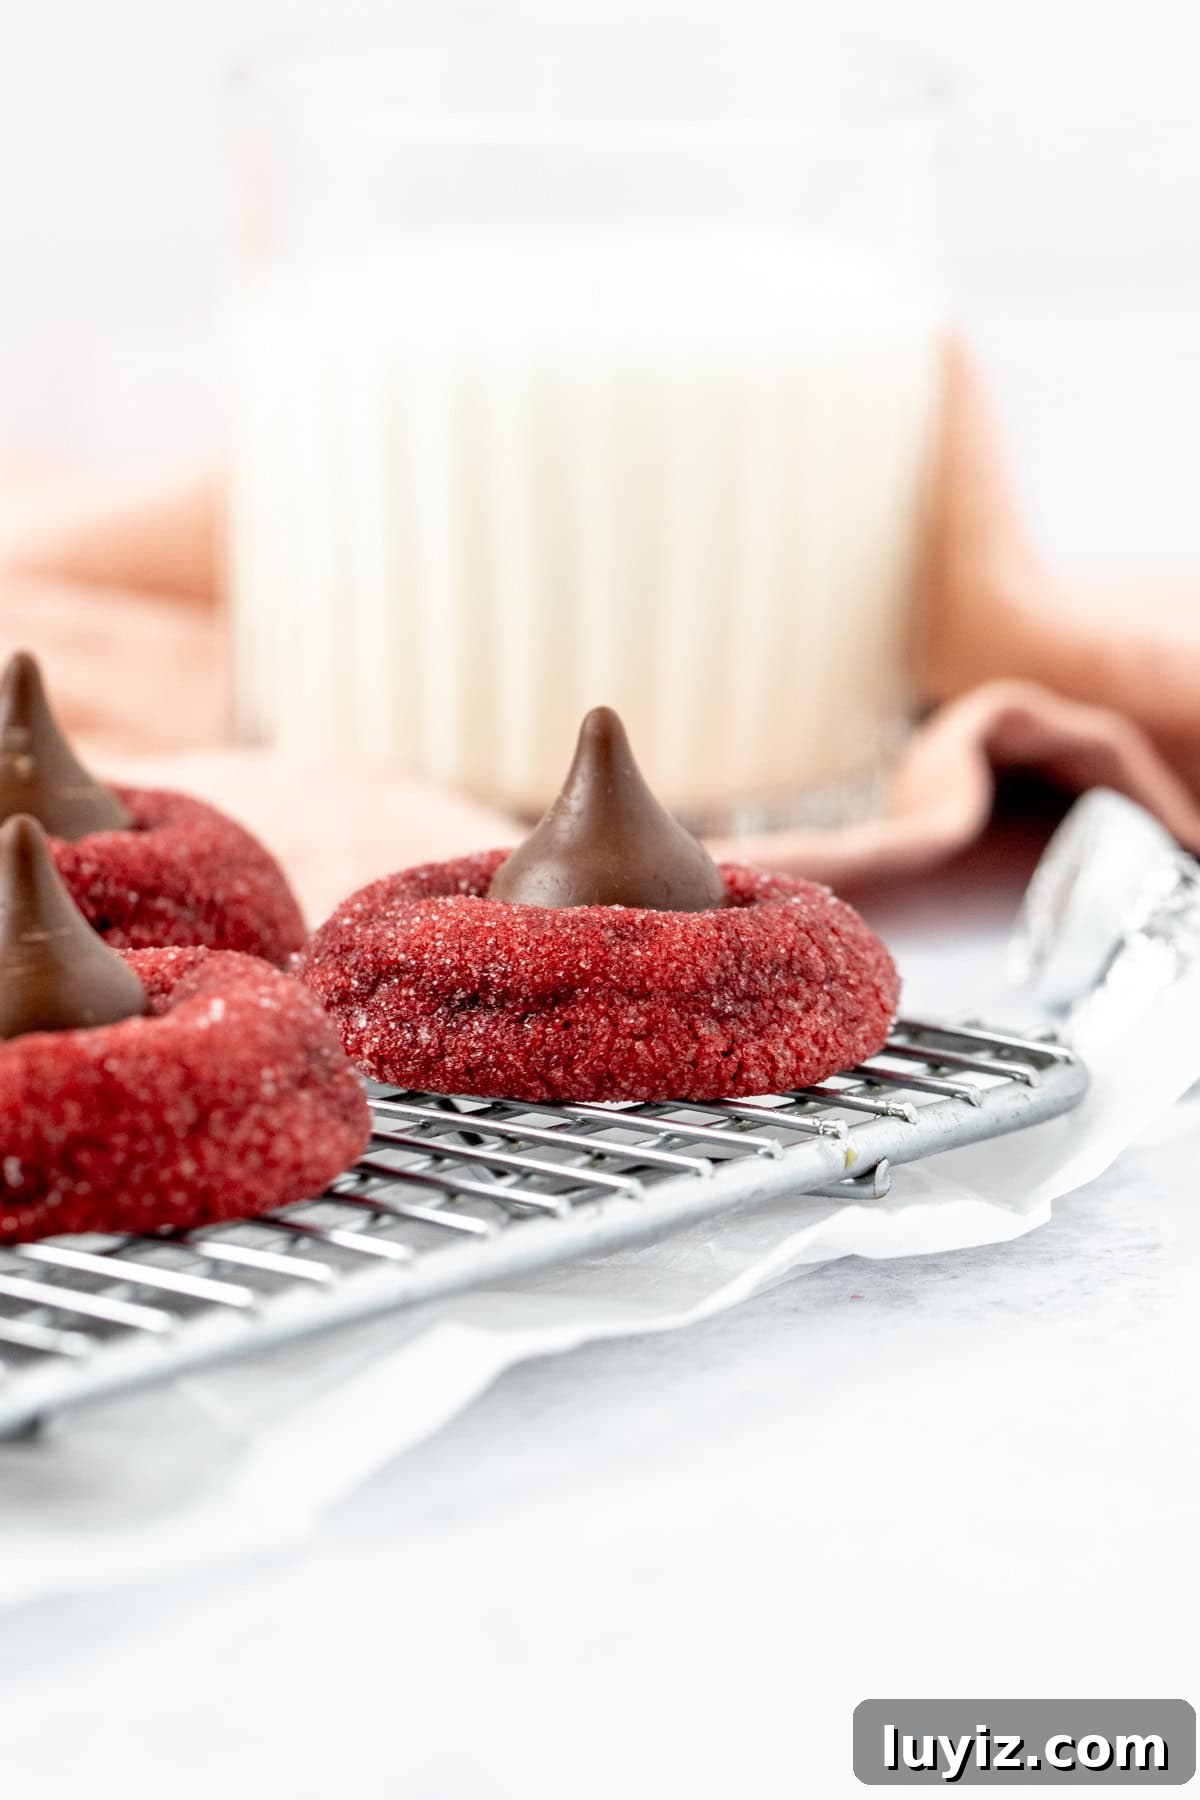
Red velvet blossoms are a variation on classic blossom cookies like peanut butter or chocolate blossoms. Sometimes called Hershey’s Kiss red velvet cookies, they’re tender and chewy with a light cocoa flavor, a crunchy sugar coating and a chocolate Kiss on top. Their red hue makes them festive for Valentine’s Day or Christmas, while the cocoa keeps the flavor balanced.
This dough requires chilling, so plan for at least two hours of refrigeration before forming and baking.
Table of Contents
- Ingredients Needed
- Method – with Photos
- Recipe Tip
- Storage & Make Ahead Tips
- FAQ – Can I Make these Cookies without Red Food Coloring?
- More Red Velvet Treats to Love
- Red Velvet Blossoms Recipe
Ingredients Needed
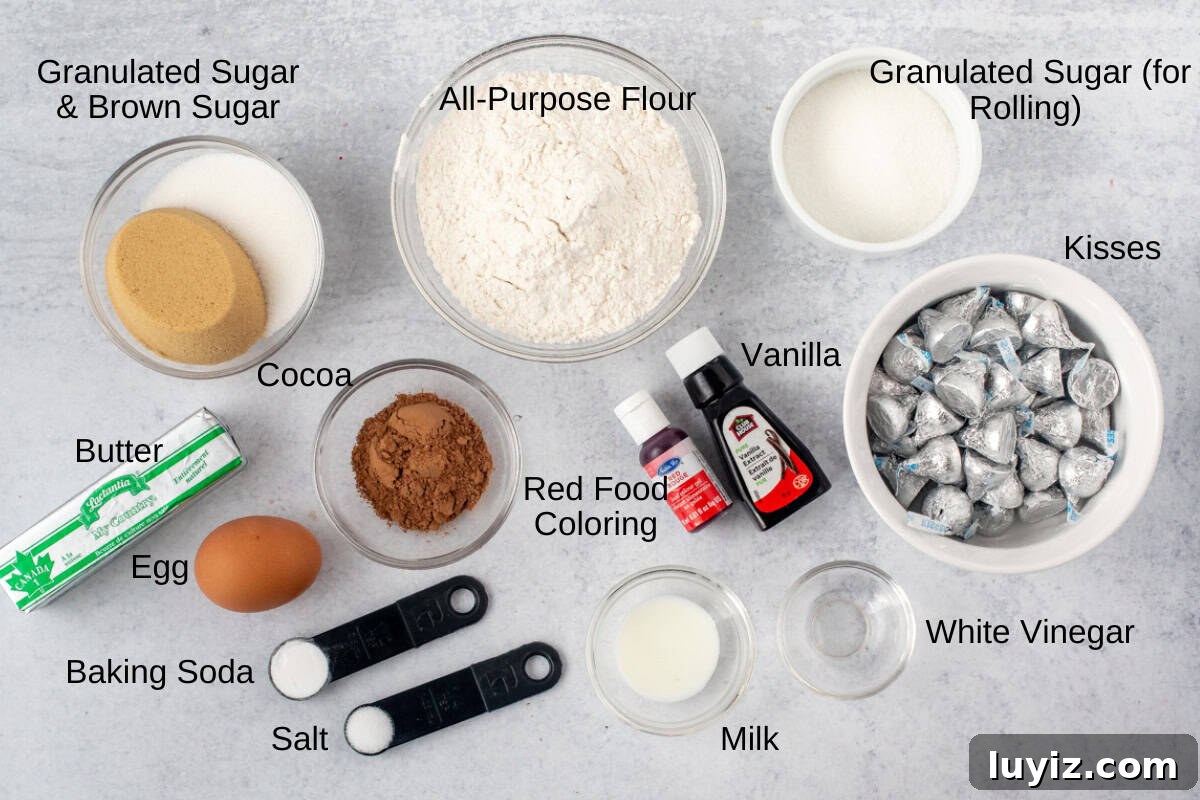
- All-Purpose Flour: Measure accurately (whisk first, then spoon into measuring cups or use a scale) to avoid dry cookies.
- Cocoa Powder: A small amount of natural cocoa gives the red velvet flavor without darkening the dough too much; avoid Dutch-processed if you want a brighter color.
- Baking Soda & Salt: Baking soda contributes to the classic tangy red velvet profile.
- Butter: Softened but not melted for proper creaming.
- Granulated & Brown Sugar: Brown sugar adds chewiness while granulated sugar helps structure.
- Large Egg: Adds structure and tenderness.
- Red Food Coloring: Gel is concentrated and works well, though liquid will also work.
- Vanilla Extract: For flavor depth.
- Milk: A touch of milk keeps the dough easy to scoop; 2% works fine.
- White Vinegar: Adds a slight tang typical of red velvet recipes.
- Granulated Sugar (for rolling): Gives the cookies a sparkly, slightly crunchy exterior.
- Hershey’s Kisses: Regular milk chocolate is classic, but other small chocolates work too.
Method – with Photos
The dough should chill for at least 2 hours or up to 48 hours so it’s easier to handle and the cookies don’t spread too thin while baking.
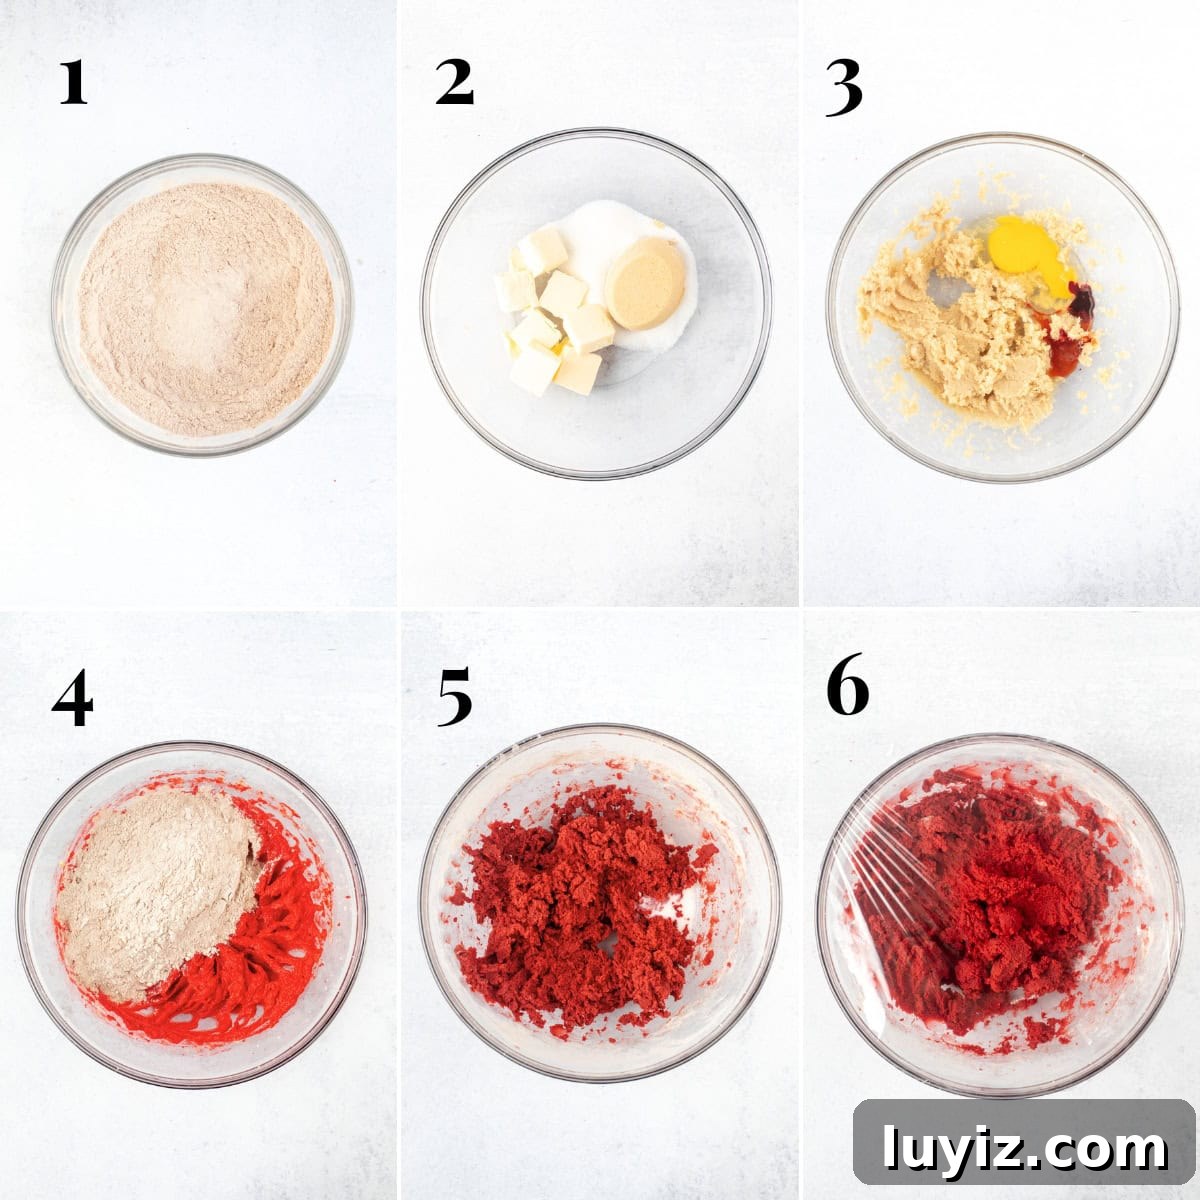
Make the Dough
- Sift the dry ingredients: Combine flour, cocoa, baking soda and salt; whisk to remove lumps and set aside.
- Cream butter and sugars: Beat butter with brown and granulated sugar until smooth and fluffy.
- Add wet ingredients: Beat in the egg, vanilla, red food coloring and vinegar. The batter may look very bright at this stage; the color will mellow when the dry ingredients are combined.
- Incorporate dry ingredients: Mix in the flour mixture on low speed until just combined; the dough will be thick.
- Stir in milk: Add the milk to reach a scoopable consistency.
- Chill: Cover and refrigerate the dough for at least 2 hours or up to 48 hours.
Assemble & Bake
- Freeze the Kisses: Unwrap the Hershey’s Kisses, place them in a freezer bag and freeze about 30 minutes before baking so they hold their shape when pressed into warm cookies.
- Preheat oven: Heat to 350°F (180°C) and line cookie sheets with parchment or silicone mats.
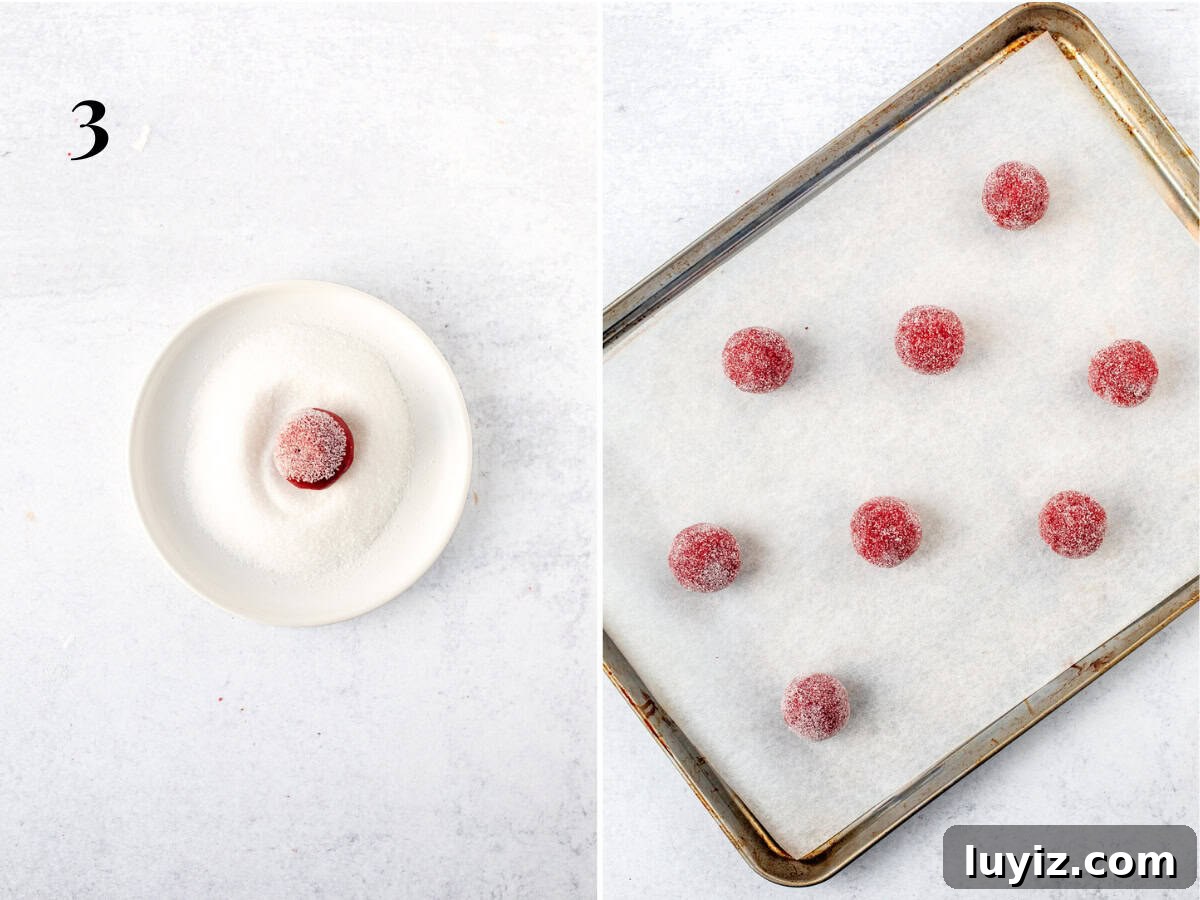
- Form and roll: Scoop about 1 to 1½ tablespoons of dough per cookie, roll into balls and coat each ball in granulated sugar.
- Bake: Arrange dough balls about 2 inches apart and bake 8–12 minutes, or until the tops look set.
- Top with a Kiss: Let the cookies rest 5 minutes out of the oven, then press a frozen Hershey’s Kiss into the center of each. For extra reassurance the chocolate won’t melt, freeze the sheet for 5–10 minutes after adding the Kisses.
Recipe Tip
Use any small chocolate you like for the topping. Hershey’s Hugs, white chocolate swirls or a small Lindt truffle will all make lovely variations if you want something extra special.
Storage & Make Ahead Tips
Store baked cookies in an airtight container at room temperature for up to 4 days, or refrigerate for up to 7 days. Fully cooled cookies can be frozen for up to 2 months—thaw in the fridge and bring to room temperature before serving. The dough keeps in the fridge for up to 48 hours, so making it a day ahead is convenient.

FAQ – Can I Make these Cookies without Red Food Coloring?
Without red food coloring the cookies will bake to a light brown color but the flavor remains the same. Natural alternatives like beetroot powder can tint the dough, but achieving the vivid red typical of red velvet usually requires food coloring.
More Red Velvet Treats to Love
- Red Velvet Chocolate Chip Cookies
- Red Velvet Cookie Cake – a giant cookie sliced like a cake
- Single Serving Red Velvet Cookie
- Red Velvet Brownies – thick, chewy brownies that pair well with white chocolate or cream cheese frosting

Red Velvet Blossoms
Equipment
-
Cookie Sheets
Ingredients
- 1 2/3 cup all-purpose flour (209 grams)
- 2 tablespoons natural cocoa powder
- 1/2 teaspoon baking soda
- 1/4 teaspoon salt
- 1/2 cup unsalted butter (112 grams), softened
- 1/2 cup brown sugar (105 grams)
- 1/3 cup granulated sugar (67 grams), for the dough
- 1 large egg
- 1-2 teaspoons red food coloring
- 1/2 teaspoon white vinegar
- 1 teaspoon vanilla extract
- 2 teaspoons milk (10 ml)
- 1/3 cup granulated sugar (67 grams), for rolling
- 28-32 Hershey’s Kisses
Instructions
Make the Dough
- Sift together flour, cocoa, baking soda and salt in a medium bowl and whisk to combine.
- In a large bowl, beat butter with brown sugar and granulated sugar until creamy.
- Beat in the egg, red food coloring, vinegar and vanilla until combined; the dough will look bright but will mellow with the dry ingredients.
- Gradually mix in the flour mixture on low speed until incorporated.
- Stir in the milk to reach a scoopable dough.
- Cover and refrigerate the dough for at least 2 hours or up to 48 hours.
Assemble & Bake
- Unwrap Kisses, place them in a freezer bag and freeze for about 30 minutes so they hold their shape.
- Preheat oven to 350℉ (180℃) and line cookie sheets.
- Pour rolling sugar into a shallow dish. Scoop dough (about 1 tablespoon each), roll into balls and coat in sugar.
- Place dough balls 2 inches apart and bake one sheet at a time for 9–12 minutes or until tops are set.
- Remove from oven, cool 5 minutes, then press a frozen Hershey’s Kiss into the center of each cookie. For minimal melting, return the sheet to the freezer for 5–10 minutes.
Notes
- Flour: Whisk then spoon into measuring cups or use a scale for best results to prevent dry cookies.
- Cocoa: Natural cocoa keeps the color brighter and the chocolate flavor gentle.
- Storage: Store in an airtight container at room temperature for up to 4 days or refrigerate up to 7 days. Ensure chocolate is set before stacking.
- Nutrition: Values are estimates based on 30 cookies.
Nutrition
Like this recipe? Rate and comment below!