
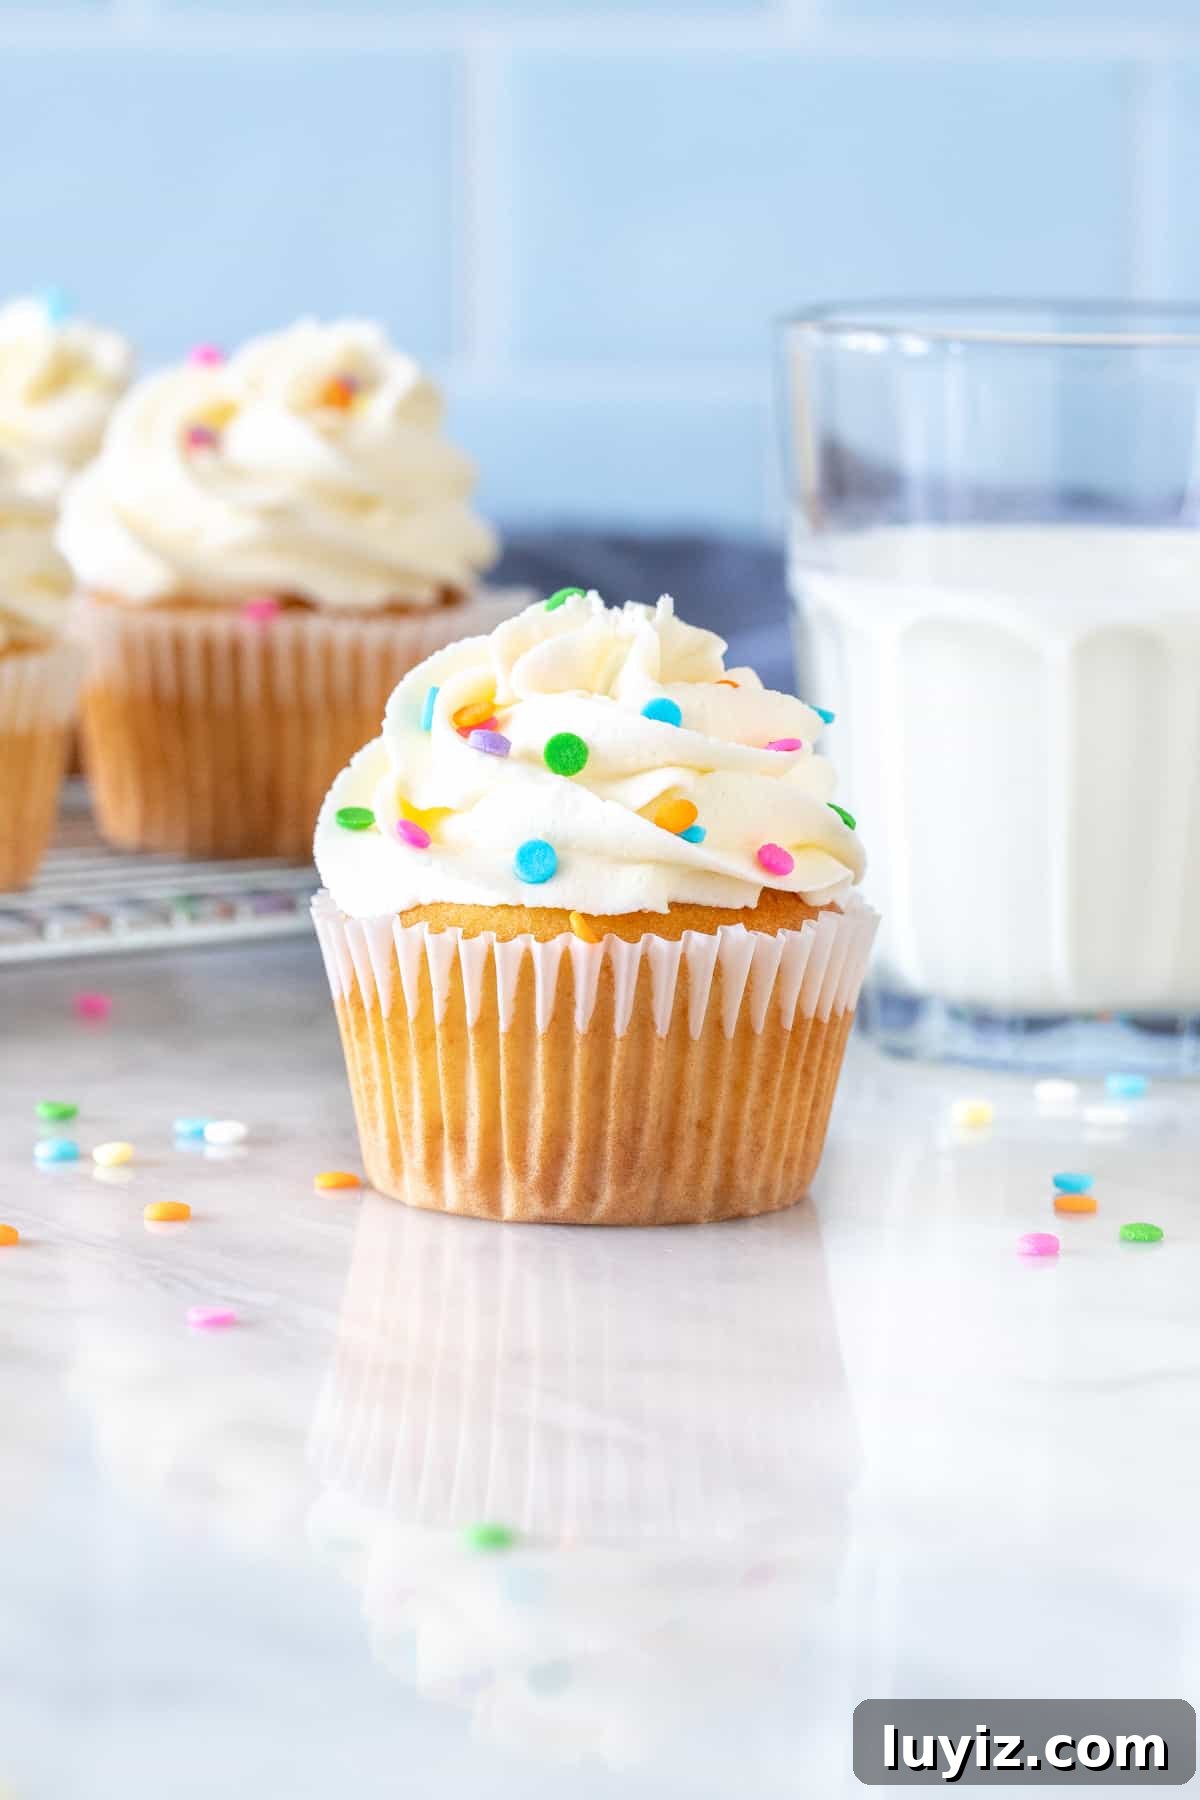
Learn tips and techniques to make thick, creamy bright white buttercream frosting ideal for cakes and cupcakes. This method produces a very white base that takes food coloring more accurately, and works well when you need true white frosting for weddings or special occasions. 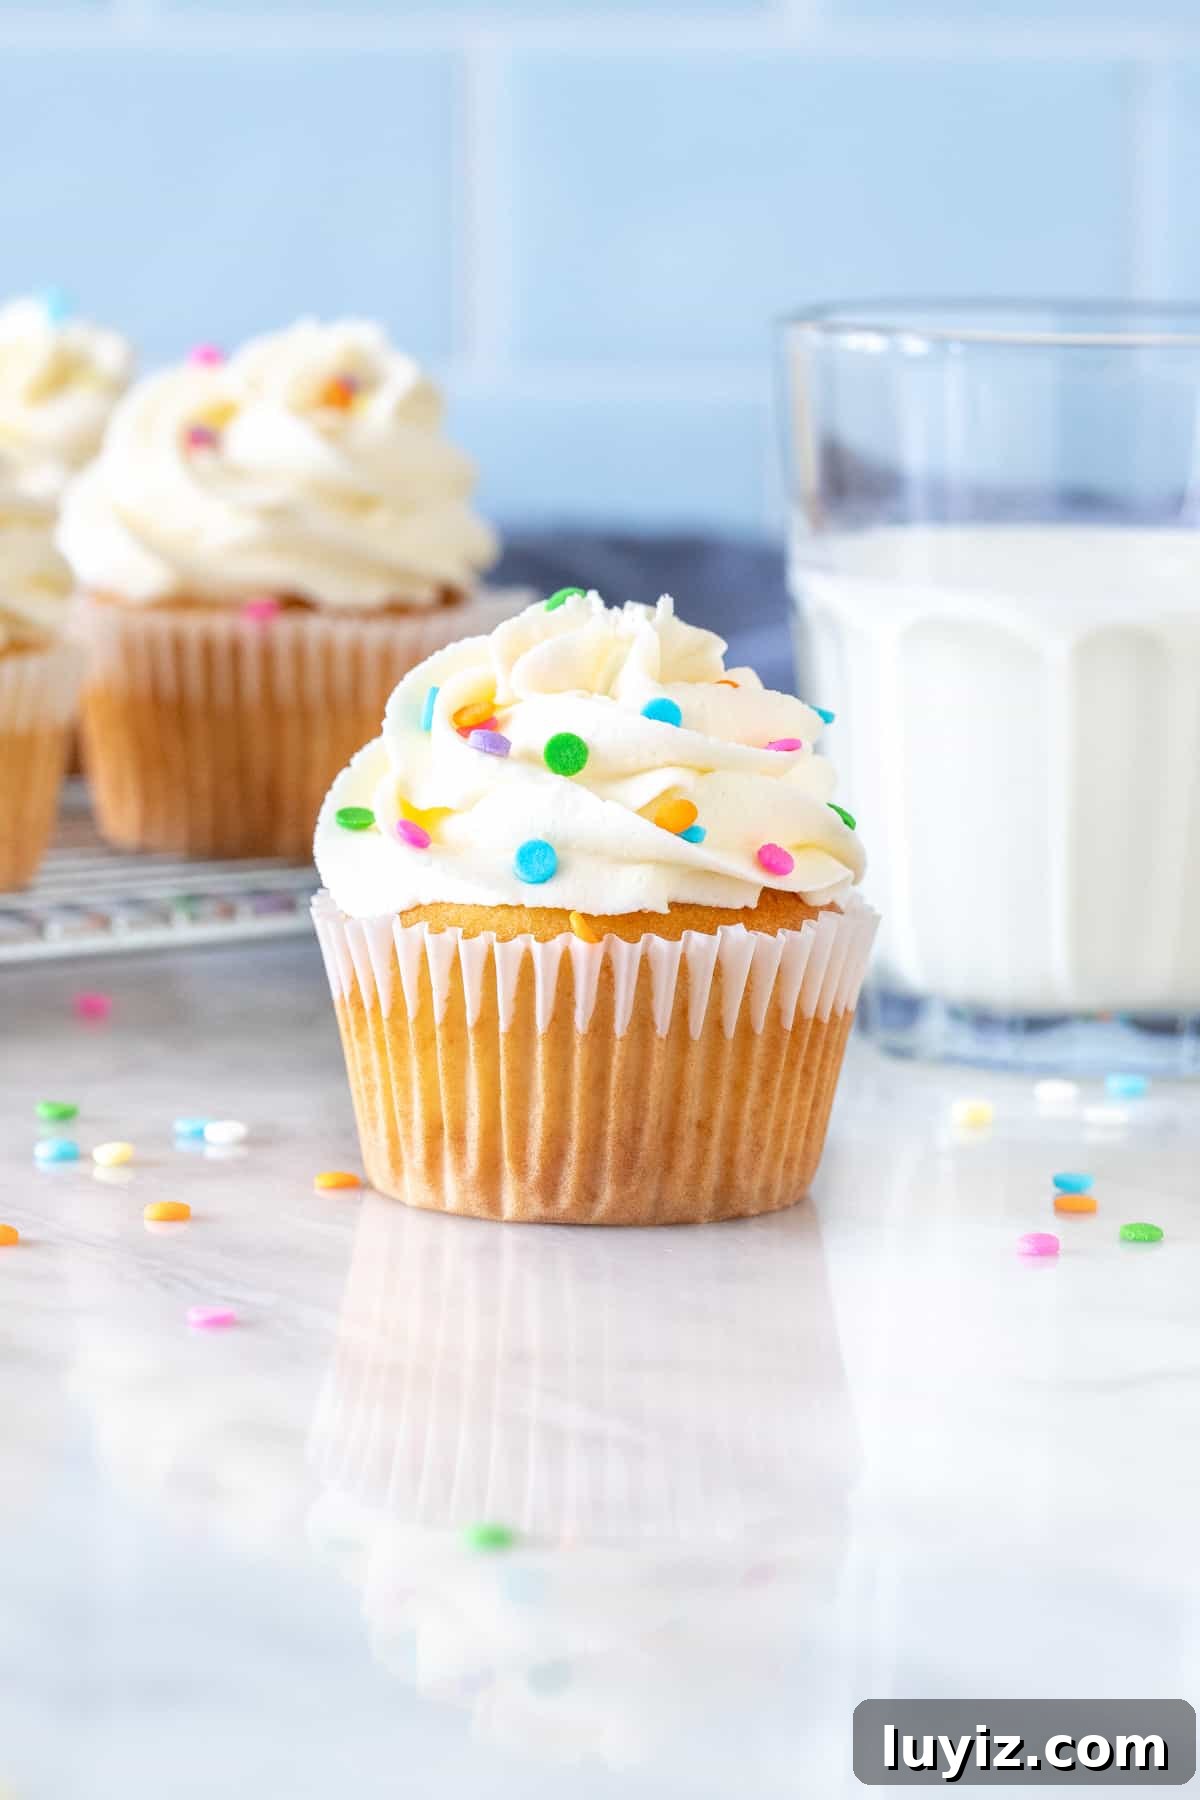
American-style vanilla buttercream often appears pale yellow or cream-colored because of the butter and vanilla extract. If your goal is a bright white finish, there are a few straightforward adjustments that will get you there without sacrificing flavor.
White frosting also accepts color more predictably. For example, if you want a pale blue, starting from a truly white base avoids the greenish tinge you can get when tinting an off-white or yellowish frosting.
Many store-bought frostings achieve a white appearance by using shortening instead of butter. Shortening can make a very white frosting, but it lacks butter’s rich flavor and can leave an oily mouthfeel.
Here are practical tips for making white frosting while keeping the buttery taste:
Choose Butter that’s Very Pale
Butter color varies by brand and the cows’ diet. Start with the palest butter you can find—this makes a big difference. Below is an example of four butter blocks to illustrate the range of color you might encounter.
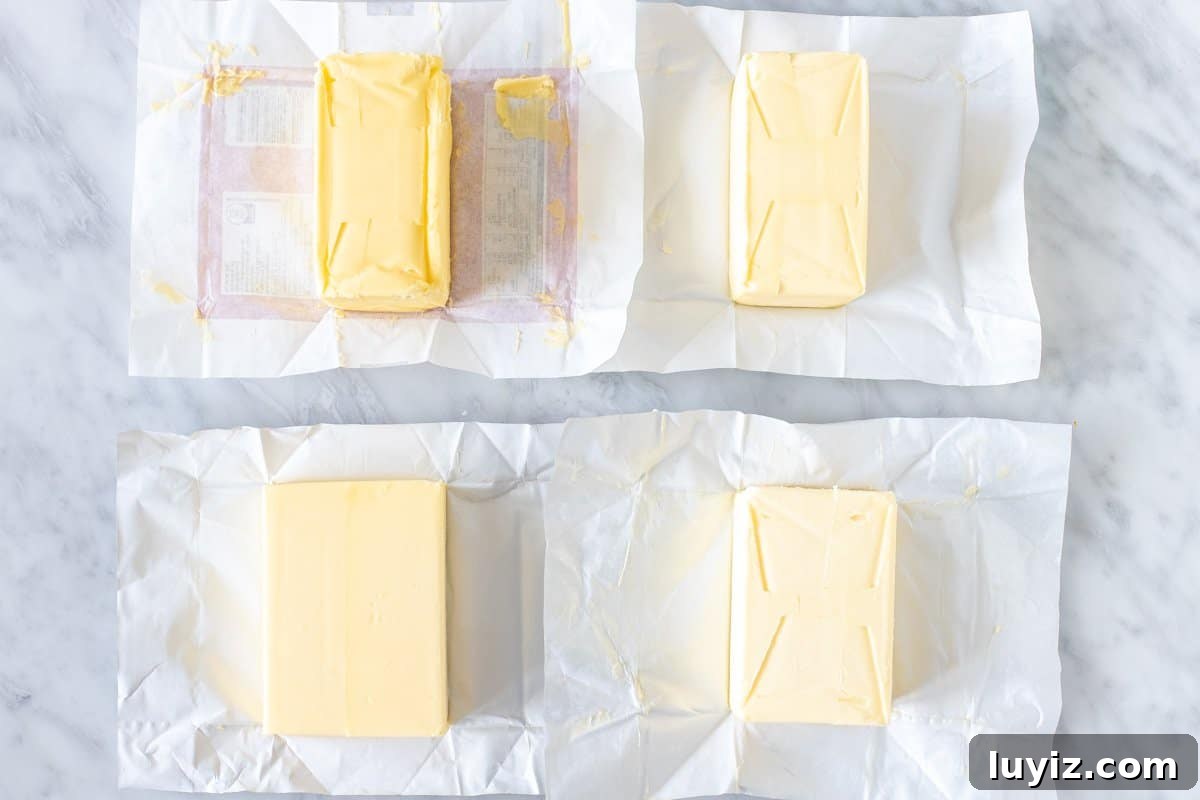
Note: Brand availability varies by country, so choose the palest option you can access locally.
Really Whip the Butter
Beating the butter until it is extremely pale is the single most effective trick. Use an electric mixer or a stand mixer and whip the butter on medium-high for several minutes—often close to 10 minutes—until it lightens and looks shiny and almost white. This step significantly reduces yellow tones before you add powdered sugar.
Choose Clear Flavorings & Extracts
Traditional vanilla extract is brown and will tint your frosting. Use clear flavorings—such as clear vanilla or almond extract—or omit flavoring until after you reach your desired color. Clear extracts add flavor without darkening the frosting.
Use White or Violet Food Coloring
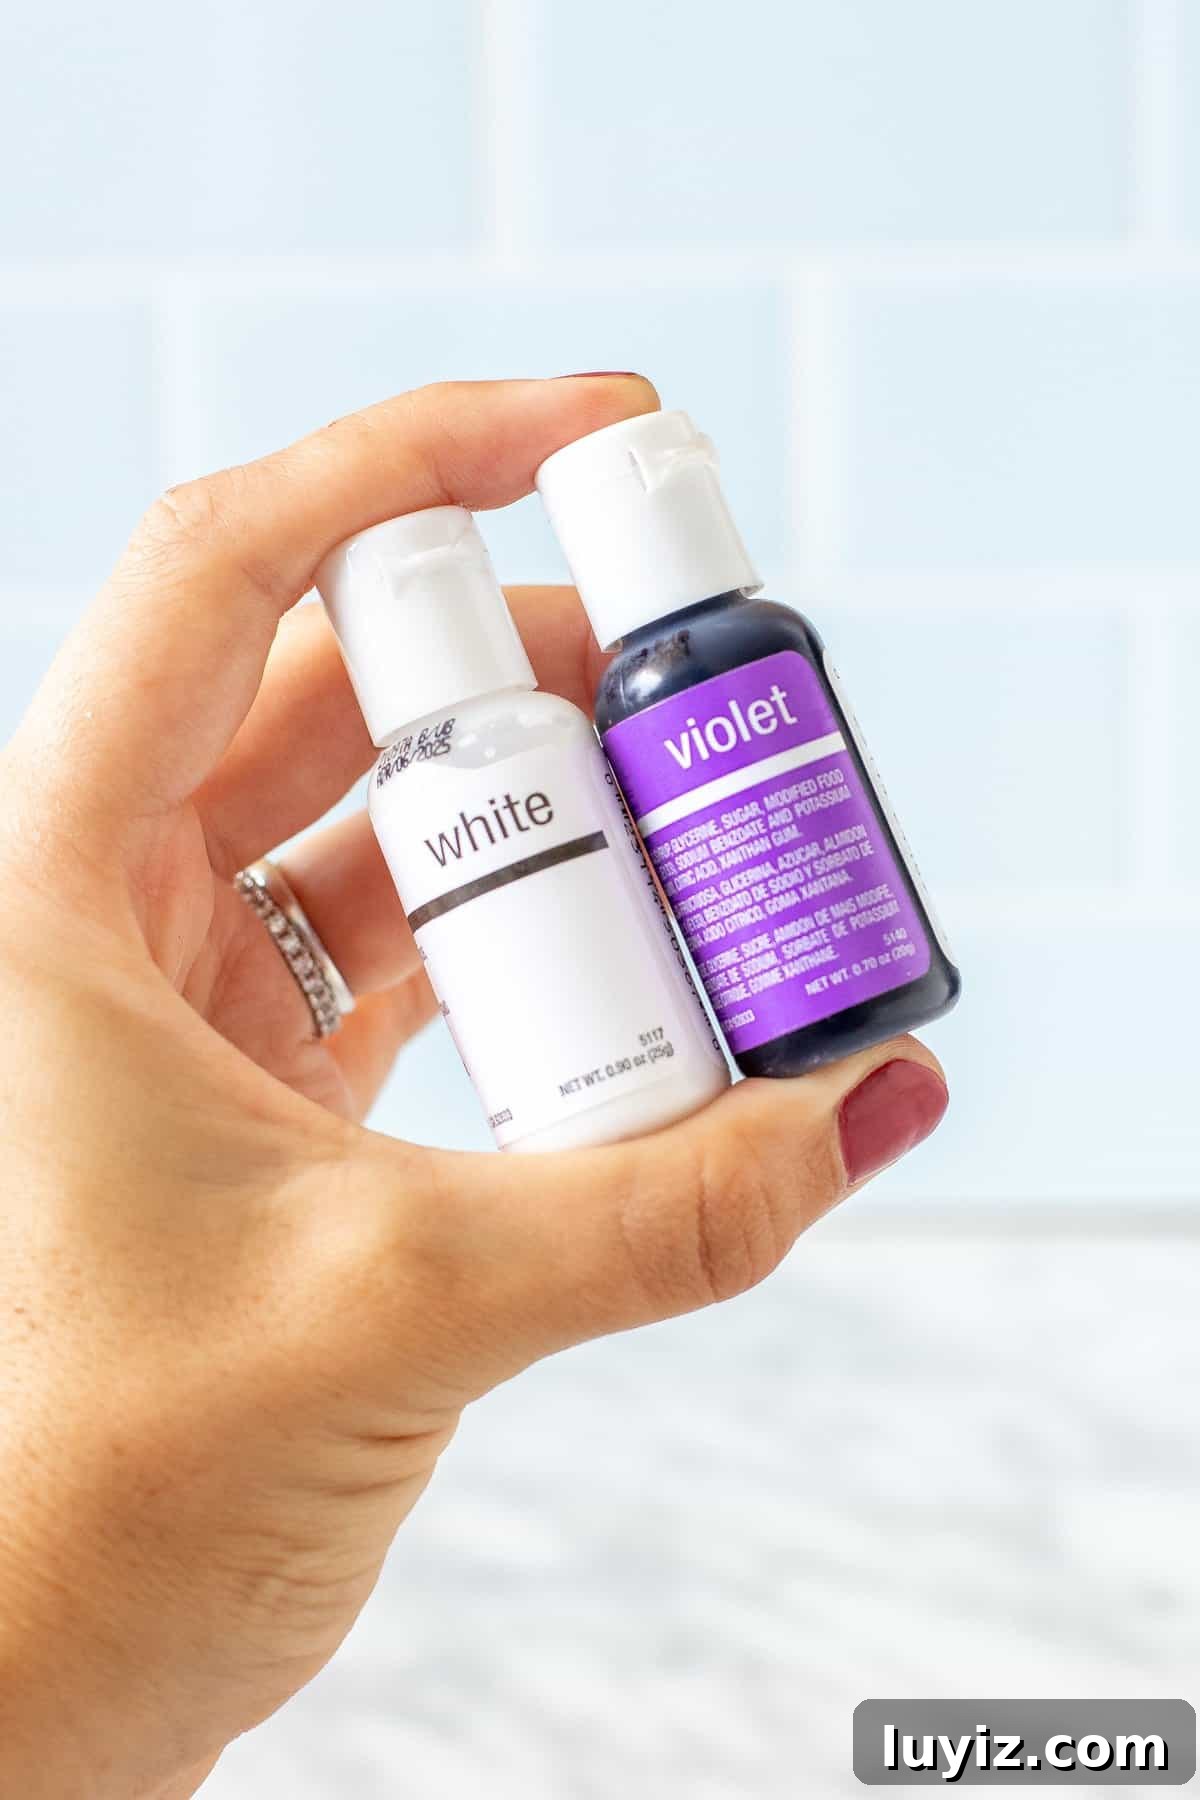
Specialty white food coloring can brighten the frosting. Another subtle option is violet food coloring: violet cancels yellow on the color wheel, so a tiny amount can neutralize residual yellow tones. Use extreme caution—do not squeeze drops directly into the frosting. Instead, dip a toothpick into the violet color and barely touch the beater or surface of the frosting, stirring gently. Add a hair’s breadth at a time to avoid turning the frosting purple.
In the photo below, the cupcake on the right was made using the tips above—especially beating the butter thoroughly—while the cupcake on the left used the same recipe but with less whipped butter and a less pale butter. The difference in whiteness is clear. 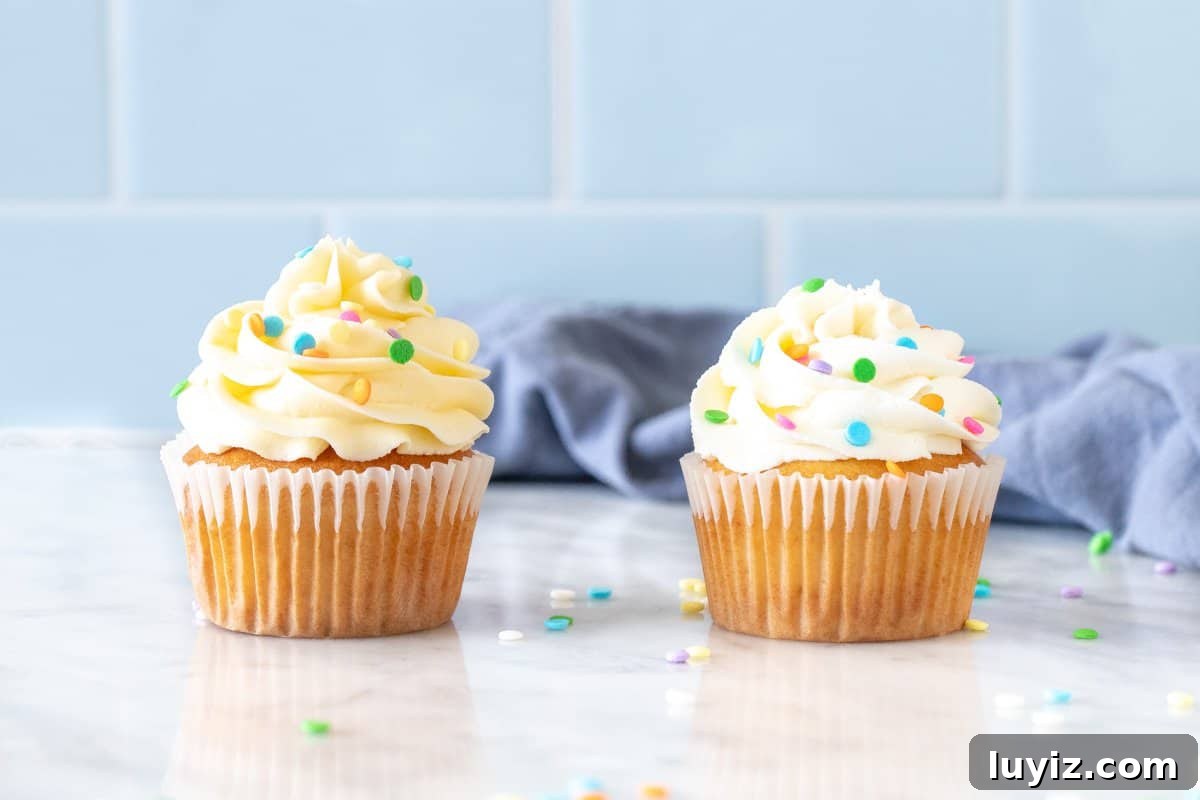
Delicious Cakes & Cupcakes for Your Frosting
- Vanilla Cupcakes
- Funfetti Cake
- White Cake
- Small-Batch Vanilla Cupcakes
Bright White Vanilla Frosting
Equipment
-
stand mixer or hand-held mixer
Ingredients
- 1 cup unsalted butter, softened slightly, but not starting to melt
- 4-5 cups powdered sugar
- 1/4 teaspoon salt
- 1/2 teaspoon clear vanilla extract, or another clear flavoring such as almond extract
- 3-4 tablespoons cream, or milk
- white food coloring, optional
- violet food coloring, optional, use sparingly
Instructions
-
In a very large bowl, beat the butter for 5–10 minutes on medium-high speed. Continue until the butter is very pale and shiny.
-
Add 2 cups powdered sugar and mix on low, then gradually increase the speed.
-
Add the salt and clear flavoring.
-
Beat in remaining powdered sugar in 1/2–1 cup increments, alternating with 1 tablespoon of cream until you reach the desired consistency and sweetness.
-
Optionally add a drop or two of white food coloring. If using violet to neutralize yellow, dip a toothpick into the violet color and touch the beater or bowl—do this with the mixer stopped and add the tiniest amount. Avoid squeezing drops directly into the frosting.
-
Once the frosting reaches a bright white, you can tint it with other food colorings as needed.
-
Use the frosting to spread with a knife or pipe with a bag and tips. For cupcakes, a 1M tip works well for classic swirls.
Notes
- Butter: Choose the palest butter available. If using salted butter, omit the salt in the recipe.
- Cream: Whipping cream gives the best texture, but milk or half-and-half will work.
- Yield: This amount is sufficient for:
- 12 cupcakes with generous piping
- 18–24 cupcakes when spread with a knife
- a 9×13″ single-layer cake
- a two-layer 8″ cake with a thin layer of frosting
Multiply the recipe by 1.5 for thicker coverage or multi-layer cakes.
- Storage: Keep frosted cakes or cupcakes in an airtight container at room temperature for 2–3 days when kitchen temperatures are moderate. Store in the refrigerator in an airtight container for up to one week.
- Nutrition: Nutrition facts are estimates based on 12 servings and refer to the frosting only.