No-Bake Chocolate Peanut Butter Tart with Swirls
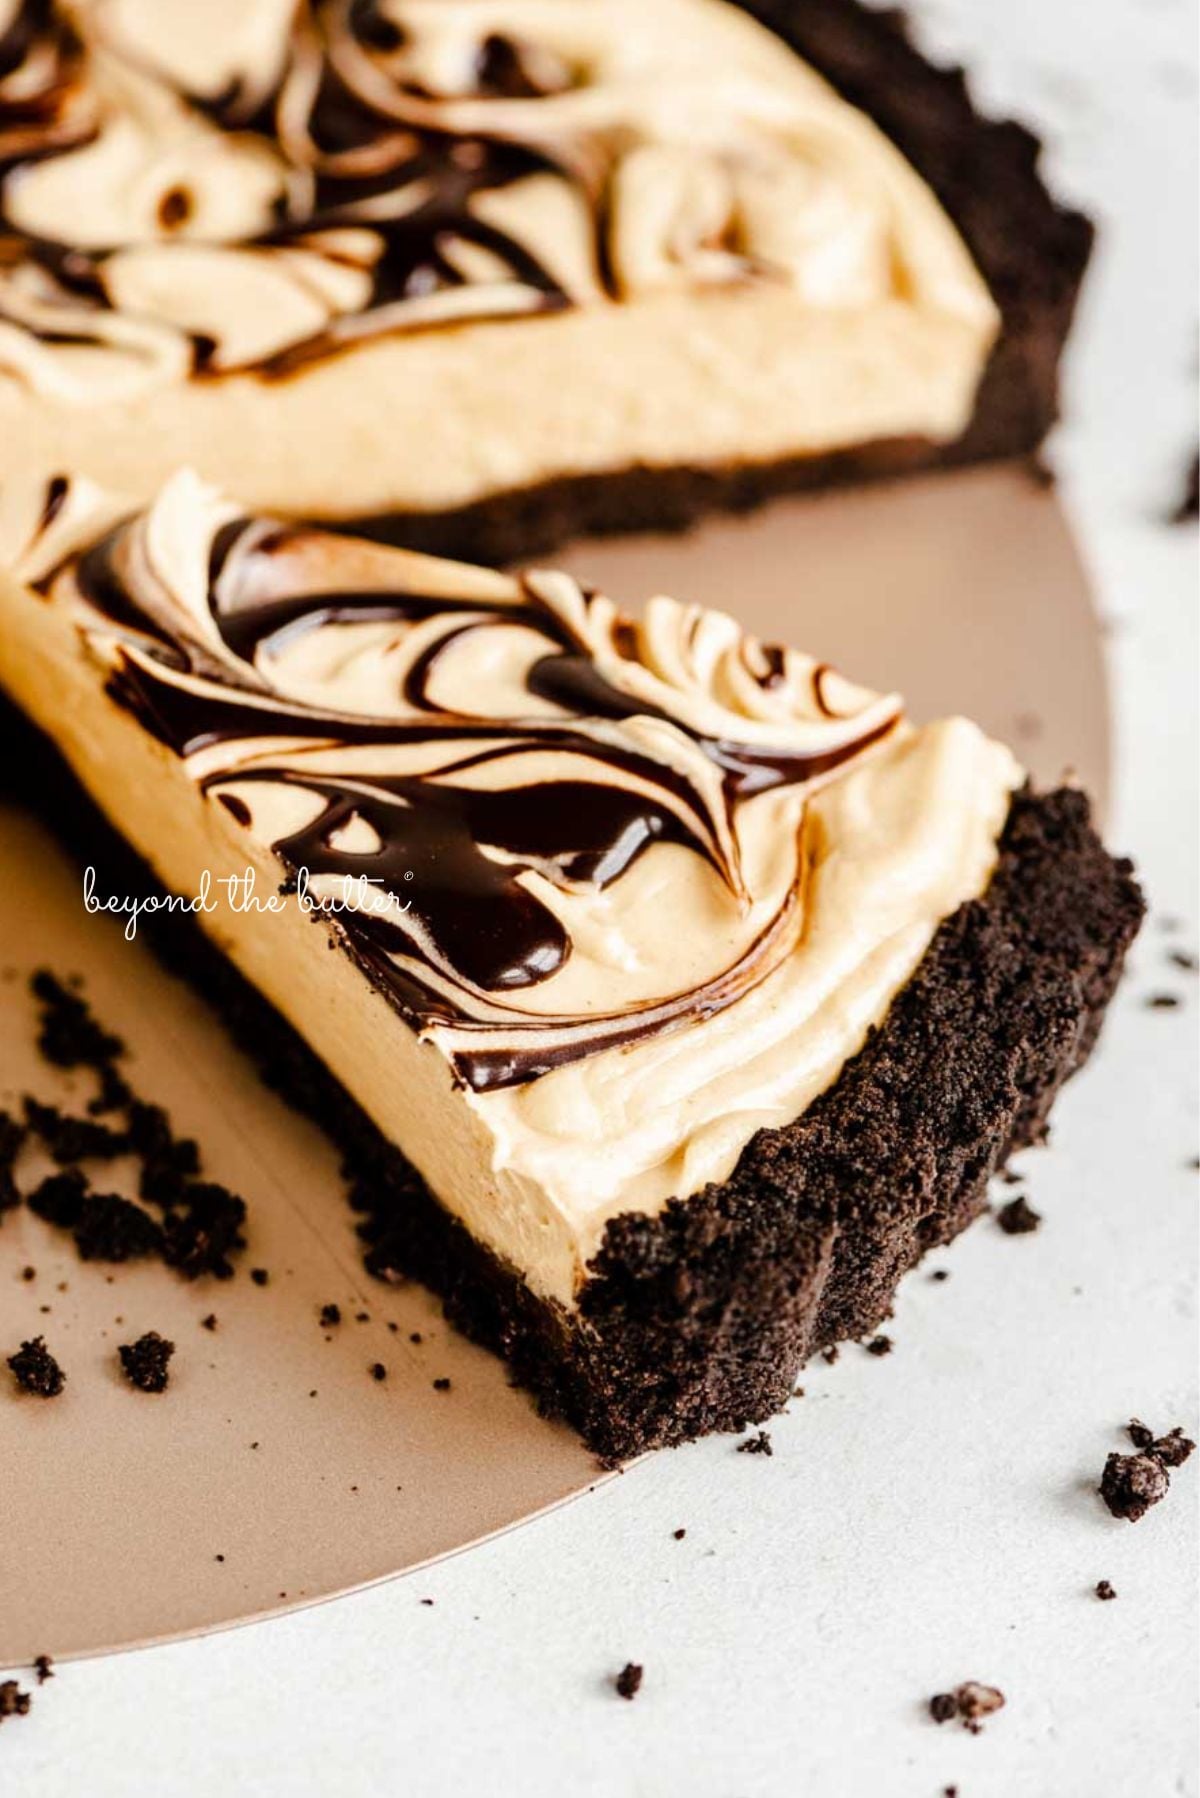
This no-bake Chocolate Peanut Butter Swirl Tart layers a buttery chocolate sandwich cookie crust, rich chocolate ganache, and a light peanut butter filling finished with a hot fudge swirl.
- Prep
- 30 mins
- Chill Time
- 2 hrs
- Total
- 2 hrs 30 mins
- Makes
- 12 servings
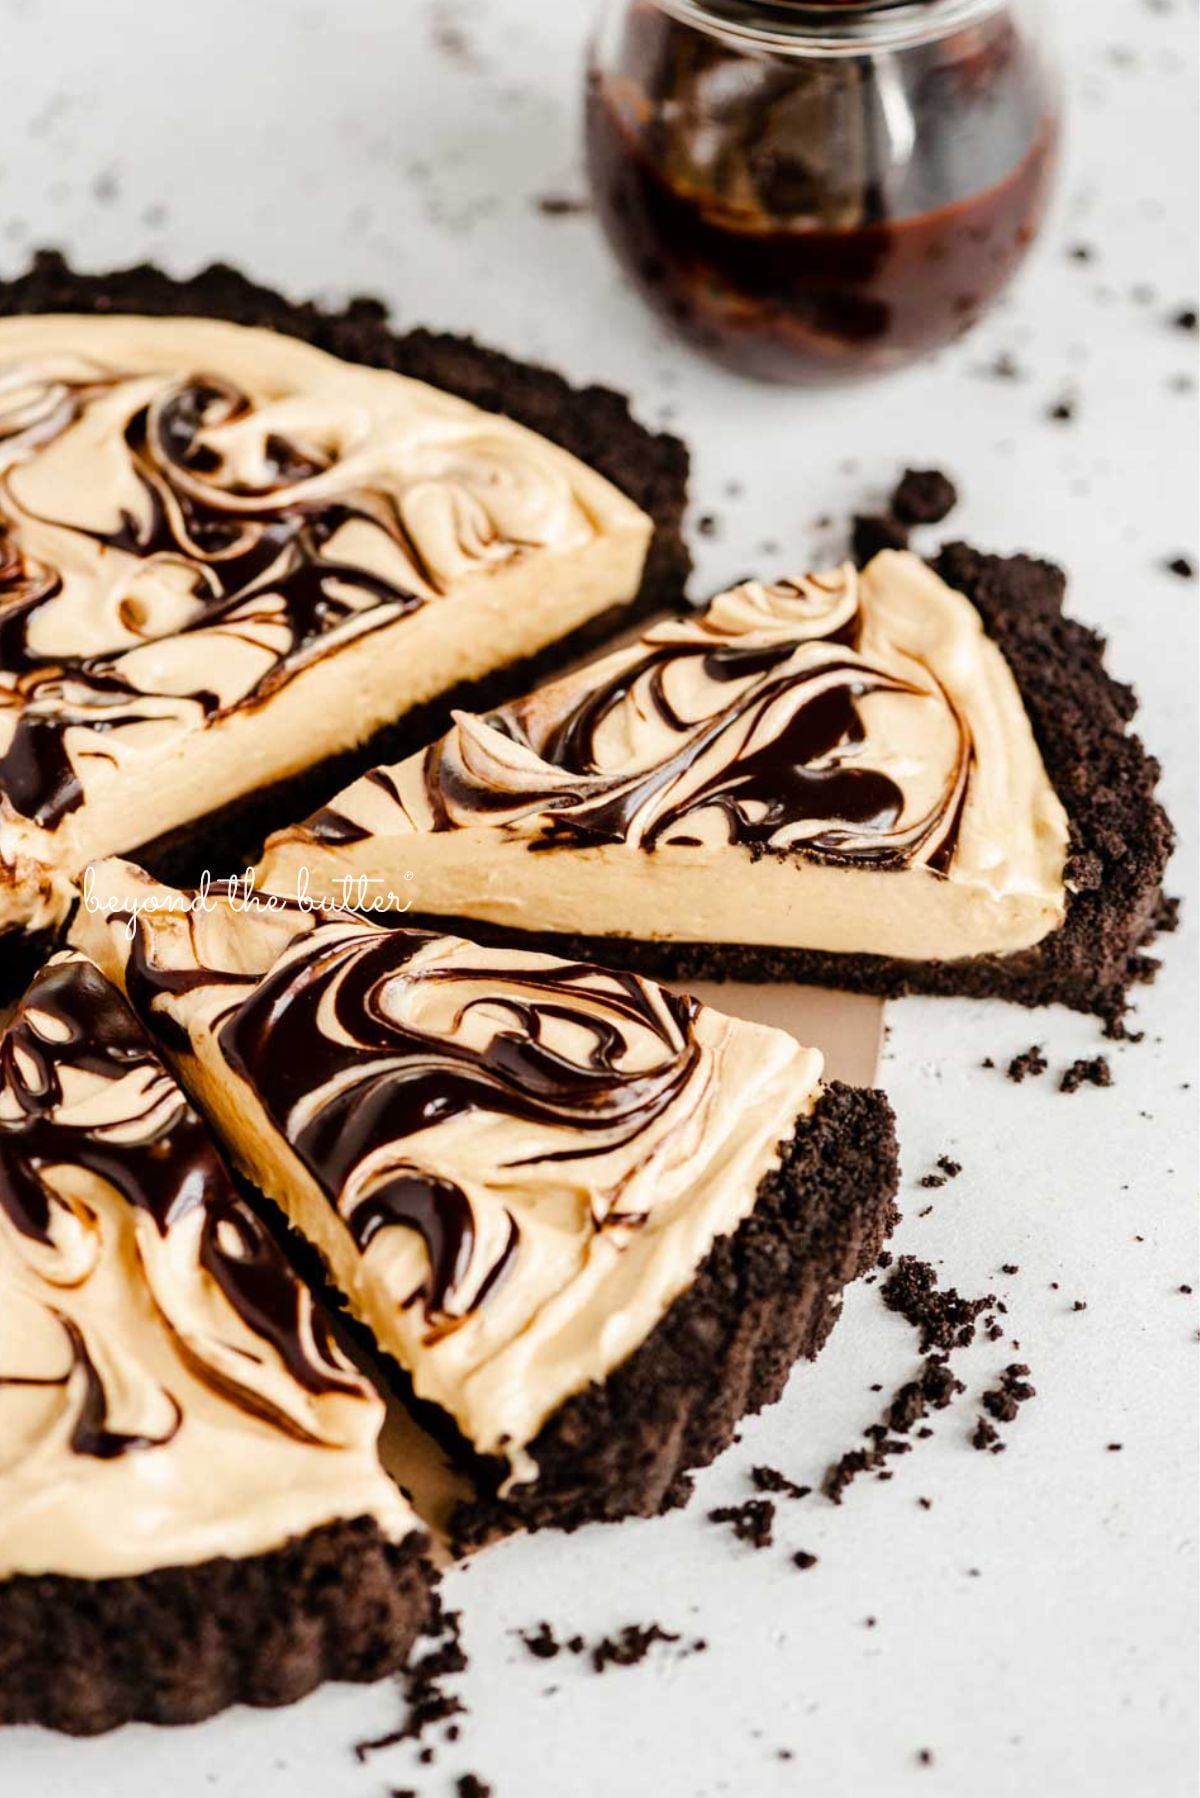
This Chocolate Peanut Butter Swirl Tart needs no baking. It stacks a buttery chocolate sandwich cookie crust, a layer of chocolate ganache, and a light, creamy peanut butter filling with a hot fudge ribbon on top. It feels a bit fancy, yet it comes together with everyday pantry staples, so it is a dependable treat when you want something indulgent without much fuss!
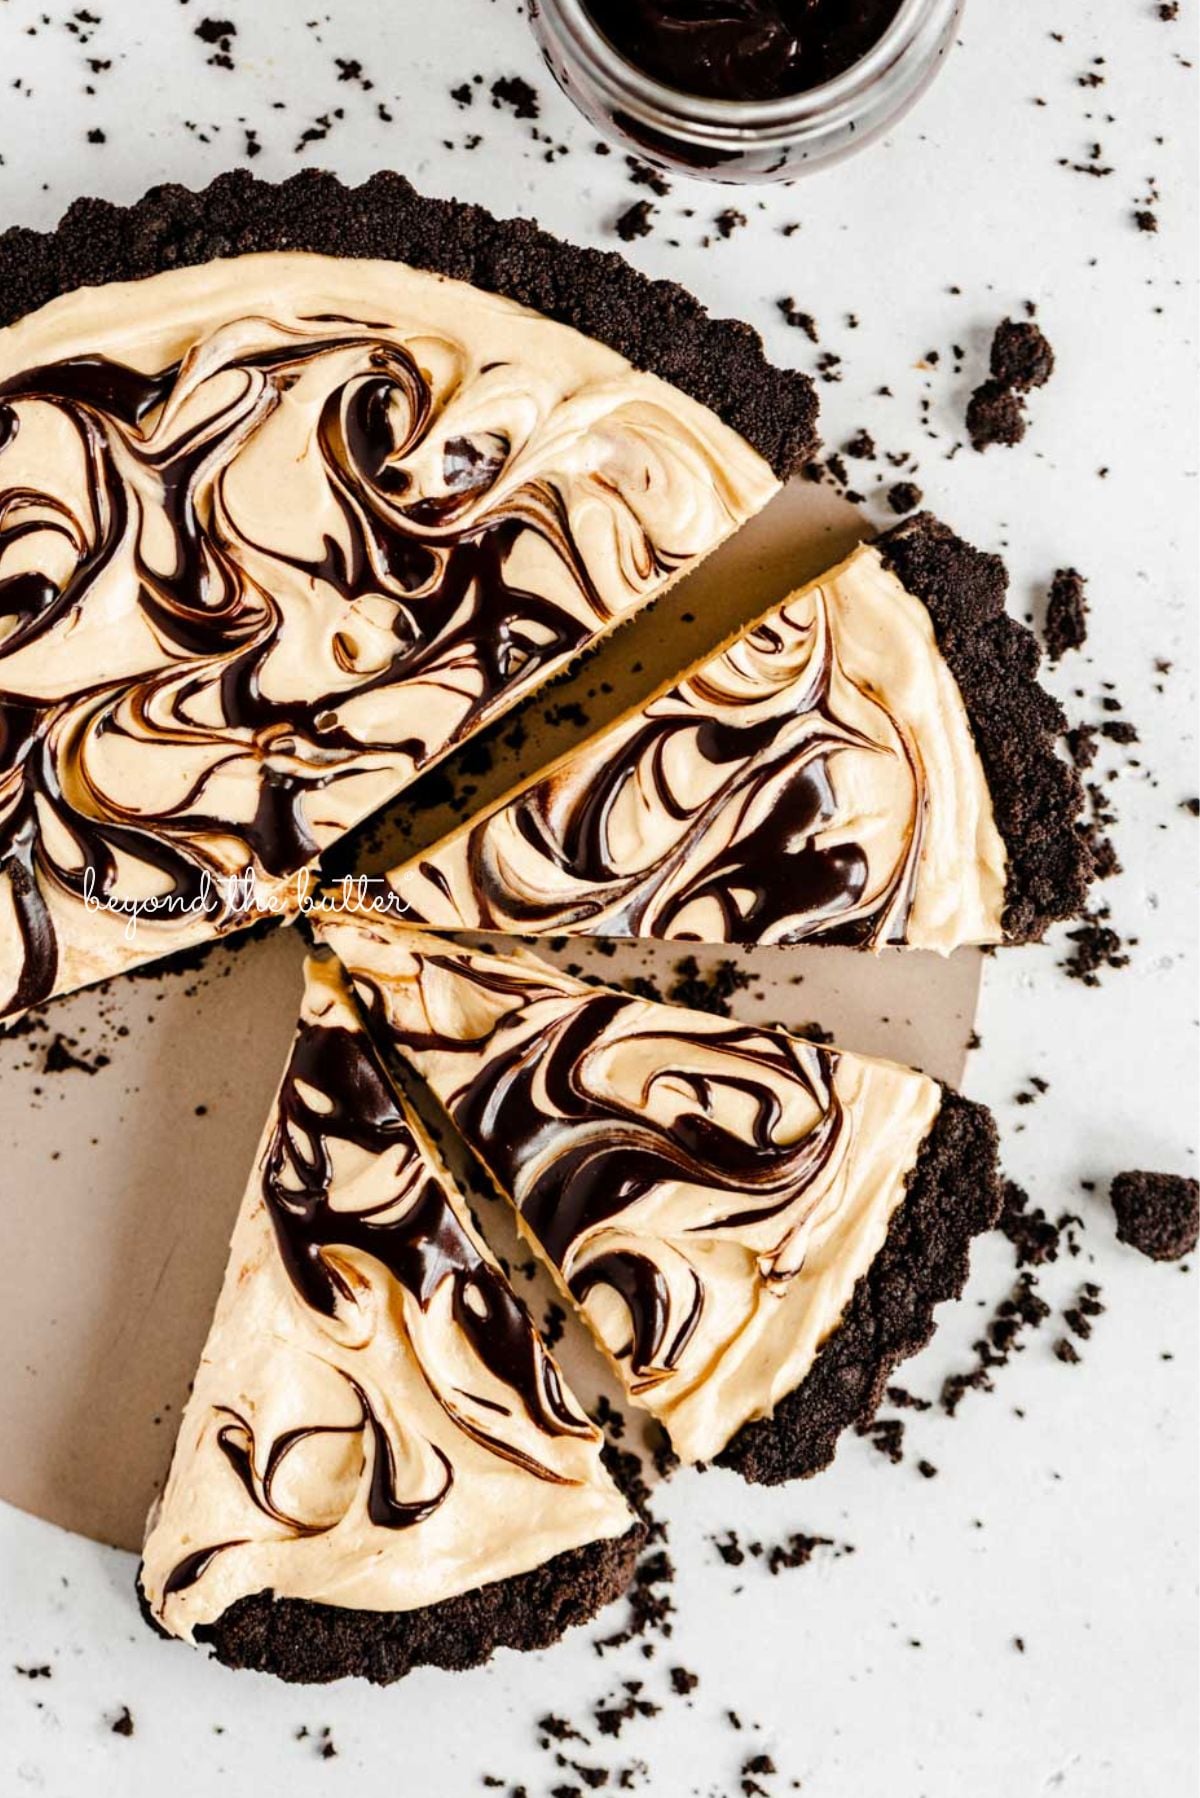
Chocolate and peanut butter is a pairing I never get tired of. I have used it in my Chocolate-Dipped Peanut Butter Cookies, Chocolate Peanut Butter Whoopie Pies, Devil’s Food Cupcakes with Peanut Butter Frosting, and, the inspiration behind this recipe, my late Grammy’s Chocolate Covered Peanut Butter Eggs!
The peanut butter filling in the eggs is very close to the one in this chocolate peanut butter swirl tart. It is super creamy, has a nice light, airy texture, and is not too sweet.
This recipe swaps the melted chocolate coating from the peanut butter eggs for a rich chocolate ganache layer and a crust built from chocolate sandwich cookies.
Why You Will Love It
- No oven required!
- It looks impressive but is simple to put together.
- Easy to adapt, whether you use a 9 1/2 inch tart pan, a 9-inch pie plate, a 9-inch springform pan, or six mini tarts (4 inches across).
- Tastes just like chocolate peanut butter cups!
- Light and creamy in texture.
- Rich chocolate flavor, a must-try for anyone who loves chocolate and peanut butter together!
- Indulgent without feeling heavy.
- The chocolate ganache layer is optional.
- Swap the chocolate syrup for hot fudge, or add a border of crushed peanuts instead.
What You Need
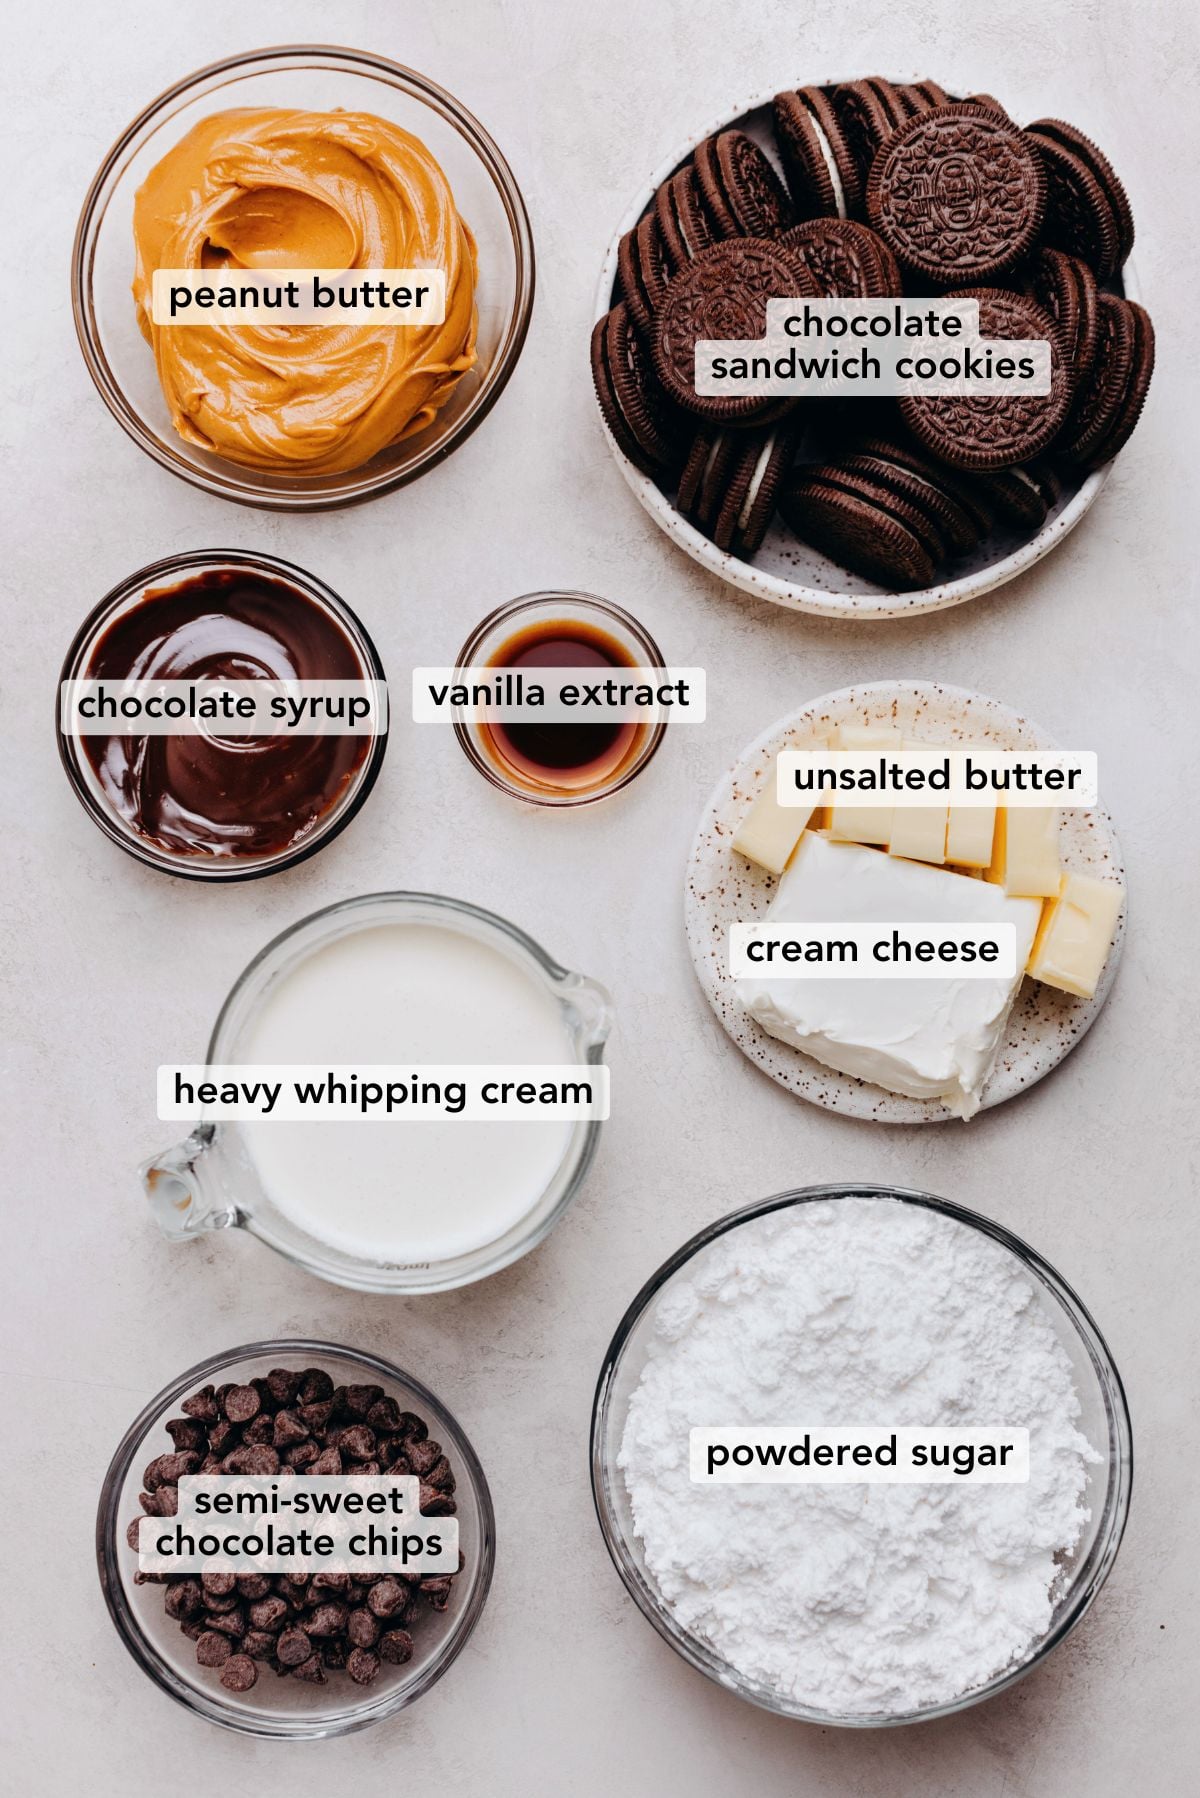
The ingredients in the photo below go into this no-bake chocolate peanut butter swirl tart. Items in the bulleted list are the key ones that need a bit more explanation, and substitutions are noted as well.
- Chocolate Sandwich Cookies. I used Benton’s Original Chocolate Sandwich Cookies from ALDI, but any brand you like will work!
- Heavy Whipping Cream. For the peanut butter filling only, you can use 1 1/2 – 2 cups of whipped dairy topping from a tub or can that you may already have in the fridge instead of heavy cream. Add it to the peanut butter mixture the same way.
- Semi-Sweet Chocolate Morsels. Choose good-quality chips that melt smoothly into the warm cream. Ghirardelli, Callebaut, and Guittard are my picks. Milk chocolate morsels work too!
- Creamy Peanut Butter. A key component of this chocolate peanut butter swirl tart. Use creamy, no-stir peanut butter for the best results!
- Chocolate Syrup. This optional ingredient is drizzled over the peanut butter filling. Hot fudge sauce works as a stand-in.
Quantities and step-by-step instructions are in the recipe card below.
Steps at a Glance
Here is a quick look at how to make this no-bake chocolate peanut butter tart. For the complete printable recipe, in US customary or metric measurements, see the recipe card below.
Chocolate Sandwich Cookie Crust
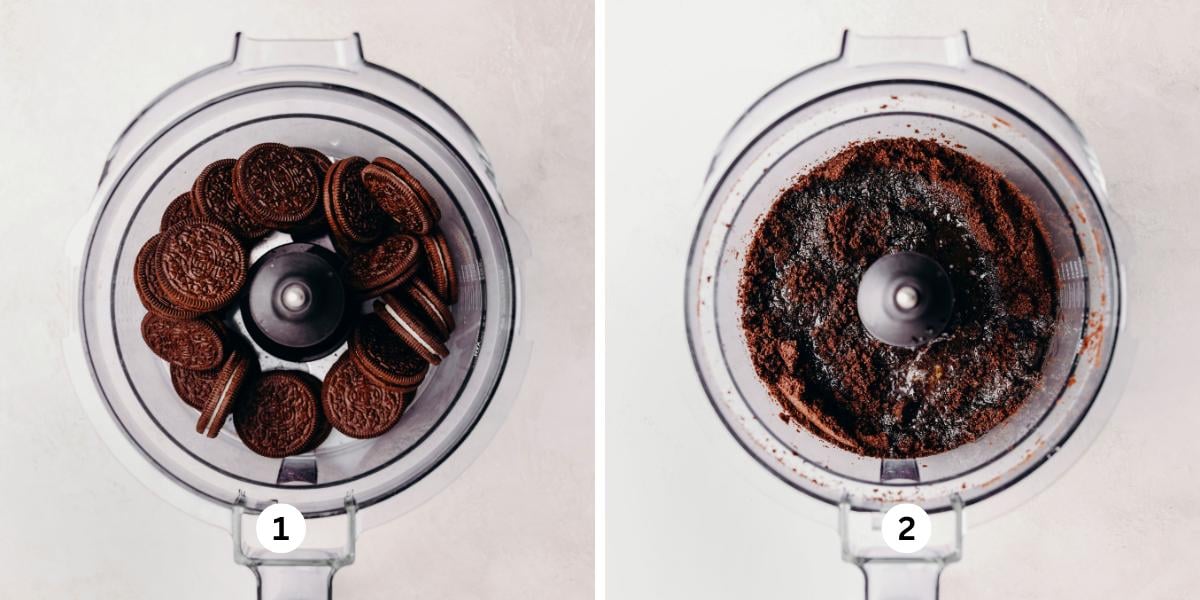
Step 1. Pulse the chocolate sandwich cookies into fine crumbs (Image 1). Add the melted butter (Image 2) and pulse until combined. The mixture should be soft, damp, and easy to mold.
Quick Tip: No small food processor? Put the cookies in a sealed zip-top bag and crush them into fine crumbs with a rolling pin.
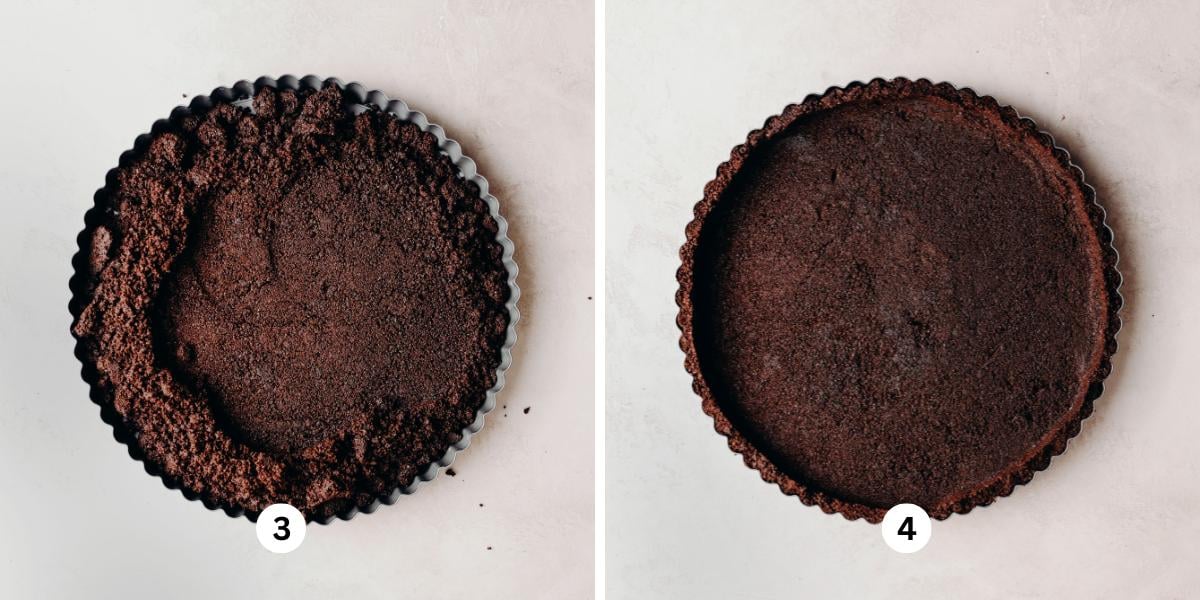
Step 2. Move the cookie mixture into the tart pan (Image 3). Press it into a 9 1/2-inch tart pan using a spatula, the bottom of a measuring cup, or clean, dry hands (Image 4). Chill the crust in the refrigerator or freezer.
Chocolate Ganache
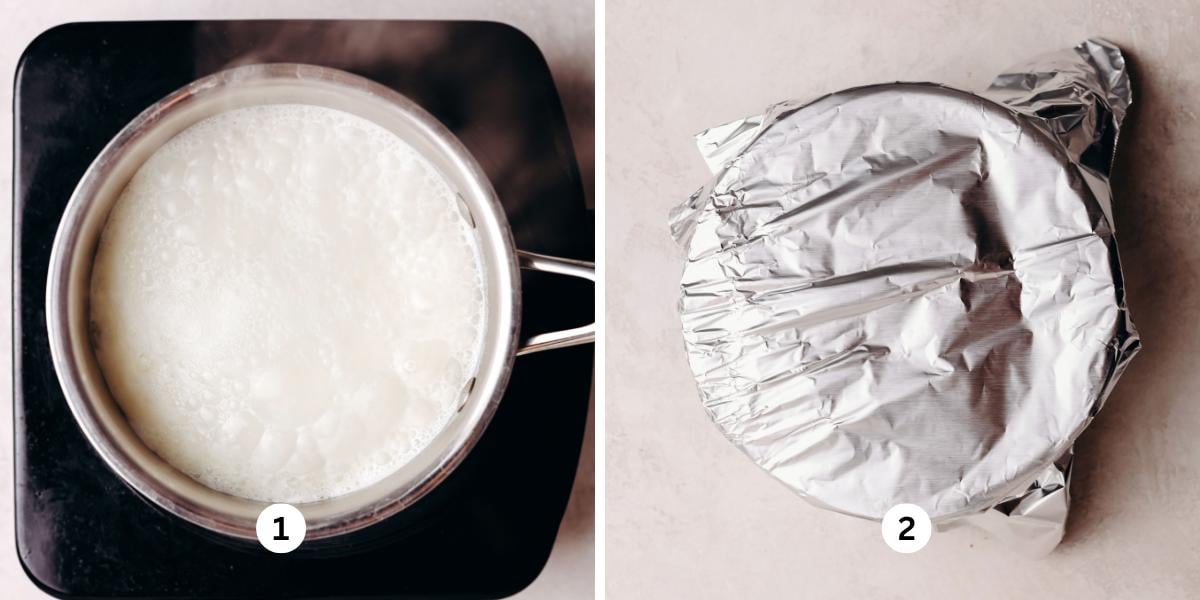
Step 1. Warm the heavy whipping cream in a saucepan over medium heat (Image 1). A microwave-safe measuring cup works as well. Pour it over the chocolate chips, then cover the bowl loosely with foil (Image 2). Let it rest for 4-5 minutes.
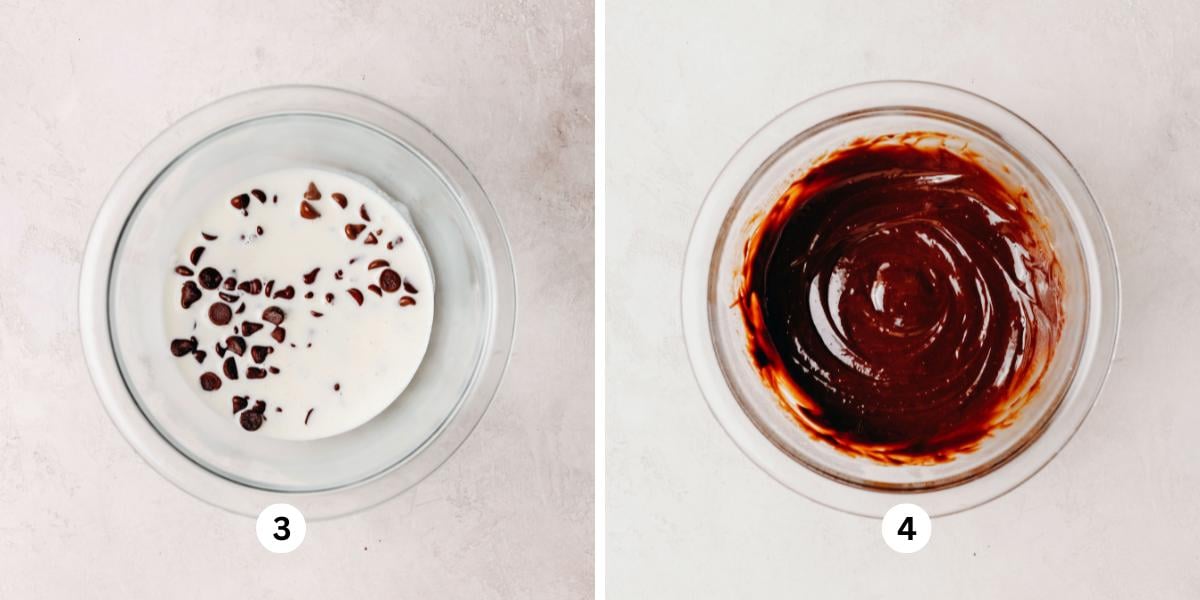
Step 2. Take off the foil and whisk until smooth (Images 3 and 4). Whisk slowly so you don’t introduce air bubbles into the ganache.
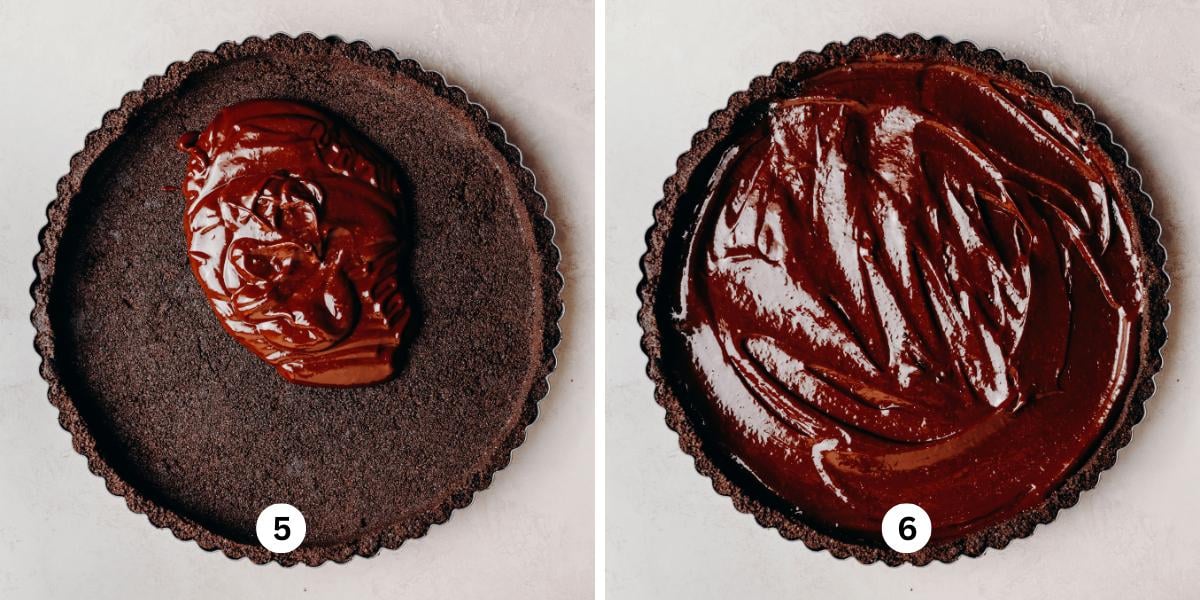
Step 3. Spread the ganache over the chilled cookie crust (Image 5). Smooth it across the bottom with an offset spatula (Image 6). I strongly suggest freezing it while you make the peanut butter filling, since it sets much faster that way.
Peanut Butter Filling
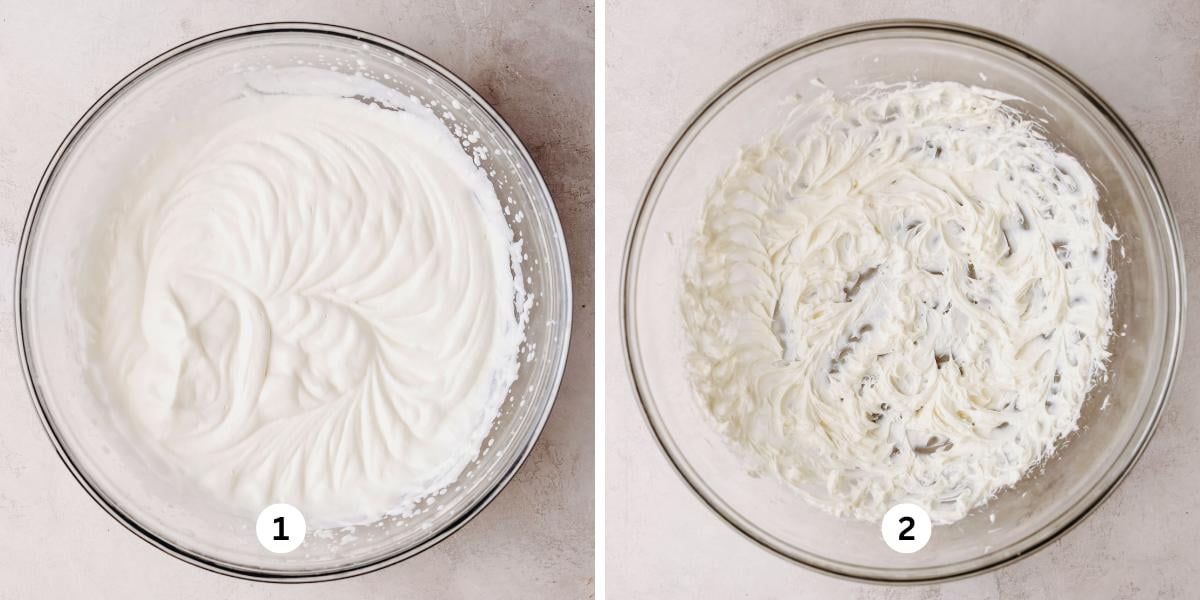
Step 1. Whip the heavy cream on medium-high speed until soft peaks form (Image 1). Refrigerate it until needed. In another bowl, beat the cream cheese until smooth and fluffy, about 2-3 minutes (Image 2).
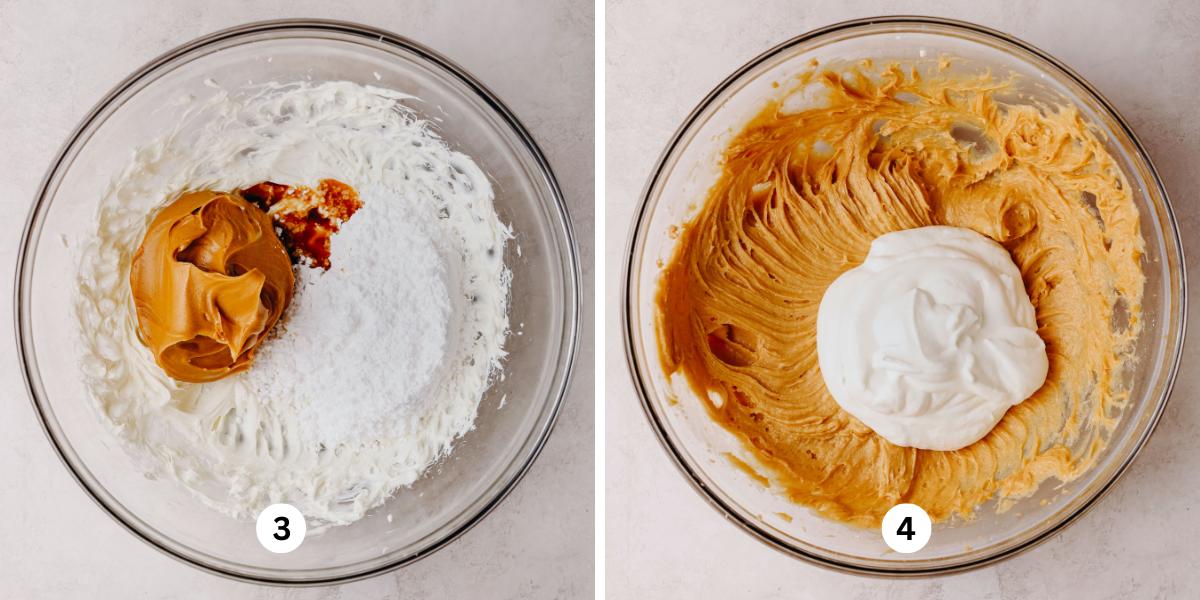
Step 2. Mix in the peanut butter, powdered sugar, and vanilla extract (Image 3). Beat in 1/2 of the chilled whipped cream, then fold in the rest (Image 4). The filling should look even in color with no white streaks, and feel light and creamy.
Quick Tip: Let the cream cheese come to room temperature so the filling stays smooth. Sift the powdered sugar too, since any lumps will show up in the finished peanut butter mixture.
Assembly
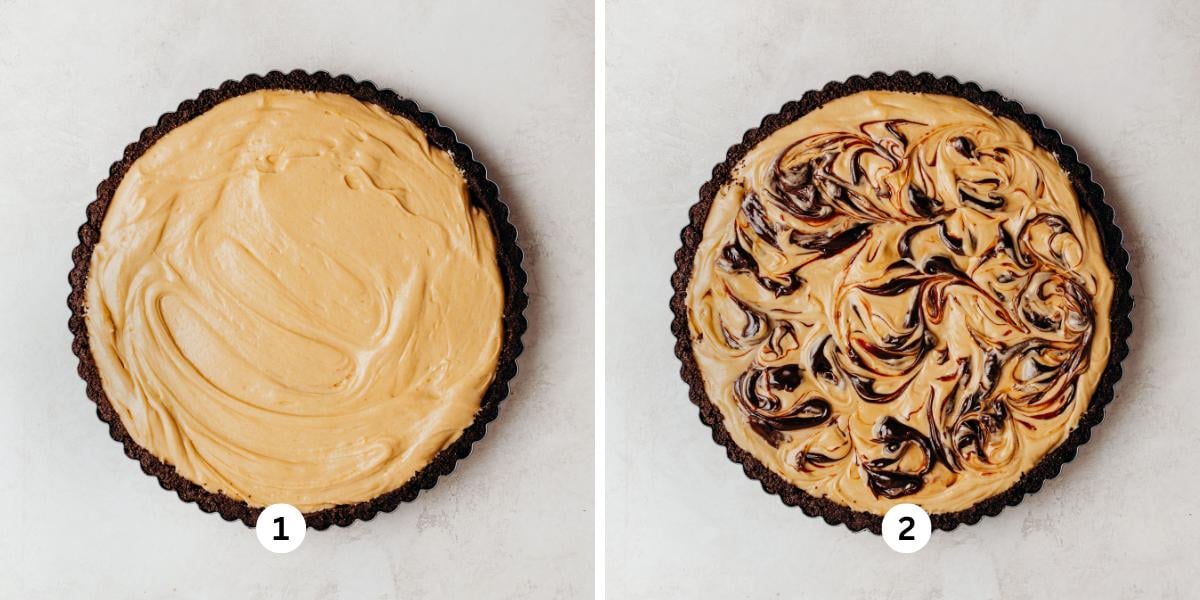
Step 1. Spoon the peanut butter filling into the tart (Image 1). Top it with hot fudge sauce or chocolate syrup (Image 2). Use a knife, a palette knife, or a wooden skewer to make swirls. Chill for at least 2 hours or overnight, or freeze for 1 – 1 1/2 hours. Let it sit at room temperature for about 10 minutes before serving.
Variations
No 9 1/2 inch non-stick loose-bottom tart pan on hand? You can make this chocolate peanut butter swirl tart in either of these two ways:
Variation 1. No-bake chocolate peanut butter pie. Use a 9-inch pie plate or springform pan in place of the tart pan. For the springform pan, use 30 chocolate sandwich cookies and one extra tablespoon of melted butter. A little extra crust up the sides helps.
Variation 2. No-bake mini chocolate peanut butter swirl tarts. This recipe makes 6 mini tarts, each 4 inches across, and they are so adorable! They also make lovely little gifts for friends who love chocolate and peanut butter.
To fill the mini tarts, use a large piping bag. You don’t need a tip; just snip off the bottom when ready. Pipe a generous mound of filling, then smooth it with an angled spatula.
Helpful Tips
- Spraying the tart pan with baking spray is optional. If you do, use a light coat.
- When pressing the crust into the pan, I start with the sides and then fill in the bottom. Smooth and level the bottom and sides with the base of a measuring cup. A flat-bottomed glass or a rubber spatula works too.
- If you’d rather skip the stovetop, microwave the cream for 1 minute in a microwave-safe measuring cup.
- For neat slices, run the knife under hot water and wipe it dry with a kitchen towel after each cut.
More Chocolate and Peanut Butter Desserts
If you make this Chocolate Peanut Butter Tart Recipe or any other recipe from my site, please leave a star rating and share your thoughts in the comments below. Thanks for stopping by!
No-Bake Chocolate Peanut Butter Tart with Swirls
This no-bake tart pairs a buttery chocolate sandwich cookie crust and chocolate ganache with a light, creamy peanut butter filling and a hot fudge swirl. It is an indulgent treat that suits any gathering!
- Prep
- 30 mins
- Chill Time
- 2 hrs
- Total
- 2 hrs 30 mins
- Makes
- 12 servings
Ingredients
chocolate sandwich cookie crust
- 24 Chocolate Sandwich Cookies, processed into fine crumbs
- 6 tbsp Unsalted Butter, melted
chocolate ganache
- 1/2 cup Semi-Sweet Chocolate Chips
- 1/3 cup Heavy Whipping Cream
- 1 tsp Vanilla Extract
peanut butter filling
- 1 cup Heavy Whipping Cream, cold and whipped to soft peaks
- 1 tsp Vanilla Extract
- 4 oz Cream Cheese, softened to room temperature
- 3/4 cup Creamy Peanut Butter
- 3/4 cup Powdered Sugar, sifted
- 1/4 cup Chocolate Syrup, or hot fudge sauce
Method
- Use a food processor to grind the whole chocolate sandwich cookies into fine crumbs. Add the melted butter and pulse until the mixture holds together. It should resemble thick, damp sand that you can press into the 9 1/2 inch tart pan.
- Press the crumbs across the bottom and up the sides of a 9 1/2 inch tart pan. Even out the crust with a rubber spatula or the base of a measuring cup. Chill it while you make the ganache.
- Put the semi-sweet chocolate chips in a small bowl, preferably glass, and set it aside.
- Heat the heavy whipping cream in a small saucepan over medium heat until it starts to simmer.
- Take it off the heat and pour it right over the semi-sweet chocolate. Cover with foil and let it rest for 4-5 minutes at room temperature.
- Take off the foil and whisk the ganache slowly until smooth, then stir in the vanilla extract. If any chocolate is still solid, microwave it for 15 seconds at 50% power.
- Spread the ganache in an even layer over the prepared chocolate sandwich cookie crust.
- Refrigerate or, ideally, freeze the tart while you make the peanut butter filling.
- Using a hand mixer or stand mixer with the whisk attachment, whip the heavy whipping cream on medium-high speed until soft peaks form. Refrigerate until needed.
- With a hand mixer or stand mixer fitted with the paddle attachment, beat the cream cheese on medium-high speed until it is smooth and fluffy (about 2-3 minutes).
- Mix in the peanut butter, sifted powdered sugar, and vanilla extract on medium-high speed until smooth. Beat in 1/2 of the chilled whipped cream until just combined.
- Fold in the remaining whipped cream with a spatula until well blended and even in color. The filling should be creamy, light, and airy.
- Spoon the filling over the ganache layer and smooth it level with an offset spatula. Drizzle on the chocolate syrup or hot fudge, then use a knife, palette knife, or wooden or metal skewer to make marbled swirls.
- Refrigerate for at least 2 hours or overnight to set. You can also freeze it for a minimum of 1 hour. Before serving, remove the tart from the pan and slice it with a sharp knife.
Baker’s notes
- Baking spray for the tart pan is optional. If you use it, apply it lightly.
- When pressing the crust into the pan, I start with the sides and then fill in the bottom. Smooth and level the bottom and sides with the base of a measuring cup. A flat-bottomed glass or a rubber spatula works too.
- For the peanut butter filling only, you can use 1 1/2 – 2 cups of whipped dairy topping from a tub or can in place of the heavy whipping cream. Add it the same way.
- Swap the hot fudge for chocolate syrup, a border of chopped peanuts, or skip the topping altogether.
- If you’d rather skip the stovetop, microwave the cream for 1 minute in a microwave-safe measuring cup.
- For neat slices, run the knife under hot water and wipe it dry with a kitchen towel after each cut.