Peanut Butter Cookies Dipped in Chocolate
Wonderfully soft and chewy with plenty of peanut butter flavor, these Chocolate Dipped Peanut Butter…
- Prep
- 40 mins
- Cook
- 10 mins
- Total
- 50 mins
- Makes
- 24 cookies
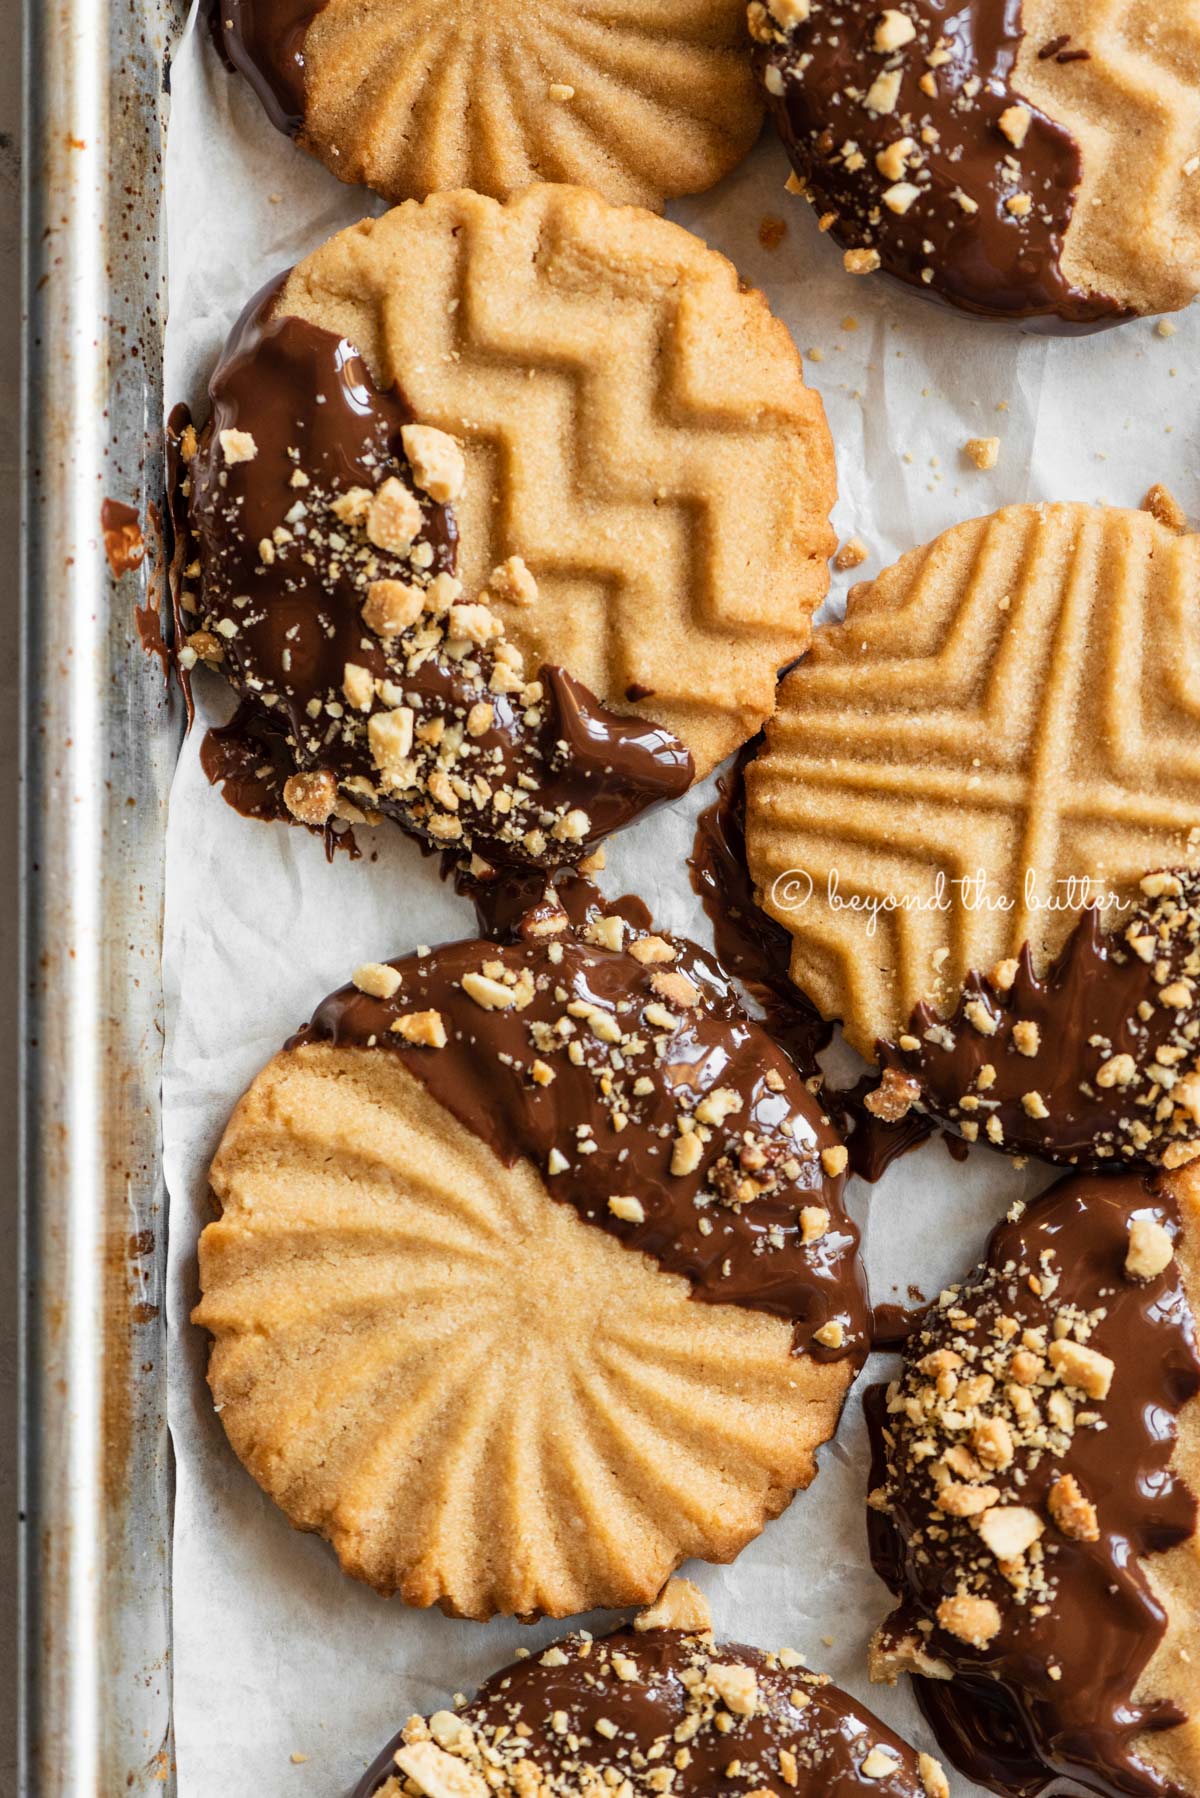
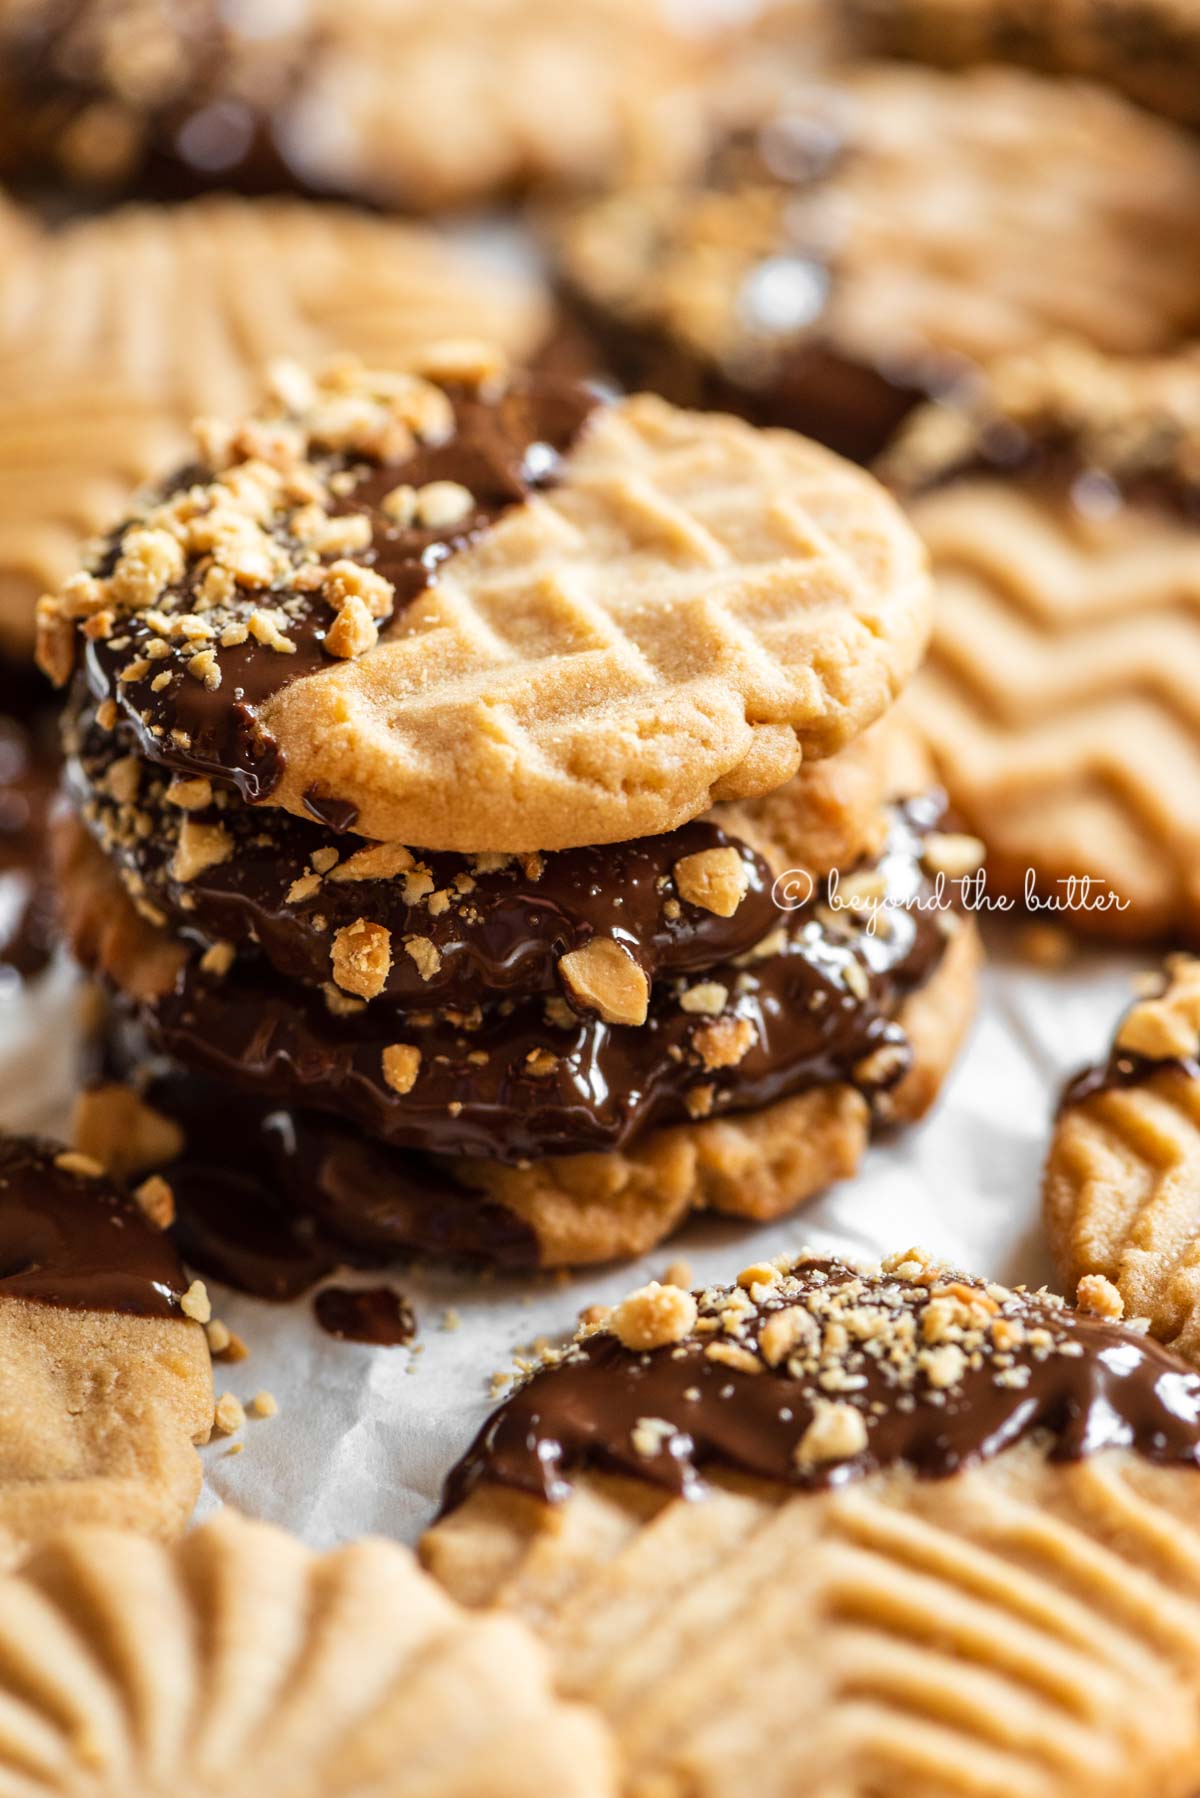
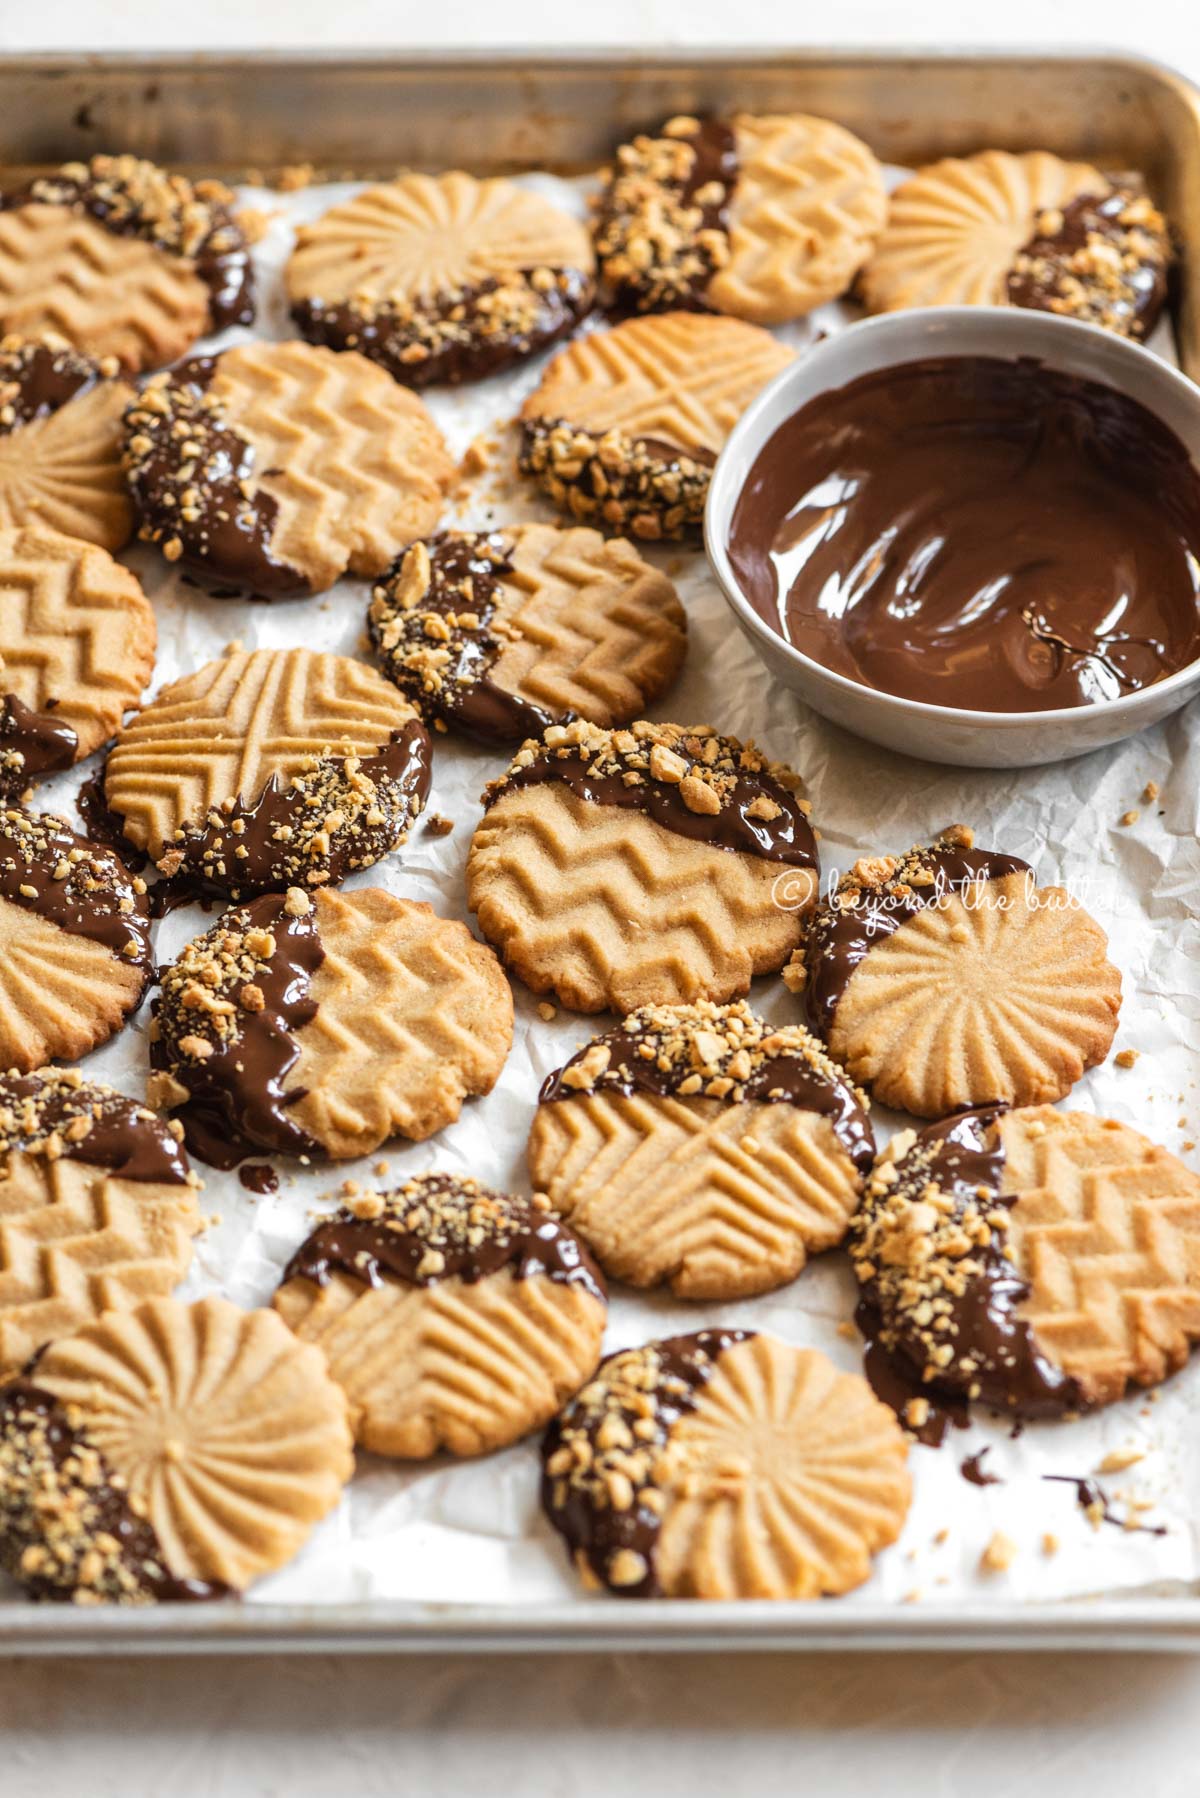
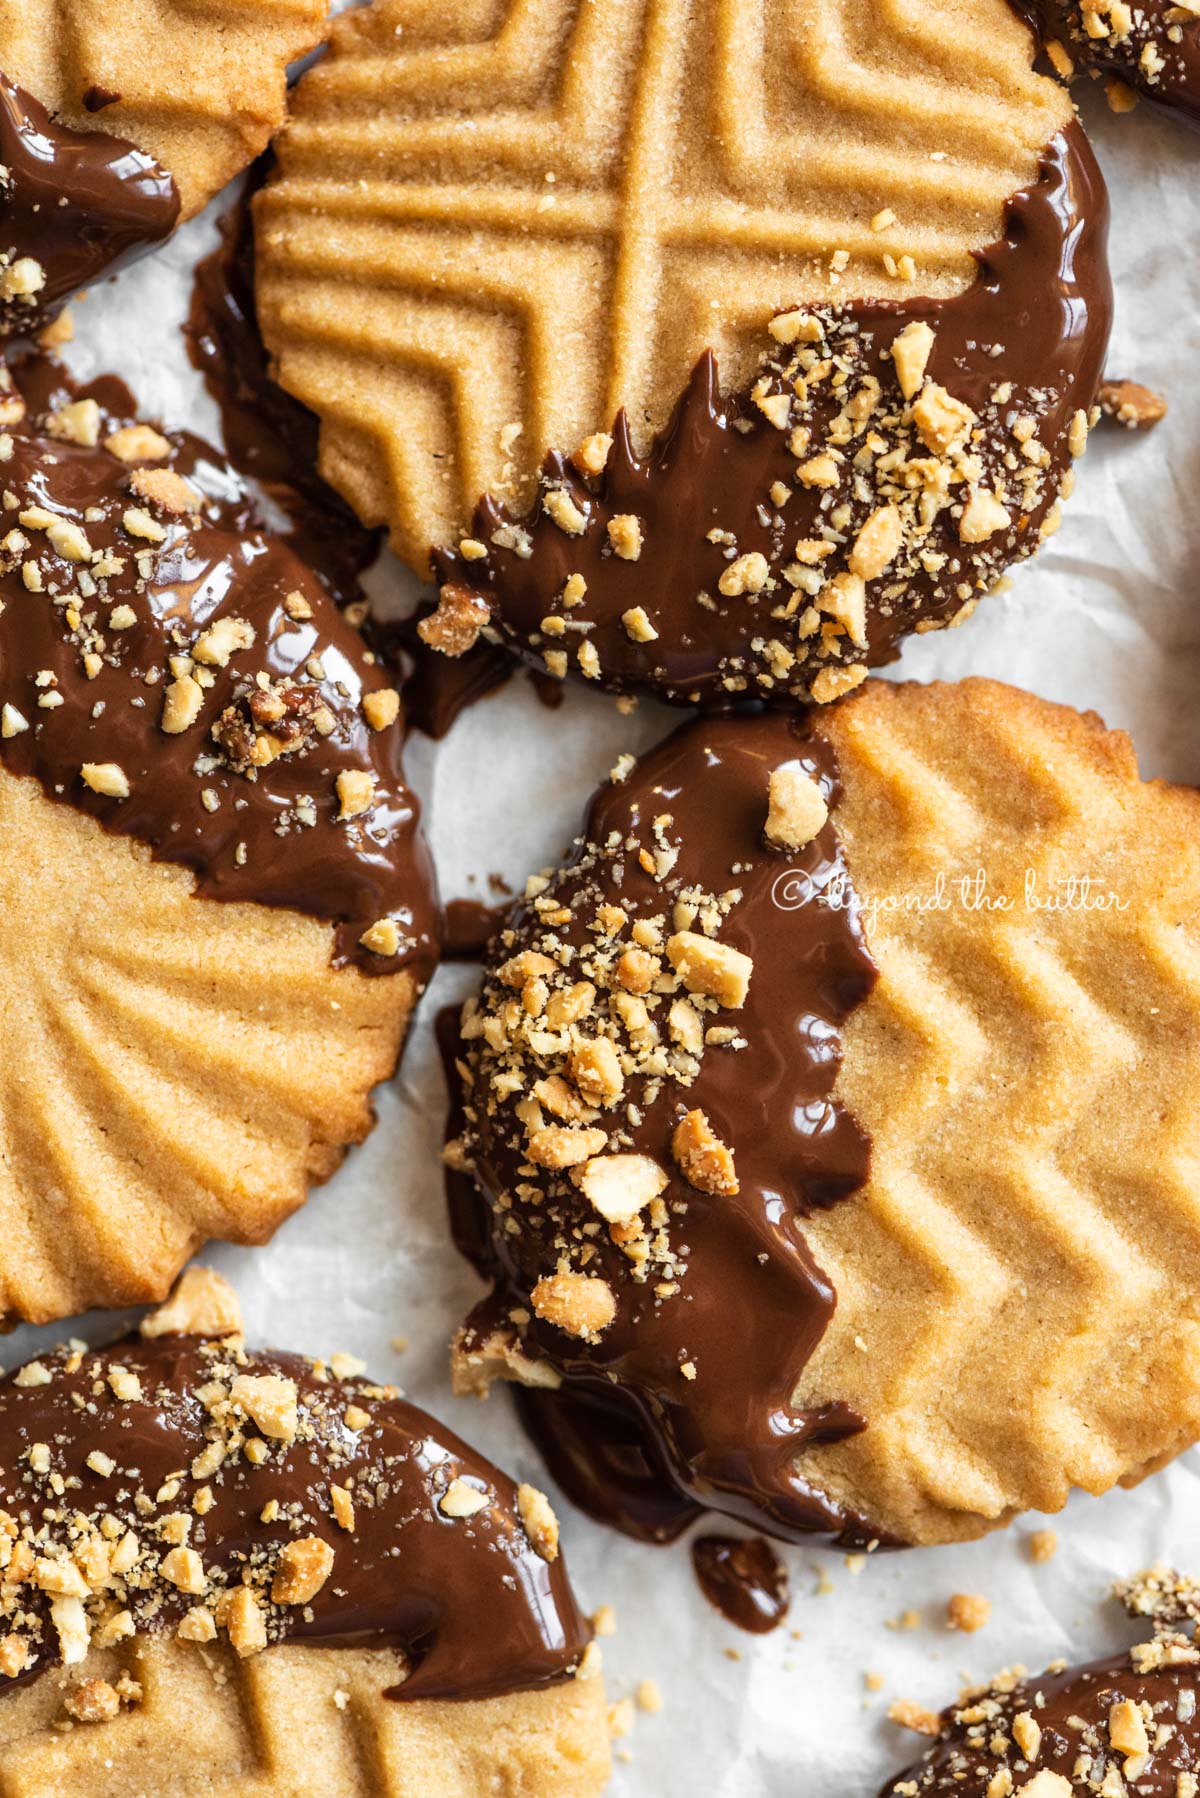
Wonderfully soft and chewy with loads of peanut butter flavor, these Chocolate Dipped Peanut Butter Cookies are sure to become a go-to cookie in your kitchen! Dipped in melted semi-sweet chocolate and topped with chopped peanuts, this classic cookie is simple to make, tastes wonderful, and stays soft for days!
This chocolate-dipped peanut butter cookie recipe is a slightly tweaked version of my late Grammy's recipe.
Both my husband and I adore these cookies, and his coworkers who have sampled them feel the same (they rated them 11 out of 10 stars). They hold up well at room temperature in an airtight container and stay soft, too. If you'd like them extra soft, tuck a slice of bread in with them!
They really are incredibly soft, and the aroma and taste of peanut butter is pure bliss! If someone you know loves peanut butter, these will be a real treat for them.
Looking for more treats that pair peanut butter with chocolate? Give my chocolate-covered peanut butter eggs, chocolate peanut butter whoopie pies, or devil's food cupcakes topped with peanut butter frosting a try!
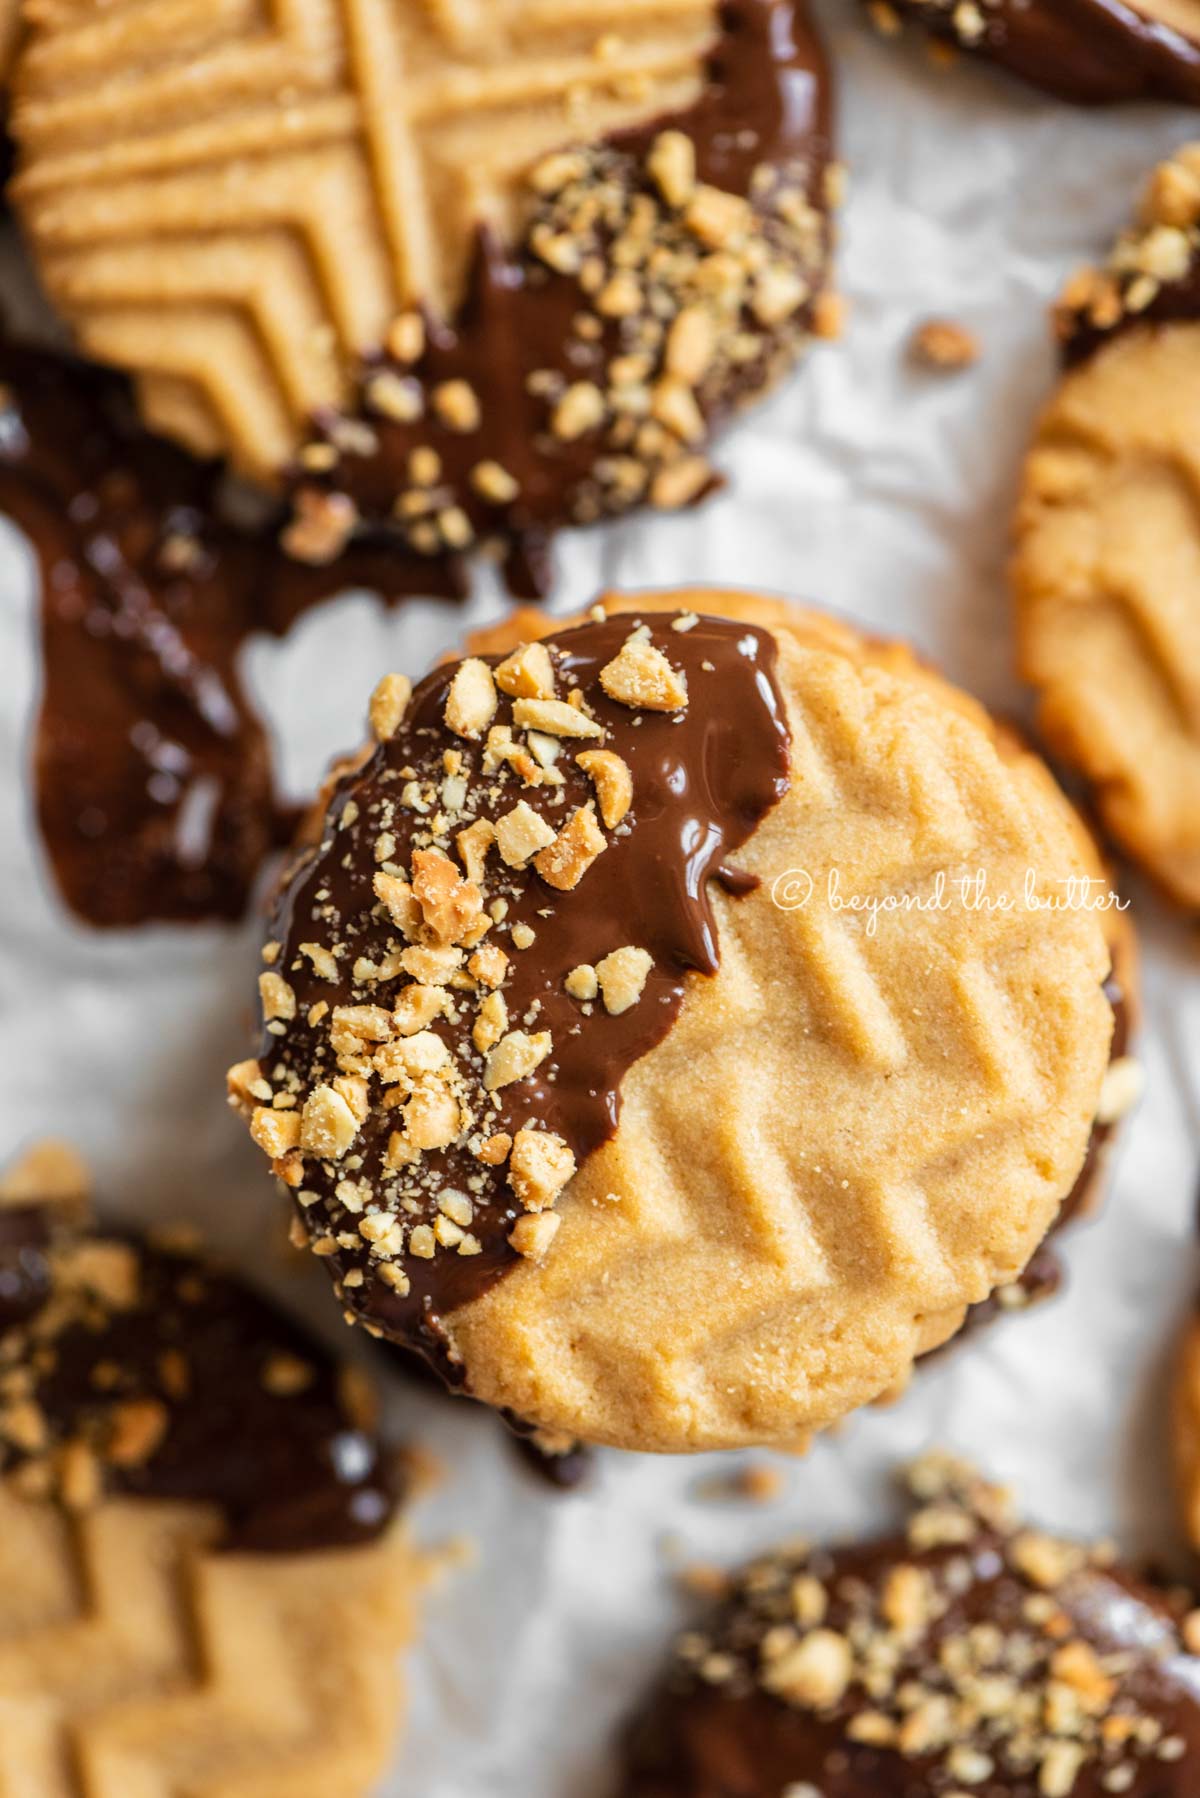
What You'll Need
Time to bake up these chocolate-covered peanut butter cookies! Here's everything you'll need.
- All-Purpose Flour. Standard all-purpose flour is what I used in this recipe.
- Baking Soda and Baking Powder. These are the usual leavening agents that give cookies their rise. Check that they haven't passed their expiration date!
- Salt. Brings balance to all that sweetness.
- Unsalted Butter. Let it sit out until it reaches room temperature so it blends more easily.
- Peanut Butter. In testing, I used only creamy peanut butter that had already been stirred.
- Sugar. You will need light brown sugar and granulated sugar.
- Milk. You only need a tablespoon. Any dairy milk will work.
- Vanilla Extract. It helps round out all the flavors.
- Egg. One is all you need. Choose a large egg, not an extra-large or other size, and let it come to room temperature first.
- Semi-Sweet Chocolate Chips. These are for dipping. If you'd rather make only the peanut butter cookies, leave these out along with the next two ingredients.
- Vegetable Shortening. It thins the chocolate and gives it a little shine.
- Chopped Salted Peanuts. A completely optional topping.
Swaps and Alternatives
Vegetable Shortening. You can use the same amount of shortening in place of the unsalted butter. I've baked these with butter-flavored shortening, and I honestly couldn't detect any difference!
Milk Chocolate Chips. If semi-sweet is not your thing, swap in milk chocolate chips, or try any other chocolate chip flavor you would like to experiment with.
Coconut Oil. You can use the same amount of coconut oil in place of the vegetable shortening for melting the chocolate. It also thins the chocolate and adds more shine. Note this swap only applies to the melted chocolate part of the recipe.
I haven't tested this recipe with other flours, non-dairy milks, sugars, or egg replacements.
Using Cookie Stamps
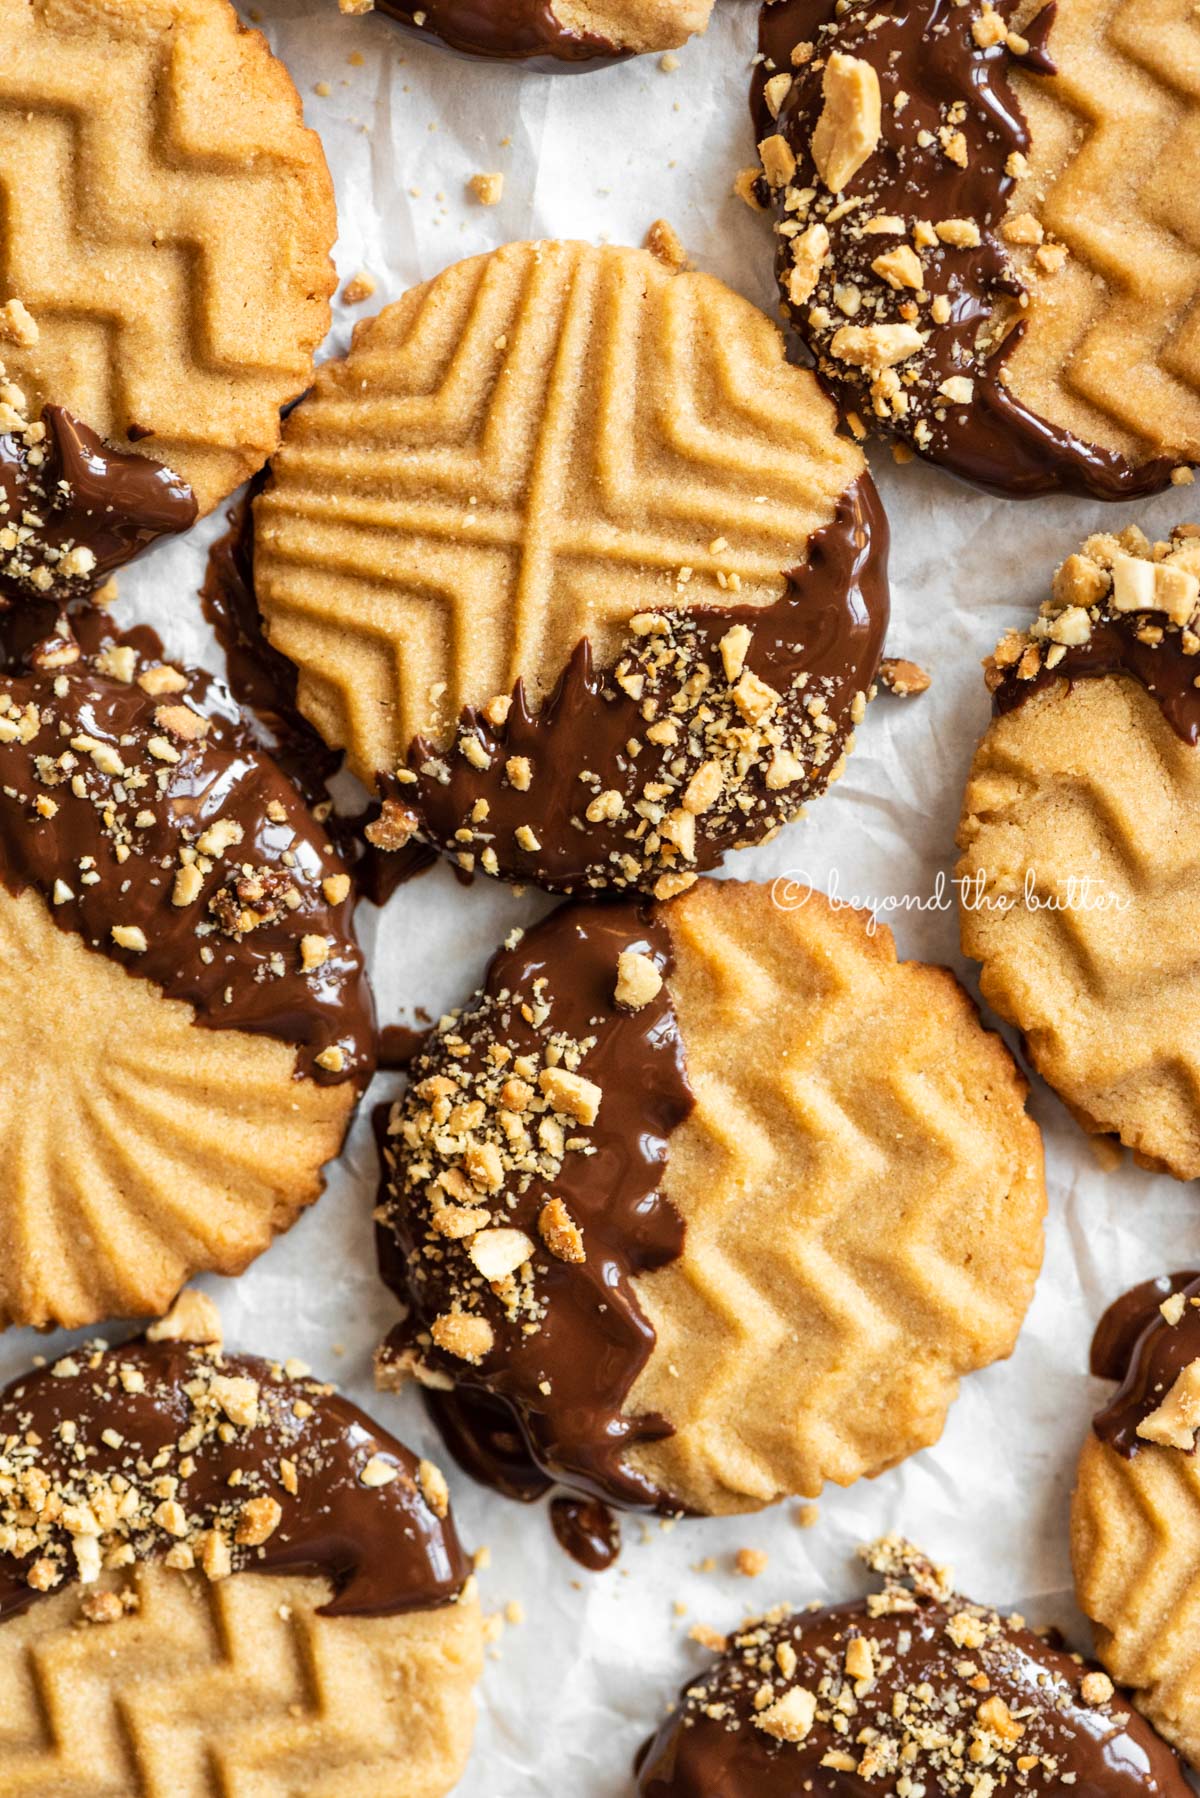
For these chocolate-dipped peanut butter cookies, I relied on Nordic Ware's Geo Cast Stamps to make the stamped design. Here's how:
Step 1. Shape the peanut butter cookie dough into 1-inch balls and set them on a baking sheet lined with parchment paper or a silicone mat, leaving 1 1/2 to 2 inches between each.
Step 2. Dust your cookie stamp in a small bowl of all-purpose flour, then set it on top of each dough ball and press gently.
Press until the stamp nearly reaches the baking sheet for thinner cookies, or press lightly for thicker ones.
Step 3. Keep going until every cookie is stamped. I strongly suggest flouring the stamps every 2-3 cookies so they don't stick. If one does stick anyway, gently lift it off with your fingers or a butter knife.
If it still won't release, roll the dough back into a ball and try again!
Freezing Tips
Freezing the dough before baking is simple and saves a lot of time!
Prepare the peanut butter cookie dough as the recipe describes. Form 1-inch balls and set them 1 1/2 – 2 inches apart on a sheet lined with wax paper or aluminum foil. Stamp each one or press in the crisscross fork pattern, then freeze until firm.
Move the frozen peanut butter cookies to an airtight container and freeze them for up to 3 months. If you like, place layers of aluminum foil or wax paper between the cookies.
When you're ready to bake, take them straight from the freezer and into the oven. Add a few extra minutes to the baking time!
Common Questions
What cookie stamps did you use for this peanut butter cookie recipe?I used Nordic Ware's Geo Cast Stamps. They're top-quality, sturdy, and have a nice heft to them.
What can I use in place of cookie stamps?A fork works just as well, the way you'd see in a classic peanut butter cookie recipe. Dampen the tines with cold water before pressing the crisscross or X design into the dough so it releases cleanly.
My dough keeps sticking to the cookie stamps!Dust or dip your cookie stamps in all-purpose flour every 2-3 cookies. When I waited longer between dustings, the cookies stuck again. If that happens, slide the cookie off the stamp with your fingers or a butter knife.
How long should I bake peanut butter cookies?Bake for 8-10 minutes at 375ºF. The cookies will spread a little and should turn a light golden brown.
How long can I keep these cookies stored at room temperature?Stored in an airtight container, these cookies stay fresh for up to a week, assuming they haven't all been eaten by then!
More Chocolate Peanut Butter Treats!
If you make these Chocolate Dipped Peanut Butter Cookies or anything else from my site, please give them a star rating and tell me how they turned out in the comments below. Thanks for stopping by!
Peanut Butter Cookies Dipped in Chocolate
Wonderfully soft and chewy with loads of peanut butter flavor, these Chocolate Dipped Peanut Butter Cookies are sure to become your favorite go-to cookie! Dipped in melted semi-sweet chocolate and topped with chopped peanuts, this classic cookie is easy to make, tastes wonderful, and stays soft for days!
- Prep
- 40 mins
- Cook
- 10 mins
- Total
- 50 mins
- Makes
- 24 cookies
Ingredients
- 1 1/4 cup All-Purpose Flour
- 3/4 tsp Baking Soda
- 1/2 tsp Baking Powder
- 1/4 tsp Salt
- 1/2 cup Unsalted Butter, room temperature
- 1 cup Peanut Butter, creamy
- 3/4 cup Light Brown Sugar, firmly packed
- 1/4 cup Granulated Sugar
- 1 tbsp Milk
- 1 tsp Vanilla Extract
- 1 Large Egg, room temperature
- 1 cup Semi-Sweet Chocolate Chips, melted
- 1 tsp Vegetable Shortening, for melting with the chocolate
- 2/3 cup Salted Peanuts, chopped
Method
- Set an oven rack to the 2nd position from the top (just above center) and heat the oven to 375ºF.
- Line two cookie sheets with parchment paper or silicone mats. Set them aside.
- In a medium bowl, whisk together the flour, baking soda, baking powder, and salt. Set aside.
- Using a hand mixer or a stand mixer with the paddle attachment, beat the butter, peanut butter, light brown sugar, granulated sugar, milk, and vanilla on medium-high until smooth. Then beat in the egg.
- Lower the mixer to low speed and slowly mix in the dry ingredients until no streaks remain.
- Shape the dough into 1-inch balls spaced about 1 1/2 – 2 inches apart. Press a flour-dusted cookie stamp onto each ball, then lift away and continue with the rest. I strongly recommend flouring the stamps every 2-3 cookies to prevent sticking.
- Bake the stamped cookies 8-10 minutes at 375ºF. Let them rest on the sheets for about 5 minutes, then move them to a rack to cool completely. They're very soft, so use a spatula when moving them.
- For the crisscross method instead of stamps, roll the dough into 1-inch balls spaced 1 1/2 – 2 inches apart. Dip your fork in cold water, then gently press a crosshatch or X pattern into each ball.
- Melt the chocolate chips with 1 tsp of shortening in a medium microwave-safe glass bowl, heating in 30 second bursts until fully melted and smooth. Dip part of each cookie into the chocolate, then sprinkle with chopped peanuts.
Baker’s notes
- I used Nordic Ware's Geo Cast Stamps. They're top-quality, sturdy, and have a nice heft to them.
- A fork works just as well, the way you'd see in a classic peanut butter cookie recipe. Dip the tines in cold water before making the crisscross or X pattern in the dough, so it won't stick.
- If the dough clings to the cookie stamps, dust or dip them in all-purpose flour every 2-3 cookies. Waiting longer between dustings led to sticking for me. You can also ease the cookie off the stamp with your fingers or a butter knife.
- Bake for 8-10 minutes at 375ºF. The cookies will spread a little and should turn a light golden brown.
- Stored in an airtight container, these cookies stay fresh for up to a week, assuming they haven't all been eaten by then!