
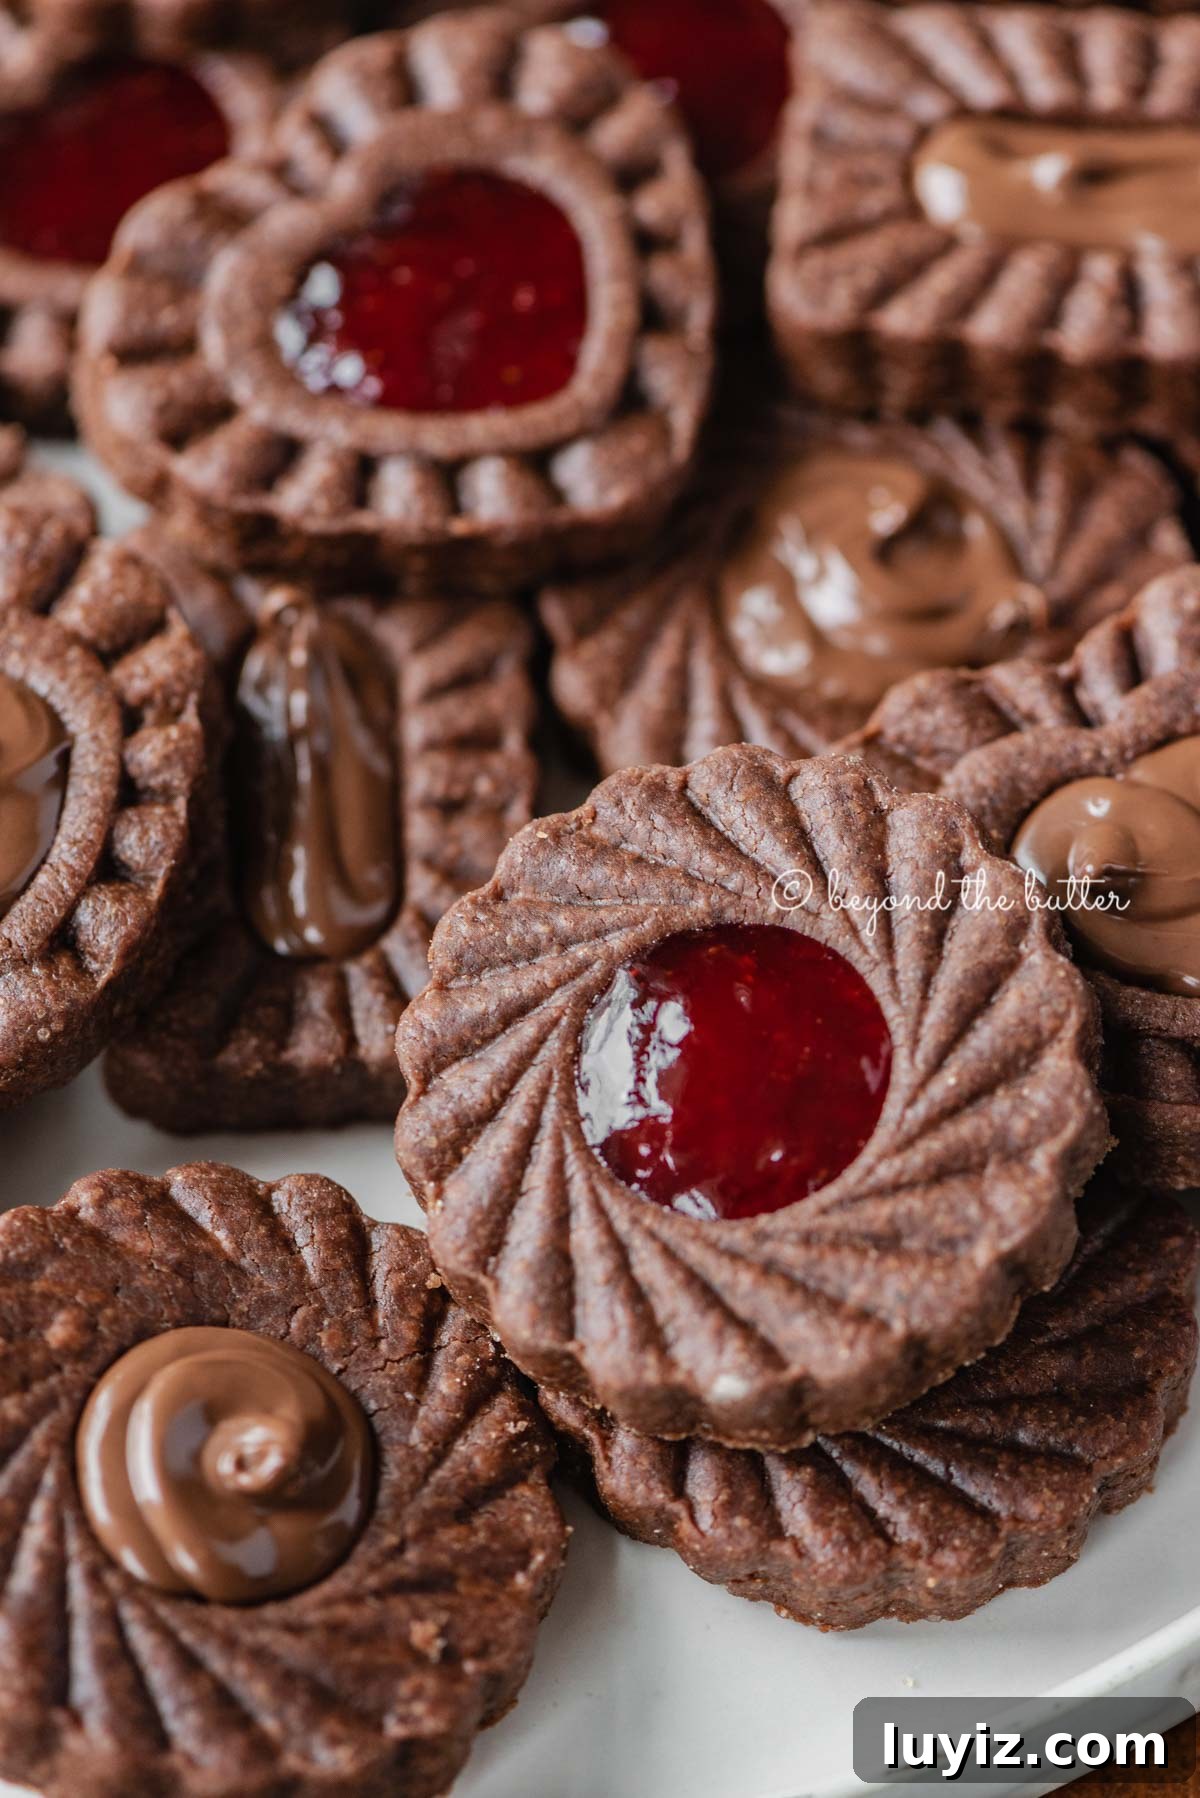
These homemade Chocolate Thumbprint Cookies are a refined take on the classic thumbprint cookie, made easier and prettier with plunger-style cookie stamps. The cookies are soft and chocolatey with a fudgy, chewy center—perfect filled with jam or hazelnut spread. This straightforward recipe yields sophisticated, crowd-pleasing cookies ideal for gifts, cookie boxes, or everyday treats.
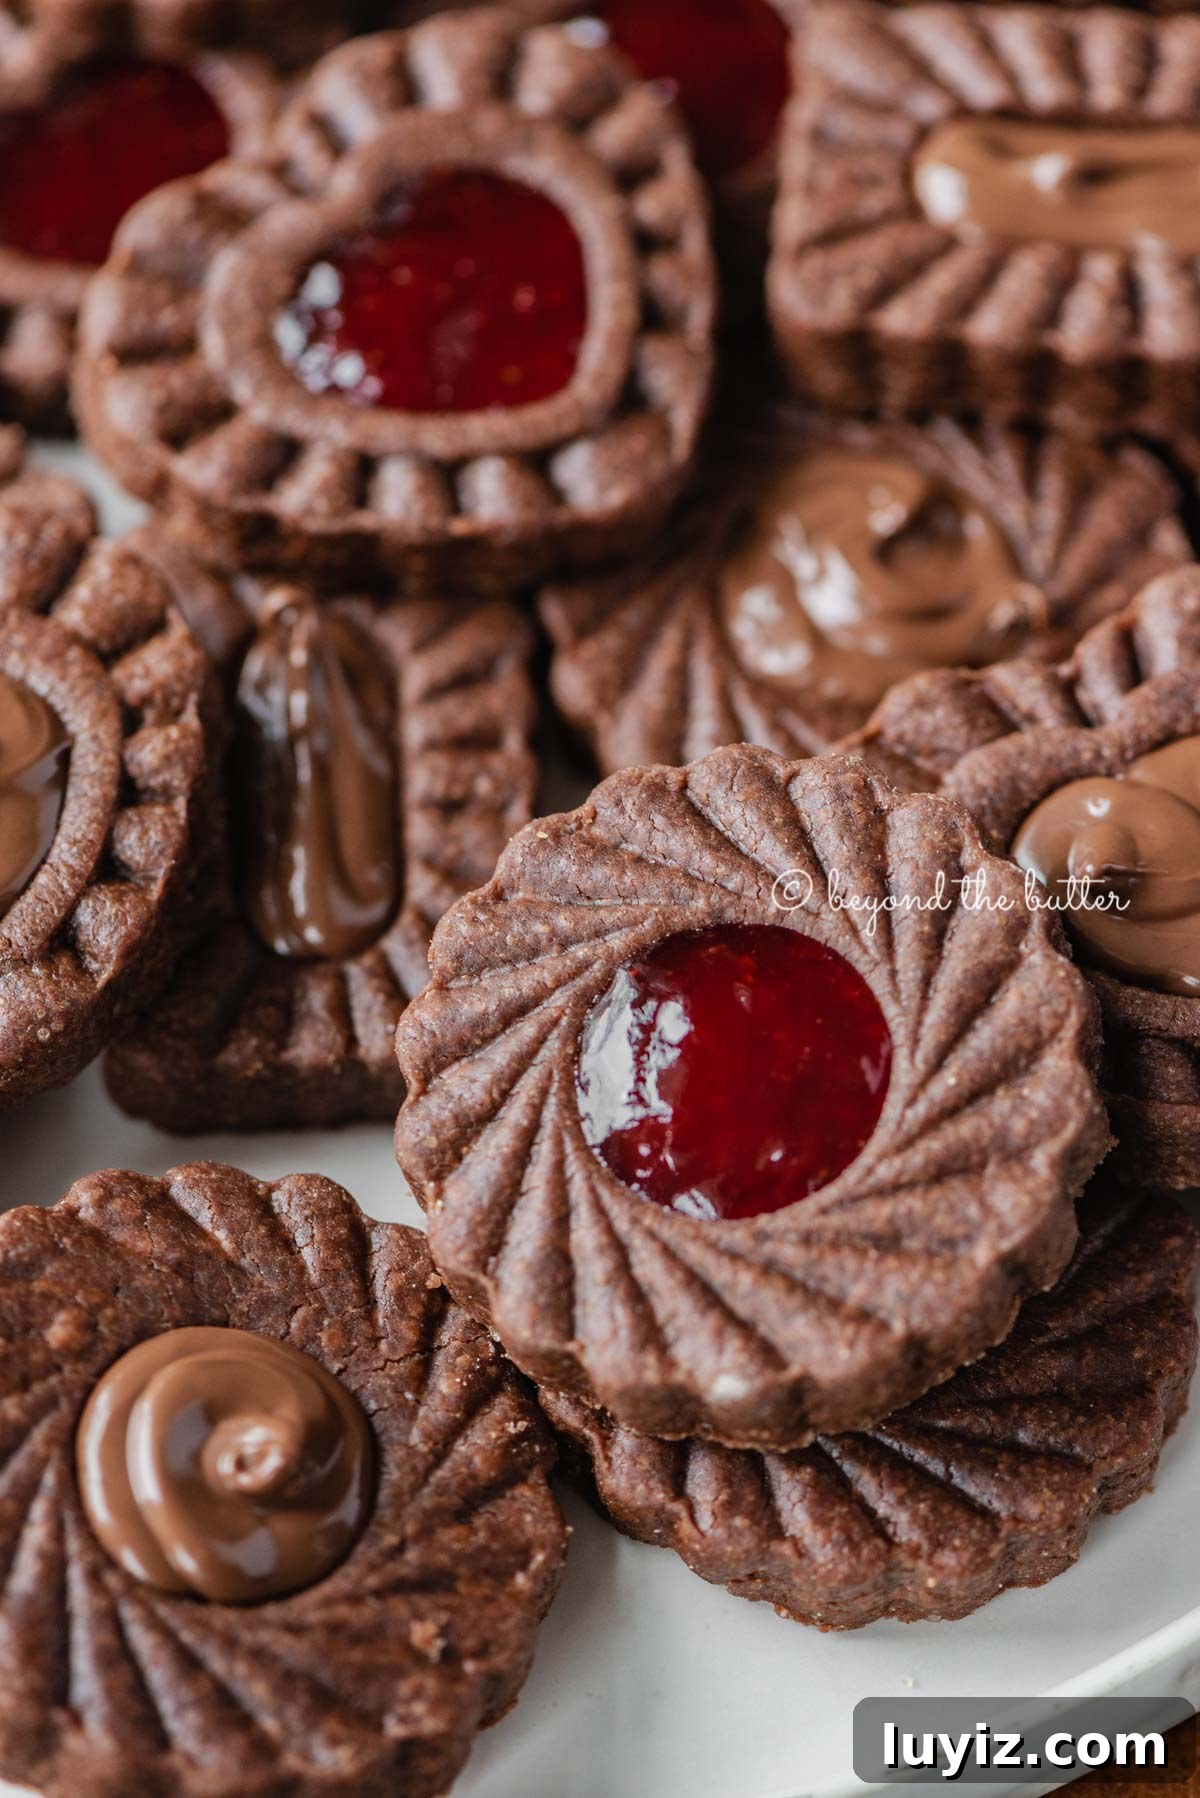
The thumbprint cookie—also known as a jamboree cookie—has been a family favorite for years. I adapted my late Grammy’s jamboree cookie into a chocolate version and used a plunger-style cookie stamp instead of rolling and indenting each ball by hand. The result: cookies that look impressive, hold their design well, and taste deliciously rich.
They’re perfect for holiday cookie platters or for enjoying with coffee or tea at home.
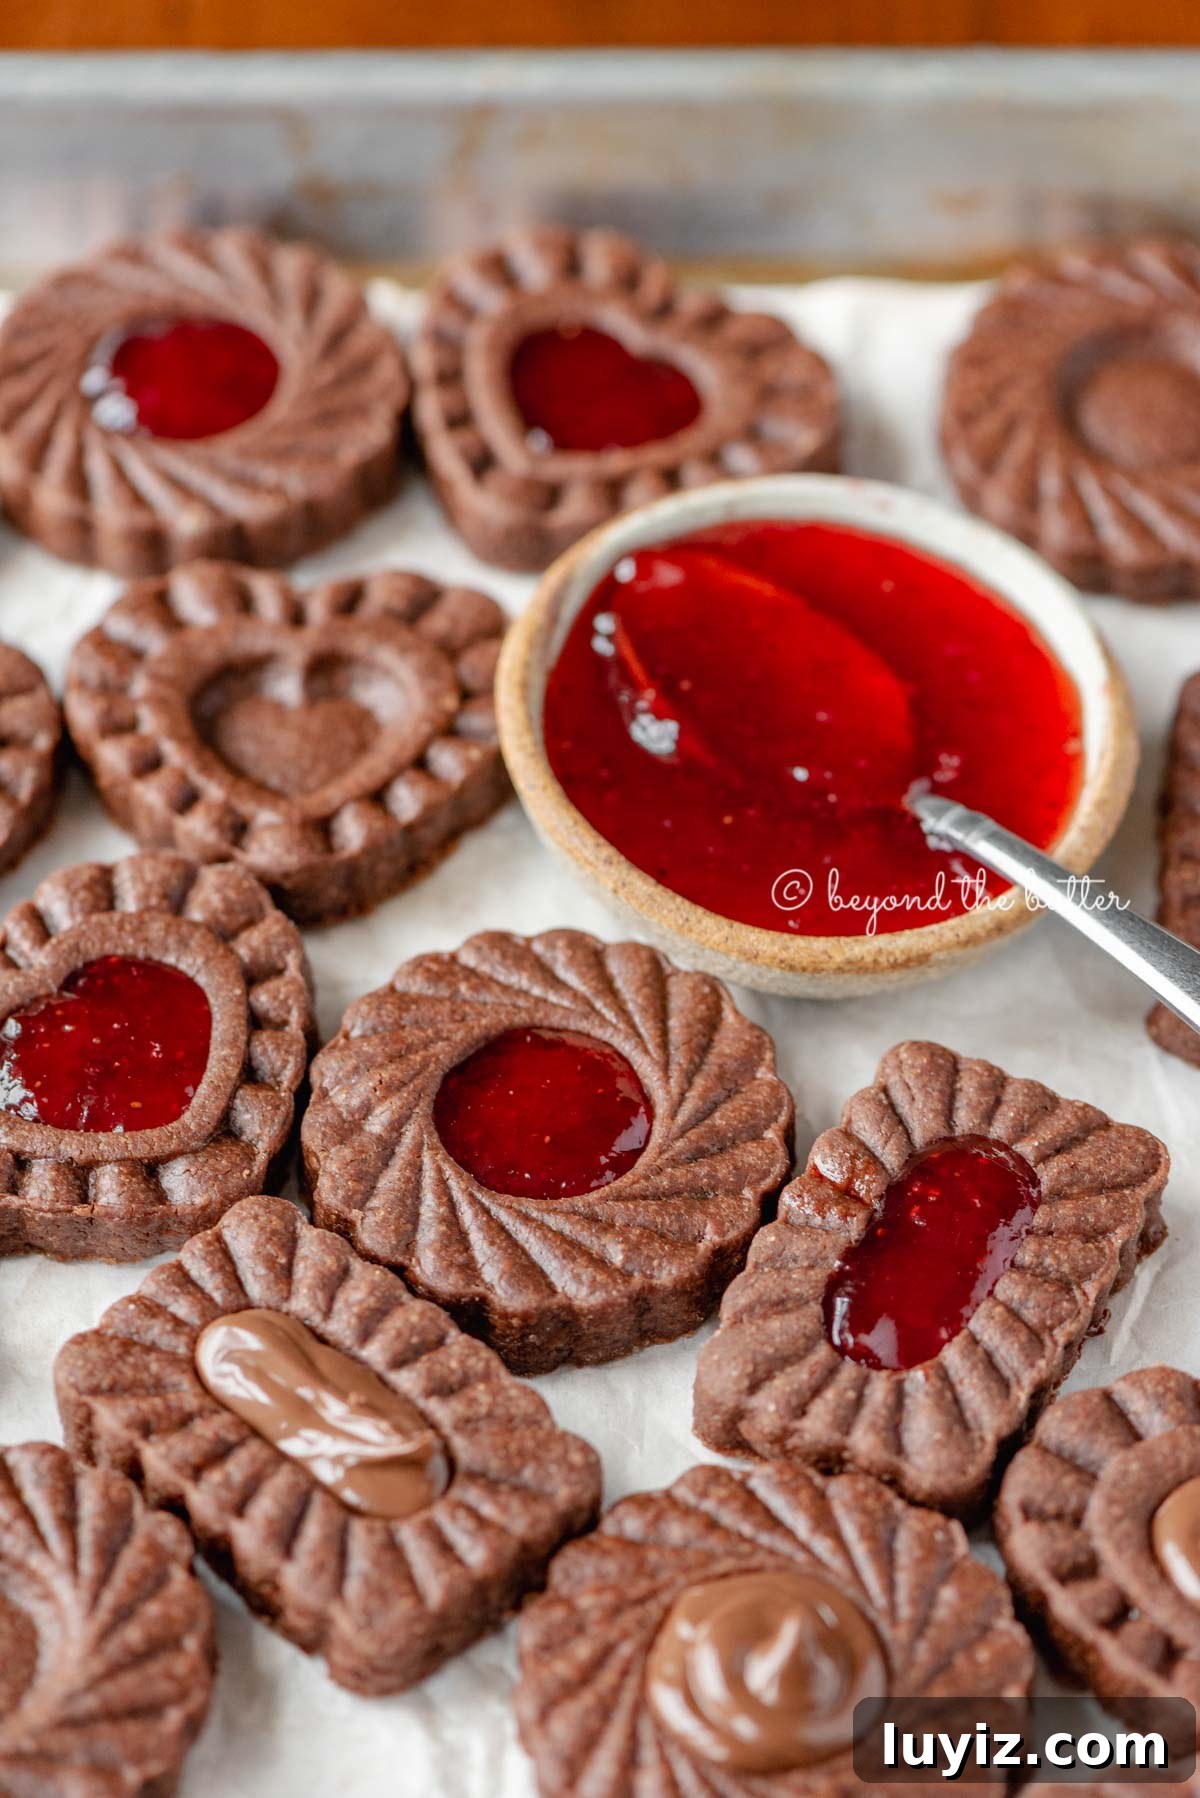
How to Use a Plunger-Style Cookie Stamp
- Cut the stamp into the rolled dough to create each cookie.
- Press the plunger to imprint the design into the cookie.
- Release the plunger and let it return to its original position.
- Hold the stamp over the parchment and push the plunger to release the cookie onto the sheet.
Cookie Stamping Tips
Chill before baking. Chilling the stamped cookies for 10–15 minutes keeps the design crisp and prevents spreading. Refrigerate or freeze the sheet briefly before baking.
Keep them thick. Roll the dough to about 1/4 to 5/16 inch thick. Thicker cookies hold the imprint better and provide a good cavity for filling. Too-thin dough can be pushed through by the plunger.
Lightly flour the stamps. Dipping the stamp in a small bowl of flour every few cuts prevents sticking and makes stamping smoother.
Helpful Chocolate Thumbprint Cookie Tips
Finger-pressed alternative. No cookie stamps? Roll dough into 1–1.5 inch balls and press your finger into the center to create the well for filling.
Chill the dough first. Chill dough 30–45 minutes before rolling or shaping. Firm dough is easier to roll and stamp than warm, soft dough. If you chill overnight, shape into discs first so they roll out easily later.
Flour your surface and rolling pin. A light dusting prevents sticking; any excess flour will bake off.
Use a spatula to transfer. Freshly baked thumbprint cookies are soft and slightly puffy; transfer them with a spatula to a cooling rack. They’ll settle as they cool.
Fill with a piping or plastic bag. A piping bag (or a plastic bag with the corner snipped) makes filling the centers neater. Heating jam or hazelnut spread slightly helps it flow into the wells.
Recipe FAQs
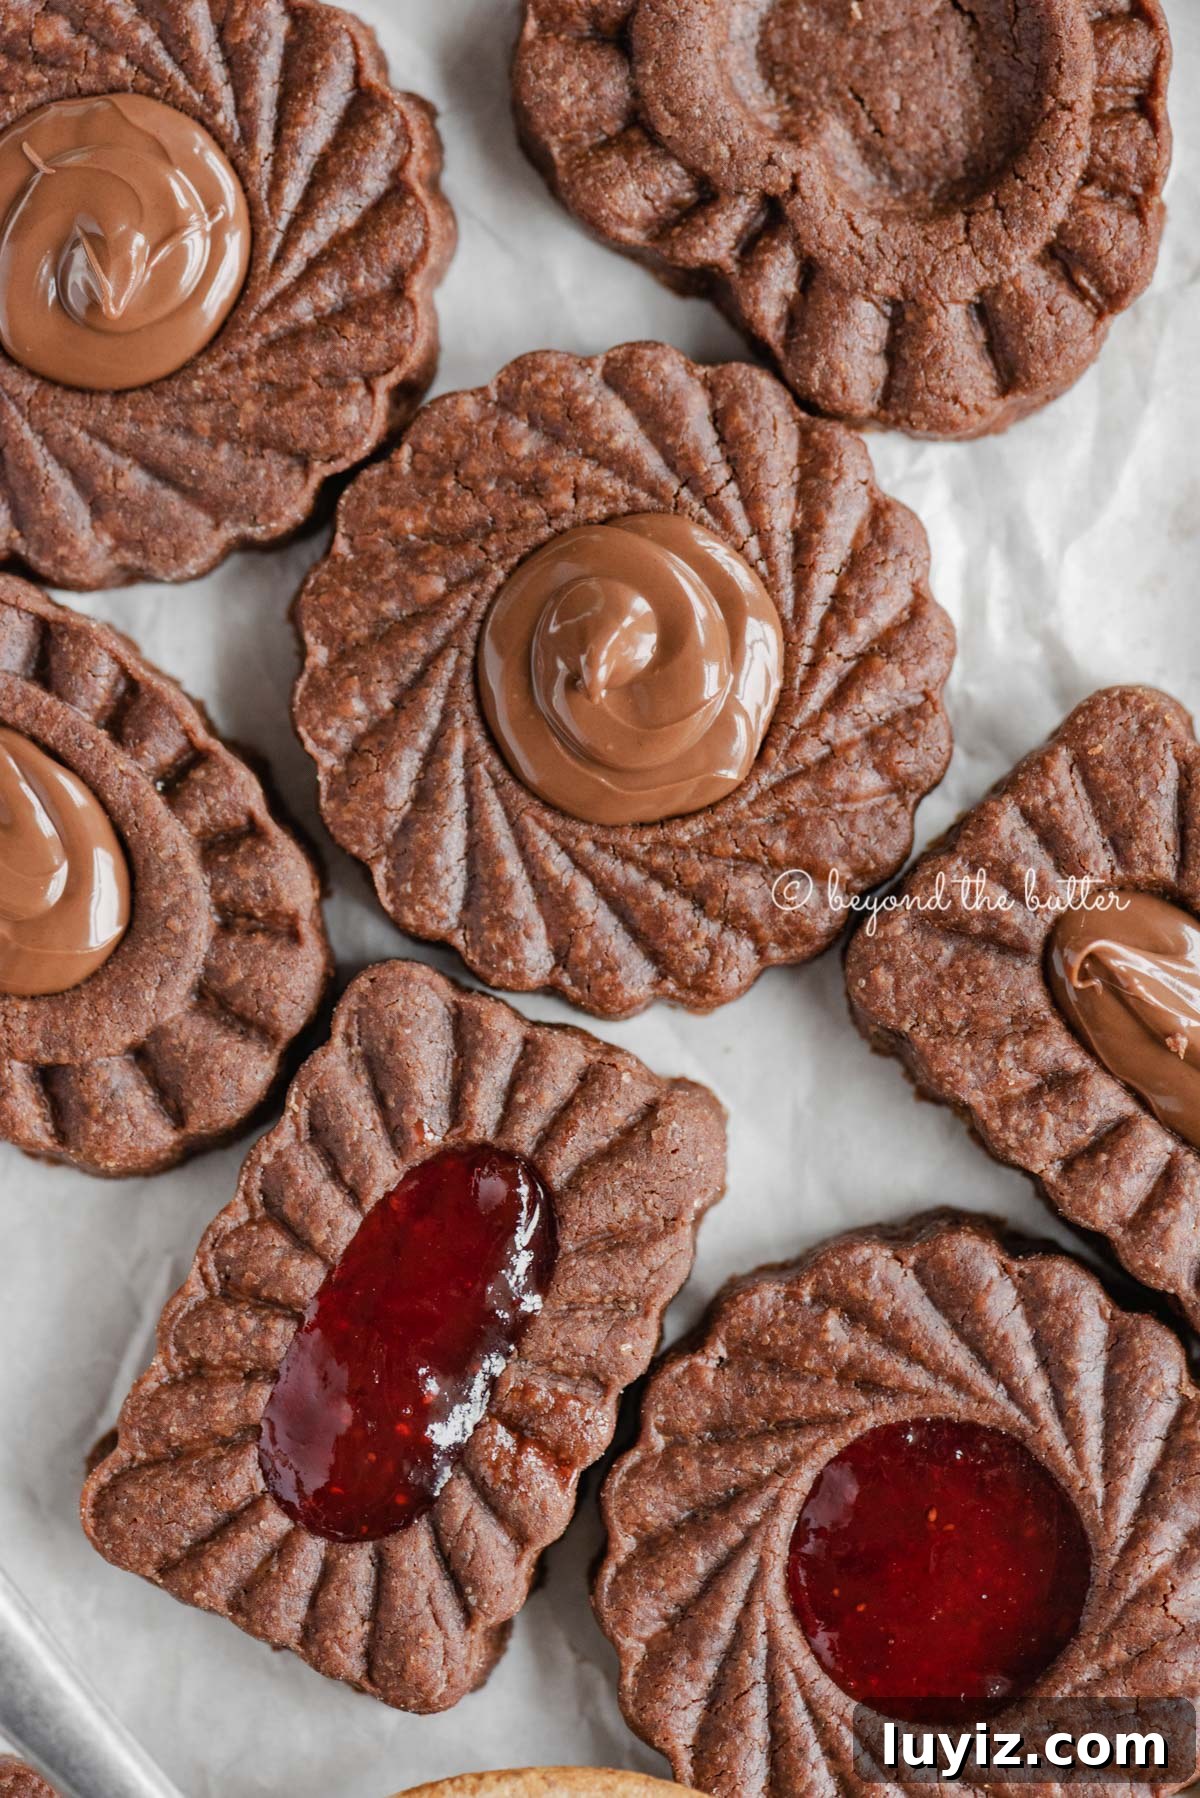
I used plunger-style thumbprint cookie stamps. They press the design cleanly and also eject the cookie dough easily. If you don’t have a specific stamp, any round or decorative plunger stamp designed for cookies will work well.
Yes. I recommend freezing the stamped cookies on a tray, then storing them in a sealed container for up to a month. Bake from frozen at the same temperature, adding 1–2 minutes to the baking time—no defrosting needed.
Add These Cookies to Your Must-Bake List

Soft and Chewy Gingerbread Cookies
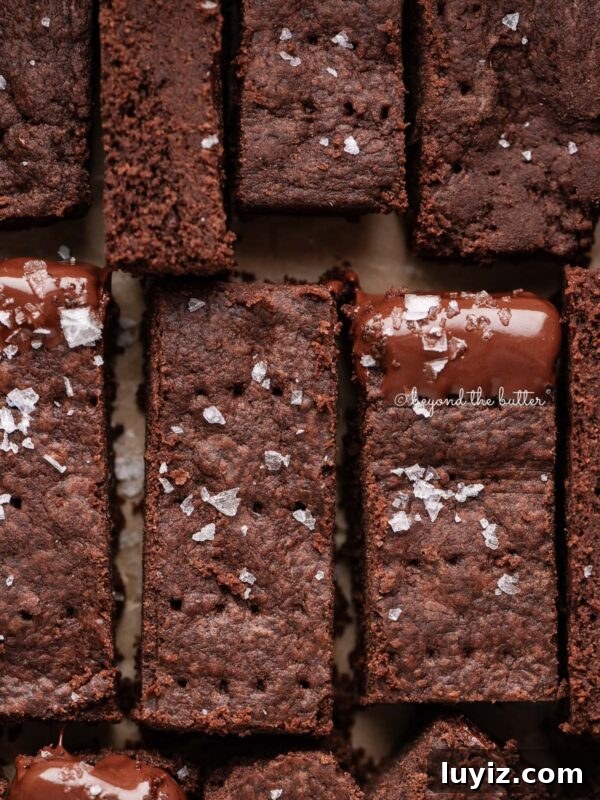
Homemade Chocolate Shortbread

Classic Spritz Cookies
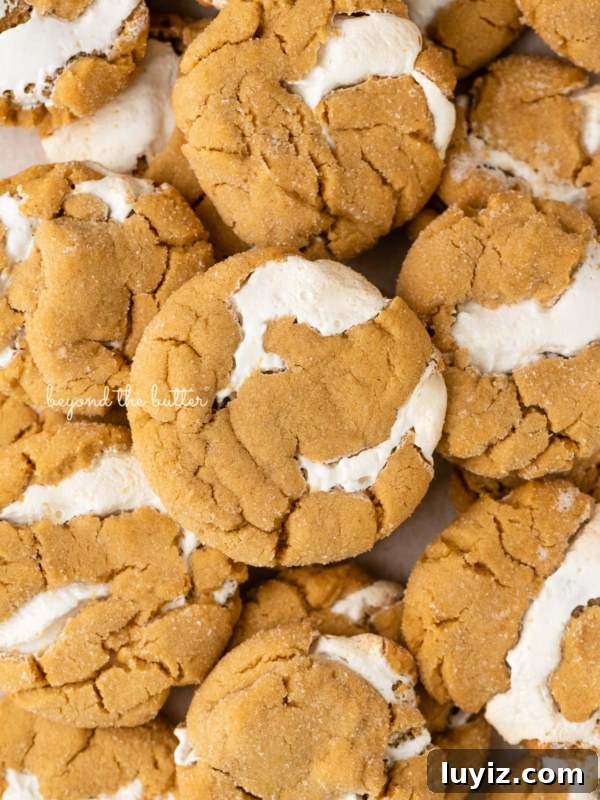
Fluffernutter Cookies
If you try this Chocolate Thumbprint Cookies recipe or any other recipe here, please leave a star rating and share your thoughts in the comments below. Thanks for visiting!
Chocolate Thumbprint Cookies

Ingredients
- 2 cups All-Purpose Flour
- 1/2 cup Unsweetened Cocoa Powder
- 1 tsp Salt
- 1 cup Unsalted Butter, room temperature
- 1 cup Granulated Sugar
- 1 Large Egg Yolk
- 1 tsp Vanilla Extract
- Hazelnut spread and/or jam of your choice
Instructions
- In a medium bowl, whisk together the all-purpose flour, cocoa powder, and salt. Set aside.
- Using a hand mixer or stand mixer with the paddle attachment on medium speed, beat the butter and granulated sugar until light and fluffy. Add the egg yolk and vanilla, mixing until combined.
- Reduce the mixer speed to low and gradually add the dry ingredients, mixing until just combined.
- Cover the dough tightly with plastic wrap and chill at least 1 hour in the refrigerator. You can chill overnight—shape the dough into discs first if you plan to roll it out the next day. If chilled overnight, let sit about 30 minutes at room temperature before rolling.
- Preheat the oven to 350ºF and line two baking sheets with parchment paper.
- On a lightly floured surface, roll the dough to 1/4–5/16 inch thickness. Lightly flour the cookie stamps and cut out each cookie, placing them on the prepared sheets. For best definition, chill the stamped cookies in the refrigerator or freezer for 15–20 minutes before baking.
- Bake the cookies 10–12 minutes (10 minutes worked well in my oven). They will be slightly puffy but will settle as they cool. Let cool on the baking sheet for about 5 minutes before transferring with a spatula to a cooling rack.
- Once cooled, fill each thumbprint with warmed hazelnut spread or jam. Use a small piping bag, plastic bag with the corner snipped, or a spoon for filling.
- Store cookies at room temperature in a sealed container for up to 4 days, or refrigerate for up to one week.
Notes
- If you don’t have cookie stamps, roll dough into 1–1.5 inch balls and press your finger into the center to make the well for filling.
- Chill dough 30–45 minutes before rolling or shaping; chilled dough handles much better.
- Stamped cookies freeze well for up to a month. Bake from frozen and add 1–2 minutes to the bake time—no defrosting required.
- This recipe was adapted from a family jamboree cookie recipe.
Nutrition
Calories: 97kcal
| Carbohydrates: 12 g
| Protein: 1 g
| Fat: 5 g
Nutritional information is an estimate and will vary based on specific ingredients used.