
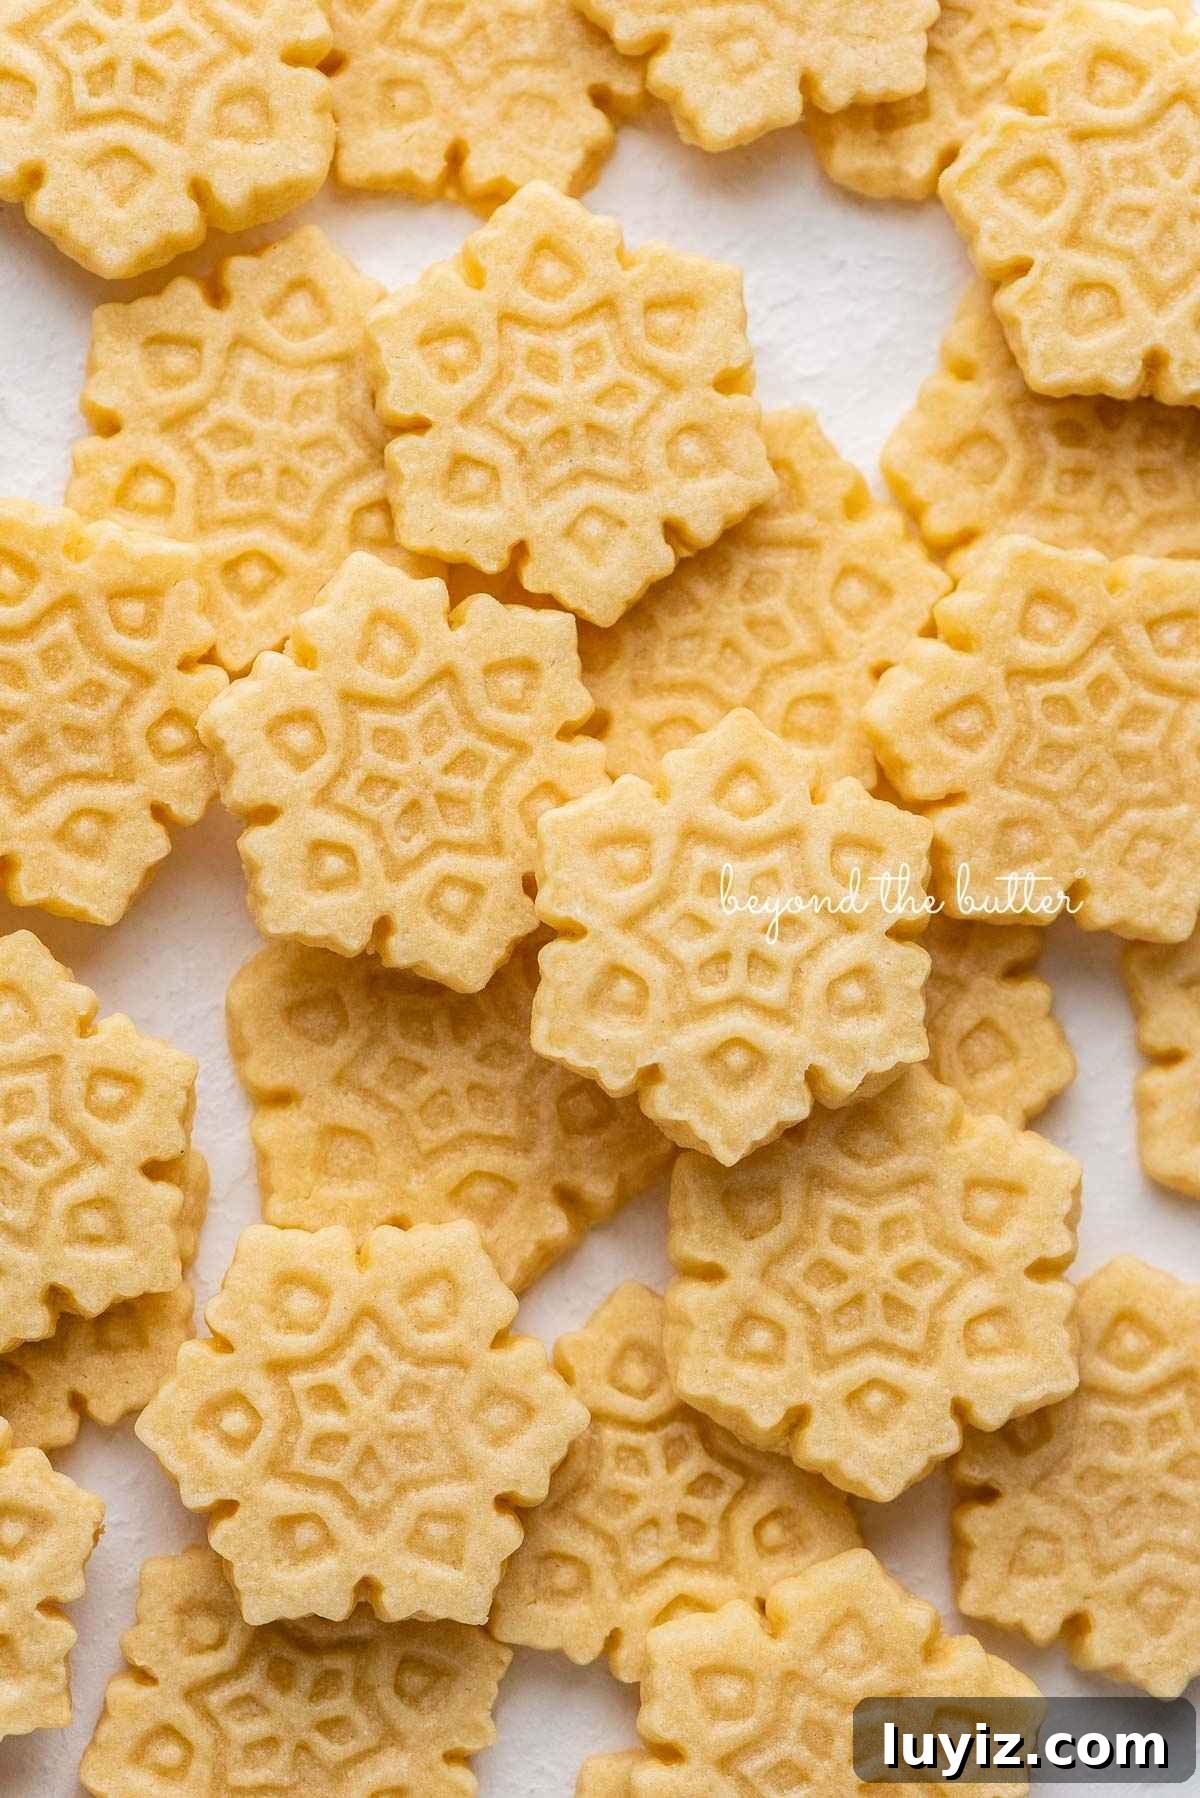
Homemade Butter Cookies are a timeless treat for any gathering or holiday. These simple yet refined cookies offer a rich, buttery flavor, a slightly crisp edge, and a soft, tender center.
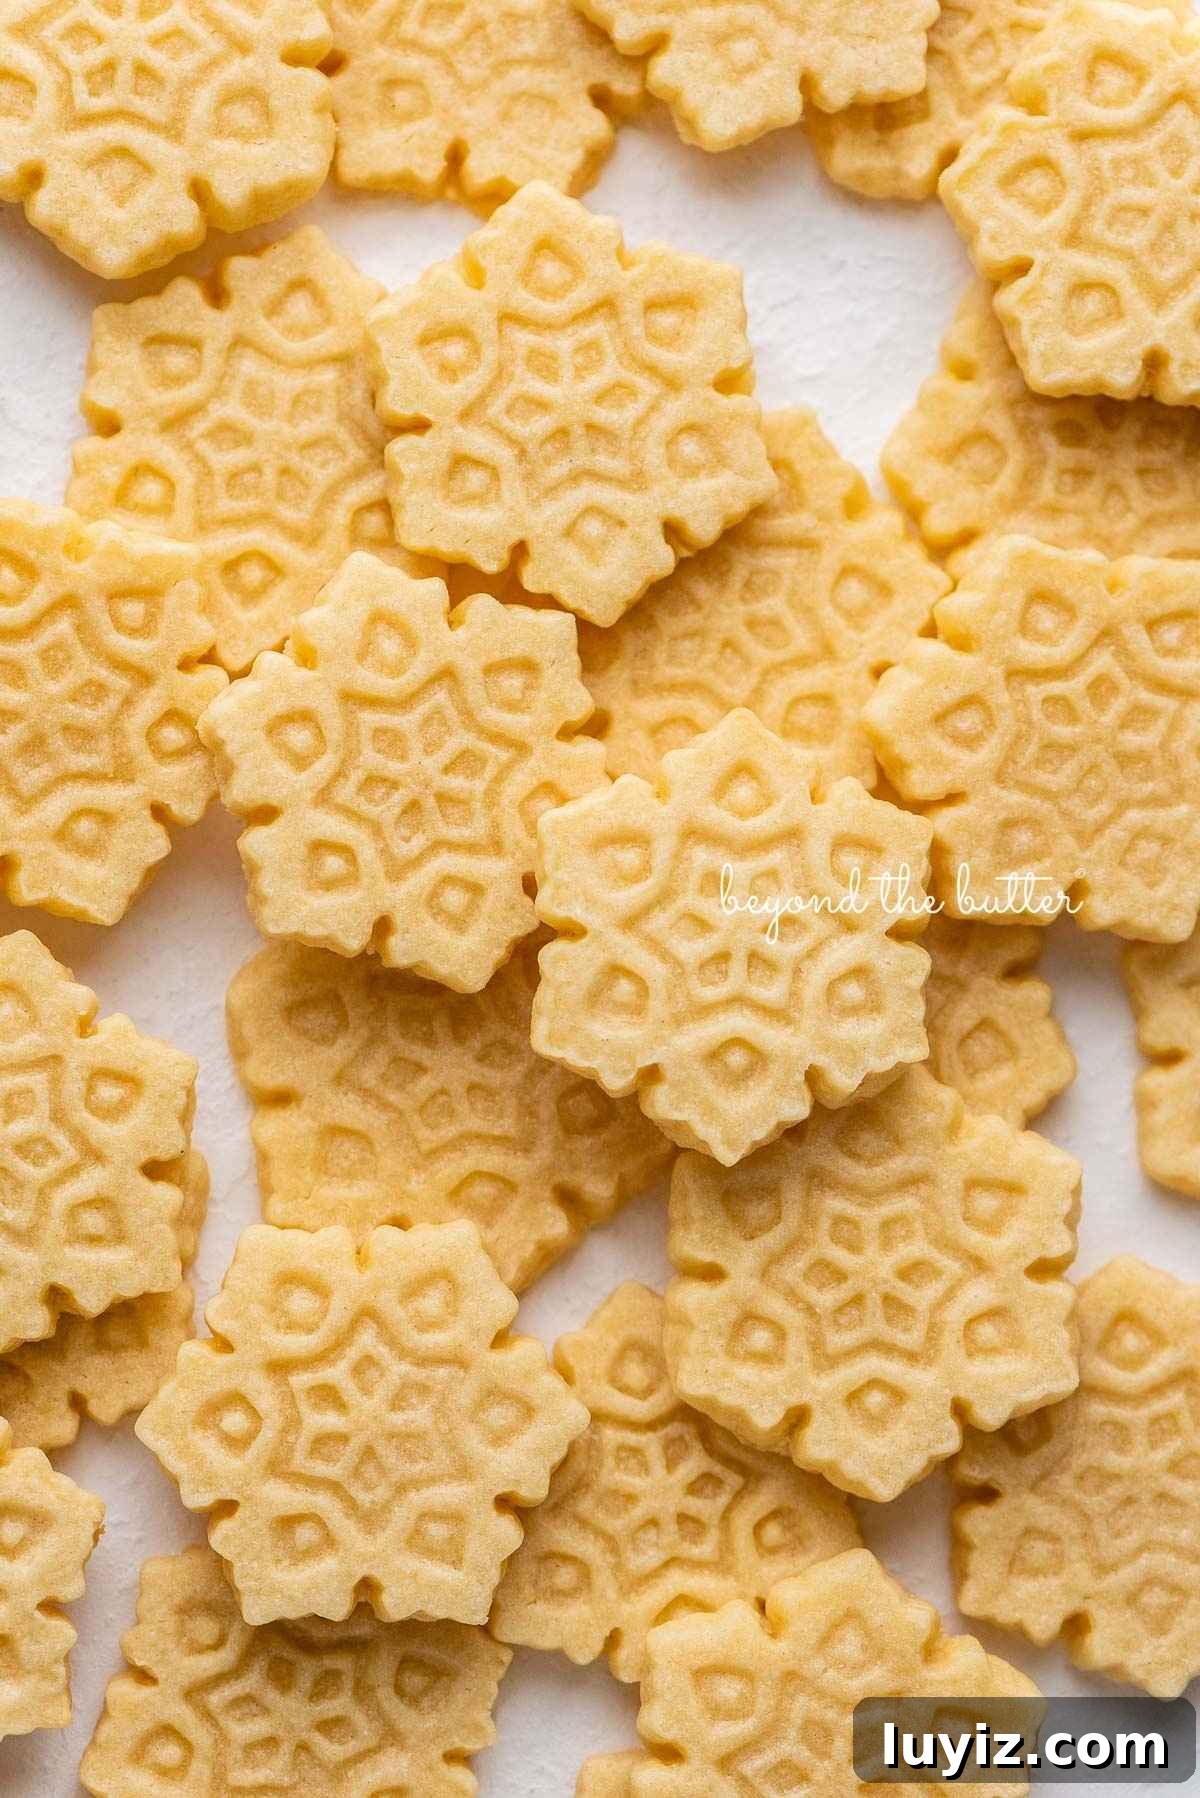
Table of Contents
- Ingredients Needed
- How to Make the Recipe
- 5 Tips for Using Cookie Stamps
- Recipe FAQs
- More Cookies for Your Holiday Baking Tins!
- Easy Homemade Butter Cookies Recipe
Why you’ll love this recipe

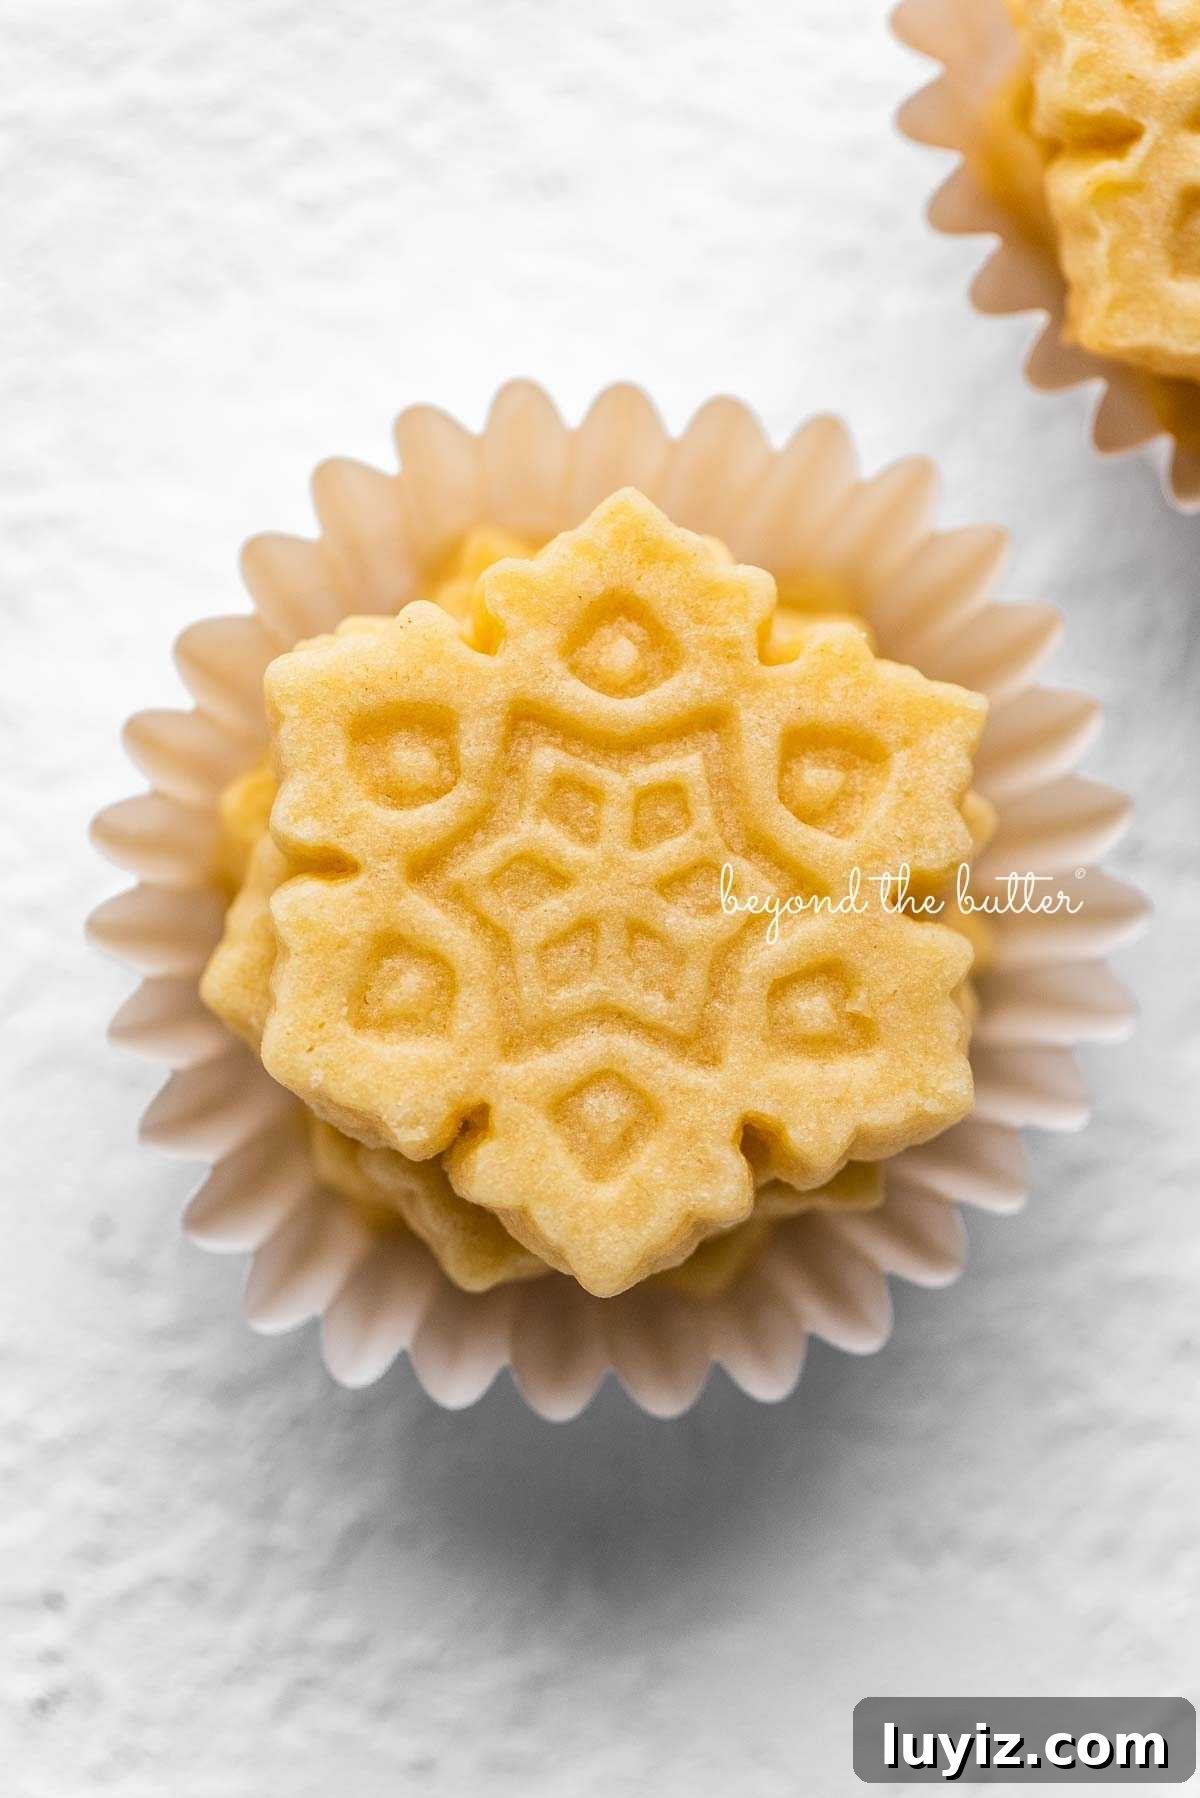
I love how effortless these Homemade Butter Cookies are and how exceptional they taste. They have a buttery, melt-in-your-mouth interior with a delicate, golden edge. The recipe uses only seven ingredients and is easy to adapt with seasonal cookie cutters or stamps.
This recipe is perfect for holiday tins, cookie swaps, or a simple afternoon baking session. Enjoy!
Ingredients Needed
These are the ingredients for an old-fashioned butter cookie. Key items are noted with brief guidance.
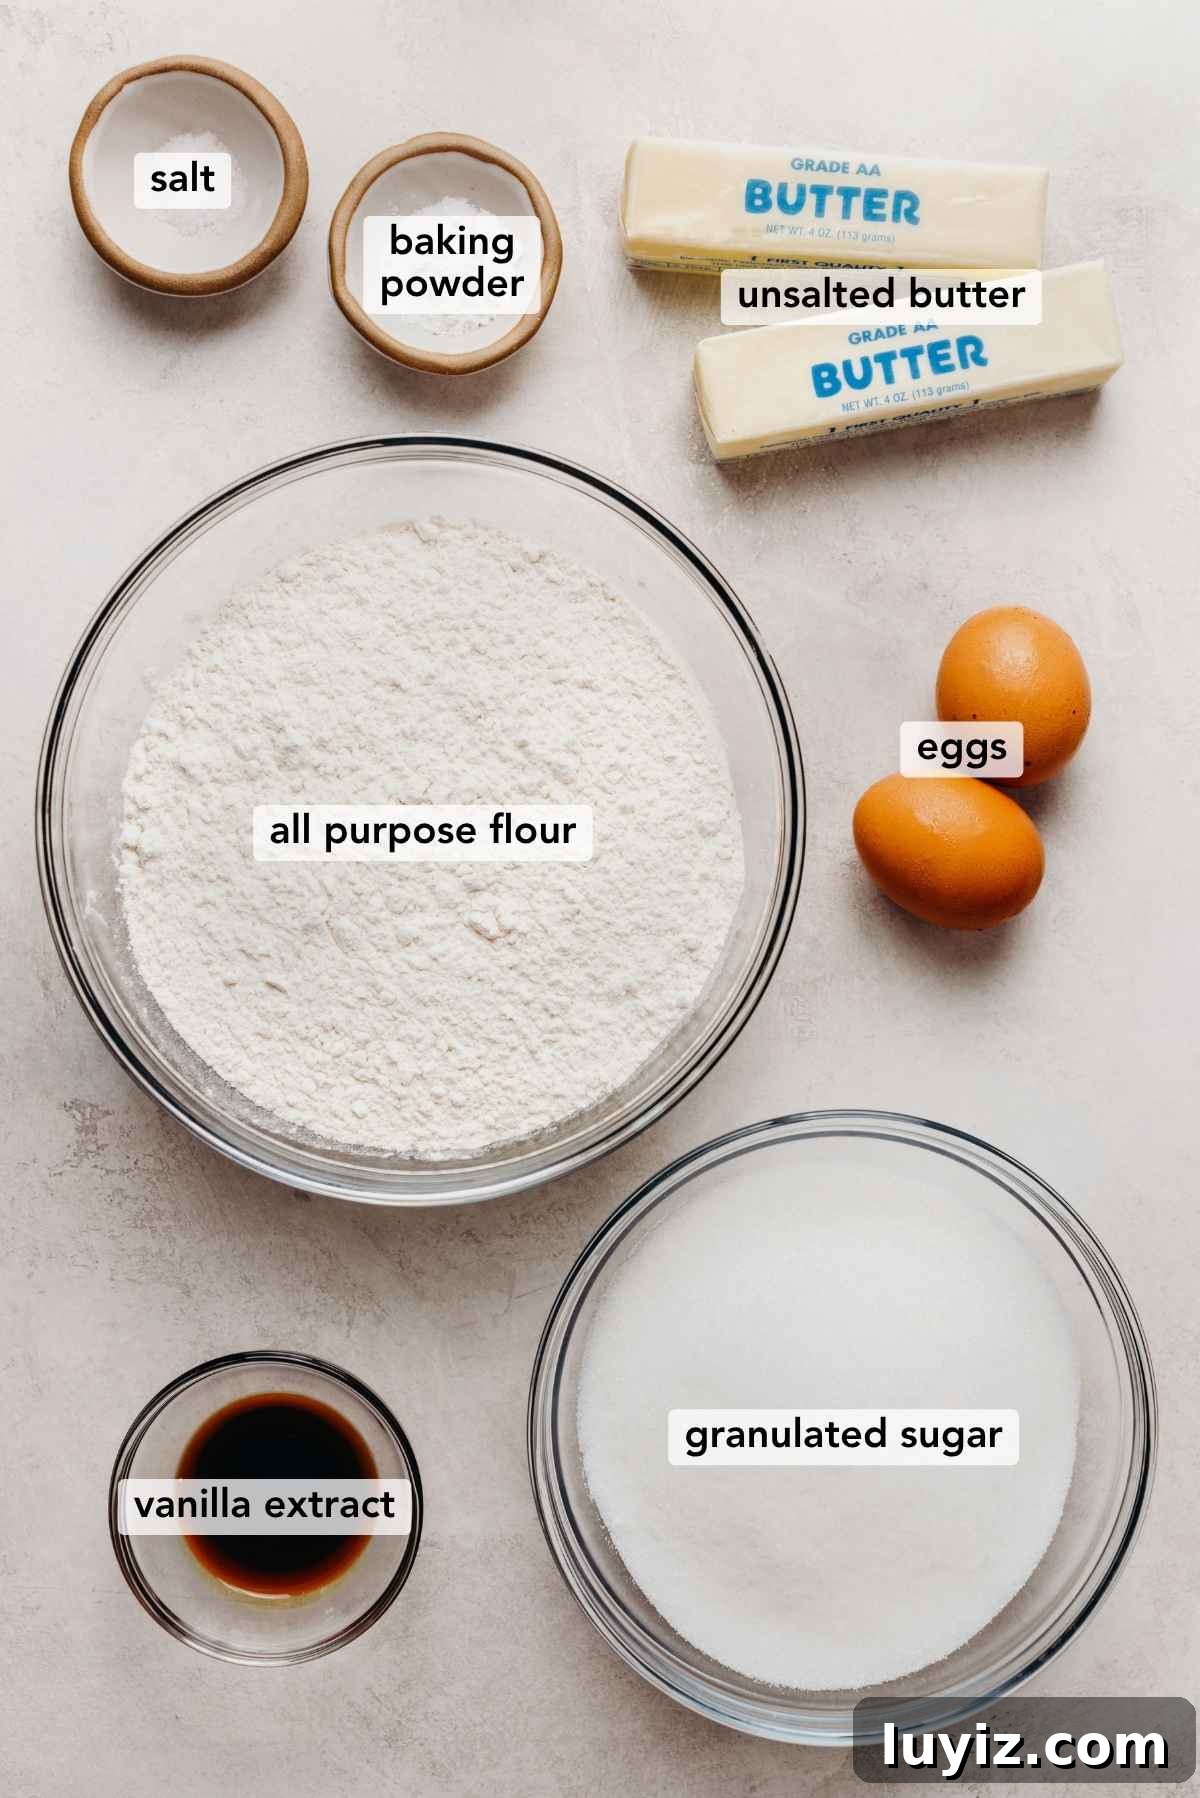
- Unsalted butter. Choose a high-fat butter (about 82–85% butterfat) for best flavor and texture. Room temperature works well for creaming.
- Eggs. Use large eggs at room temperature to improve the cookies’ texture and richness.
- Baking powder. Adds a gentle lift so the cookies aren’t overly dense.
- Vanilla extract. Pure vanilla extract enhances the buttery flavor; vanilla bean paste is also a great option.
Exact quantities and a printable recipe are available in the recipe card below.
How to Make the Recipe
Follow these steps for tender, buttery cookies with crisp edges. For a printable version with measurements, see the recipe card below.
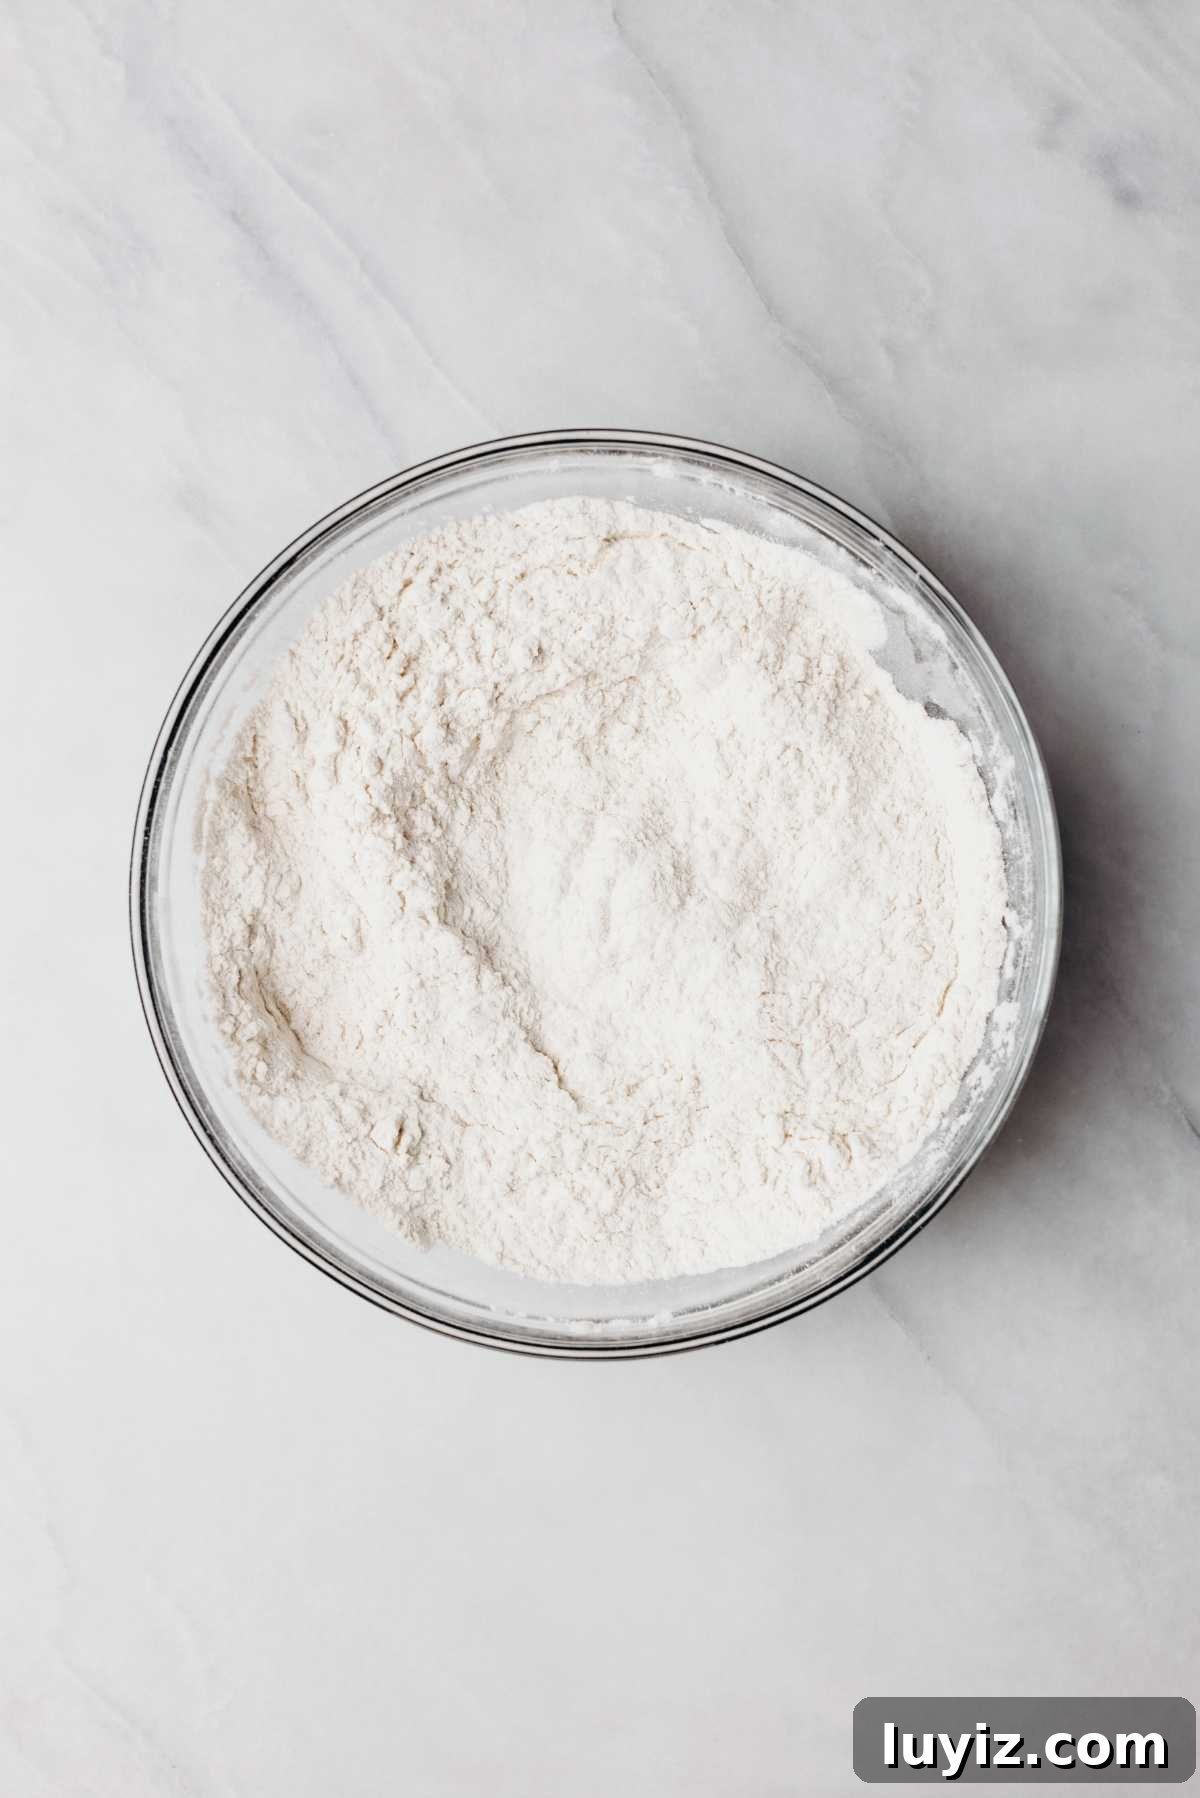
Step 1. Whisk the dry ingredients. Combine all-purpose flour, baking powder, and salt in a bowl and set aside.
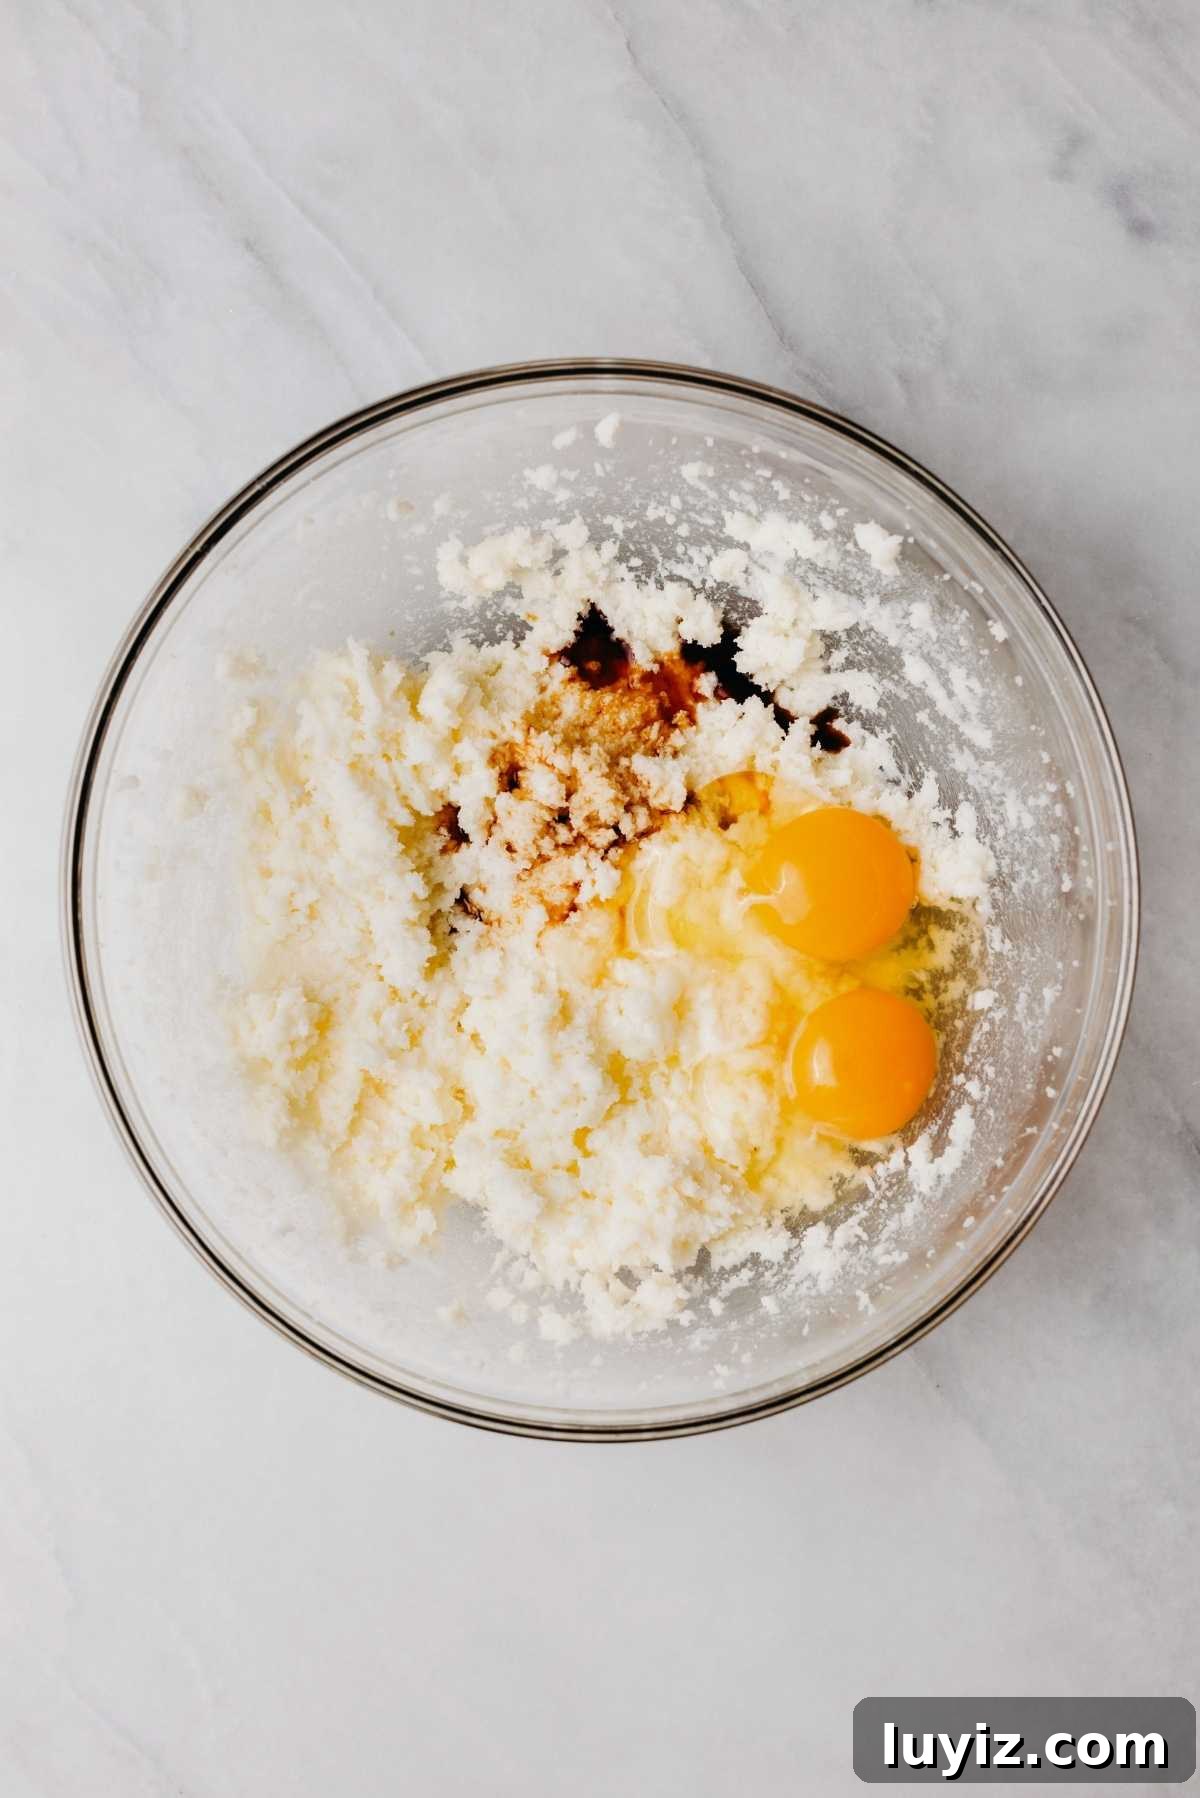
Step 2. Cream butter and sugar, then add eggs and vanilla. Beat until light and fluffy before incorporating the dry ingredients.
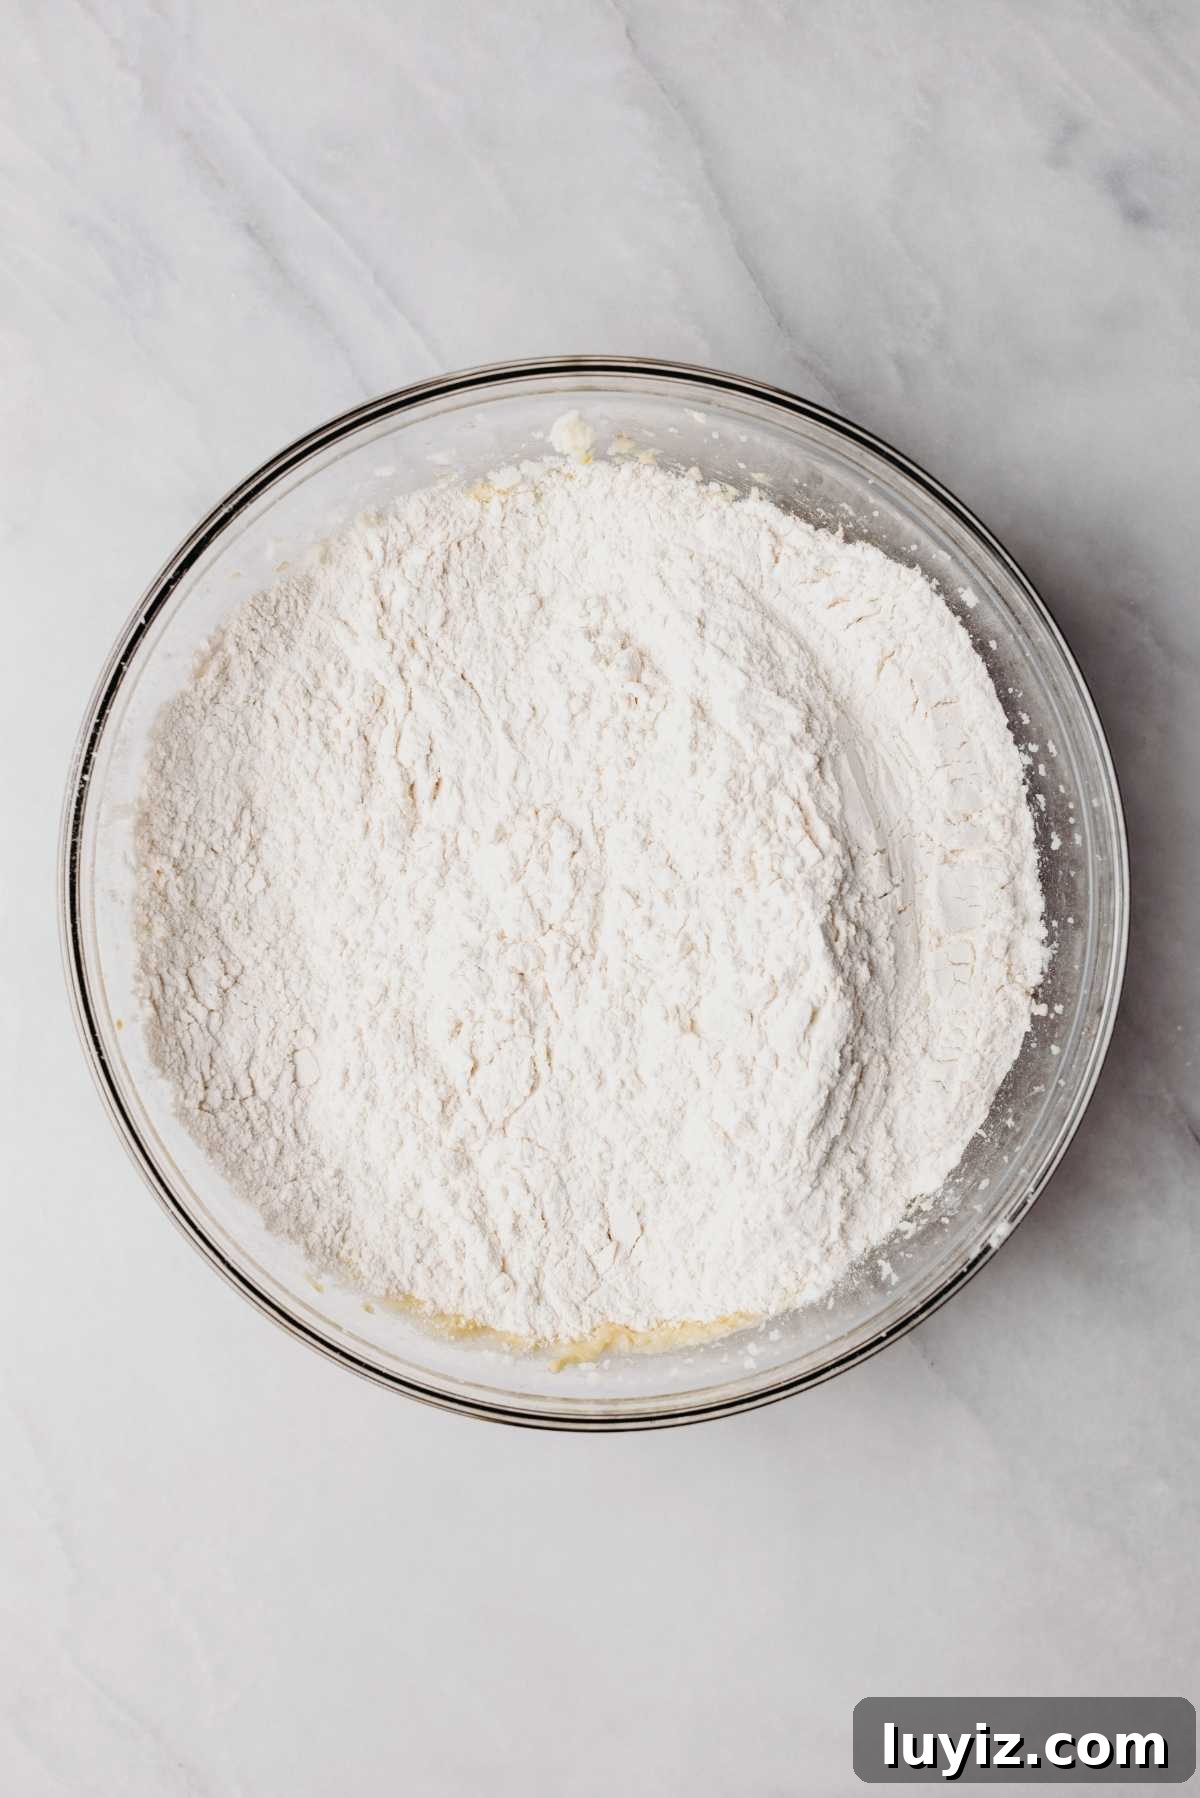
Step 3. Combine the dry and wet mixtures. Mix on low speed until the dough is uniform and fully blended.
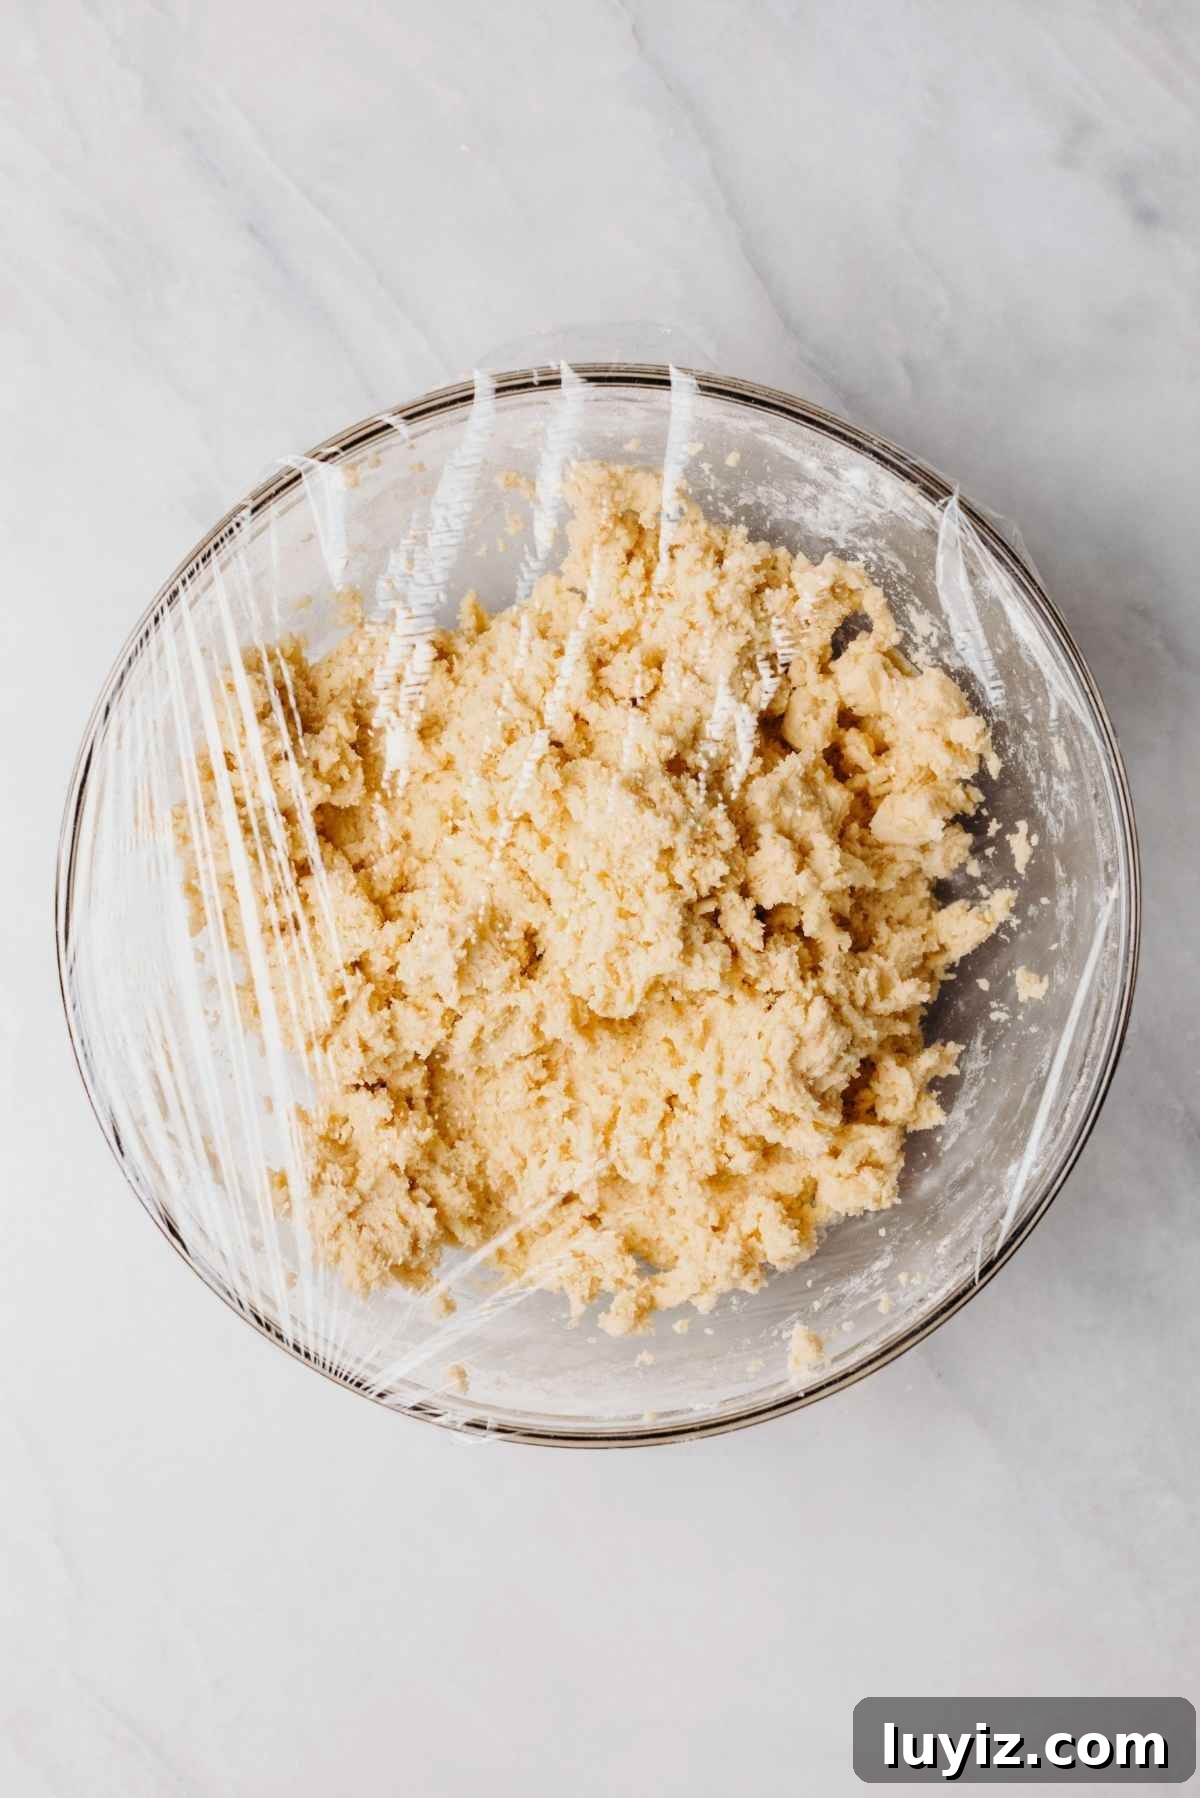
Step 4. Chill the dough. Cover tightly and refrigerate for at least 1 hour (or overnight) to firm up the dough for rolling and stamping.
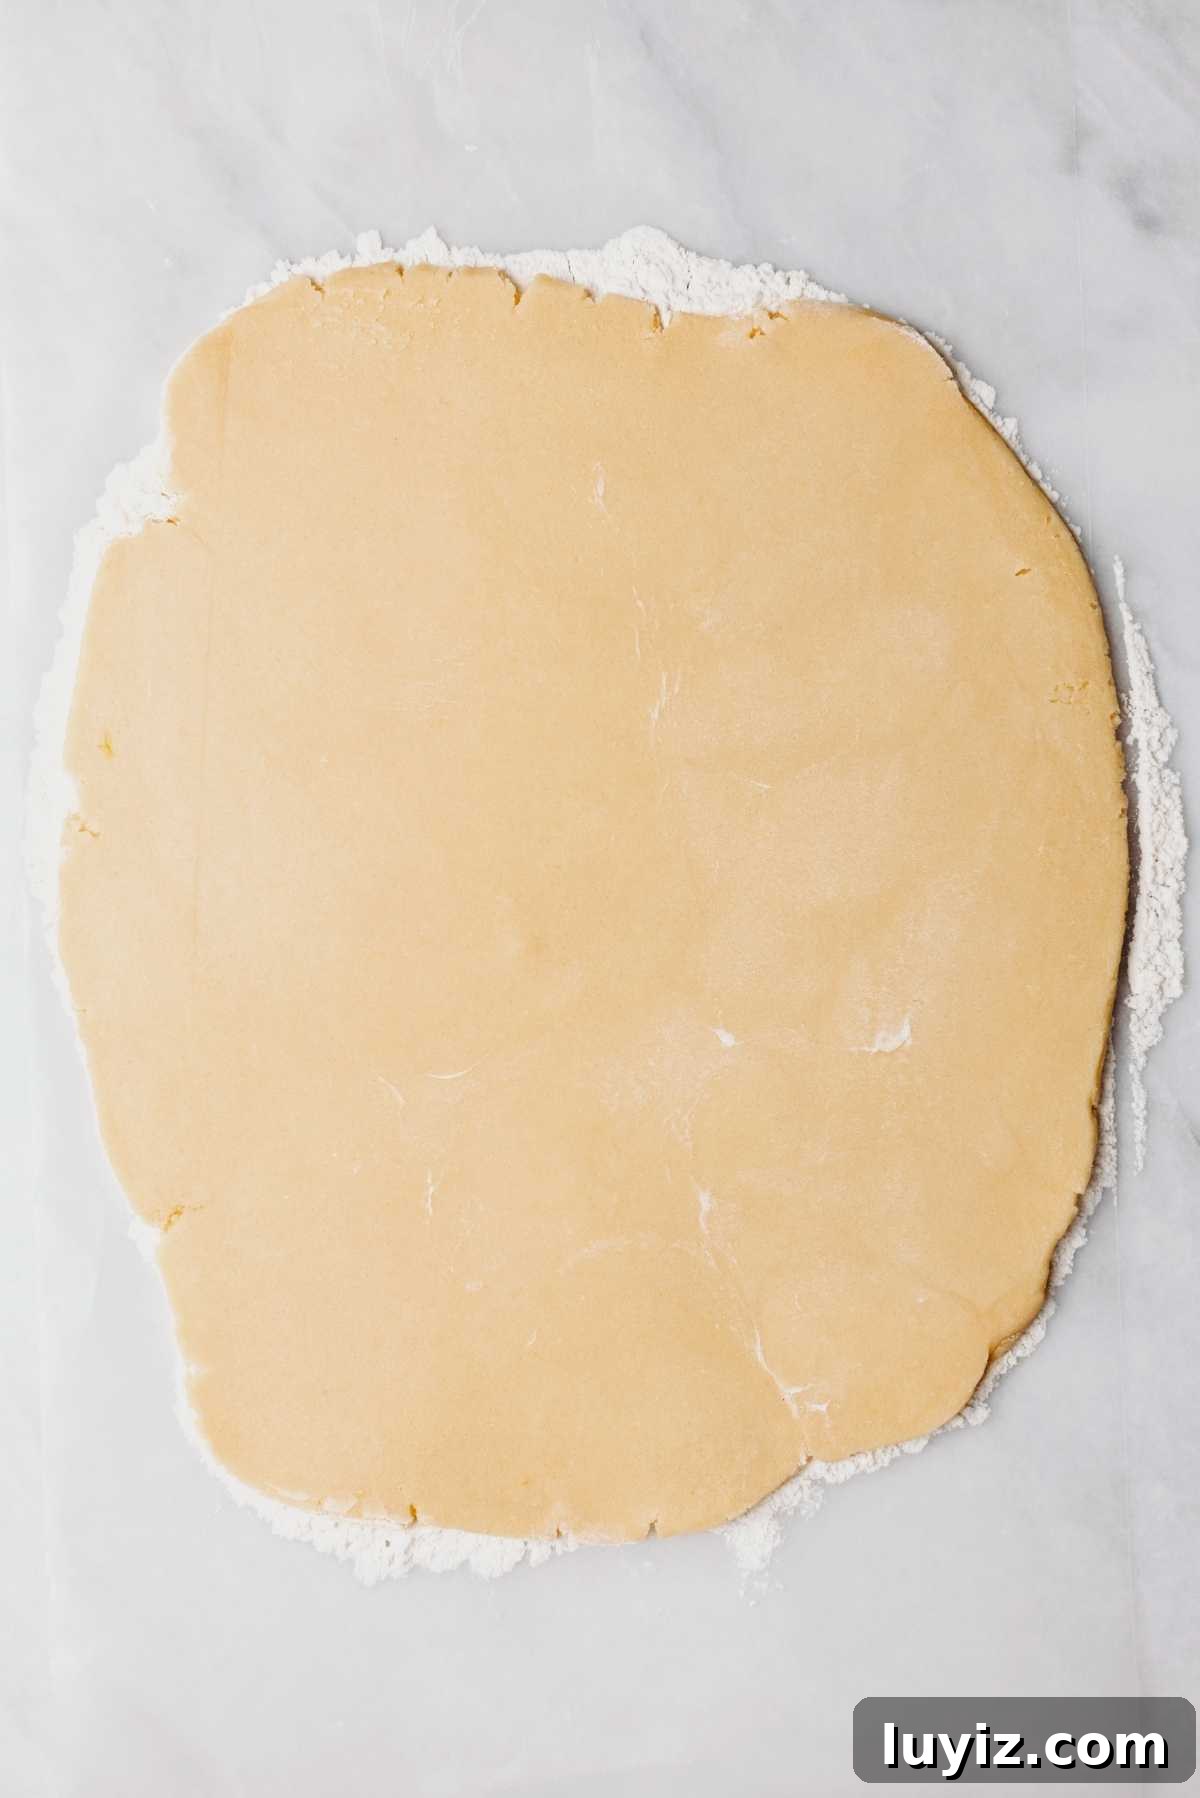
Step 5. Roll out the dough. Lightly flour your work surface and roll the dough to about 1/2″–5/8″ thick.
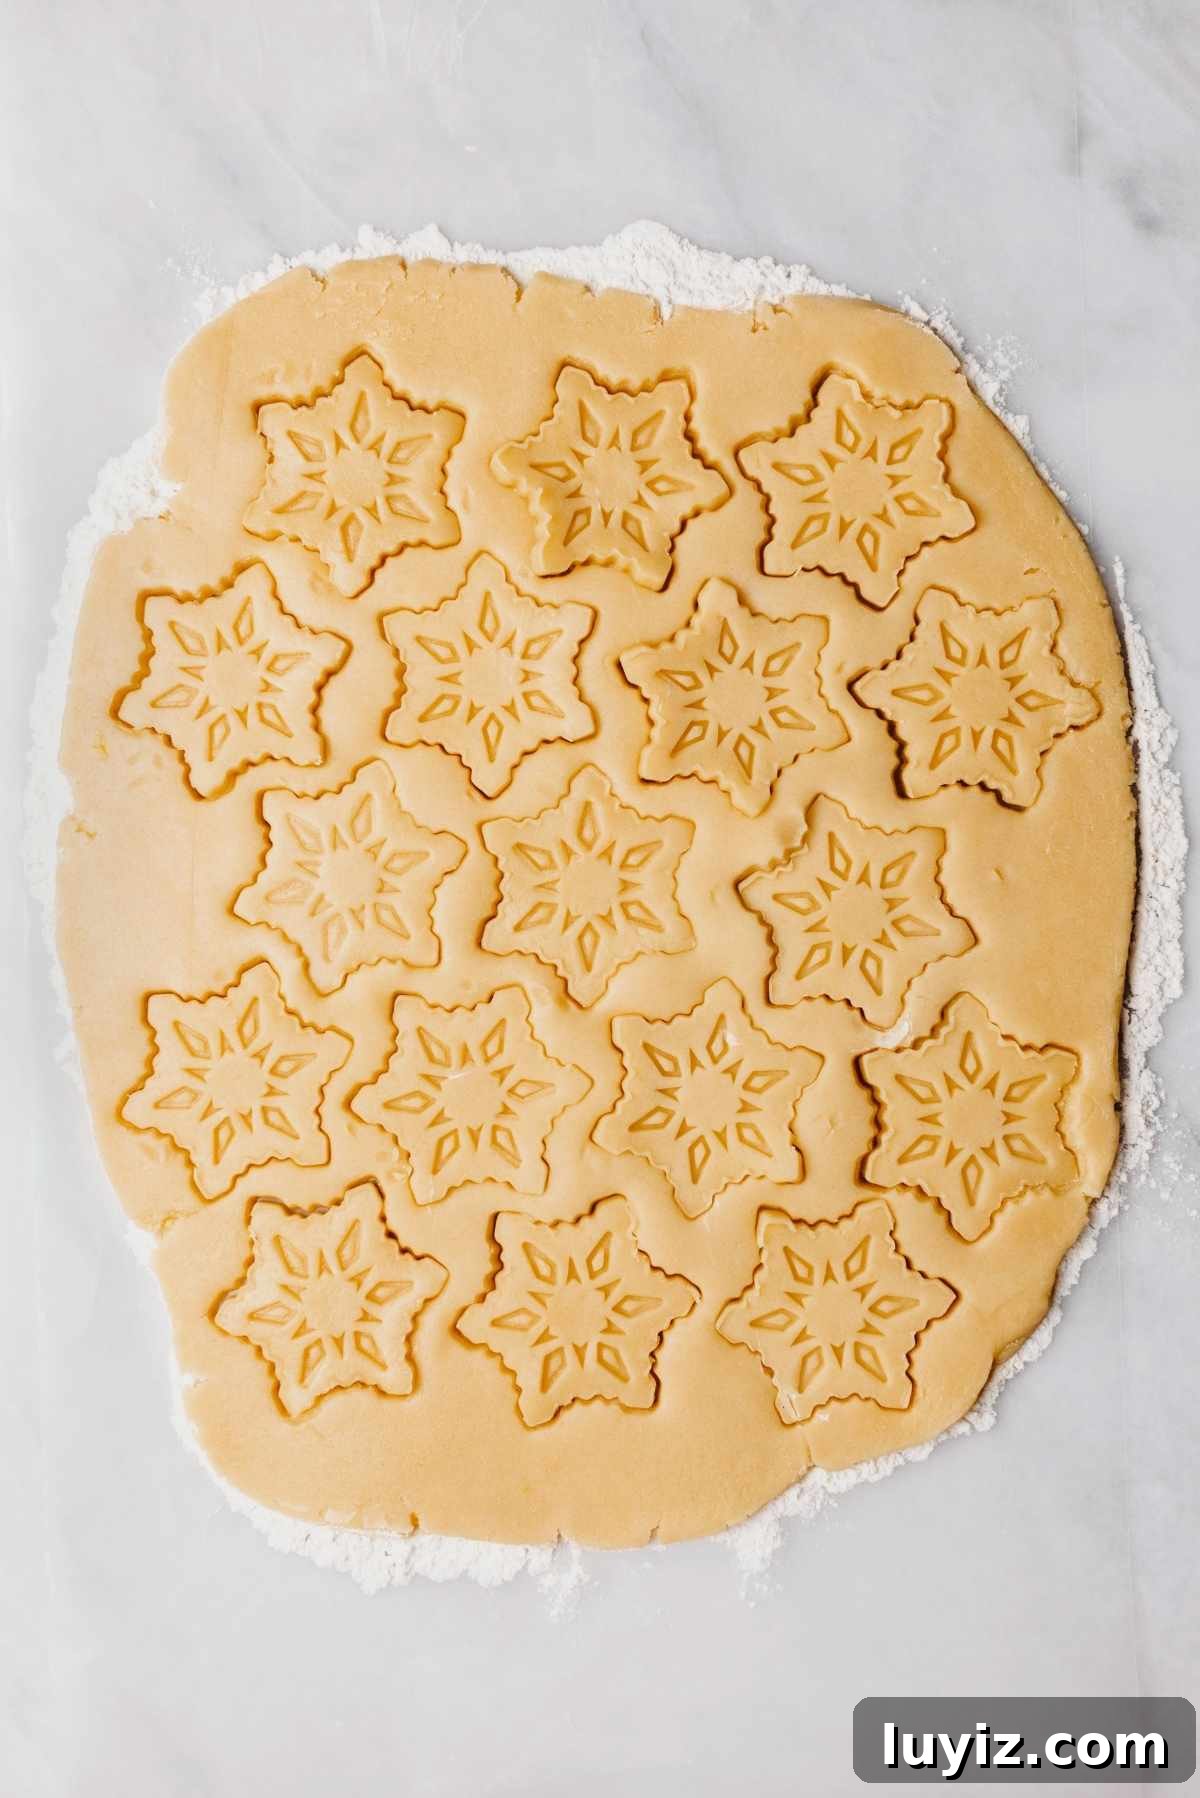
Step 6. Stamp or cut shapes. Use a lightly floured cookie stamp or cutter to shape the cookies. Chill the cut cookies briefly while you preheat the oven for sharper details.
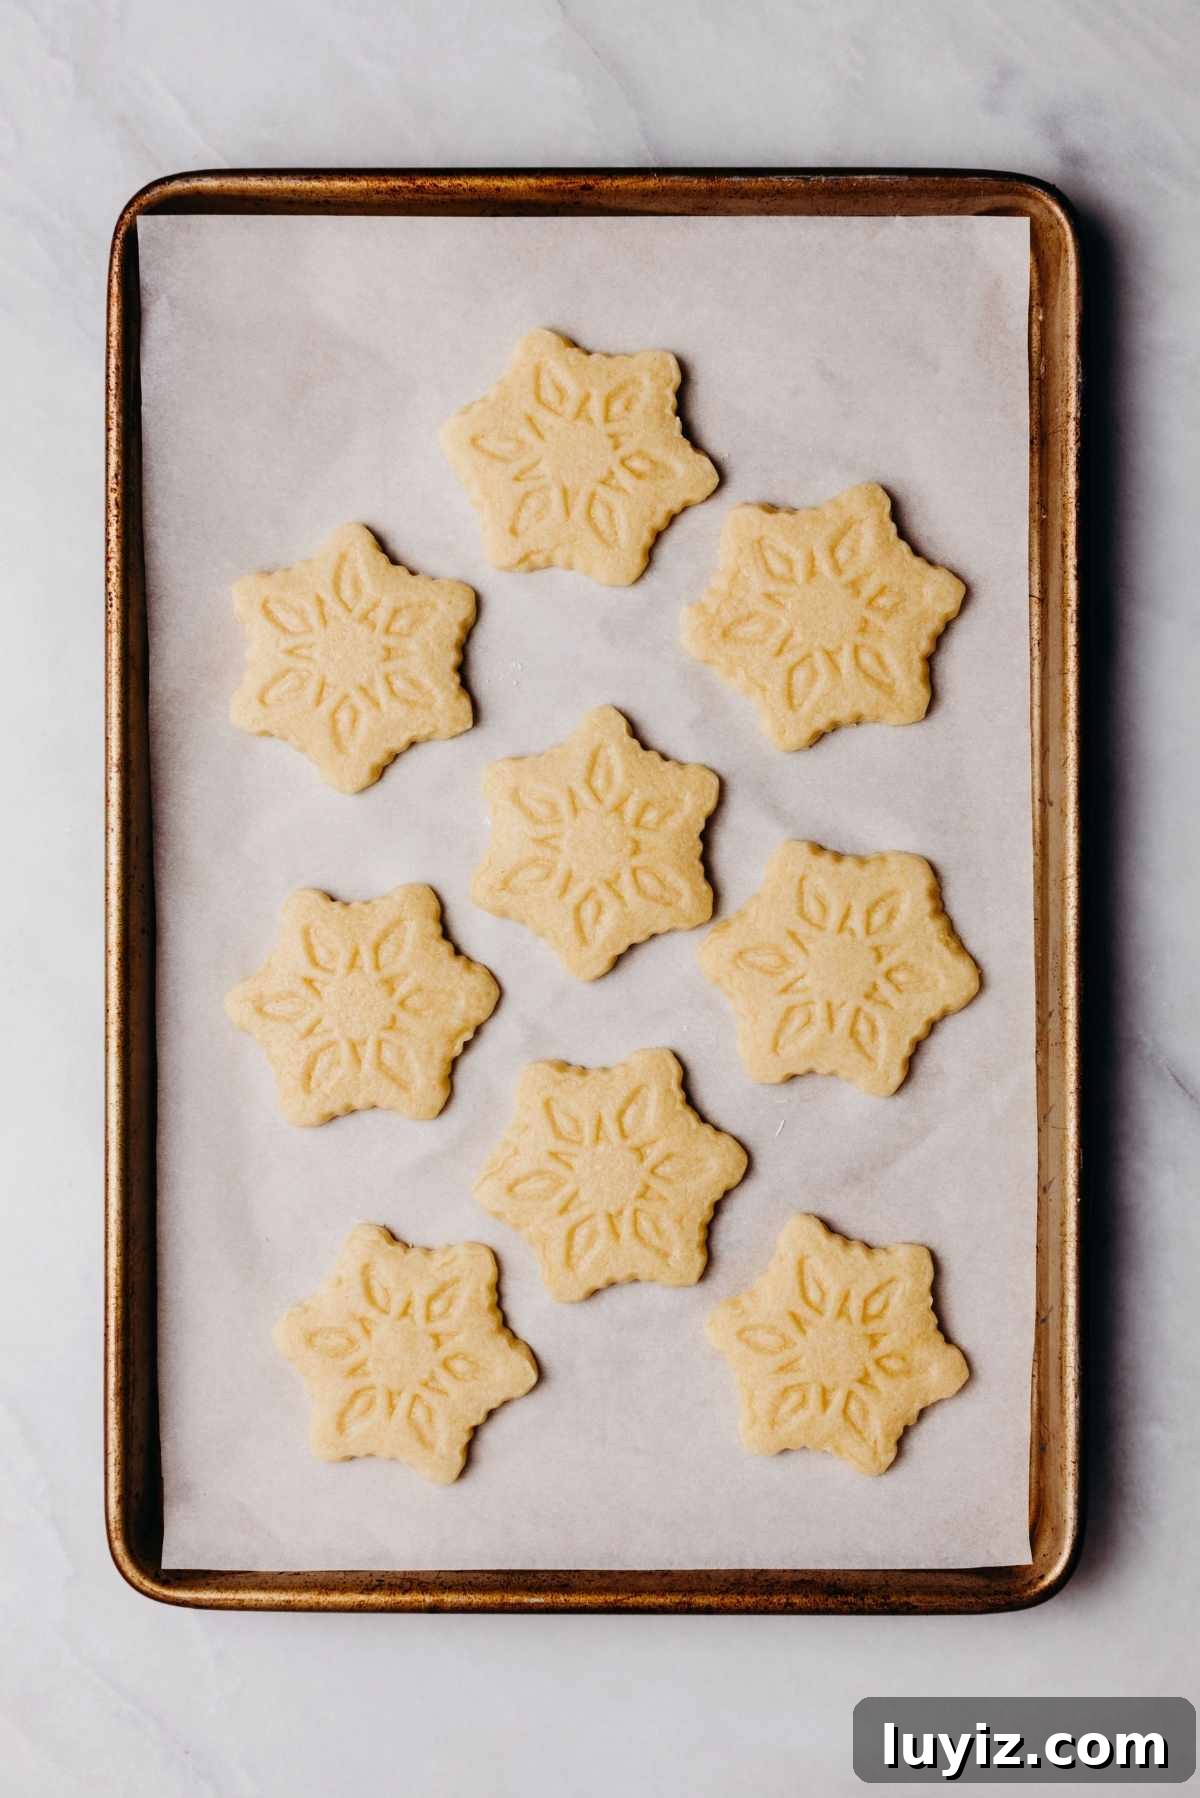
Step 7. Bake. Bake at 325ºF for 8–10 minutes, until the edges are lightly golden while the centers remain soft.
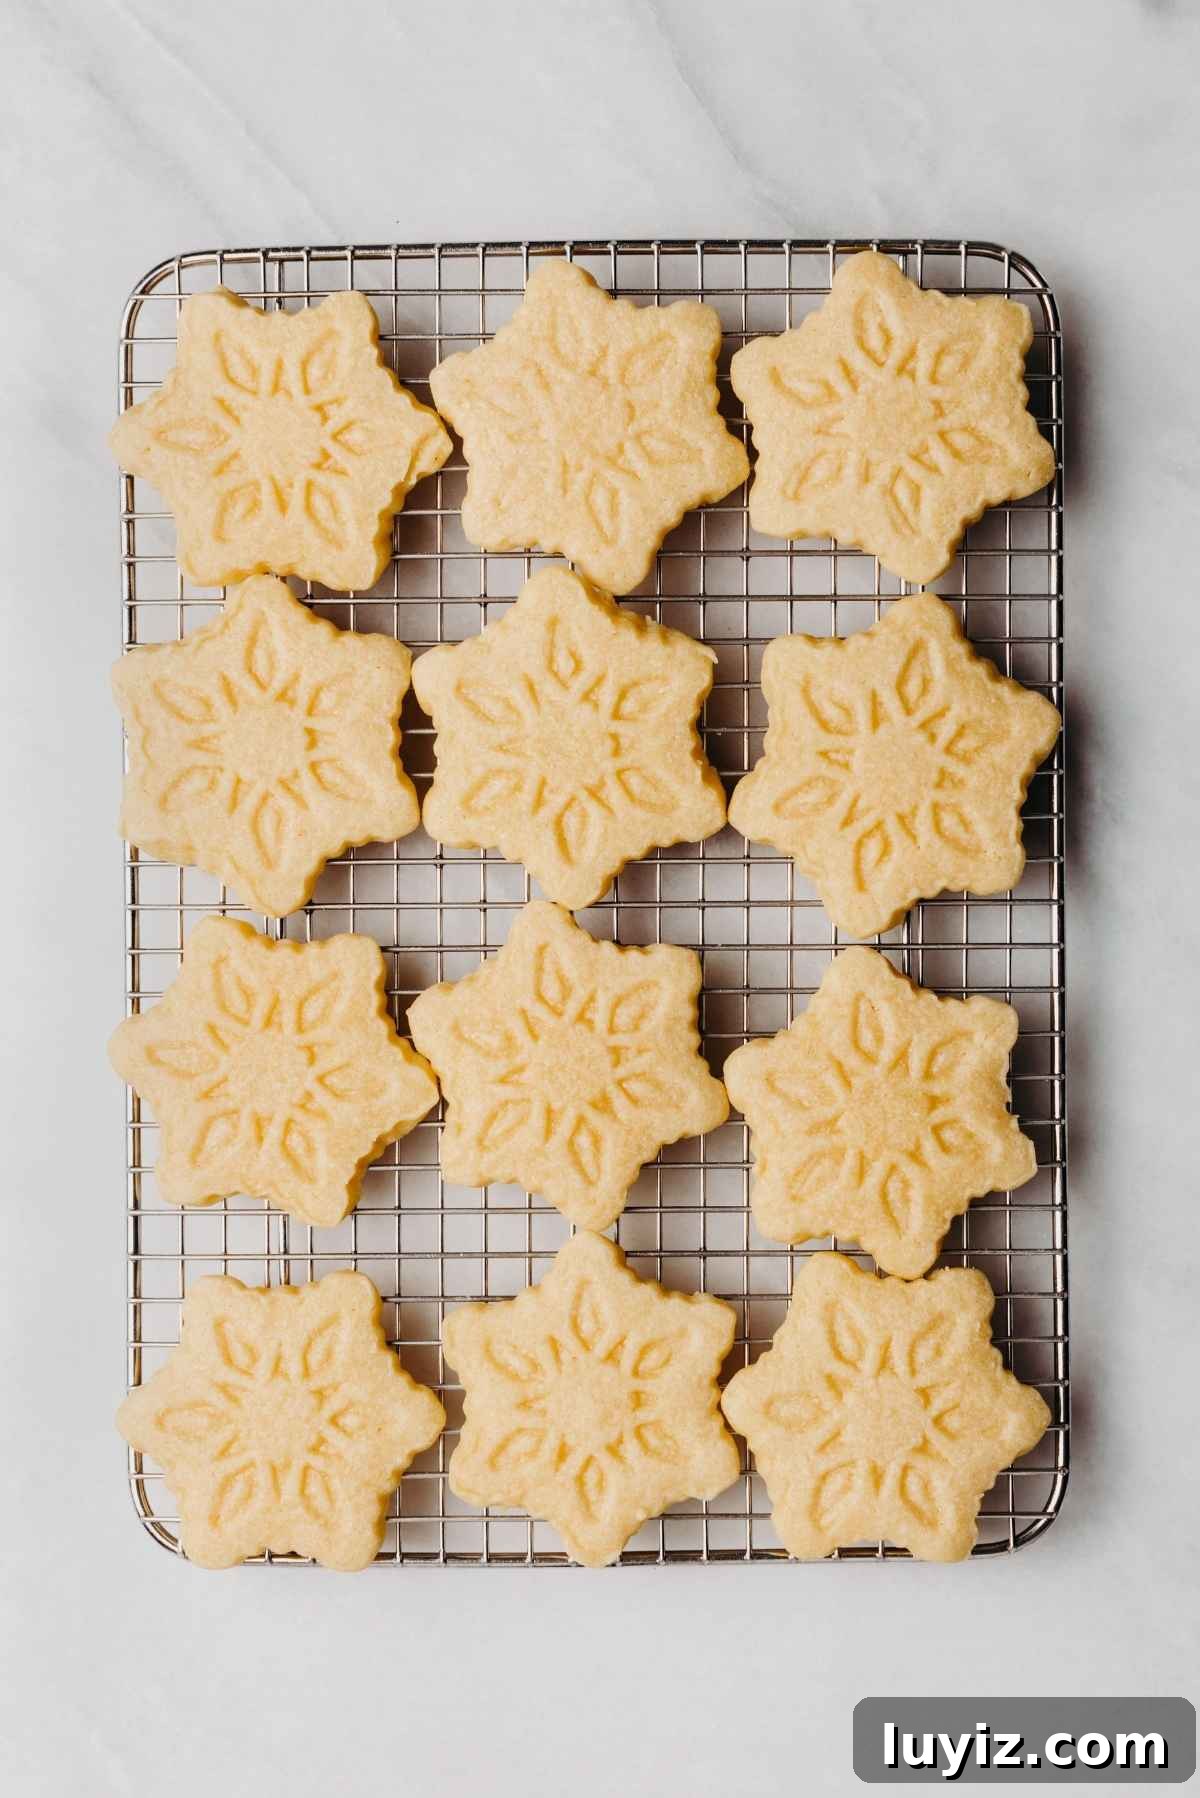
Step 8. Cool completely. Let the cookies rest on the baking sheet for a few minutes, then transfer to a wire rack to cool fully.
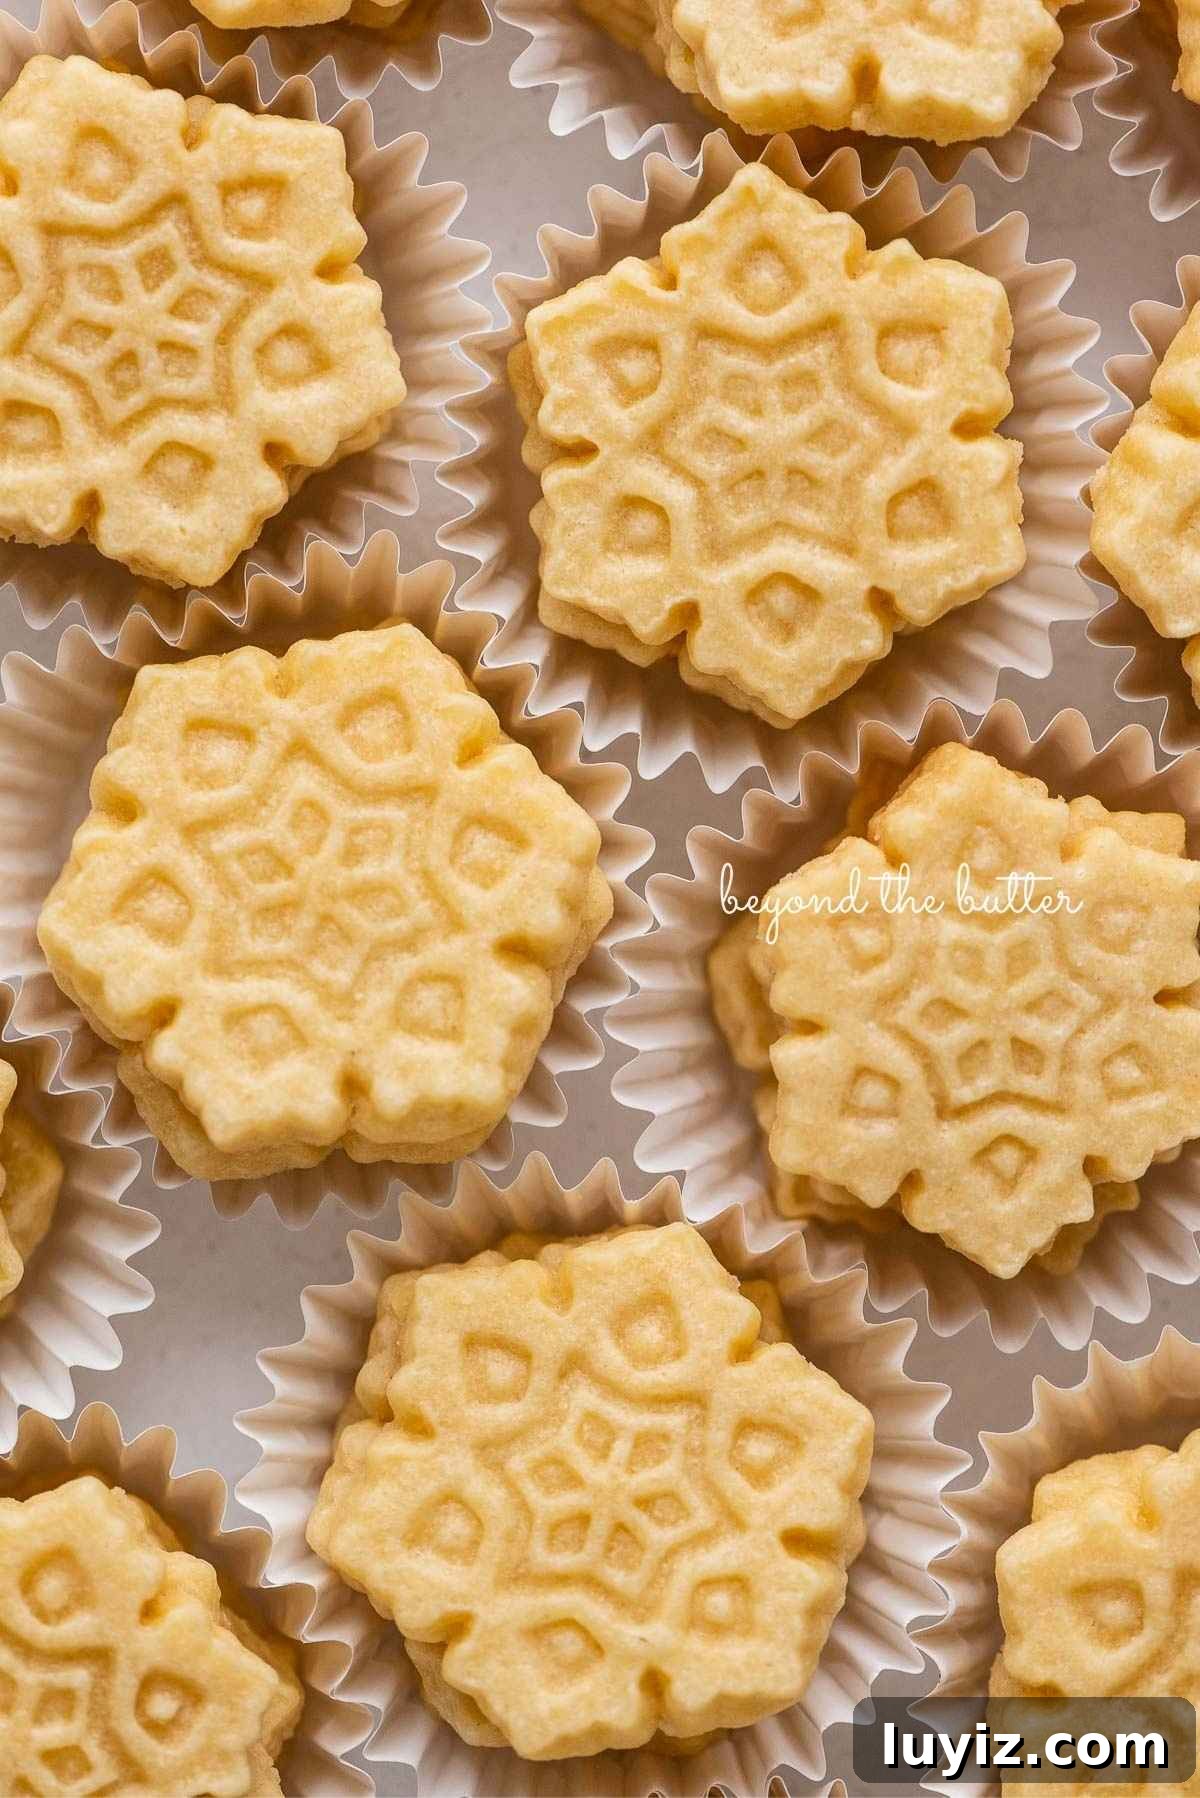
5 Tips for Using Cookie Stamps
Cookie stamps and cutters make cookies look professional with minimal effort. These tips will help you get clean, detailed impressions from your stamps.
- Chill the dough first. Firm dough is easier to stamp; chill for at least one hour or overnight if convenient.
- Lightly flour your surface and stamp. A dusting of flour prevents sticking without affecting detail.
- Keep the dough thick. Stamps work best when dough is 1/2″–5/8″ thick to capture the design.
- Dust the stamp, not the dough. Lightly flouring the stamp helps release the cookie without smudging the pattern.
- Chill stamped cookies briefly before baking. A short 10–20 minute chill helps the cookies hold crisp, defined edges during baking.
Recipe FAQs
Yes. For convenience, freeze the cut cookies flat on a parchment-lined baking sheet until solid, then transfer them to a sealed container or freezer bag. Bake from frozen, adding a minute or two if needed.
Chilling twice isn’t strictly required, but it helps the cookies keep their shape and prevents excess spreading, which is especially helpful when using detailed stamps.
Shortbread-style doughs like this one are ideal. They’re firm enough to hold fine details but tender after baking.
More Cookies for Your Holiday Baking Tins!
Here are a few other crowd-pleasing cookies to consider for holiday tins and gifts.
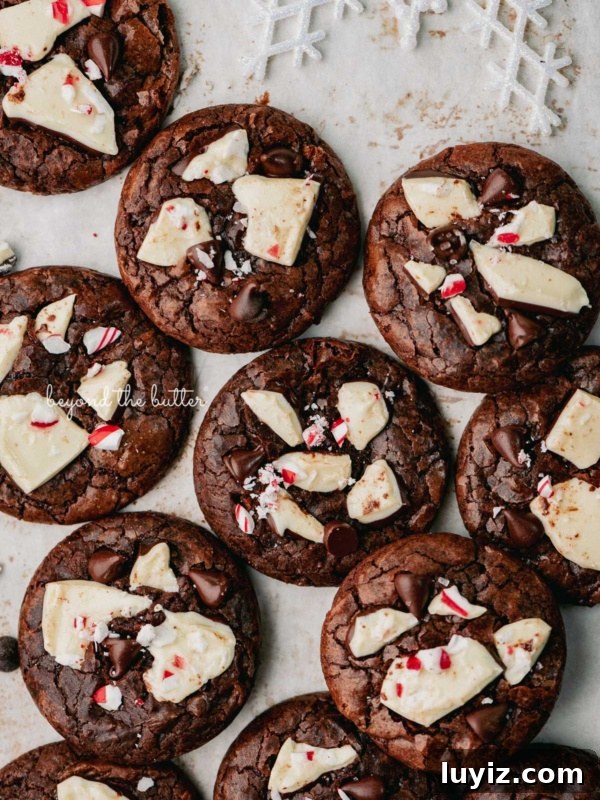
Peppermint Bark Brownie Crinkle Cookies
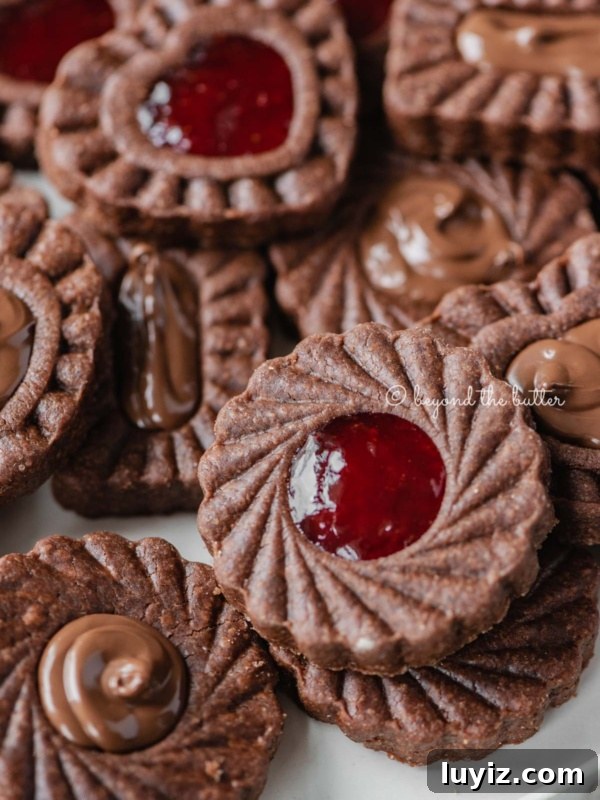
Chocolate Thumbprint Cookies

The Best Cut Out Sugar Cookies
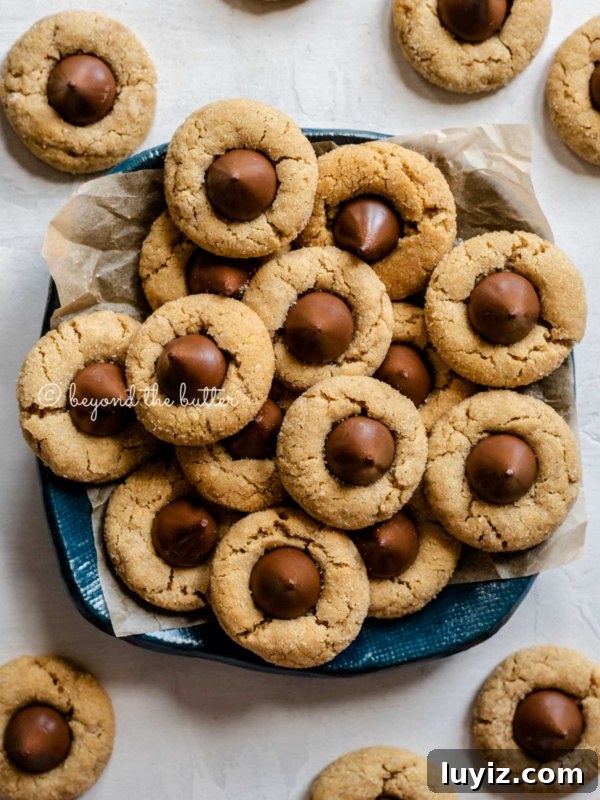
Classic Peanut Butter Blossoms
If you try these Homemade Butter Cookies or any recipe here, please leave a star rating and share your thoughts in the comments. Thanks for visiting!
Easy Homemade Butter Cookies
Ingredients
- 4 cups All-Purpose Flour
- 1 tsp Baking Powder
- 1/2 tsp Salt
- 1 cup Unsalted Butter, room temperature
- 2 cups Granulated Sugar
- 2 Large Eggs, room temperature
- 2 tsp Vanilla Extract
Instructions
- In a medium bowl, whisk together the all-purpose flour, baking powder, and salt. Set aside.
- In a separate bowl, beat the unsalted butter and granulated sugar on medium-high speed until light and fluffy. Add the eggs and vanilla extract and mix until incorporated.
- Add the dry mixture and mix on low speed until well blended.
- Cover the dough tightly with plastic wrap and chill for at least 1 hour, or overnight.
- Adjust the oven rack to the second position from the center and preheat the oven to 325ºF. Line baking sheets with parchment paper or silicone mats.
- Roll the dough to 1/2″–5/8″ thickness on a lightly floured surface. Use a floured stamp or cutter to shape cookies and place them on the prepared baking sheets. For crisp details, chill the stamped cookies 10–15 minutes before baking.
- Bake for 8–10 minutes at 325ºF until the edges are lightly golden. Let cookies rest on the sheet for about 5 minutes, then transfer to a cooling rack to cool completely.
- Store cooled cookies in an airtight container with a slice of bread to keep them fresh for up to a week.
Video
Notes
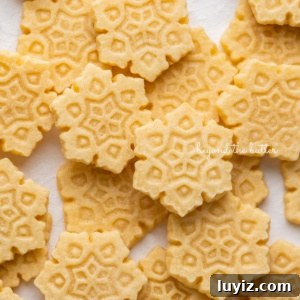
- Yield depends on the size of your cutter or stamp; using a small snowflake stamp produced about 9 dozen cookies in the original recipe.
- An alternative chilling method: divide dough in two, roll each between lightly floured sheets of wax paper to 1/2″–5/8″ thickness, and chill the slabs in the refrigerator or freezer. Remove and cut as needed.
- If chilling the dough in the mixing bowl, refrigerate only (not the freezer).
- Recipe adapted from a community church cookbook collection.
Nutrition
|
Carbohydrates: 7 g
|
Protein: 1 g
Nutritional information is an estimate and will vary based on specific ingredients used.