Double Chocolate Macarons with Dark Fudge Filling
These dark chocolate macarons pair shells with a light, crisp outside and a chewy, cocoa-rich middle, all sandwiched around a deep dark chocolate fudge…
- Prep
- 1 hr
- Cook
- 16 mins
- Total
- 1 hr 16 mins
- Makes
- 18 servings
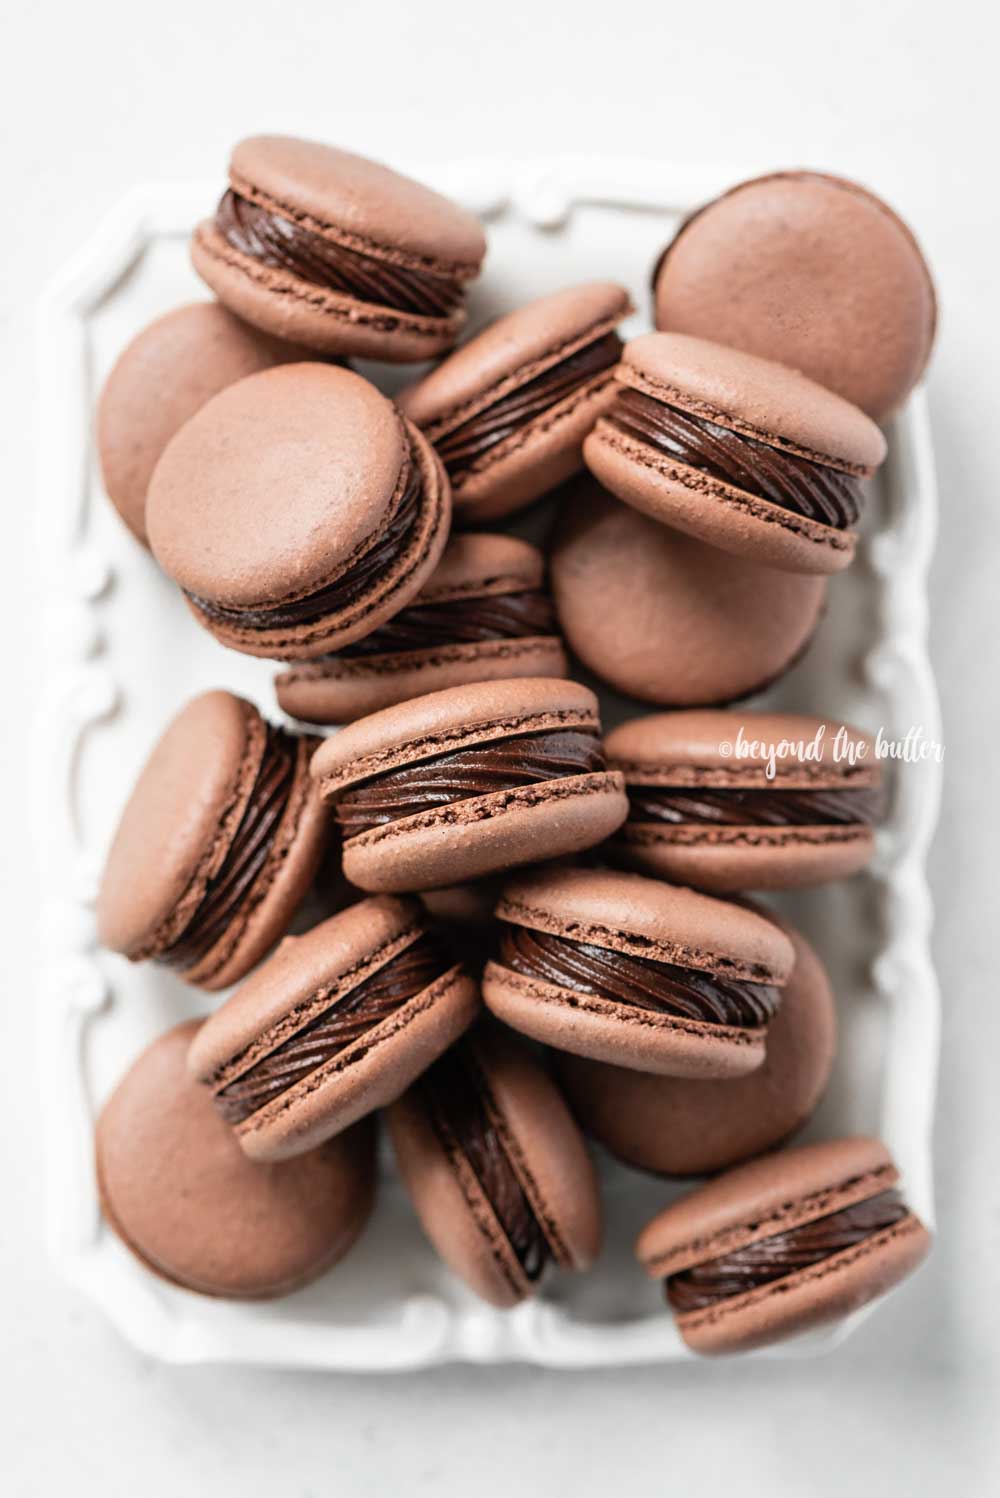
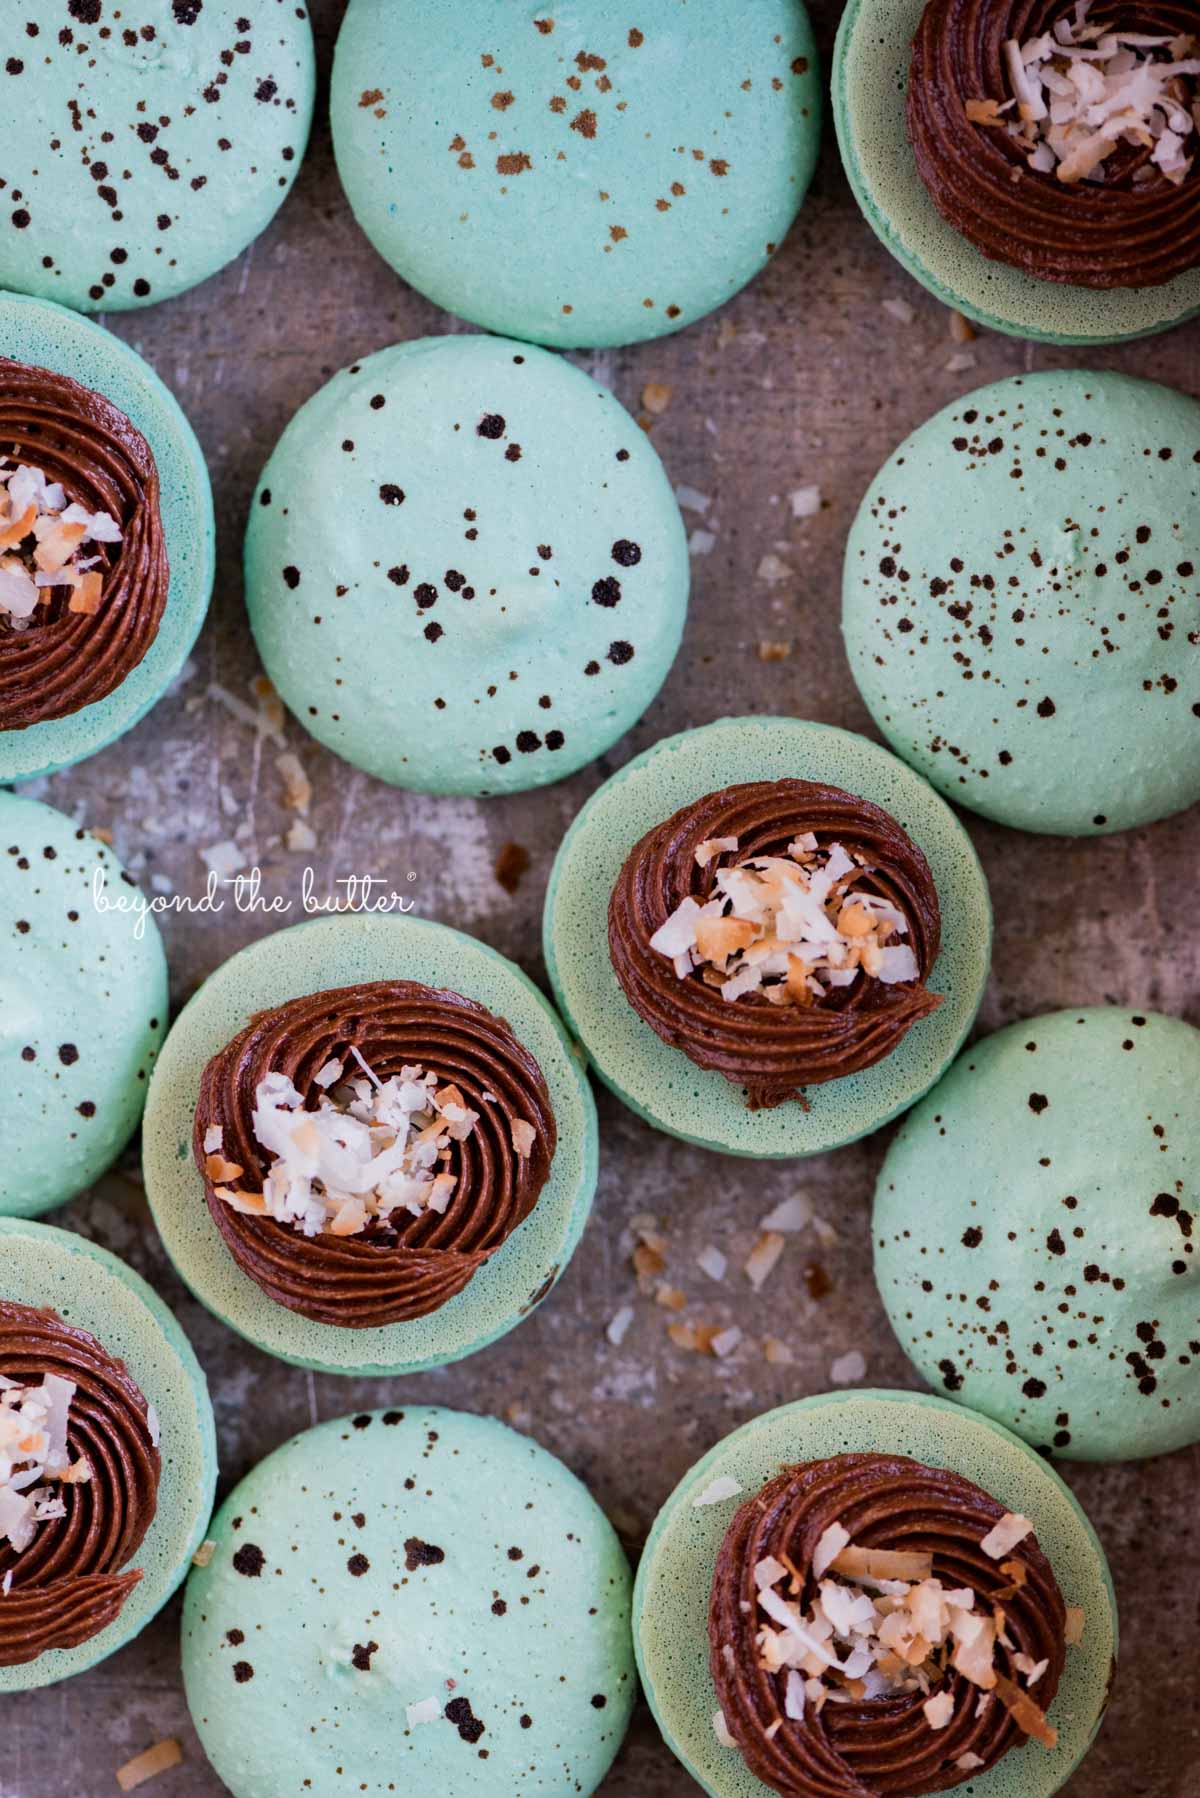
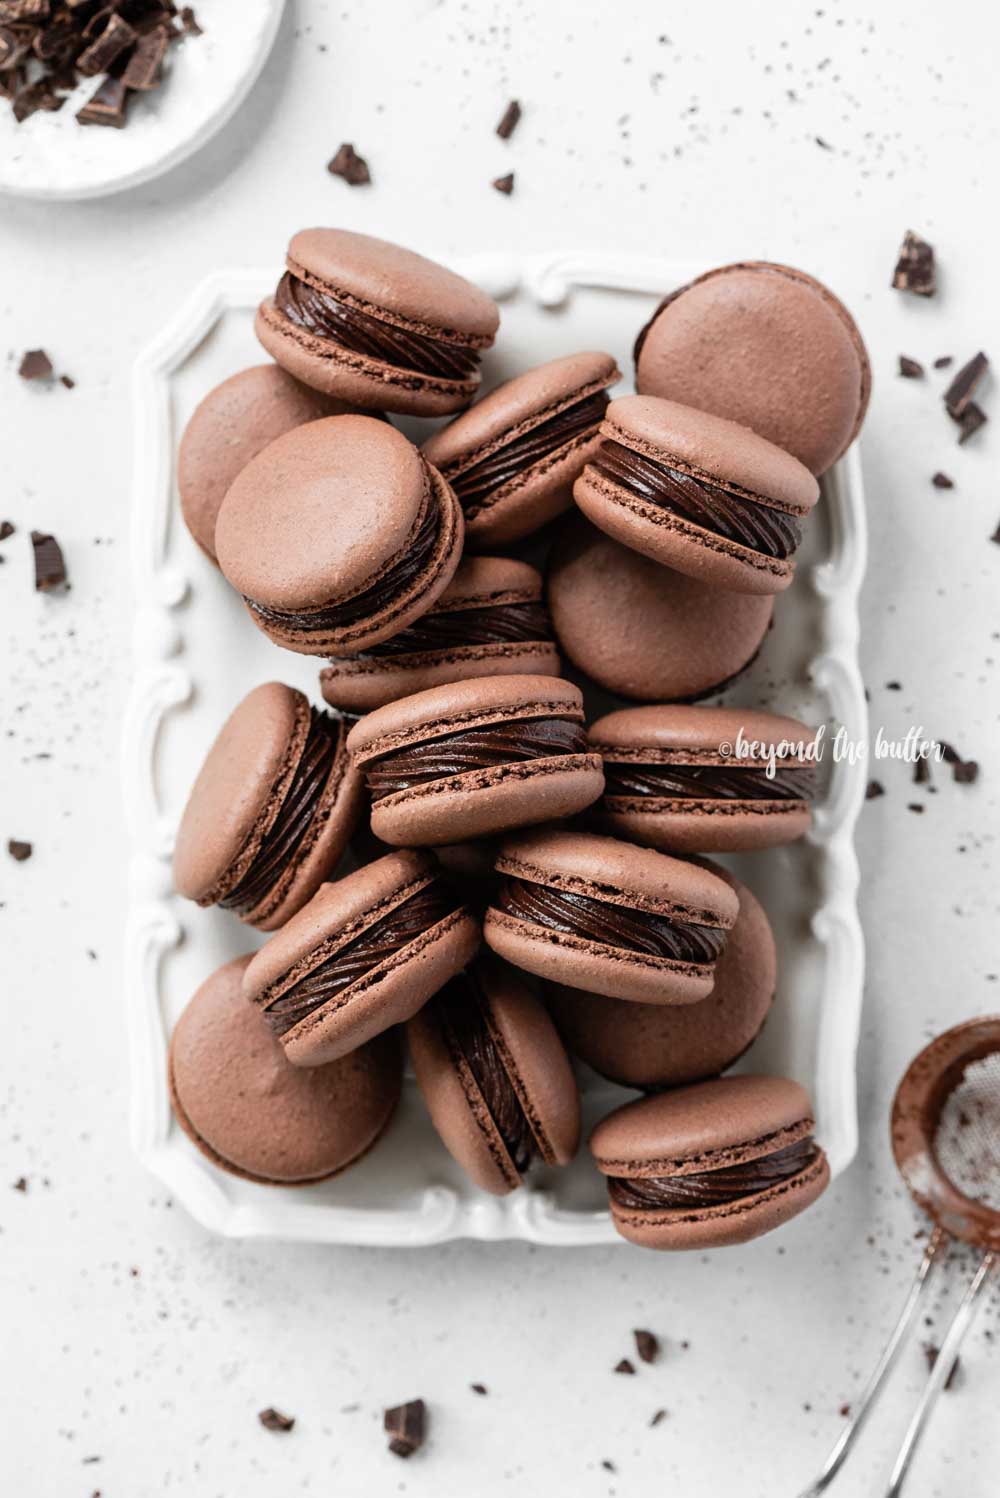
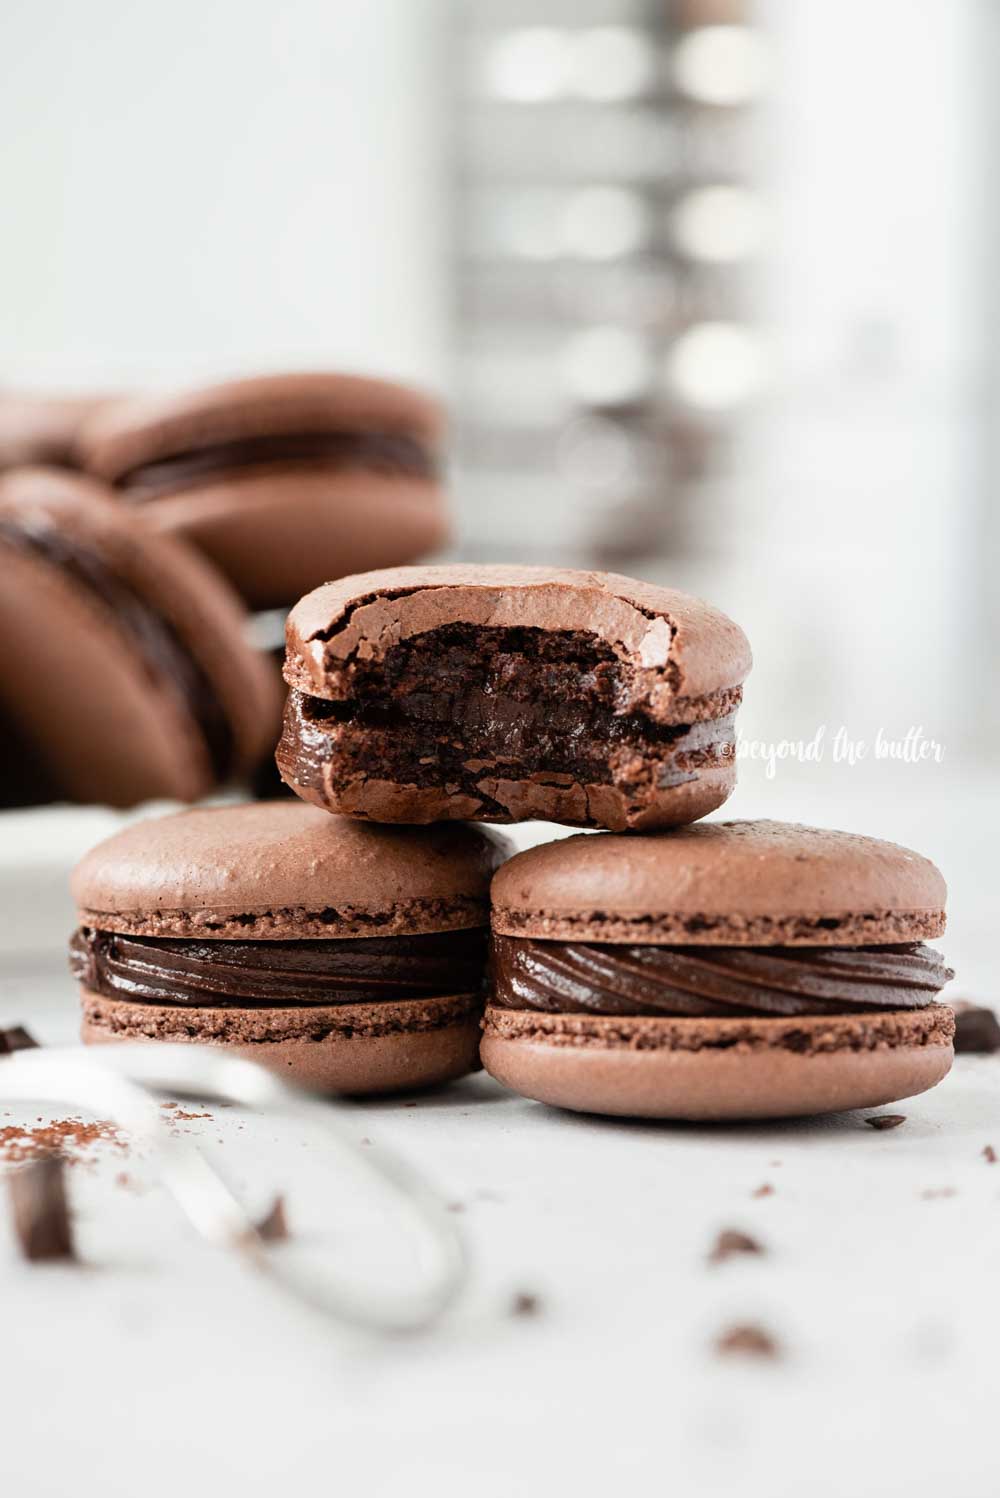
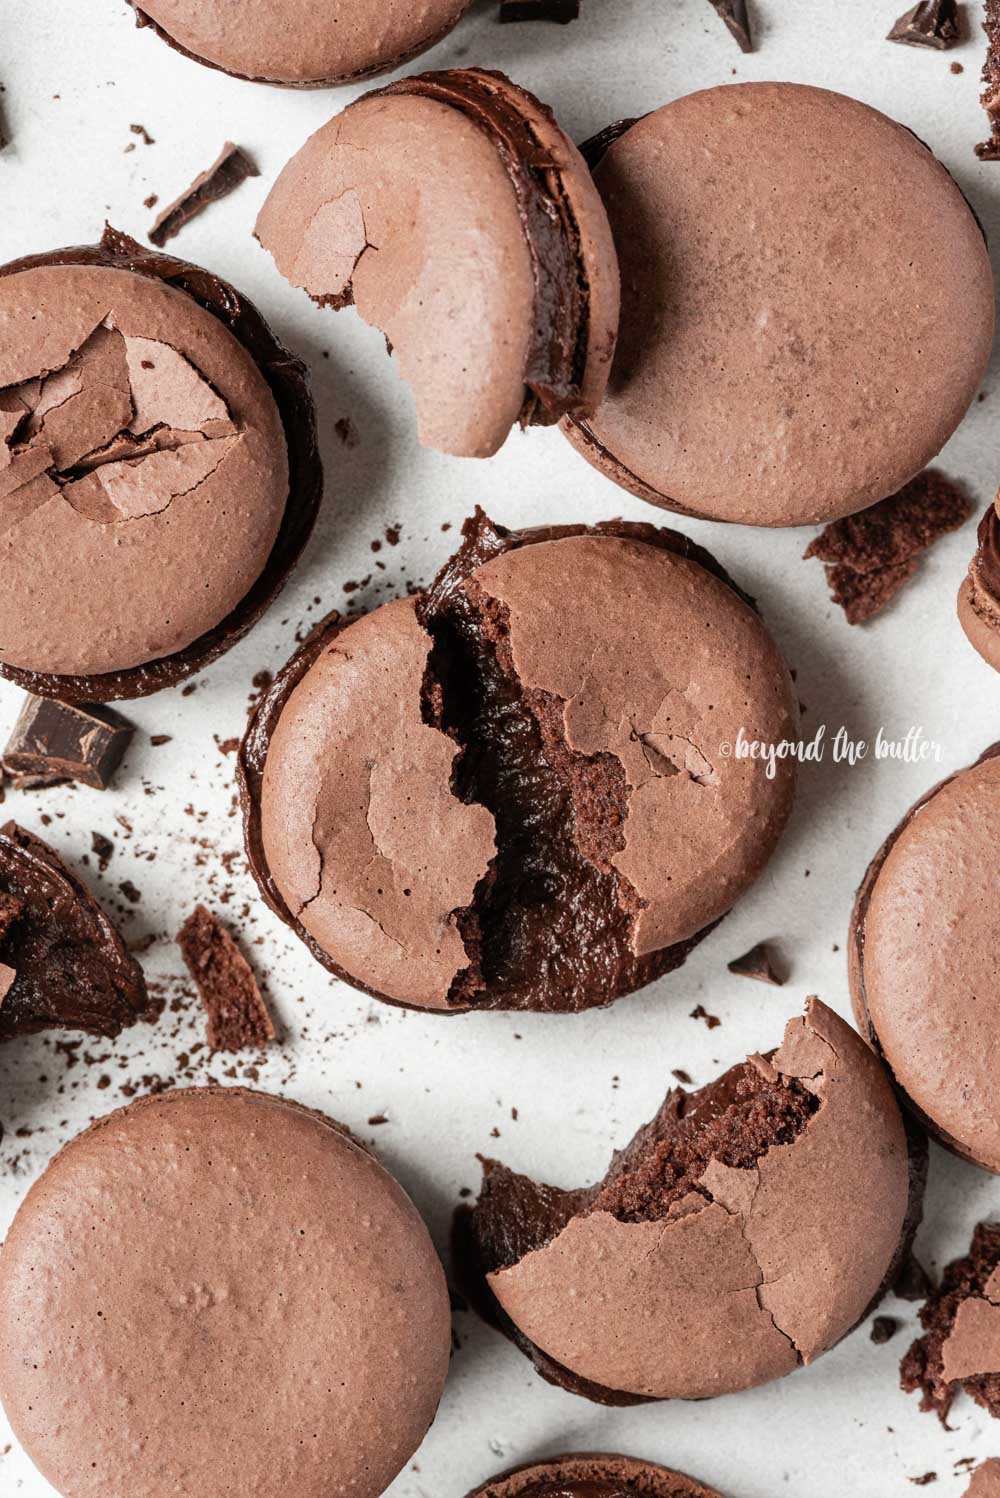
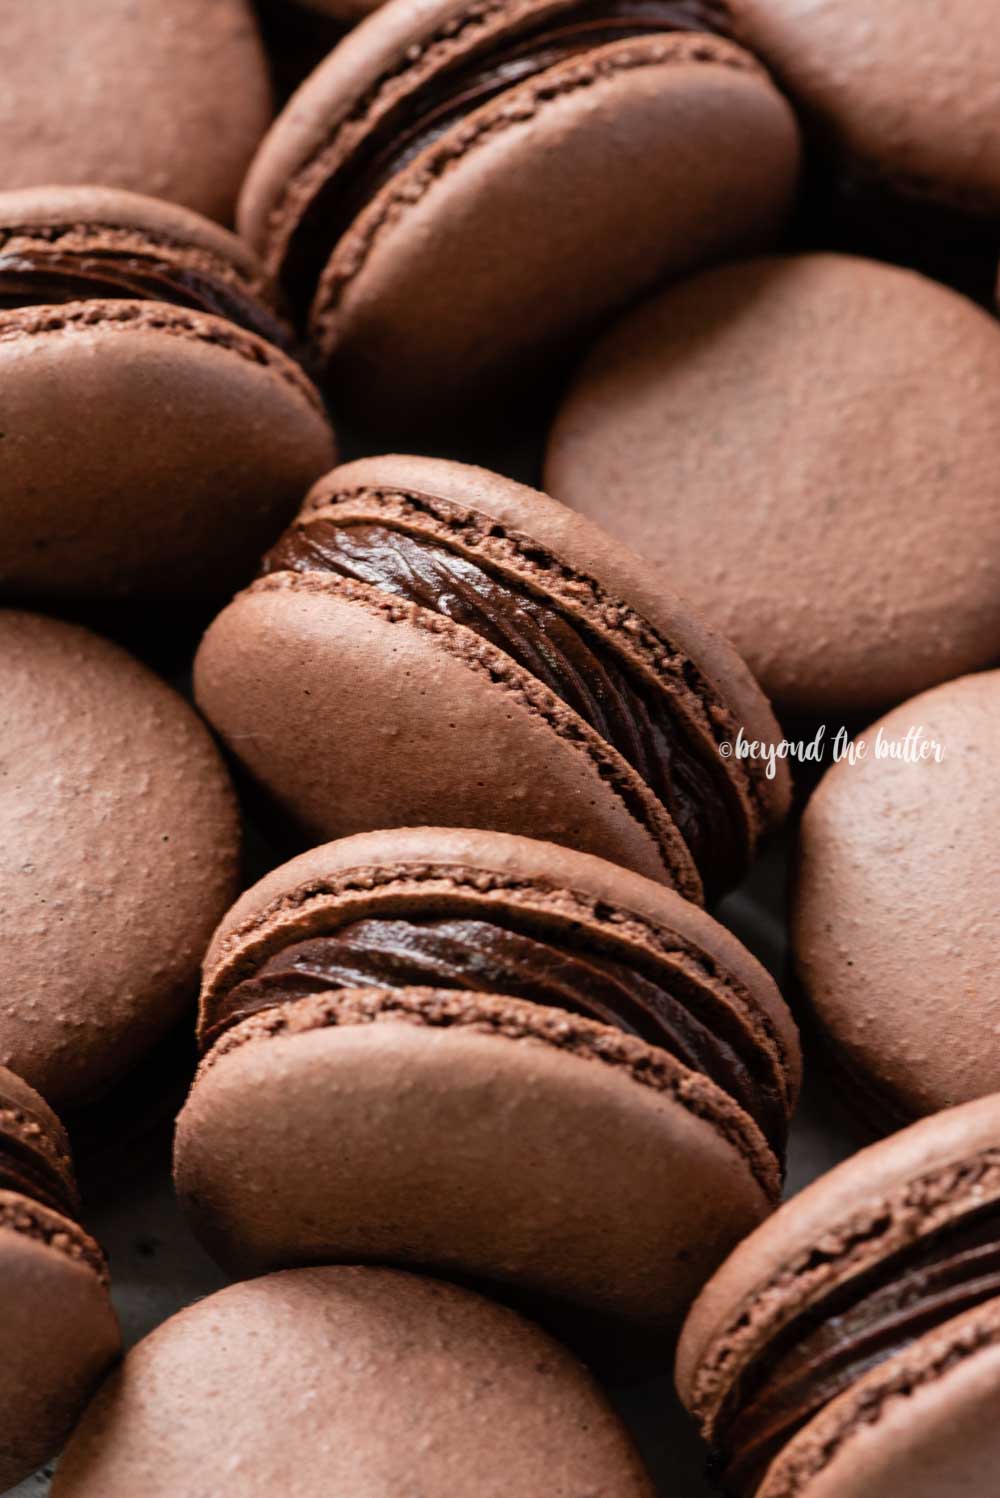
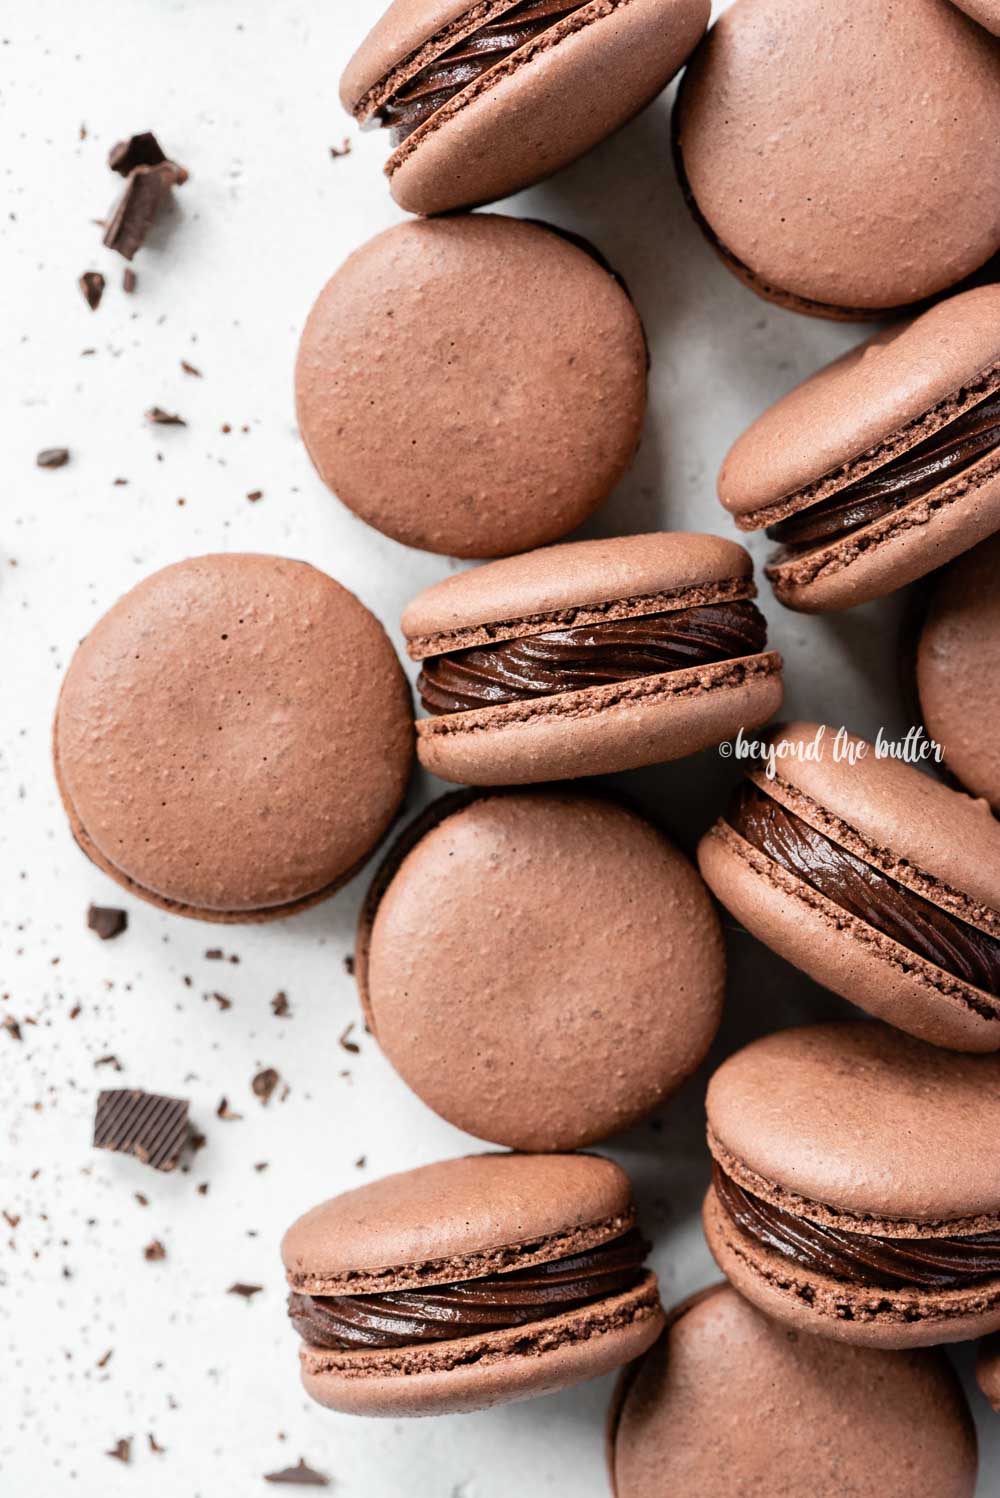
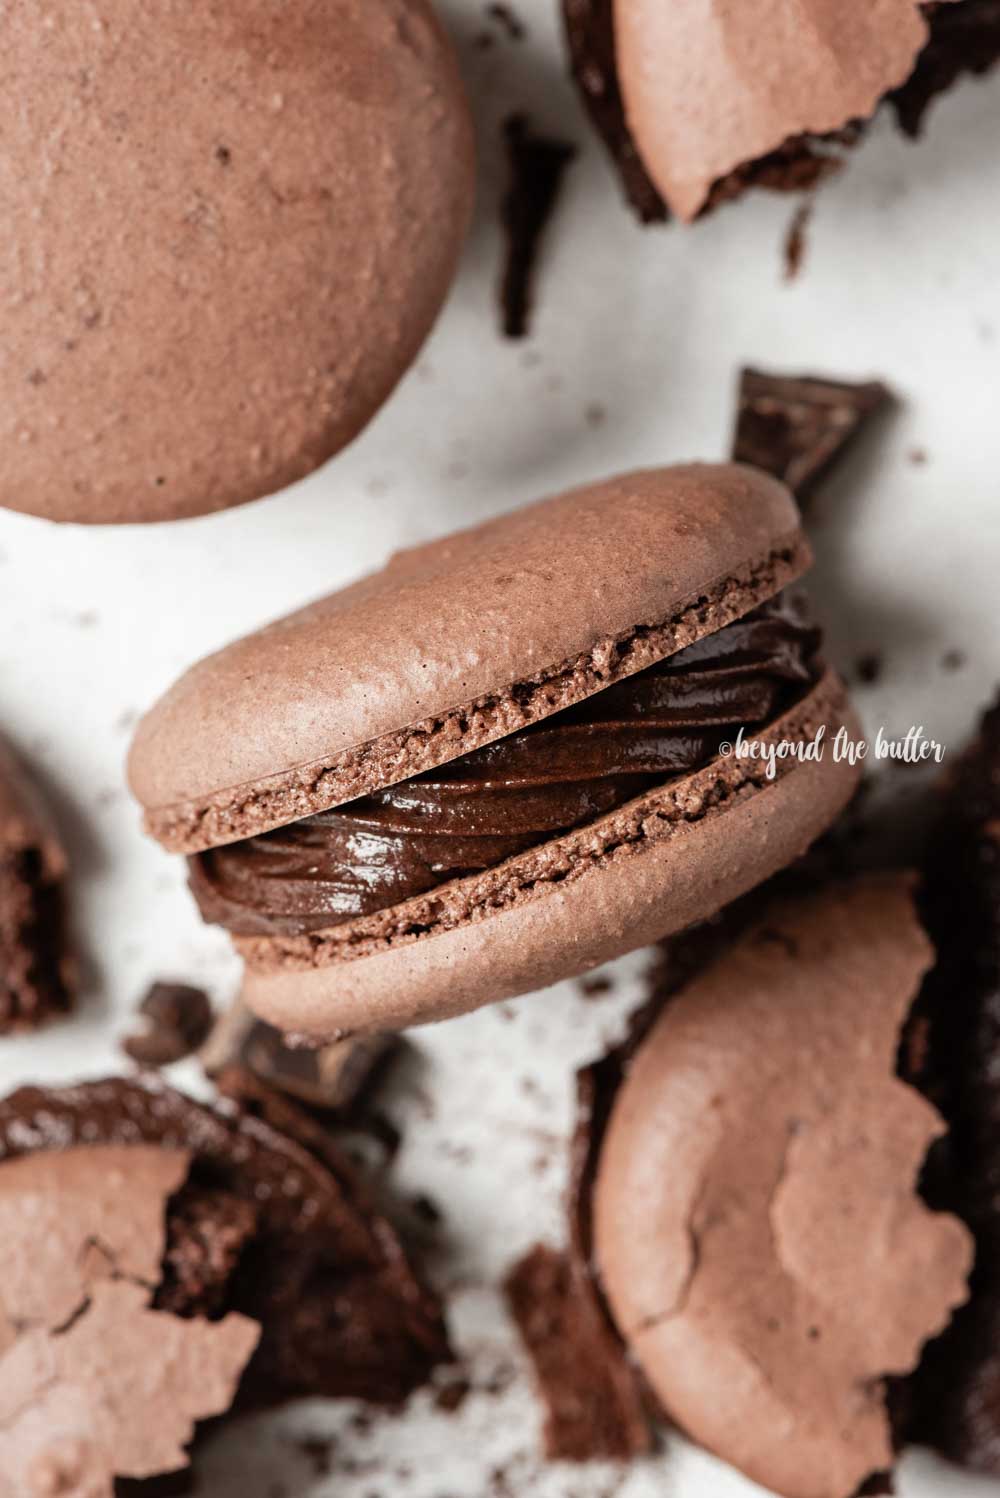
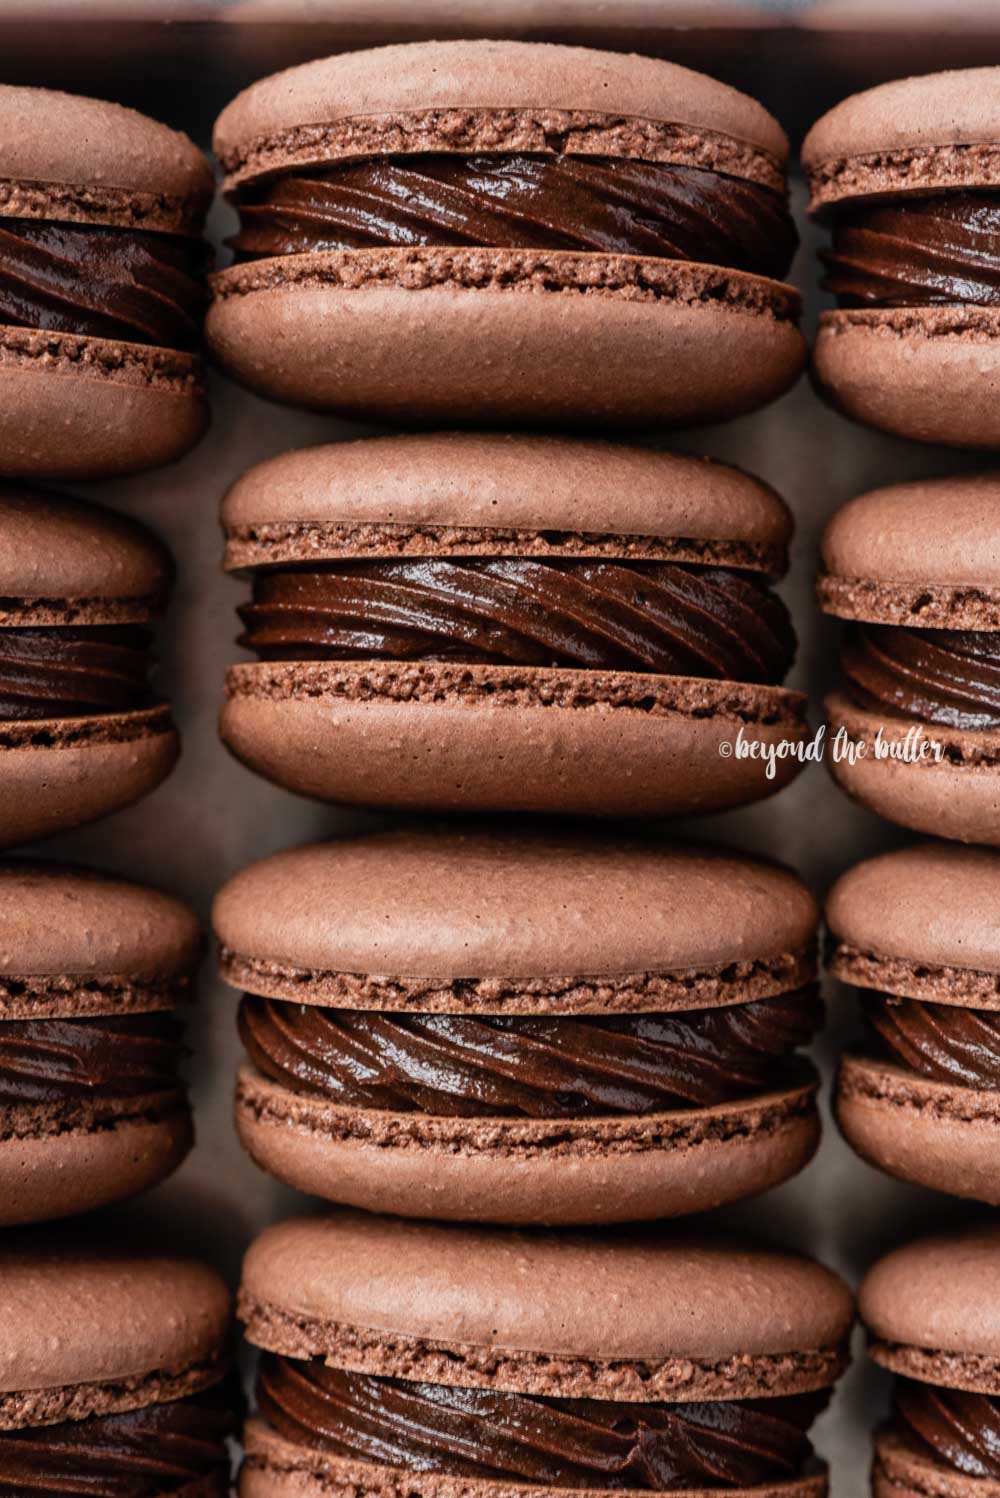
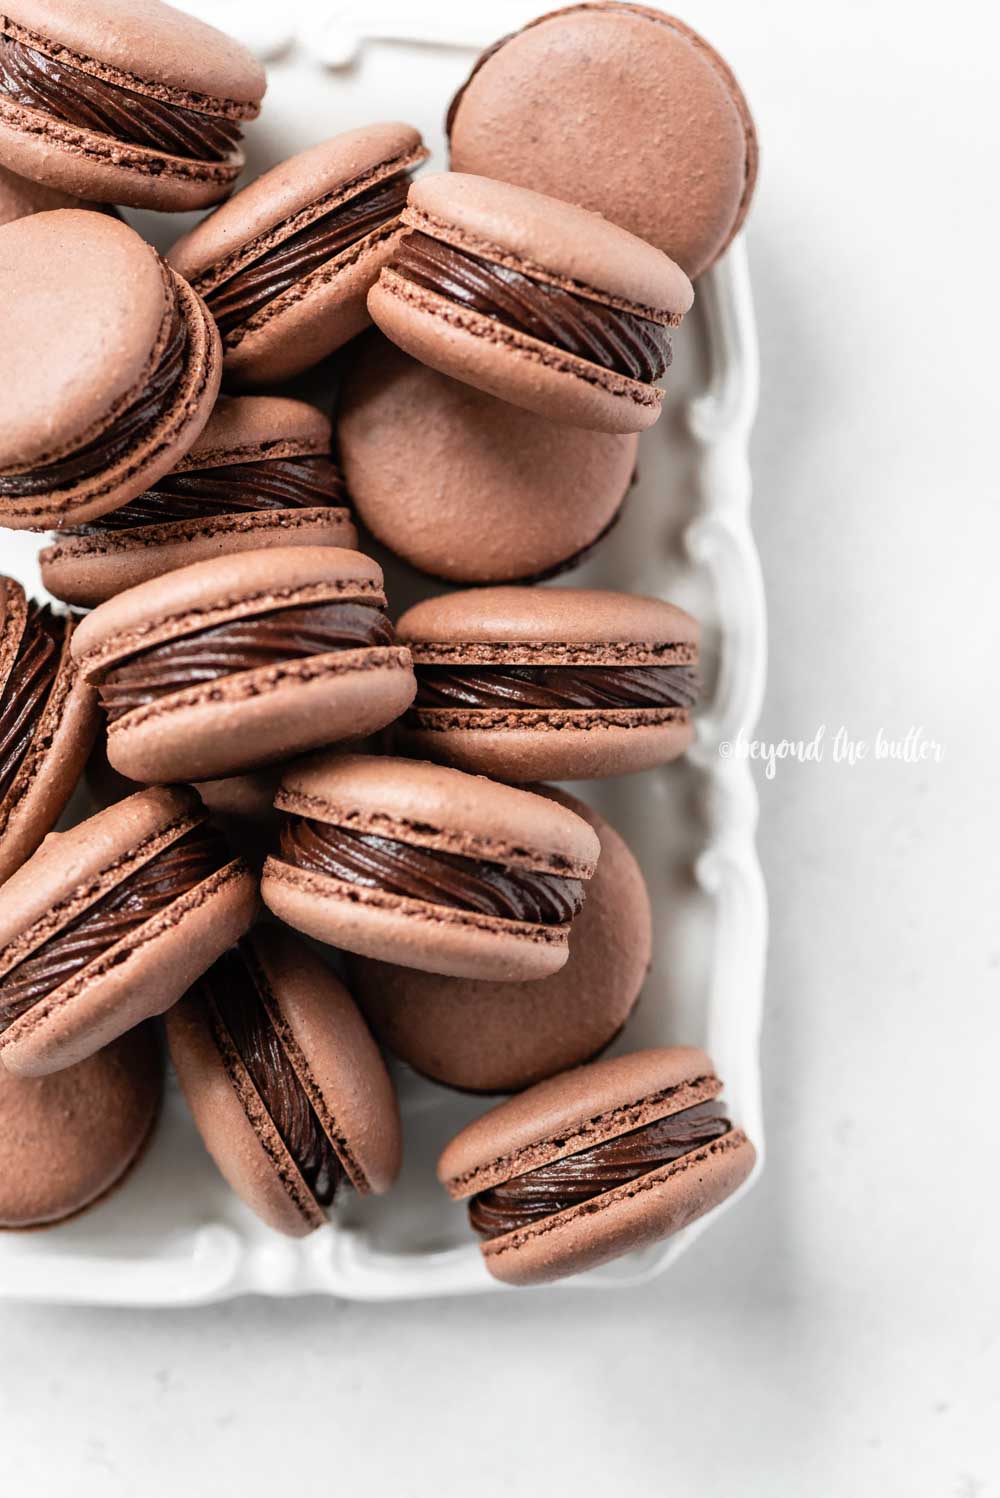
These Dark Chocolate Macarons are built from dark chocolate shells with a delicate, crisp exterior and a fudgy, chewy middle, held together by dark chocolate fudge frosting. They’re bite-size double chocolate treats that are, trust me, simpler to make than you’d expect!
Reasons to Bake This Recipe
- The macaron shells and the filling both get dark chocolate.
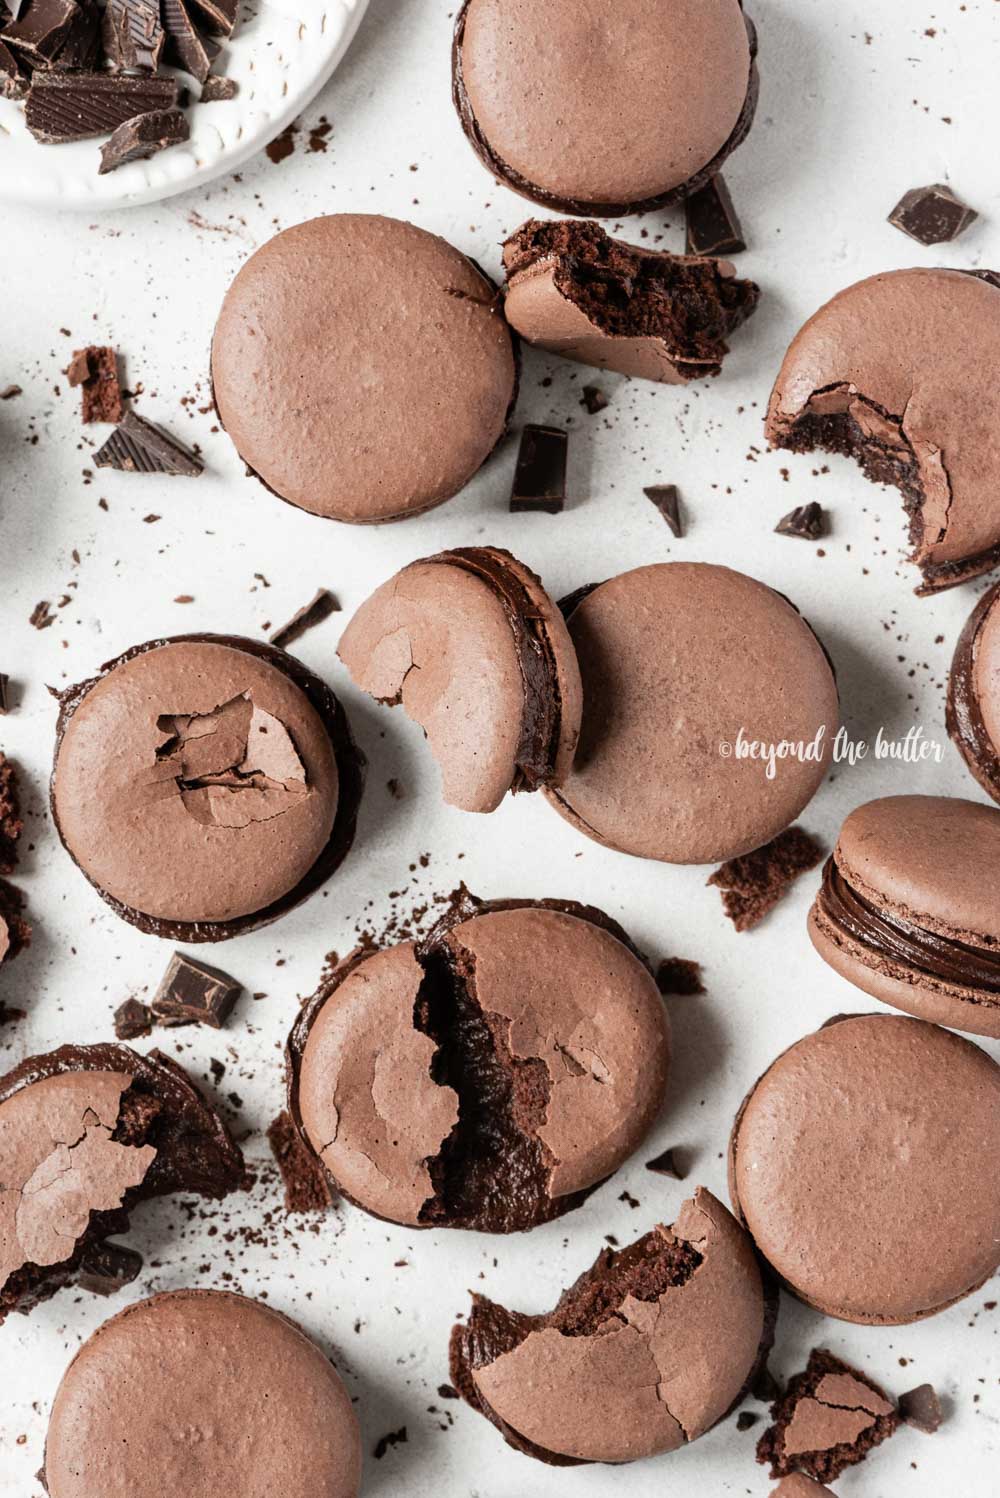
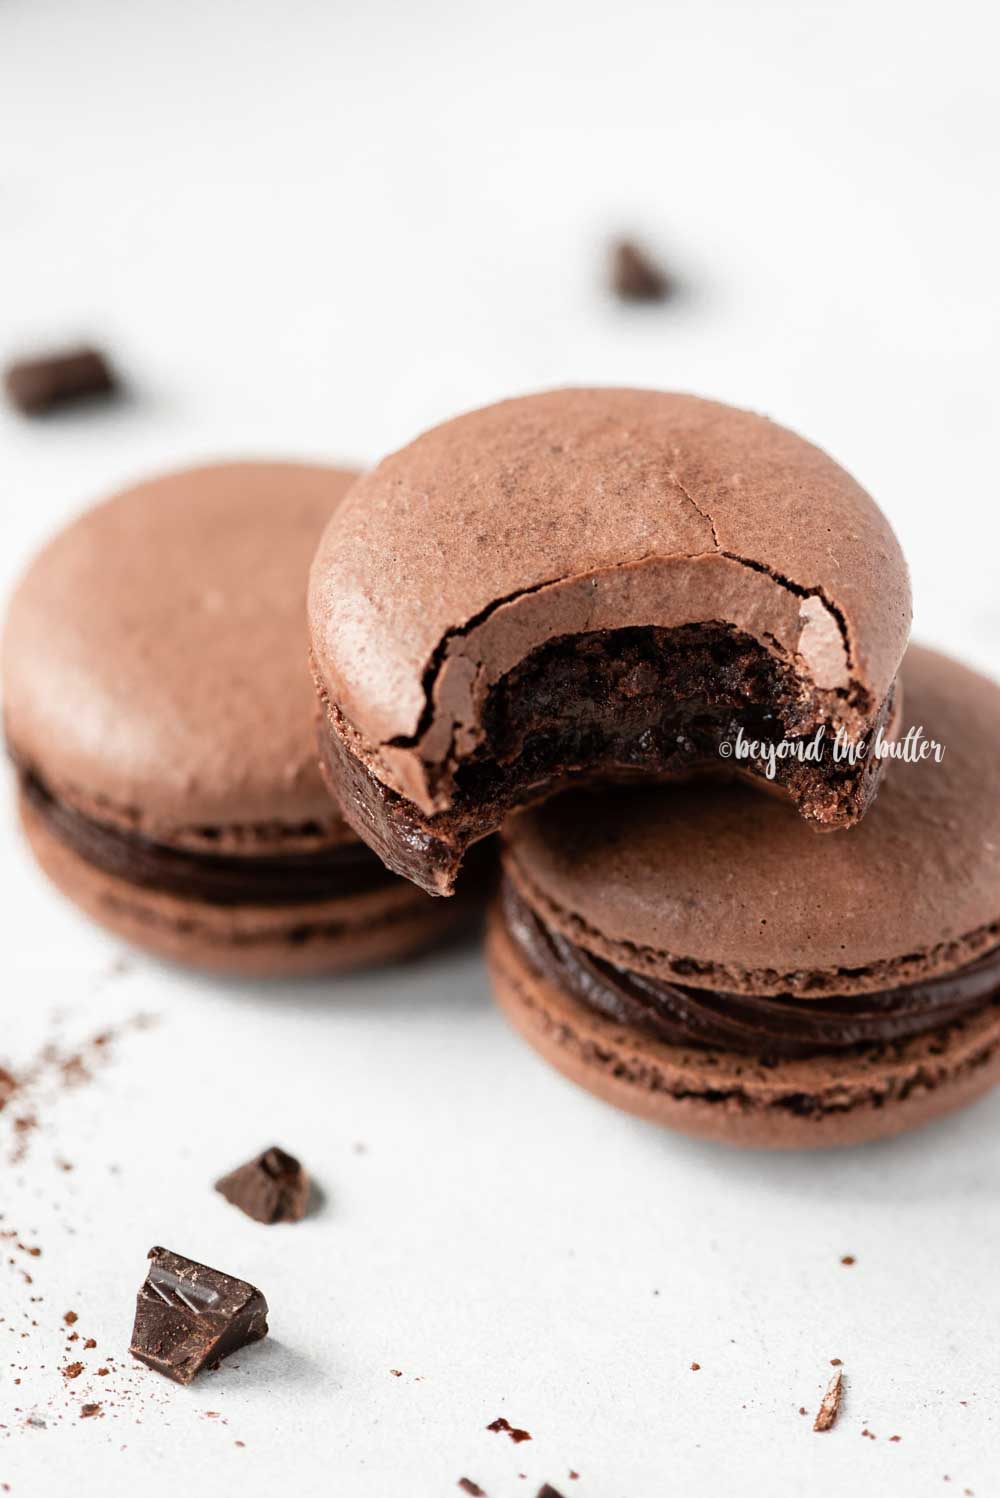
- Once they chill in an airtight container in the fridge for a day or two, these dark chocolate macarons take on the texture and taste of dense, fudgy brownies!
- If you’re new to macarons, or you simply like this technique, the Swiss method is a solid place to start.
- These bite-size, indulgent treats are sure to brighten anyone’s day!
- Making them at home saves a good amount of money compared with bakery prices, which can run $$!
- A great pick for anyone who loves chocolate!
The Story Behind the Recipe
It took me 2 YEARS to finally work up the nerve to make macarons. Yes, that’s right, a full 2 years of hesitation.
Don’t bother asking whether I’ve attempted sourdough yet. One step at a time, friends.
The two steps that scared me most were macaronage (folding the meringue into the dry ingredients) and the baking itself. Mix too little or too much during macaronage, and a shaky oven can leave you with cracked, lopsided, or hollow shells. Those are only a few of the possible problems!
Naturally, I was nervous, but I finally decided the time had come!
Now that I’ve tested this recipe 10+ times and tried all three methods (Swiss, French, and Italian), what’s my honest verdict? It wasn’t that hard! Some batches came out well, while others gave me cracked, lopsided shells. That was fine, since learning is the whole point!
For my first macaron recipe, I chose the Swiss method, and of course I wanted these to be chocolate, because chocolate is simply the best. I started with plain unsweetened cocoa powder, but after a couple of trials I moved to dark cocoa powder. I love how deep the color turned out, and the flavor is far richer.
What Exactly Is the Swiss Method for Macarons?
The Swiss method, which is what we’re using for today’s dark chocolate macaron recipe, follows the same steps as Swiss meringue buttercream, with one difference: you never add the butter.
For the macaron meringue, heat the granulated sugar and egg whites in a double boiler or bain-marie over 1 – 1 1/2 inches of simmering water. Keep going until the sugar dissolves and the mixture looks frothy. Then move it to a mixing bowl and whisk on high speed until stiff meringue peaks form.
Next, fold your sifted dry ingredients into the meringue until the batter is thick and flows like lava.
What Is a Bain-Marie?
A bain-marie is a French technique that uses gentle heat to melt or cook delicate foods like chocolate or custard. It is also how the sugar and egg whites get warmed for the Swiss meringue.
To set one up, bring 1 – 1 1/2 inches of water to a simmer in a saucepan. Place a heatproof bowl that is wider than the pan’s opening on top, making sure its base doesn’t touch the water. Add your ingredients and whisk the sugar and egg whites continuously, as the recipe below directs, until the sugar dissolves completely and the mixture looks frothy.
What You’ll Need
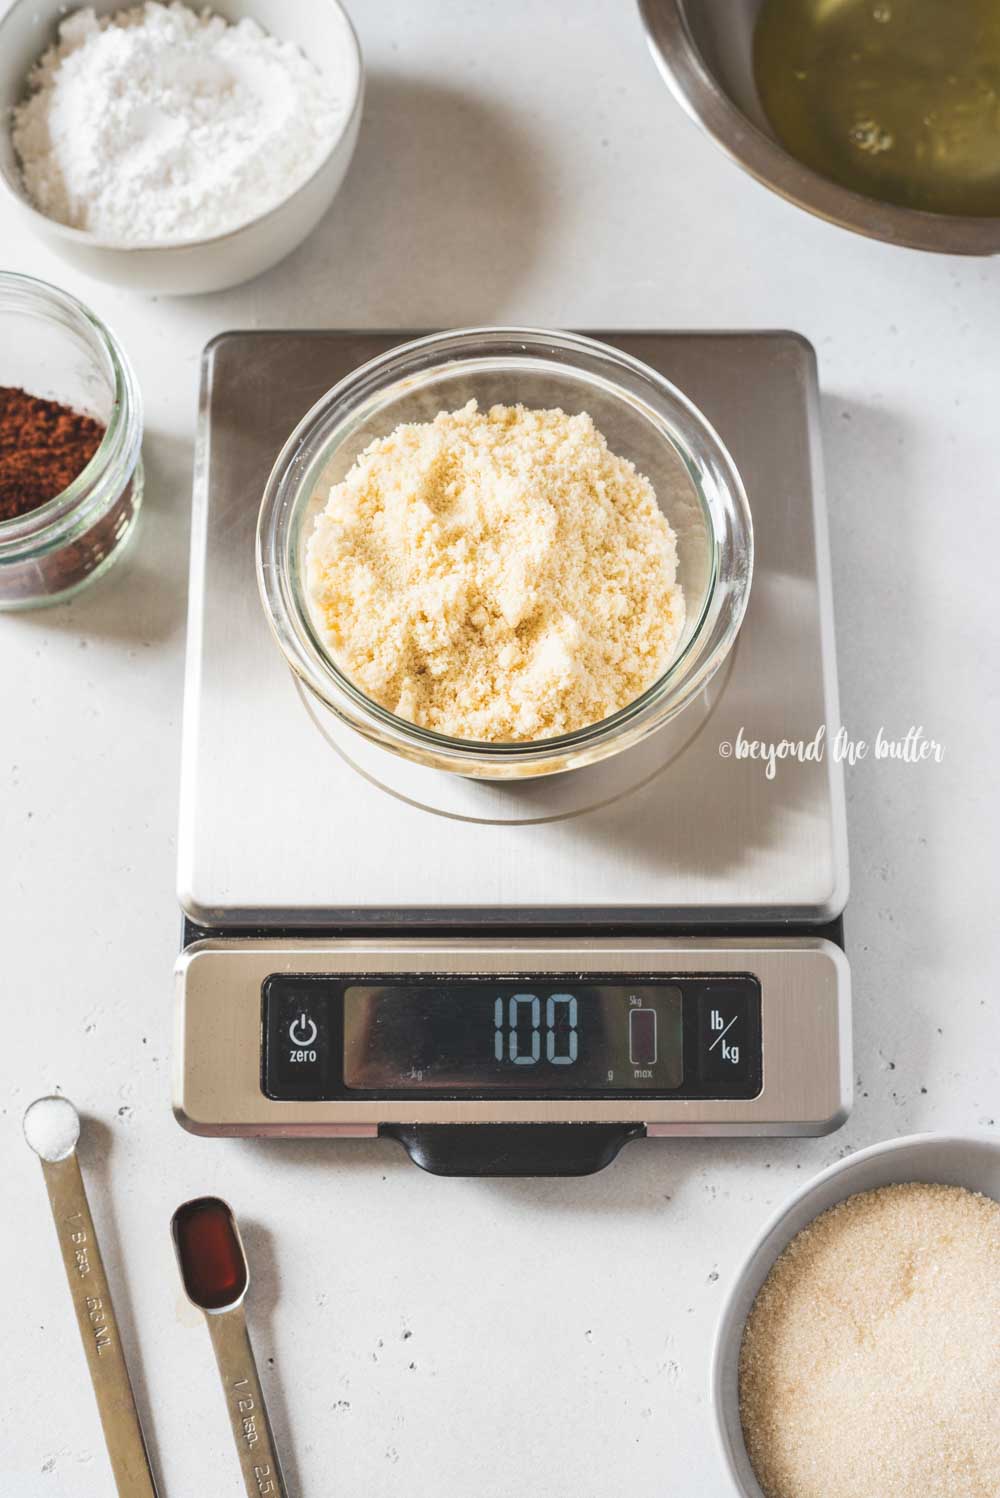
These dark chocolate macarons call for the following ingredients:
- Almond Flour. Sometimes called almond meal, this provides the structure and chewy texture. I’ve had good results with Bob’s Red Mill Superfine Almond Flour and Krusteaz Finely Ground Almond Flour.
- Powdered Sugar or Confectioners Sugar. Adds sweetness to the macarons. Any brand works; just be sure to sift it together with the almond flour, cocoa powder, and salt.
- Dark Cocoa Powder. Gives the macarons a deep brown color and a rich chocolate flavor. I used Hershey’s Special Dark Cocoa Powder, the same kind you’ll use in the fudge frosting for the filling.
- Aged Egg Whites. These give the macarons their structure and that signature shape. Ideally, prep them the night before: separate the whites (save the yolks for another recipe) and leave them uncovered in the fridge overnight. Take them out 1-2 hours before you start so they can warm to room temperature. For another option, see my helpful tips for making macarons section.
- Granulated Sugar. Whisked with the aged egg whites to make a stable meringue. I used Simply Nature Organic Cane Sugar from ALDI, but plain white granulated sugar works too.
- Salt. Only a pinch, which deepens the chocolate flavor a bit.
- Vanilla Extract. Helps bring out the other flavors.
Essential Macaron Baking Tools
These are the key tools I suggest for this chocolate macaron recipe. They’re only recommendations, so use whatever works best for you!
- Large, flat baking sheets. During testing I tried both flat sheets and sheets with a 1-inch rim. The flat kind worked better because they let air circulate around the shells as they baked. My large sheets are from USA Pan, a company I can’t praise enough. Their bakeware is simply sturdy and high quality.
- Silicone baking mats. Only a few of my tests used parchment paper, which some people love and others avoid. I found the silicone mats easier, and the shells released cleanly once fully cooled. As I noted earlier, go with whichever you prefer!
- Food Scale. This is the most important tool here, and it makes a huge difference for macarons or any other baking! Mine is an OXO scale my mother-in-law gave me, and I adore it, as I mentioned. It was even named one of the best scales in the May/June 2020 issue of Bake from Scratch magazine!
- Hand Crank Sifter. To get rid of lumps, the almond flour, powdered sugar, and dark cocoa all need sifting. A crank sifter beats the hand-held shake-and-tap kind by a mile and saves a lot of time and frustration.
- Oven Thermometer. These are cheap and helpful for any baking, especially if your oven runs hot or cold!
- Large Piping Bag and Decorating Tip. The 16 inch reusable Wilton piping bag I used held the macaron batter nicely. A 14 inch bag would also work. I wouldn’t go smaller than 12 inches, since those got messy for me. For the tip, I used a Wilton 2A.
Apart from these, the other tools I relied on for this easy chocolate macaron recipe appear below.
Let’s Get Baking
Here’s a general walkthrough for making these dark chocolate macarons. For detailed pointers, check my helpful tips for making macarons section. The full recipe is in the recipe card further down.
1. Get your workspace ready. Setting up before you start keeps everything organized through the whole macaron process. Clean your tools thoroughly, line the baking sheets with parchment or silicone mats, and get your piping bag ready.
2. Weigh every ingredient first. I can’t emphasize this enough. Macaron recipes simply can’t be made reliably with US cup measurements. If you don’t own a food scale, now is the time to buy one!
3. Sift the dry ingredients twice, then whisk. Sifting breaks up the lumps in the almond flour, powdered sugar, and sometimes the cocoa powder. Even so, I often found bits of almond flour and powdered sugar left in the sifter. Do not force these through. Toss them out.
4. Warm the sugar and egg whites over simmering water. I used a heatproof glass bowl set over a pan of simmering water. Whisk constantly until the sugar is fully dissolved and the mixture looks frothy. This took around 5-6 minutes.
5. Make the meringue. Pour the hot mixture into a stand mixer bowl and attach the whisk. Set the speed to high. Once the mixture forms soft peaks, add the vanilla. Keep mixing on high until stiff peaks form.
This step took me around 10 minutes. The meringue should look shiny and hold its shape when you turn the whisk attachment upside down.
6. Fold in the dry ingredients. Let me say upfront that this part takes practice to get right, so don’t lose heart. With a spatula, gently fold the dry ingredients into the stiff meringue.
As you fold, press the batter against the side of the bowl in a wave-like motion. This pushes out some of the trapped air bubbles. Keep folding until the batter has a lava-like consistency.
When the batter drops from the spatula in ribbons without breaking, it’s ready to pipe! If not, fold it every 2-3 strokes and test again.
7. Pipe the macaron circles. Aim for circles 1.5 inches across, piped with the bag held straight up and down against the mat. My silicone mats have two guide circles: one at 1 inch and an outer one at 1.5 inches. I piped just beyond the inner circle.
If you use a template or trace circles onto parchment, flip the paper over first so the ink doesn’t end up in the batter.
8. Let the macarons rest. Move the sheets to a cool, dry spot. A ceiling fan running overhead helps. I suggest resting them for 40 minutes, though this depends on your location and humidity. Keep in mind: the more humid it is, the longer they need to rest.
When the resting time is almost up, preheat the oven to 300ºF. To check readiness, gently touch the tops of the macarons. If they feel dry and leave no mark, they’re ready to bake!
9. Bake the macarons for 16 minutes at 300ºF. Bake one tray at a time and turn it halfway through. This step matters, so don’t skip it!
10. Let the macarons cool. I learned this the hard way on my first batch. I was so eager that I started peeling them off right away. Some came off cleanly, but the rest left shells stuck to the mat. Wait at least 20-30 minutes before you lift them off.
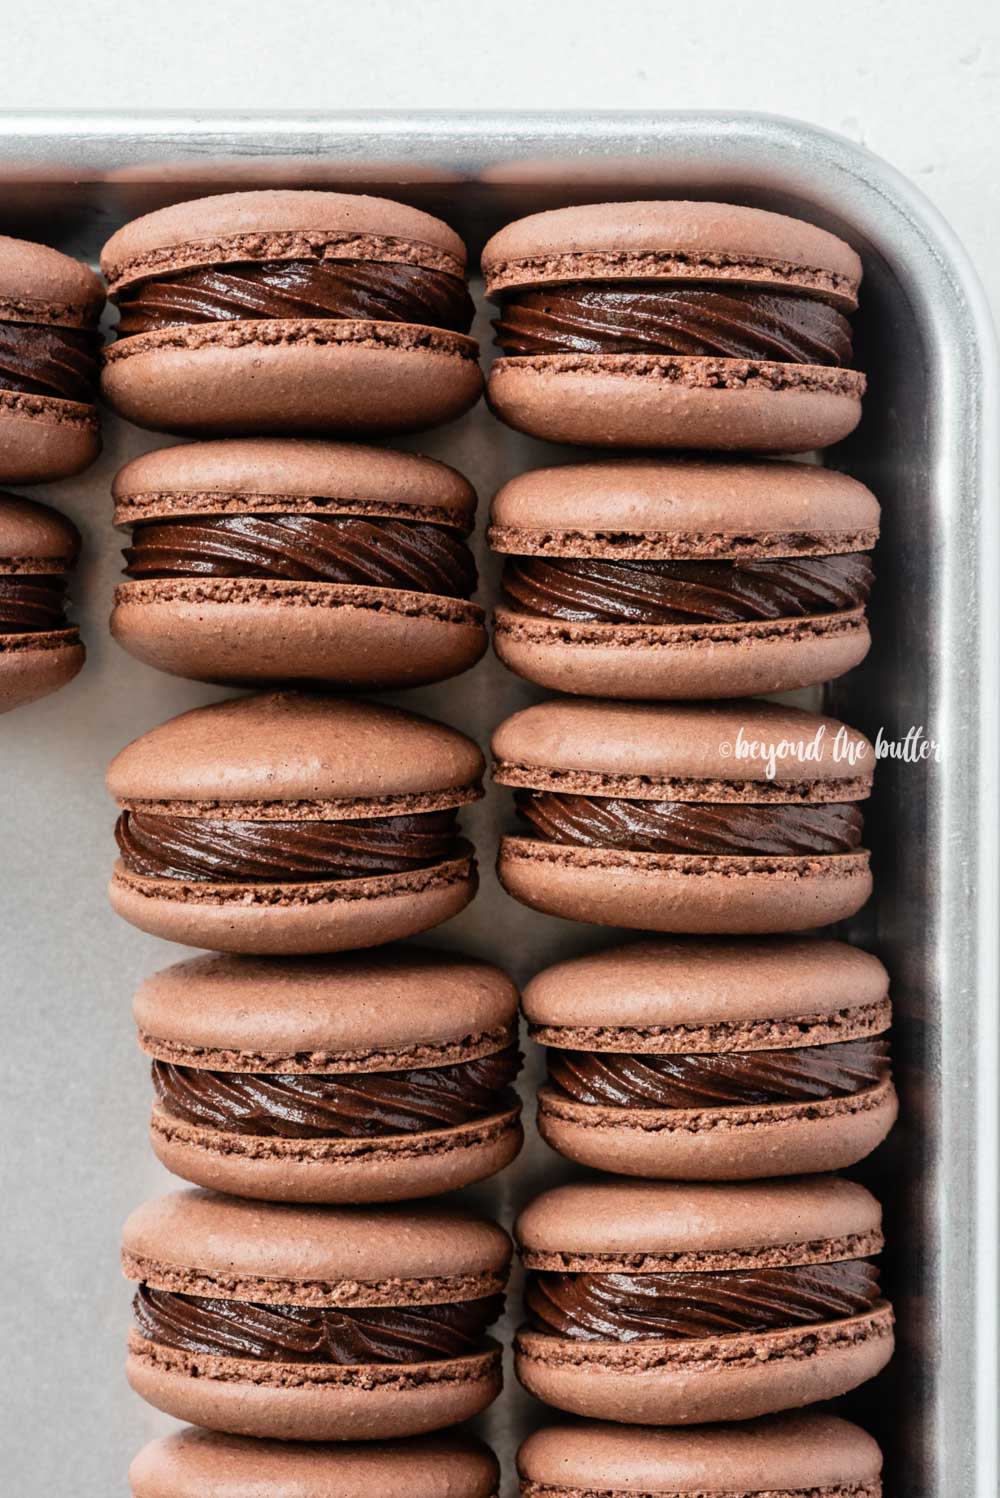
11. Pipe the dark chocolate fudge filling. You can hold a shell in your hand while piping, or set it on the mat. Start in the middle and pipe outward. Press the shells together gently, since you don’t need much pressure at all. For details, see my section on how to make chocolate fudge frosting for macarons.
12. Chill the macarons. Store them in an airtight container in the fridge. They’re tasty right after assembly, but they hit their peak after 2-3 days in the refrigerator. Believe me on this one.
Dark Chocolate Fudge Frosting
This fudge filling is based on my chocolate zucchini cake recipe. A hand mixer or stand mixer with a paddle attachment works best. A spatula is handy for scraping the sides of the bowl as well.
What You’ll Need
For the dark chocolate fudge frosting, gather these ingredients:
- Unsalted Butter – let it come to room temperature
- Powdered or Confectioners Sugar – be sure to sift it before adding!
- Dark Cocoa Powder – regular unsweetened cocoa powder works as a stand-in
- Salt – a pinch is enough
- Light Corn Syrup
- Vanilla Extract
- Dark Chocolate 70% Cocoa – you only need 2 ounces, and a bar works better than chips. I like Lindt's Dark Chocolate 70% Cocoa Bar or Moser Roth 70% Cocoa from ALDI. Both worked very well.
Method
This is very easy: put all the ingredients in a bowl (don’t forget to sift that powdered sugar!) and mix. The trick is to blend on a low speed. That gives the frosting a silky, smooth texture with no air pockets.
Piping
To pipe the frosting onto the shells, I suggest a 12-inch piping bag with a coupler and a small tip of your choice. I used a Wilton 32.
Helpful Tips for Macarons
General
- Skip making macarons on especially humid days. Cool, dry conditions work best!
- Wipe every baking tool that will touch the macarons with a paper towel dampened with a little white vinegar. This clears away any leftover grease. Grease is like kryptonite for egg whites.
- I strongly suggest jotting notes as you go, since if a tip doesn’t work, you’ll know to try something different next time.
- Don’t get discouraged or quit if your first batch isn’t perfect. These are finicky, and many factors can affect the outcome. I got lucky on my first test, but plenty of my others didn’t turn out.
- You can make the shells one or 2 days ahead. Store them at room temperature until you’re ready to fill them.
Dry Ingredients
- Rather than whisking the dry ingredients after sifting twice, you can pulse them in a food processor until well combined. Still, don’t skip the sifting.
Meringue
- When separating the eggs, be sure no yolk gets into the whites. Even a little will ruin the meringue.
- As an alternative to aging the whites, let the eggs sit at room temperature for 1-2 hours before you begin, then separate them. This worked just as well for me.
- To confirm the sugar has fully dissolved into the whites, rub a bit of the mixture between your thumb and index finger. If you feel any grains, keep whisking. The simmering water is warm, but it won’t burn you while you test. Never skip this check.
- Before you move the hot mixture to the mixing bowl, lift the bowl and wipe off any condensation from its bottom. Use oven mitts to transfer it if needed.
Macaronage
- Another sign the batter is ready to pipe: it can form a figure-8 shape without breaking.
- You can also spoon a bit of batter onto a small piece of parchment or a silicone mat. If it holds its shape and doesn’t spread, fold a few more times. My friend Camila at Pies and Tacos shared this trick!
Piping
- I stand my piping bag in a pint glass to get it ready. I fit the tip inside, twist the bottom of the bag, and turn it upward within the glass. Filling it this way keeps the batter from leaking out of the tip right away.
- Pipe your macarons to 1.5 inches across.
- Hold the bag perpendicular to the mat while you pipe the circles. Holding it at an angle leads to lopsided macarons.
- Finish each circle with a quick swoop as you lift away. Pulling straight up leaves a peak on the top of the shell.
- Tap the baking sheets firmly 3-4 times to bring air bubbles to the surface. Pop them with a toothpick.
Resting and Drying the Macarons
- How long the macarons need to dry depends on how humid your area is. I suggest 40 minutes. The ceiling fan was a big help.
Baking
- This recipe calls for 16 minutes at 300ºF.
- My oven rack sat on the 2nd level, just above the middle.
Cooling
- If your macaron shells still stick to the mat or parchment after cooling, pop them in the freezer for about 15-20 minutes. My friend Erin over at Cloudy Kitchen shared this tip with me!
- Even if a few bottoms aren’t perfect, that’s fine! A little fudge frosting covers them right up!
Frosting
- This recipe made about 9.5 ounces or 270 grams of frosting. With the Wilton 32 tip and how much I piped on each macaron, there was only a little left over.
- Leftover frosting keeps for up to a week in the fridge in an airtight container.
- You can use store-bought frosting, whipped topping, chocolate ganache, or any of the frostings in my recipe box instead of making this one. Keep in mind those will need to be scaled down for these macarons.
Craving More Chocolate?
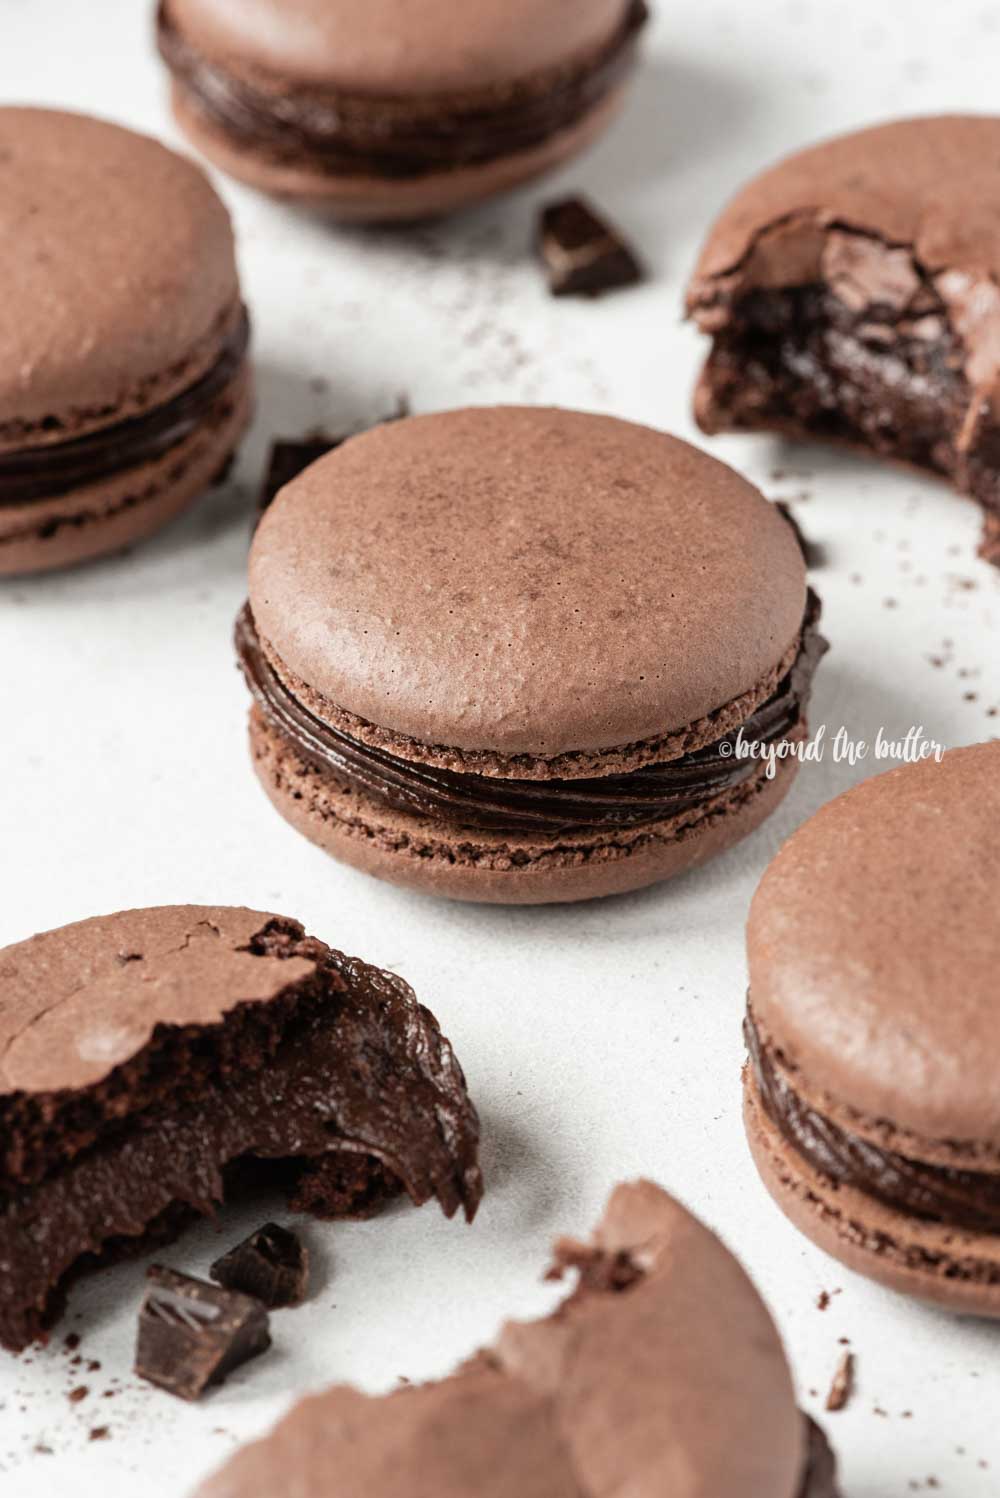
Want even more chocolate dessert inspiration? Browse my recipe box!
Double Chocolate Macarons with Dark Fudge Filling
These dark chocolate macarons have a light, crisp dark chocolate shell around a chewy, chocolatey center, filled with a rich dark chocolate fudge frosting. They’re bite-size, indulgent treats that are easier to make than they look! Makes 18 fully assembled macarons.
- Prep
- 1 hr
- Cook
- 16 mins
- Total
- 1 hr 16 mins
- Makes
- 18 servings
Ingredients
dark chocolate macaron shells
- 1 cup Almond Flour, sifted
- 3/4 cup Powdered Sugar, sifted
- 3 tbsp Dark Cocoa Powder, sifted
- 3 Aged Egg Whites
- 1/2 cup Granulated Sugar
- 1/8 tsp Salt
- 1/2 tsp Vanilla Extract
dark chocolate fudge frosting
- 1/3 cup Unsalted Butter, room temperature
- 2/3 cup Powdered Sugar, sifted
- 1/4 cup Dark Cocoa Powder, sifted
- 1/8 tsp Salt
- 1/4 cup Light Corn Syrup
- 1/2 tsp Vanilla Extract
- 2 oz Dark Chocolate 70%, melted and cooled
Method
- Get your workspace ready by washing your mixing bowls, whisks, and any other tools you’ll use for the macarons. A paper towel with a little white vinegar helps lift any leftover grease.
- Line 2 baking sheets with parchment or silicone mats, and fit a large piping bag with a round tip (such as the Wilton 2A). Set everything aside.
- Weigh every ingredient on a food scale.
- Sift the almond flour, powdered sugar, dark cocoa powder, and salt together twice, discarding any bits left in the sifter. Whisk to combine fully (or pulse in a food processor).
- Use a double boiler or bain-marie to heat the granulated sugar and aged egg whites over 1 – 1.5 inches of simmering water. Whisk constantly until the sugar dissolves and the mixture turns frothy (about 5-6 minutes). Rub a little between your pointer finger and thumb to confirm no grains remain.
- Move the hot mixture to a stand mixer bowl fitted with the whisk attachment, and set the speed to high. When soft peaks form, add the vanilla extract. Keep beating on high until stiff peaks appear (about 10 minutes). The meringue should look glossy and hold its shape when you turn the whisk upside down.
- With a spatula, gently fold the dry ingredients into the stiff meringue. As you fold, press the batter against the bowl’s side. Keep going until it’s lava-like. When it drops from the spatula in ribbons (or forms a figure-8) without breaking, it’s ready to pipe. If not, fold 2-3 more times and check again.
- Scoop the batter into the piping bag. Hold the bag straight up over the silicone mat (or parchment) and pipe circles about 1.5 inches across. Once you bang the sheets on the counter after piping, the circles should spread slightly.
- Knock the baking sheets on the counter 3-4 times to release air bubbles. Use a toothpick to pop any that remain.
- Set the trays of shells aside somewhere cool and dry to rest for 40 minutes. They’re ready to bake once the tops feel dry to the touch. A ceiling fan can speed this up. Drying times depend on where you live: the higher the humidity, the longer the rest.
- When the rest period is nearly done, heat the oven to 300ºF and set the rack on the 2nd level, just above the center.
- Bake only 1 tray of the chocolate macarons at a time for 16 minutes at 300ºF, rotating the baking sheet at the 8 minute mark. Do not skip this step!
- Once baked, take them out and let them cool for 20-30 minutes. If the shells are still tacky, pop them in the freezer for 15-20 minutes.
- If you plan to pipe the frosting the next day, keep the shells in an airtight container in the freezer or fridge.
- Using a hand mixer or stand mixer with a paddle attachment, beat the unsalted butter, sifted powdered sugar, dark cocoa powder, salt, light corn syrup, vanilla extract, and melted chocolate on low until smooth. Scrape the bowl’s sides with a spatula as needed.
- Fit a small to medium piping bag with a coupler and a small tip (like the Wilton 32), then fill it with 3/4 of the frosting.
- Pipe the fudge filling onto one shell, then gently press another shell on top. Repeat until all the shells are used. Keep any extra frosting in the fridge for up to 1 week.
- Store the macarons in an airtight container in the fridge. They taste best after sitting there for 2-3 days, when they turn into a thick, chewy brownie. So good!
Baker’s notes
- Clean every baking tool used for the macarons with a paper towel soaked in a little white vinegar. This removes any grease that might remain.
- You can make the shells one or 2 days ahead. Store them at room temperature until you’re ready to fill them.
- Rather than whisking the dry ingredients after sifting twice, you can pulse them in a food processor until well combined. Still, don’t skip the sifting.
- When separating the eggs, be sure no yolk gets into the whites. Even a little will ruin the meringue.
- As an alternative to aging the whites, let the eggs sit at room temperature for 1-2 hours before you begin, then separate them. This worked just as well for me.
- To confirm the sugar has fully dissolved into the whites, rub a bit of the mixture between your thumb and index finger. If you feel any grains, keep whisking. The simmering water is warm, but it won’t burn you while you test. Never skip this check.
- Before you move the hot mixture to the mixing bowl, lift the bowl and wipe off any condensation from its bottom. Use oven mitts to transfer it if needed.
- Another sign the batter is ready to pipe: it can form a figure-8 shape without breaking.
- How long the macarons need to dry depends on how humid your area is. I suggest 40 minutes. The ceiling fan was a big help.