
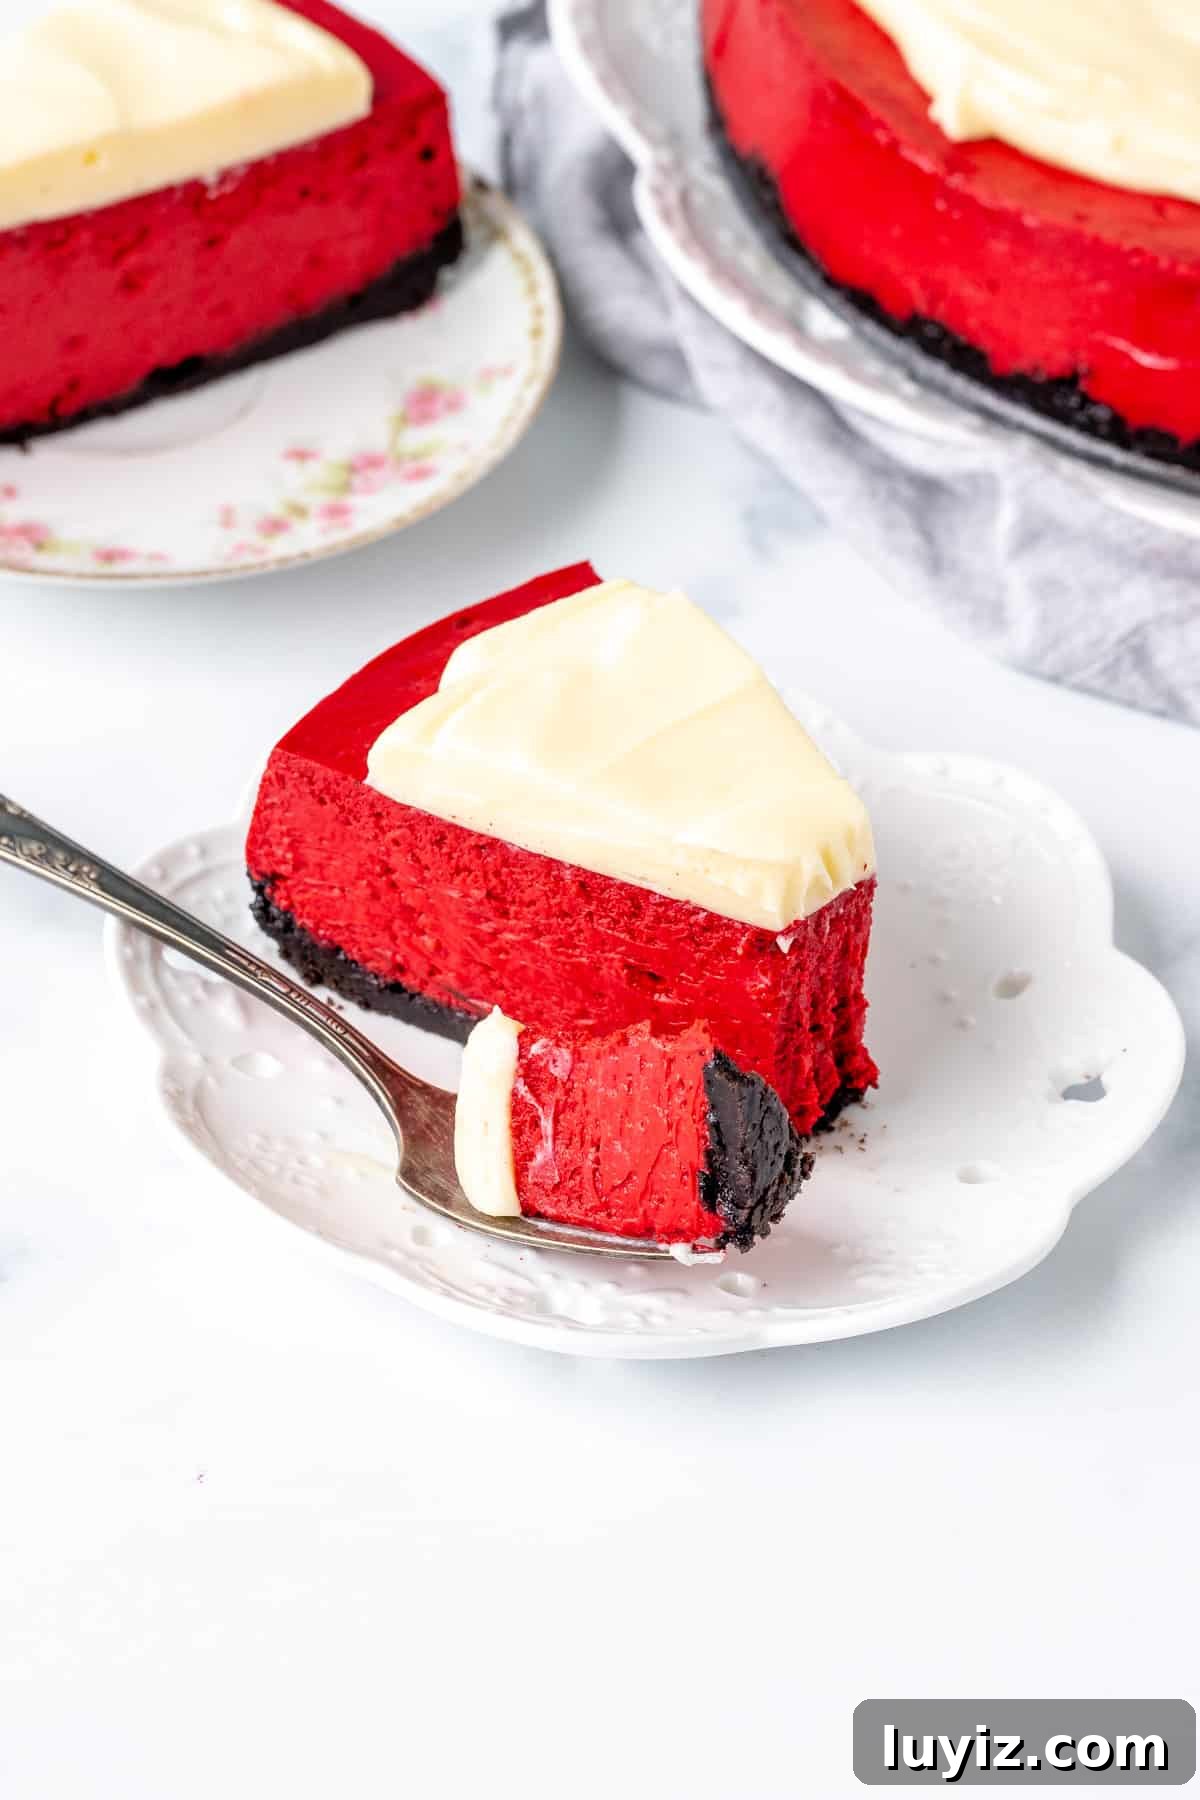
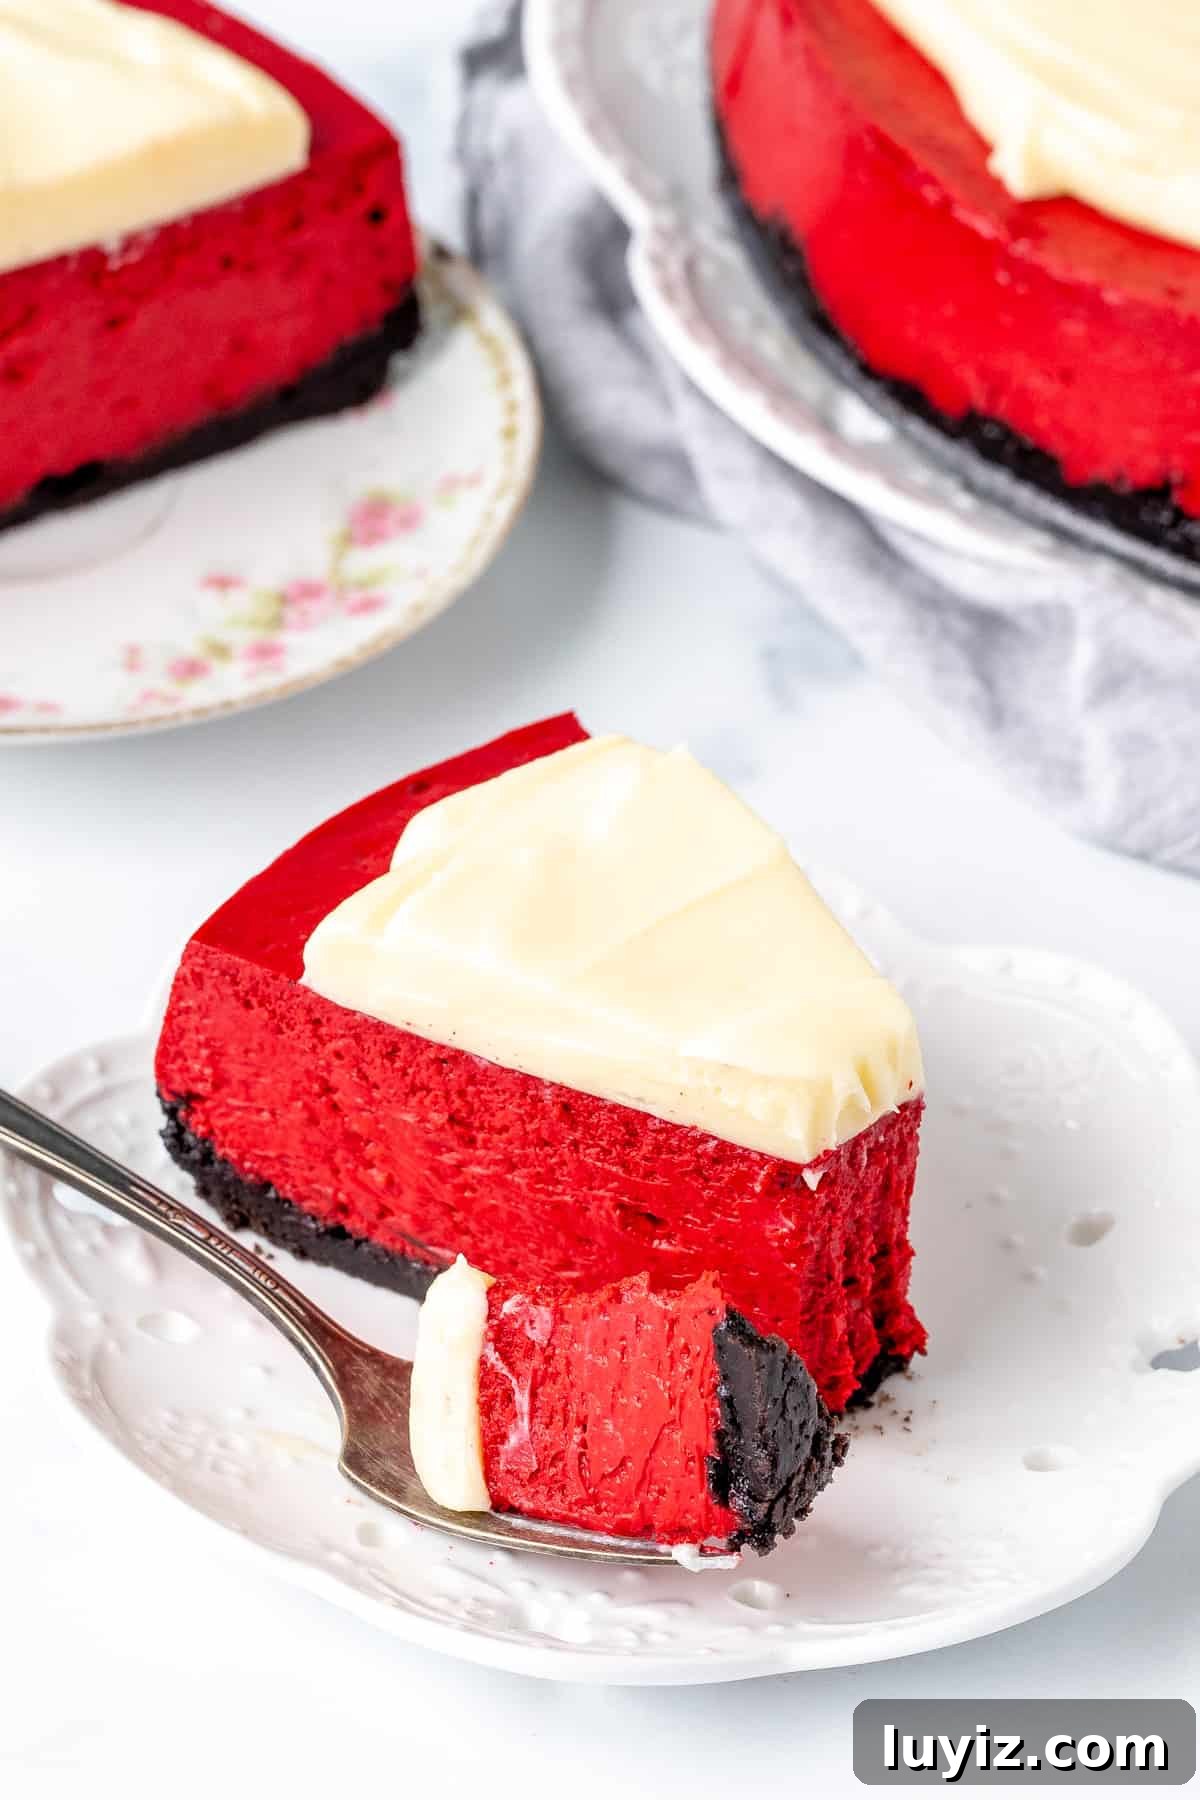
This red velvet cheesecake is a stunning dessert with classic red velvet flavor, a luxuriously creamy texture and a chocolate cookie crust. Topped with tangy cream cheese frosting, this restaurant-quality cheesecake is easier to make than it looks. 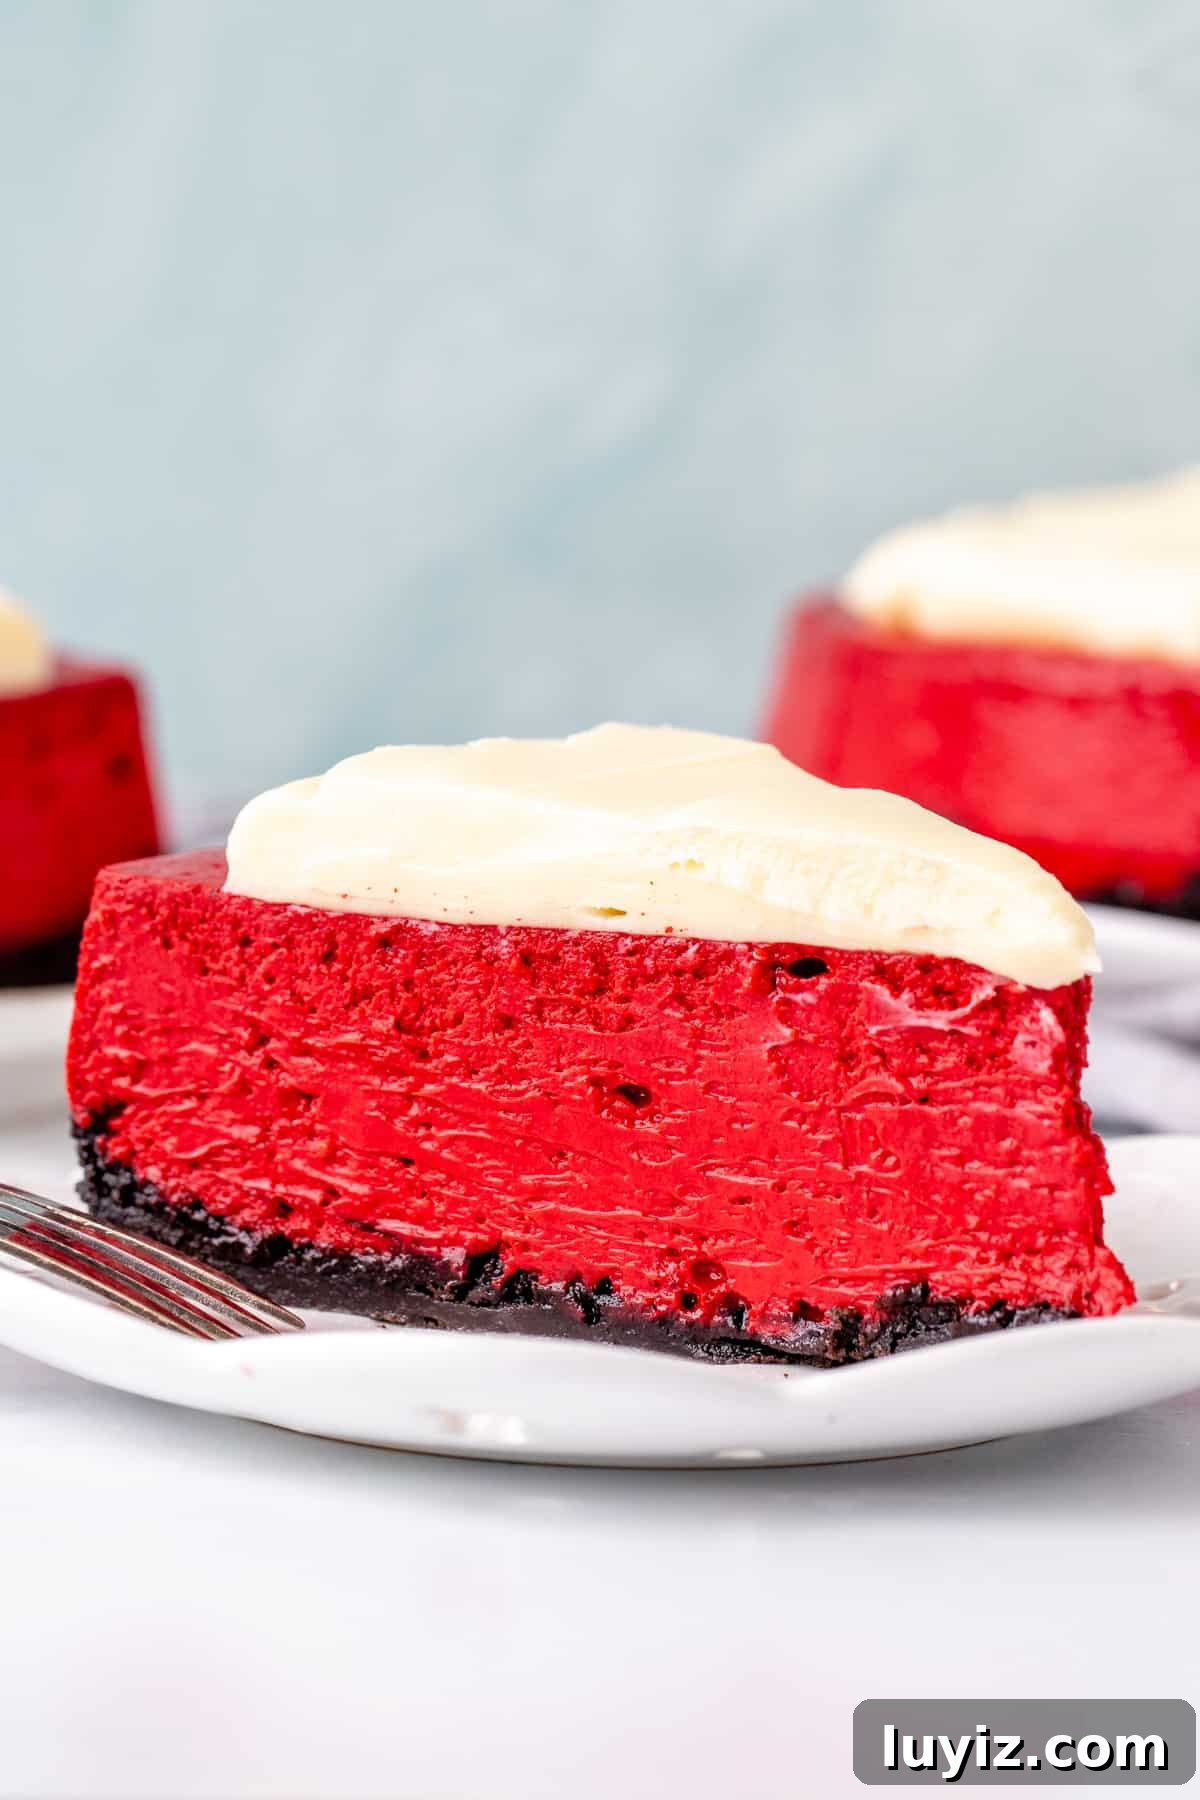
This post was updated February 5, 2023 with new photos and recipe tips
I’ve wanted to create a red velvet cheesecake for a long time, and this recipe delivers everything you want: the deep red color, a hint of chocolate, and the slight tang that defines red velvet. Combined with an Oreo cookie crust and a creamy cream cheese topping, it feels indulgent while staying familiar. The texture is similar to a New York-style cheesecake but with all the classic red velvet traits.
It’s rich, silky and has a beautiful color without any complicated decorating. Follow the ingredient and technique notes below for the best results.
A Few Notes About Ingredients
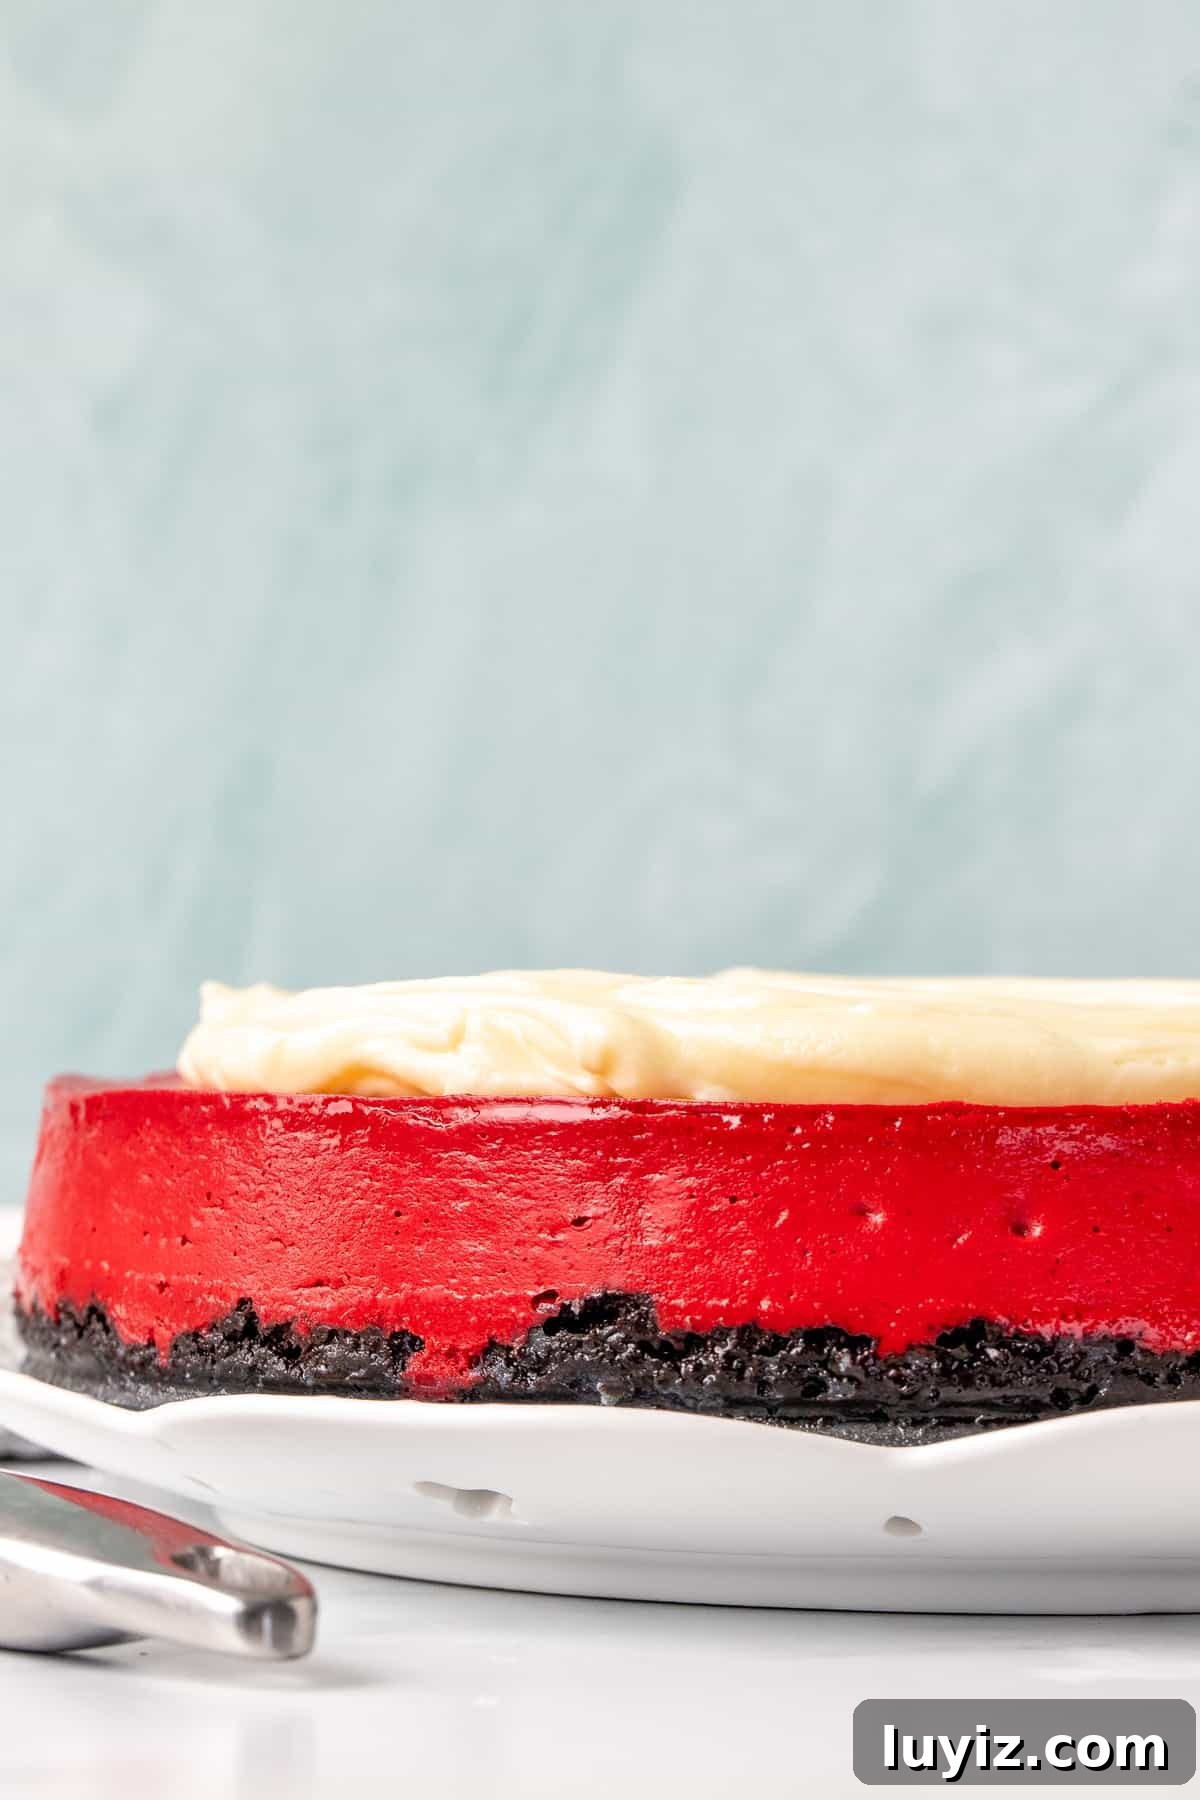
Cheesecake ingredients can be costly, so it’s important to use the right products for reliable results. Do not substitute key ingredients if you want the intended texture and flavor.
- For the crust, use chocolate wafer cookies and include both the wafers and the filling when crushing them.
- Use full-fat, brick-style cream cheese (such as Philadelphia). Spreadable, whipped or low-fat cream cheeses won’t give the proper structure or creaminess and can become grainy.
- Full-fat sour cream creates a silky texture—look for the tub variety (about 14–18% milk fat in the US and Canada).
- There really isn’t a good substitute for buttermilk in this recipe; plain milk is too thin and lacks the tang.
- The amount of red food coloring is flexible. Gel coloring gives a more vivid hue; I used 1 1/2 tablespoons of gel in the photos. Liquid colorings work as well but may require more to reach the same intensity.
Important: Make sure the cream cheese, sour cream and eggs are at room temperature before starting. Set them out for about 30 minutes so everything mixes smoothly and without lumps.
Baking, Chilling and Serving Red Velvet Cheesecake
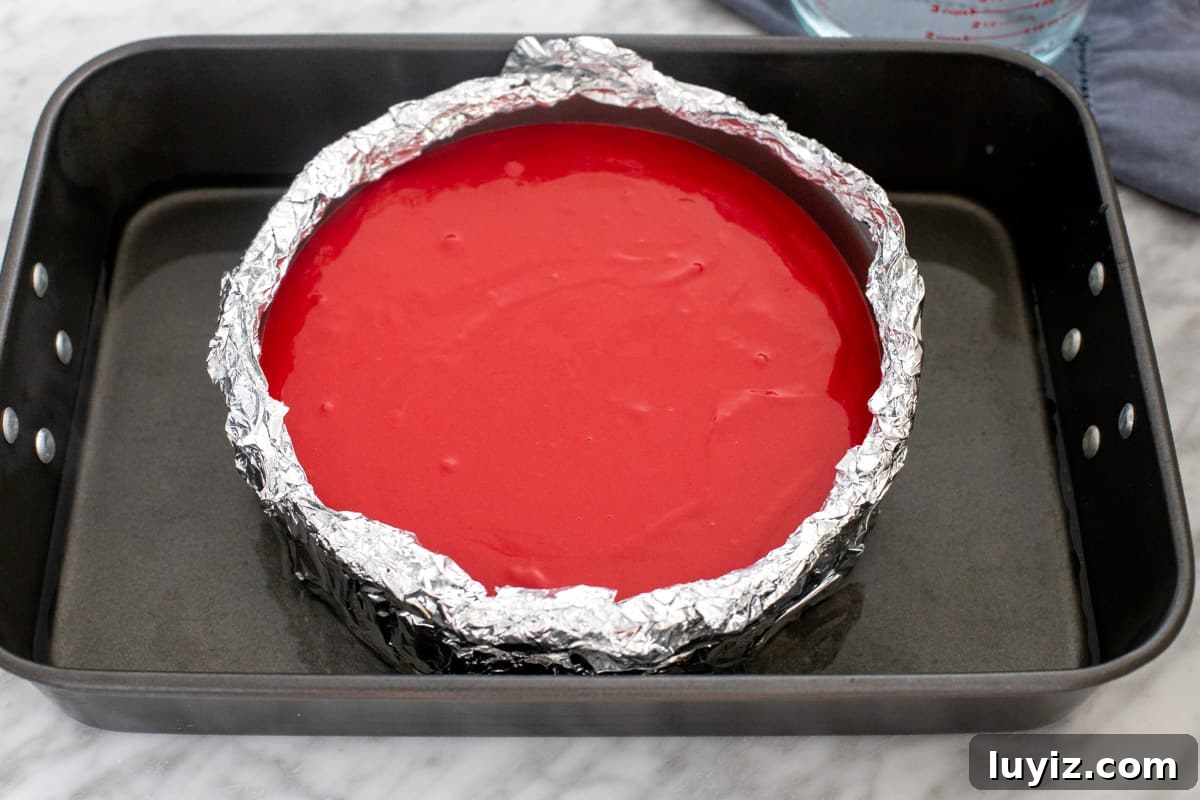
This recipe is baked in a water bath (bain-marie) to keep moisture inside while baking. The water bath helps prevent the cheesecake from drying out and reduces the risk of cracking by keeping temperature changes gradual.
- Wrap the outside of a 9-inch springform pan in aluminum foil at least four times, covering all seams and edges to prevent water from seeping in.
- After preparing the crust and filling the pan, place the wrapped springform into the center of a large roasting pan and pour the batter over the crust.
- Pour about 1/2 to 1 inch (1–2 cm) of boiling water into the roasting pan around the springform.
- Bake as directed below with the roasting pan in the oven.
How to Know When Your Cheesecake is Done Baking
Bake at 350°F (180°C) for about 60 minutes. Ovens vary, so check around 50 minutes. The top should look set except possibly in the very center. When you gently jiggle the pan, the center should wobble like firm pudding or Jell-O—not like a liquid.
Allow the cheesecake to cool very slowly to avoid sudden temperature changes that cause cracks. Once fully cooled, cover and refrigerate for at least 6 hours or overnight so the cheesecake sets properly.
Serving
After chilling, spread the tangy cream cheese frosting on top. The topping is not overly sweet; adjust powdered sugar to taste. I usually make the cheesecake a day ahead, chill it overnight, add the topping the next day, then chill again until serving.
If you enjoy red velvet desserts, consider trying other recipes like red velvet cupcakes, cookies, cake or brownies.
Red Velvet Cheesecake
Equipment
- 9-inch (23 cm) springform pan
- Large roasting pan
- Aluminum foil
Ingredients
Cookie Crust
- 26 Oreo cookies, wafers and filling
- 5 tablespoons unsalted butter, melted
Red Velvet Cheesecake Filling
- 24 ounces full-fat cream cheese (680 g), room temperature
- 1 1/4 cups granulated sugar (250 g)
- 3 tablespoons cocoa powder
- 3/4 cup sour cream (180 ml), room temperature
- 1/4 cup buttermilk (60 ml)
- 2 teaspoons white vinegar
- 1–2 tablespoons red food coloring (gel or liquid; I used 1 1/2 tbsp gel)
- 3 large eggs, room temperature
- 2 large egg yolks (discard the whites)
- Boiling water, for the water bath
Cream Cheese Topping
- 1/4 cup unsalted butter (56 g), softened
- 4 ounces full-fat cream cheese (112 g), softened
- 1/4 teaspoon salt
- 1–1 1/2 cups powdered sugar (110–165 g), to taste
Instructions
- Preheat the oven to 350°F (180°C). Wrap the outside of a 9-inch springform pan with aluminum foil at least four times so the bottom and sides are well covered.
- Oreo Crust: Crush the cookies (wafers and filling) in a food processor or a sealed bag with a rolling pin until fine. Mix the crumbs with the melted butter, press into the bottom of the prepared pan and slightly up the sides (about 1/4 inch). Bake crust for 10 minutes. Keep oven on.
- Cheesecake Filling: Beat cream cheese and sugar until soft, scraping the bowl as needed. Beat in cocoa powder and sour cream (sift cocoa if lumpy). On low speed, mix in buttermilk, vanilla, vinegar and red food coloring. In a small bowl, whisk eggs and yolks, then add them to the batter in about three additions, mixing just until incorporated.
- Baking: Place the crust (still wrapped in foil) in the middle of a large roasting pan. Pour the batter over the crust and smooth the top. Pour boiling water into the roasting pan to about 1/2–1 inch (1.5–2.5 cm) deep. Bake at 350°F for 60–70 minutes. The cheesecake should look set on top with a slight wobble in the center when done; check around 50 minutes if your oven runs hot.
- Cooling & Chilling: Remove the roasting pan from the oven and let the cheesecake cool completely while still in the roasting pan. Once cooled, remove from the roasting pan, cover and chill in the refrigerator for at least 6 hours or overnight. Do not unclamp the springform pan while chilling.
- Cream Cheese Topping: Beat the butter until soft, then mix in the cream cheese. Add salt and with the mixer on low beat in powdered sugar 1/2 cup at a time until you reach your desired sweetness. Spread the topping on the chilled cheesecake, leaving a small border around the edge. Return to the fridge until serving. If condensation forms on the surface when you remove it from the fridge, blot gently with a paper towel.
- To serve, unclamp the springform ring and slice with a sharp knife, cutting all the way through the crust for clean slices.
Notes
- Cream Cheese: Use full-fat, brick-style cream cheese—do not use spreadable, whipped or light varieties.
- Buttermilk: There is no good substitute for buttermilk in this recipe.
- Nutrition: Nutrition information is an estimate per slice, assuming 12 equal slices.
- Storage: Store covered in the refrigerator for up to 4 days.