Simple, Buttery Homemade Butter Cookies
Homemade butter cookies are a timeless recipe that suits any occasion or holiday!
- Prep
- 15 mins
- Cook
- 10 mins
- Chilling Time
- 1 hr
- Total
- 1 hr 25 mins
- Makes
- 108 cookies
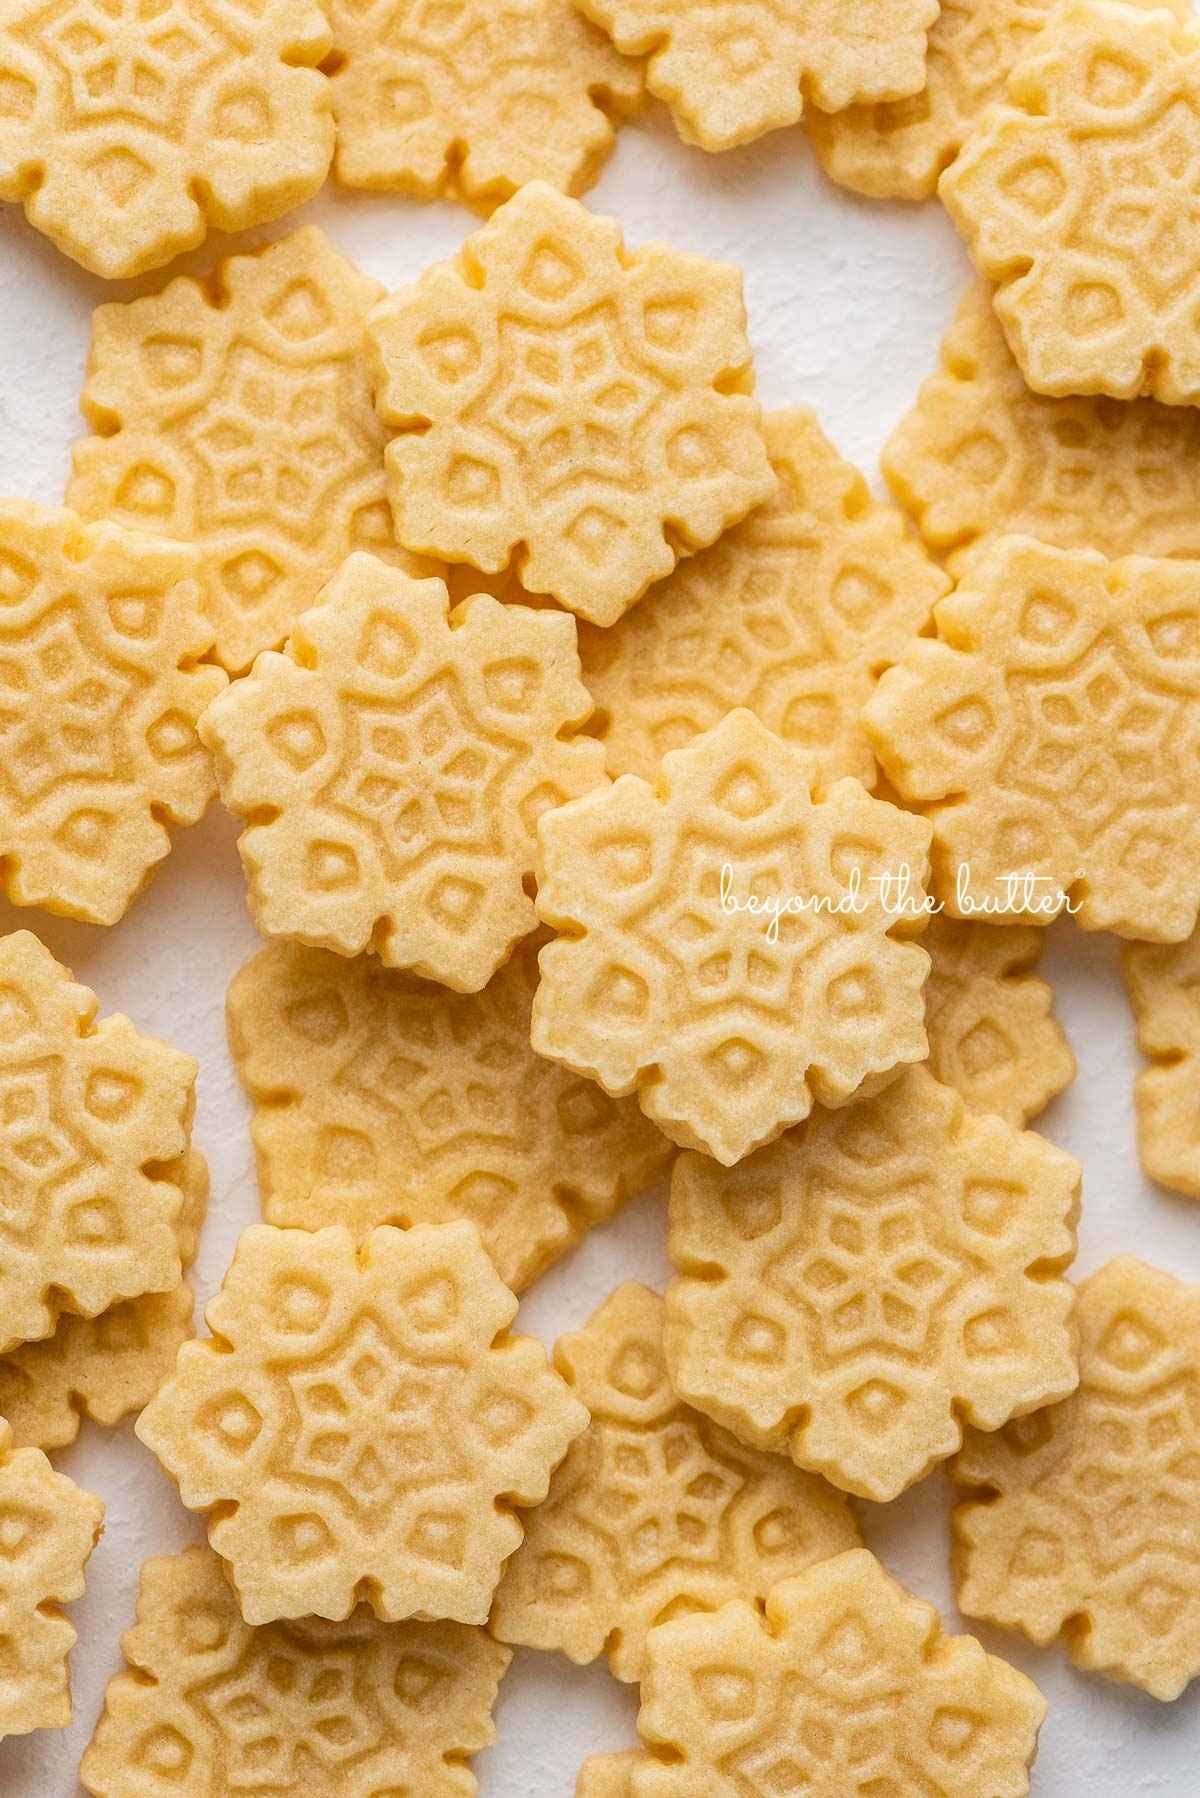
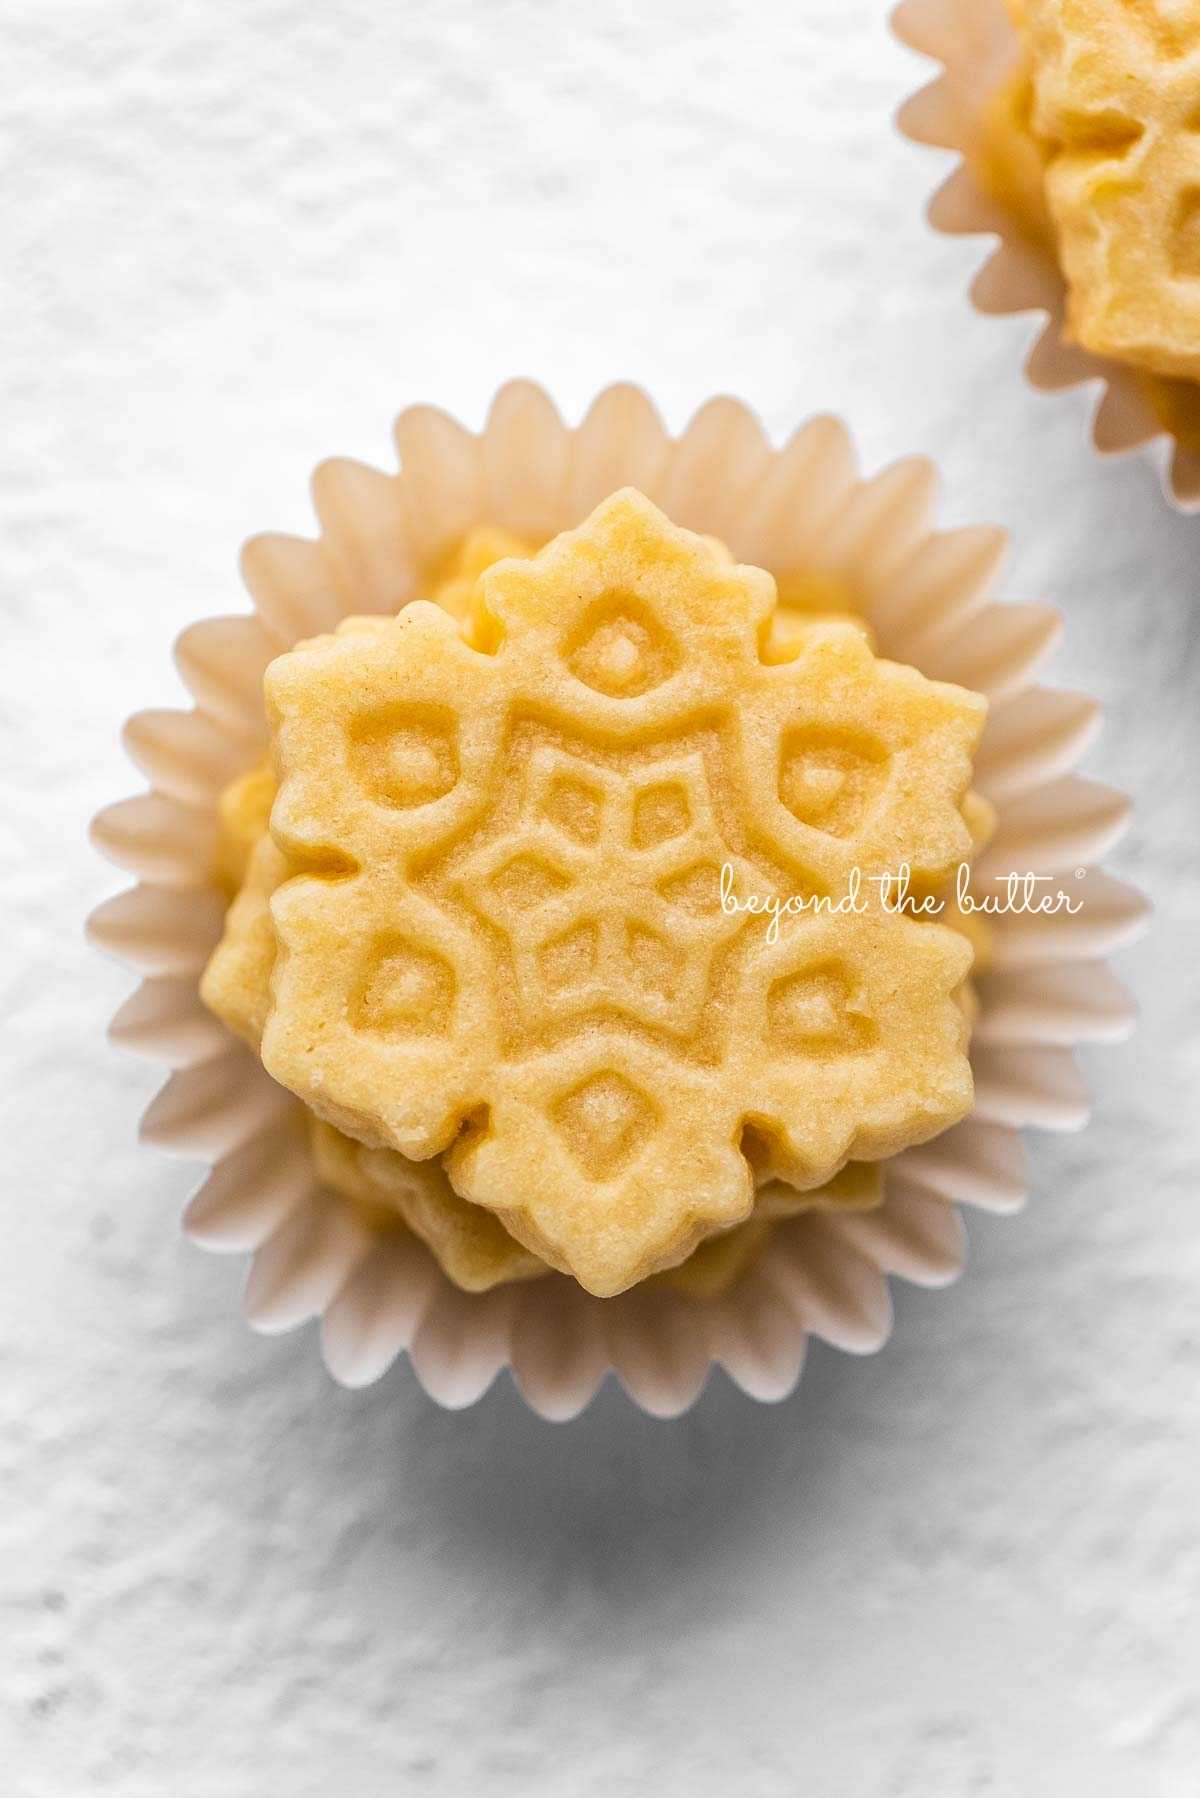
Homemade Butter Cookies are a timeless recipe for any occasion or holiday! They are simple yet refined, with a rich, buttery flavor!
Why You Will Love This Recipe

I adore how simple these Homemade Butter Cookies are, and how good they taste! They are soft and chewy inside, with a lightly crisp outside, and every bite brings a rich, buttery cookie!
This is an easy recipe that needs only seven ingredients, and you can swap the cookie cutter for each holiday with ease! If you want a fun, festive cookie for your holiday tins, this is the one!
Happy baking!
What You Will Need
You will need the following to make this old-fashioned butter cookie recipe. The items in the bulleted list are the key ingredients, and they need a bit more explanation.
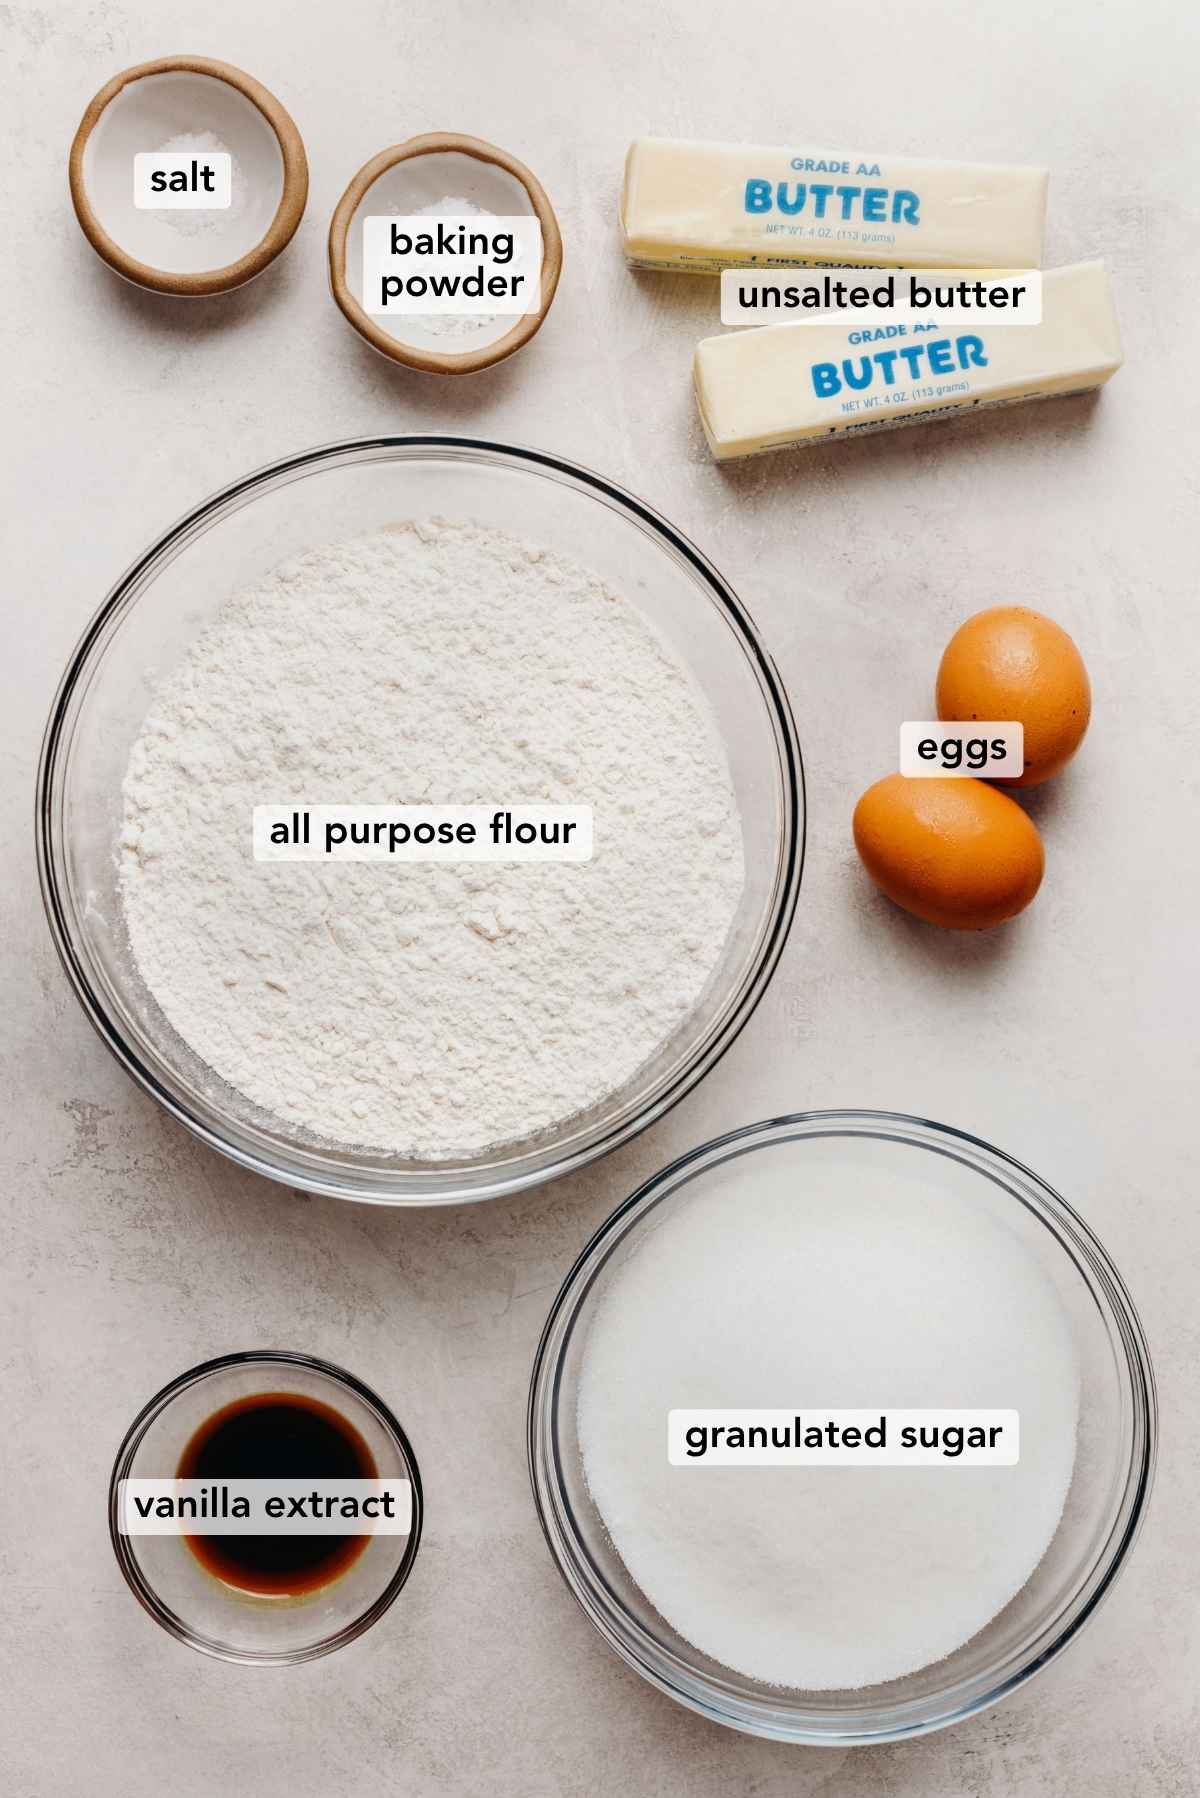
- Unsalted Butter. Use the unsalted butter you like, but I suggest a high-fat brand with 82%-85% butterfat. I have used Kerrygold, Plugrá, Minerva, Cabot, Vermont Creamery, and Vital Farms, which also works well.
- Eggs. These give the cookies a richer flavor and a chewier bite.
- Baking Powder. This adds a little lift, so the butter cookies are slightly less dense.
- Vanilla Extract. I like Nielsen-Massey vanilla extract. They also make a very good vanilla bean paste, which would work well in this butter cookie recipe too.
For amounts and instructions, see the recipe card below.
How to Make the Recipe
Here is a simple step-by-step guide to making these homemade buttery shortbread biscuits. For the full printable recipe, with US customary or metric measurements, see the recipe card below.
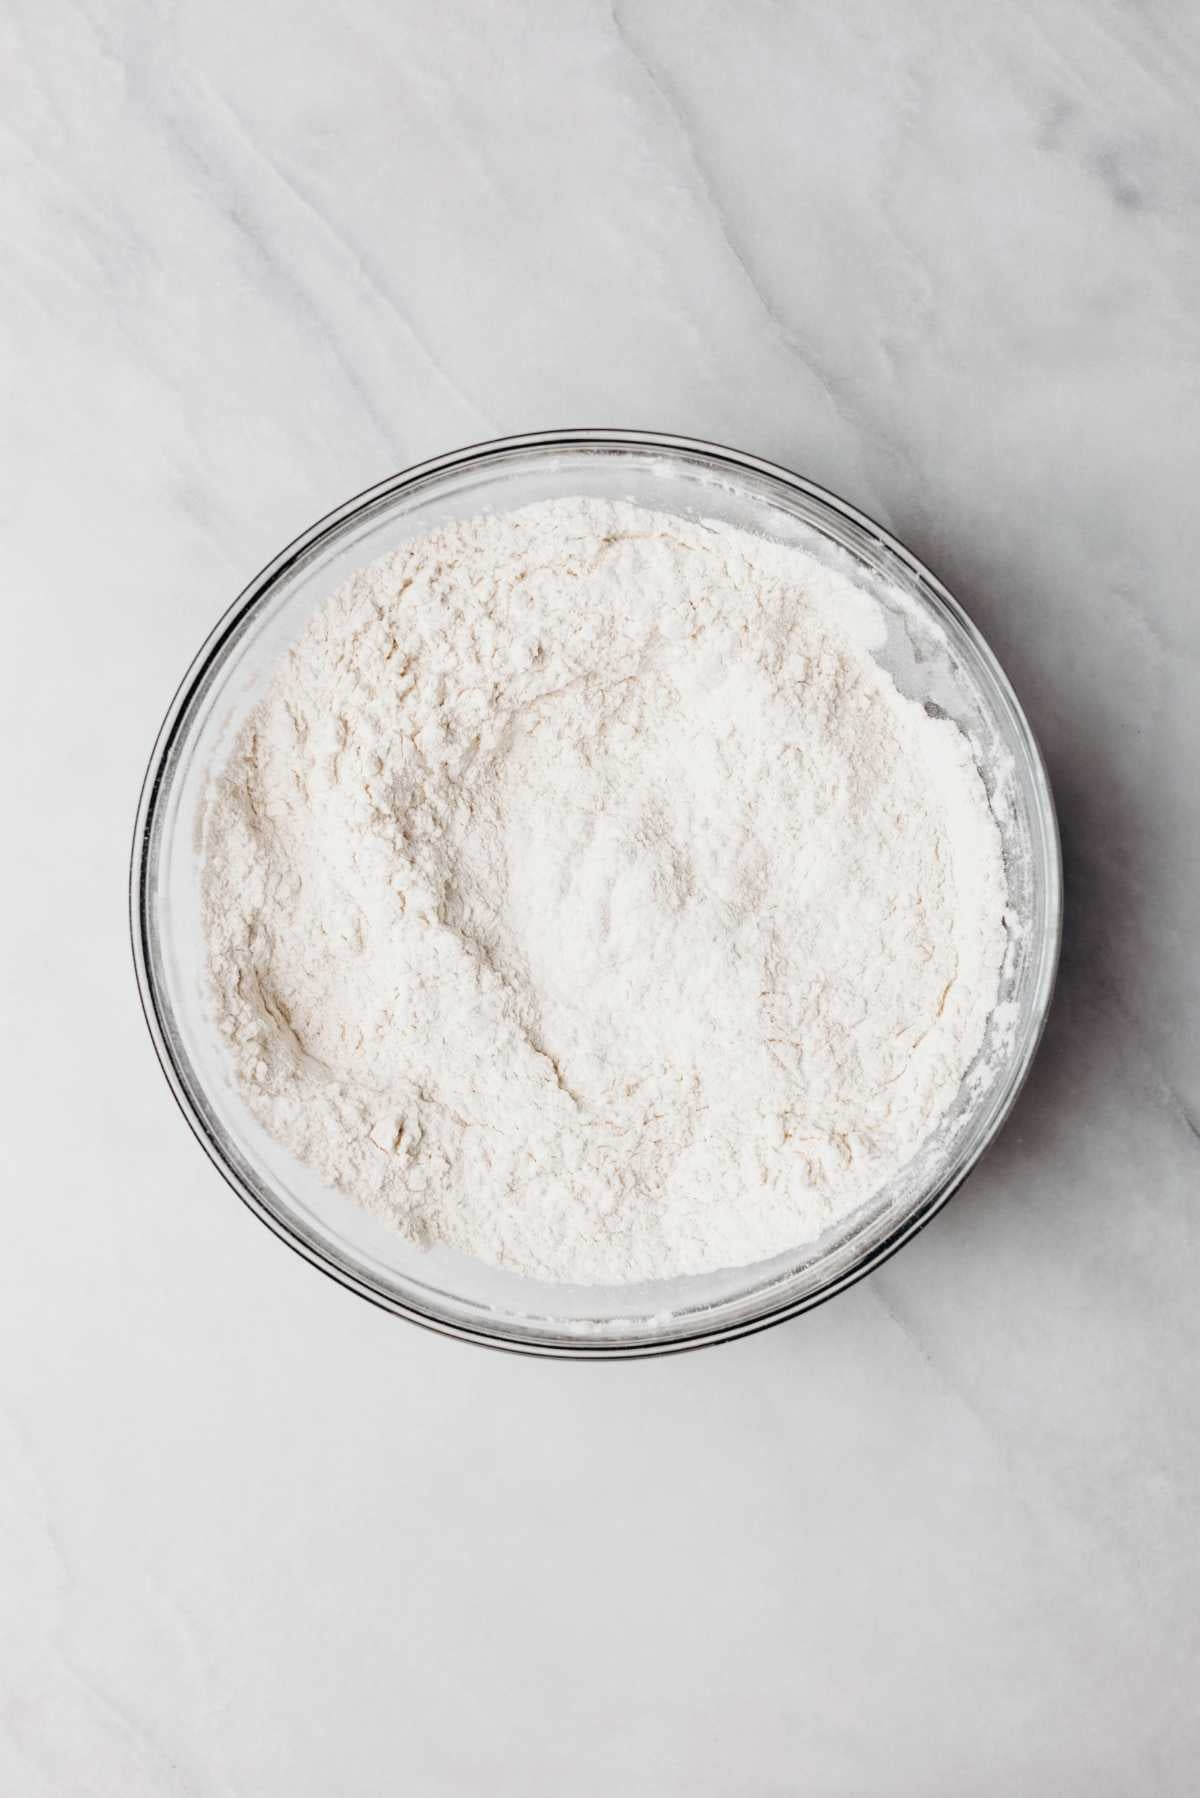
Step 1. Whisk the dry ingredients. Combine the all-purpose flour, baking powder, and salt.
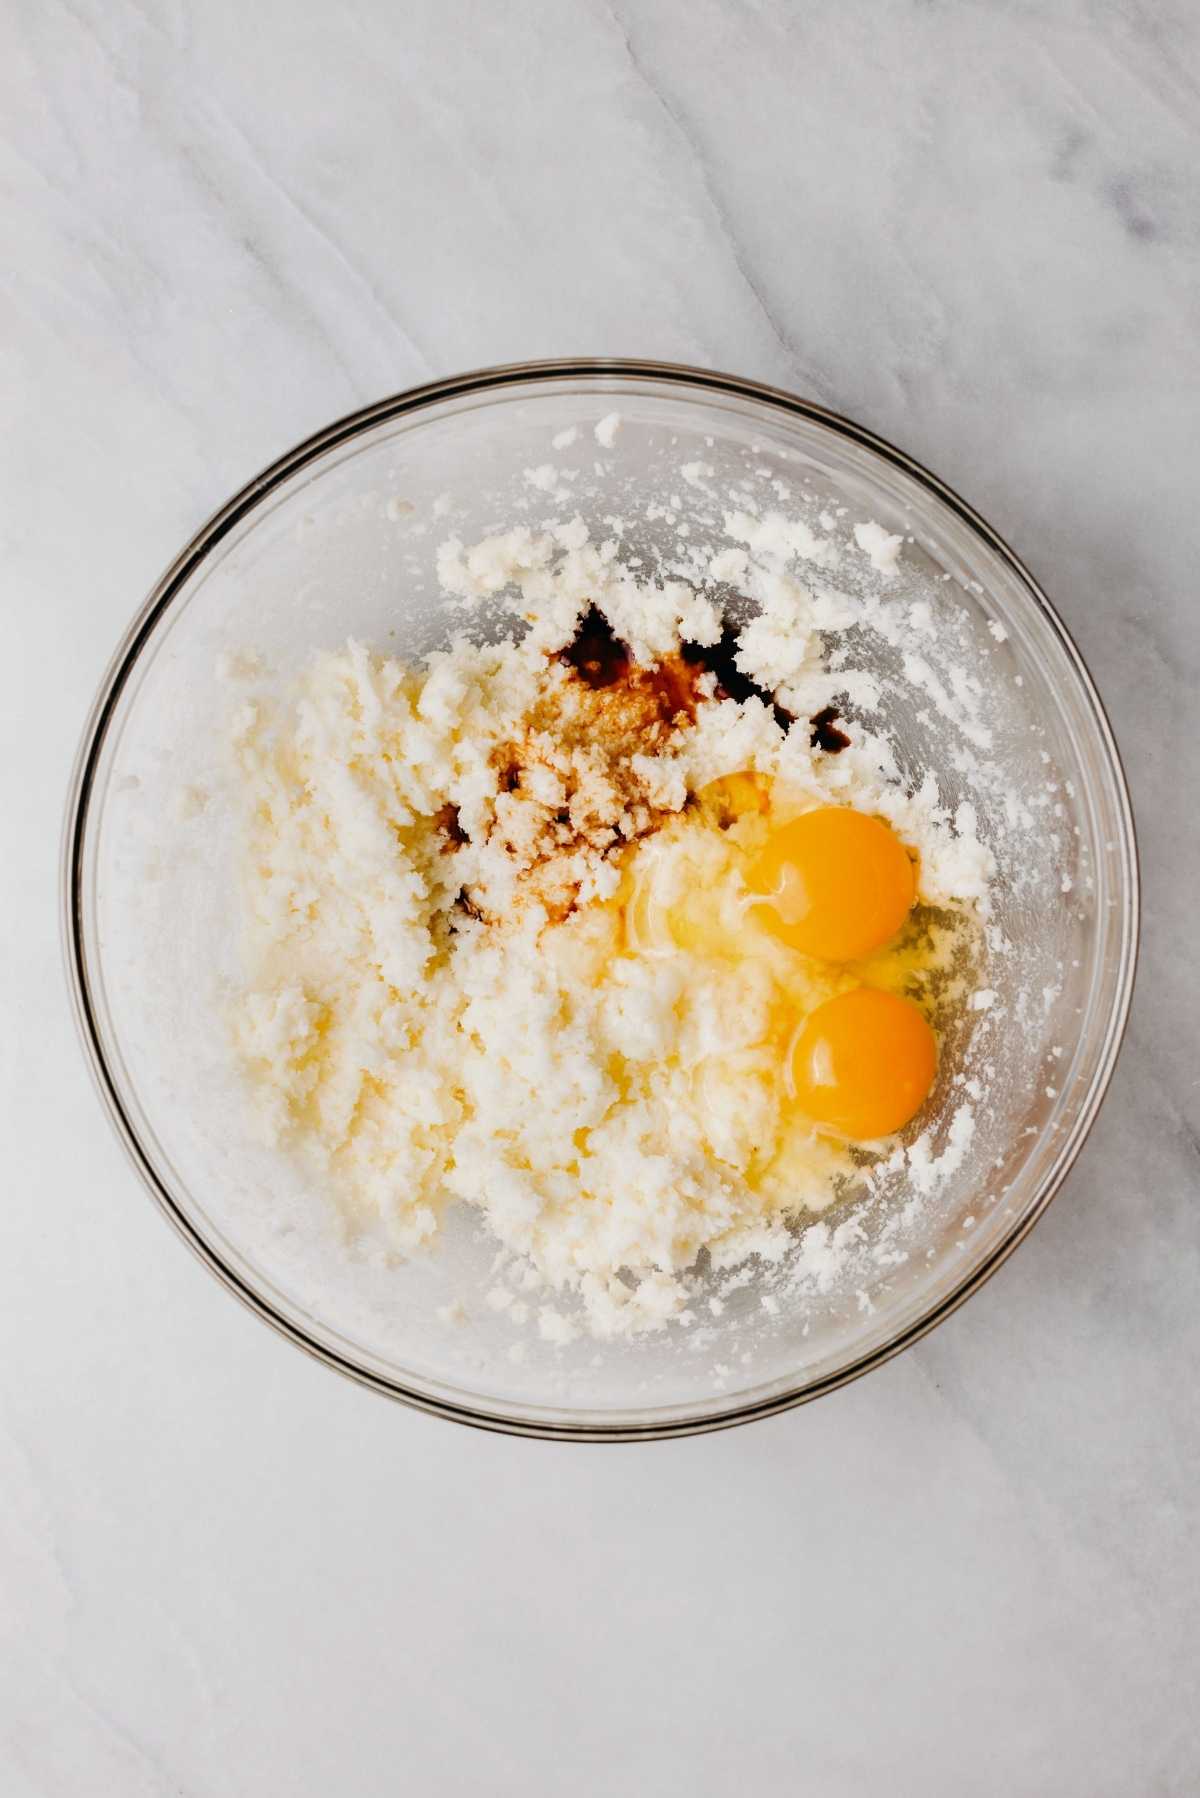
Step 2. Mix the wet ingredients. Beat the butter and sugar on medium-high speed until light and fluffy. Add the eggs and vanilla extract, then mix again until fully combined.
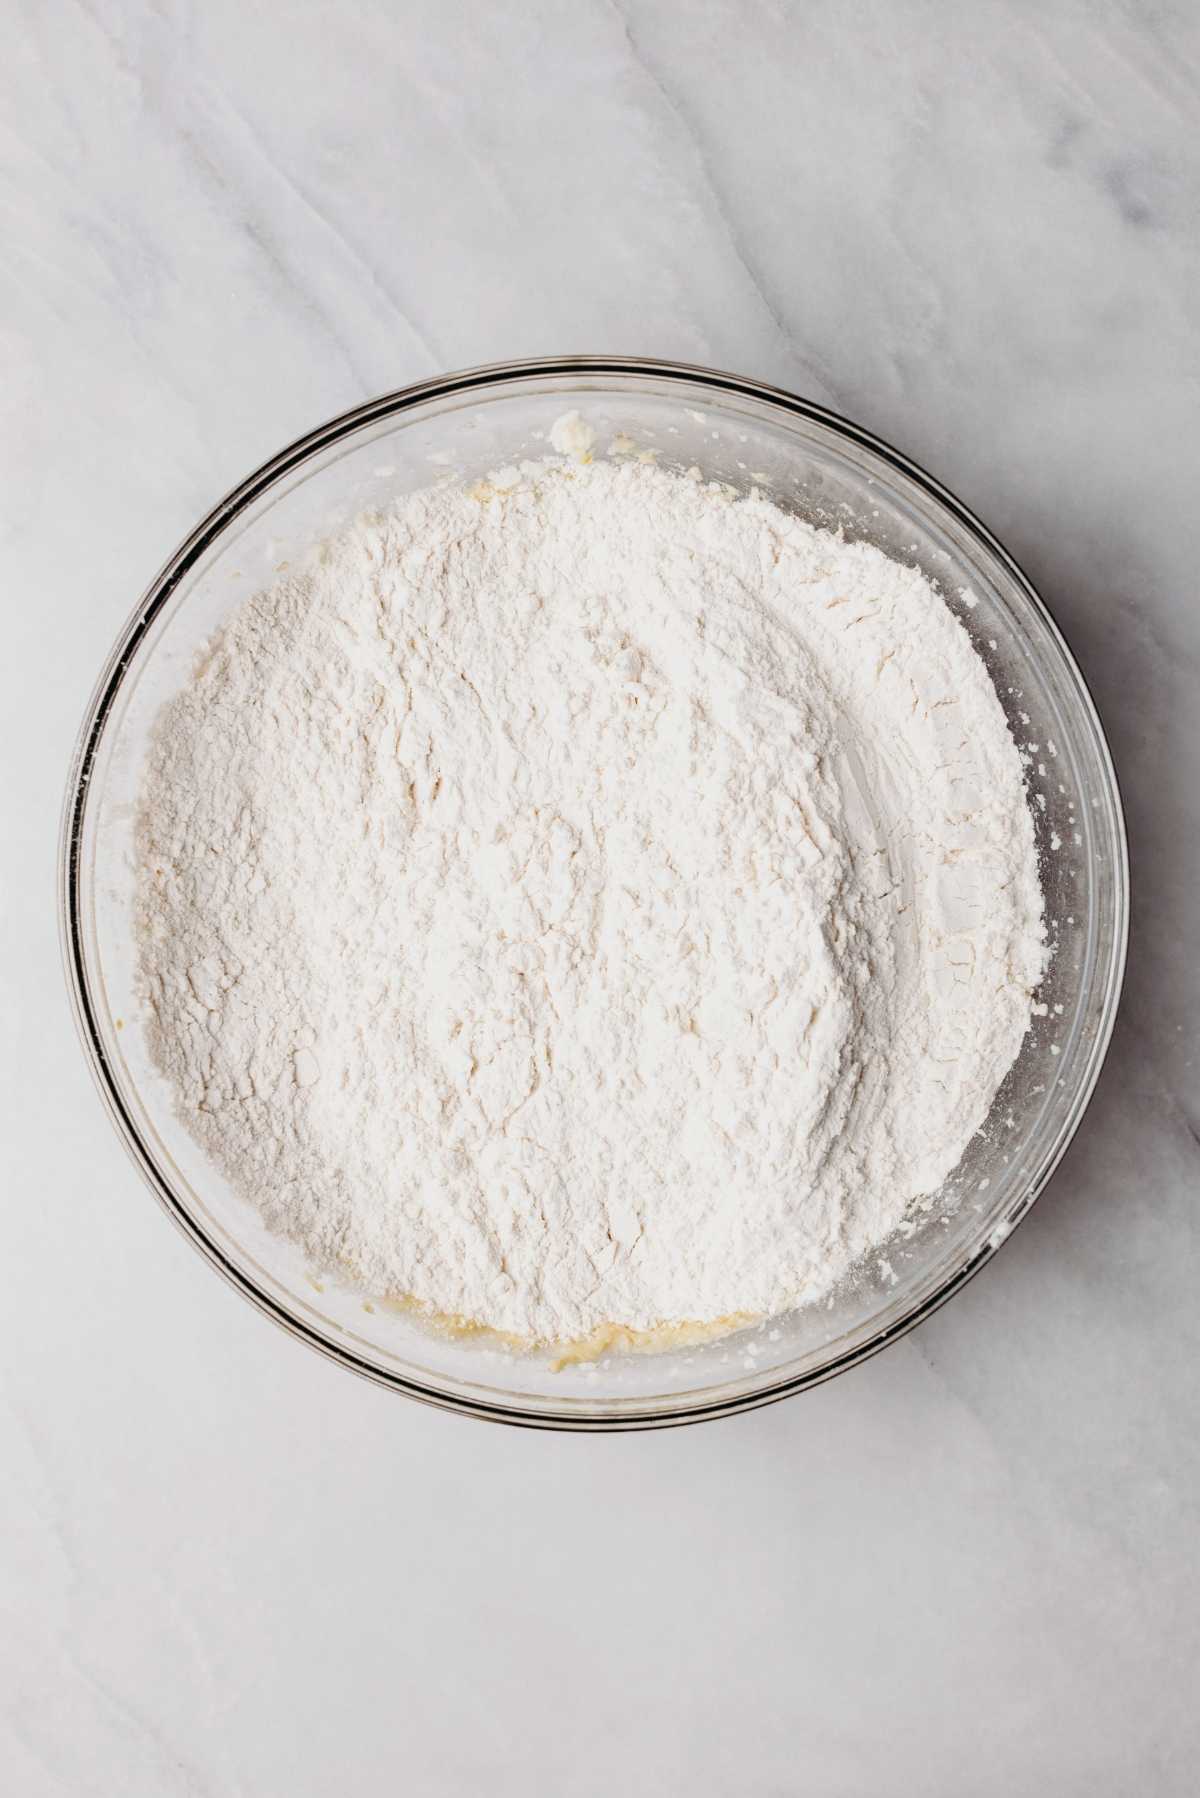
Step 3. Add the dry ingredients to the wet ingredients and blend until completely combined.
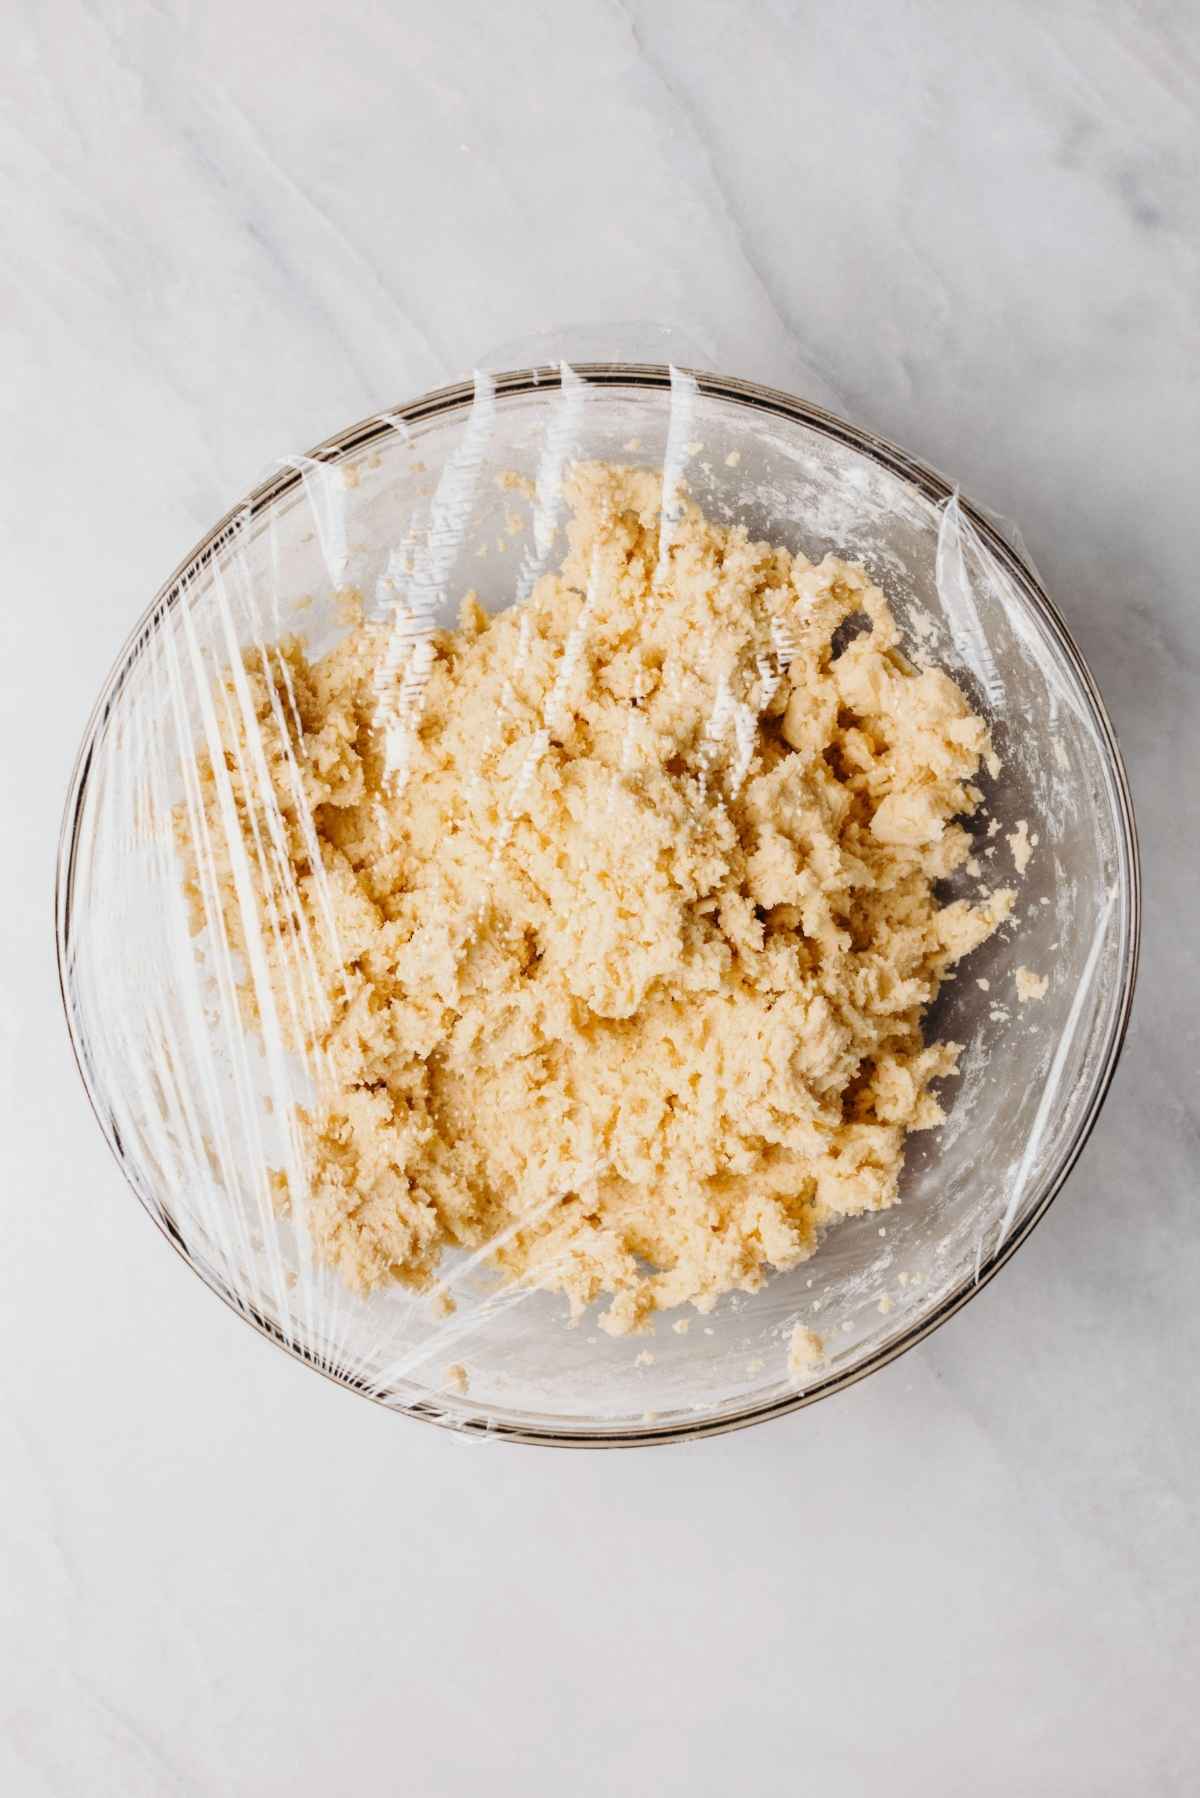
Step 4. Refrigerate the dough for at least 1 hour.
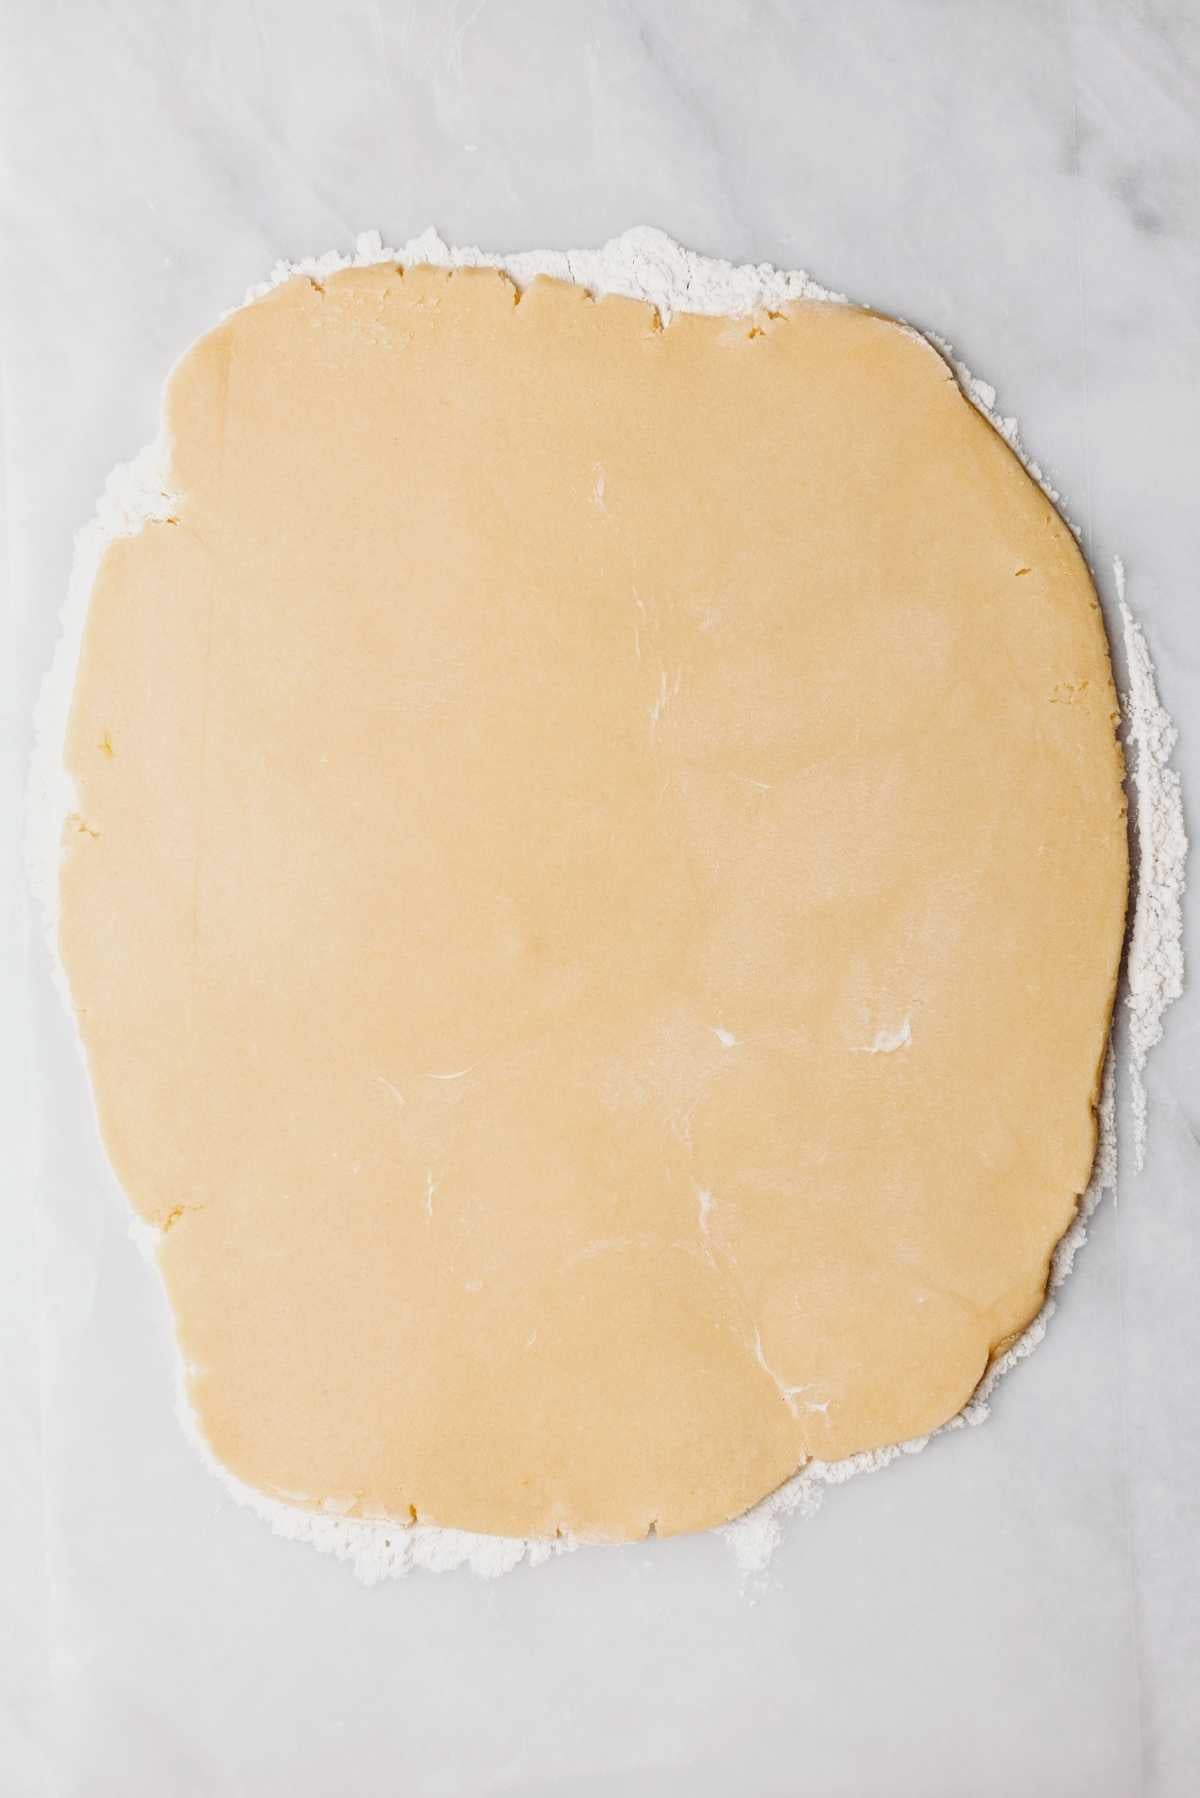
Step 5. Roll out the dough on a lightly floured work surface.
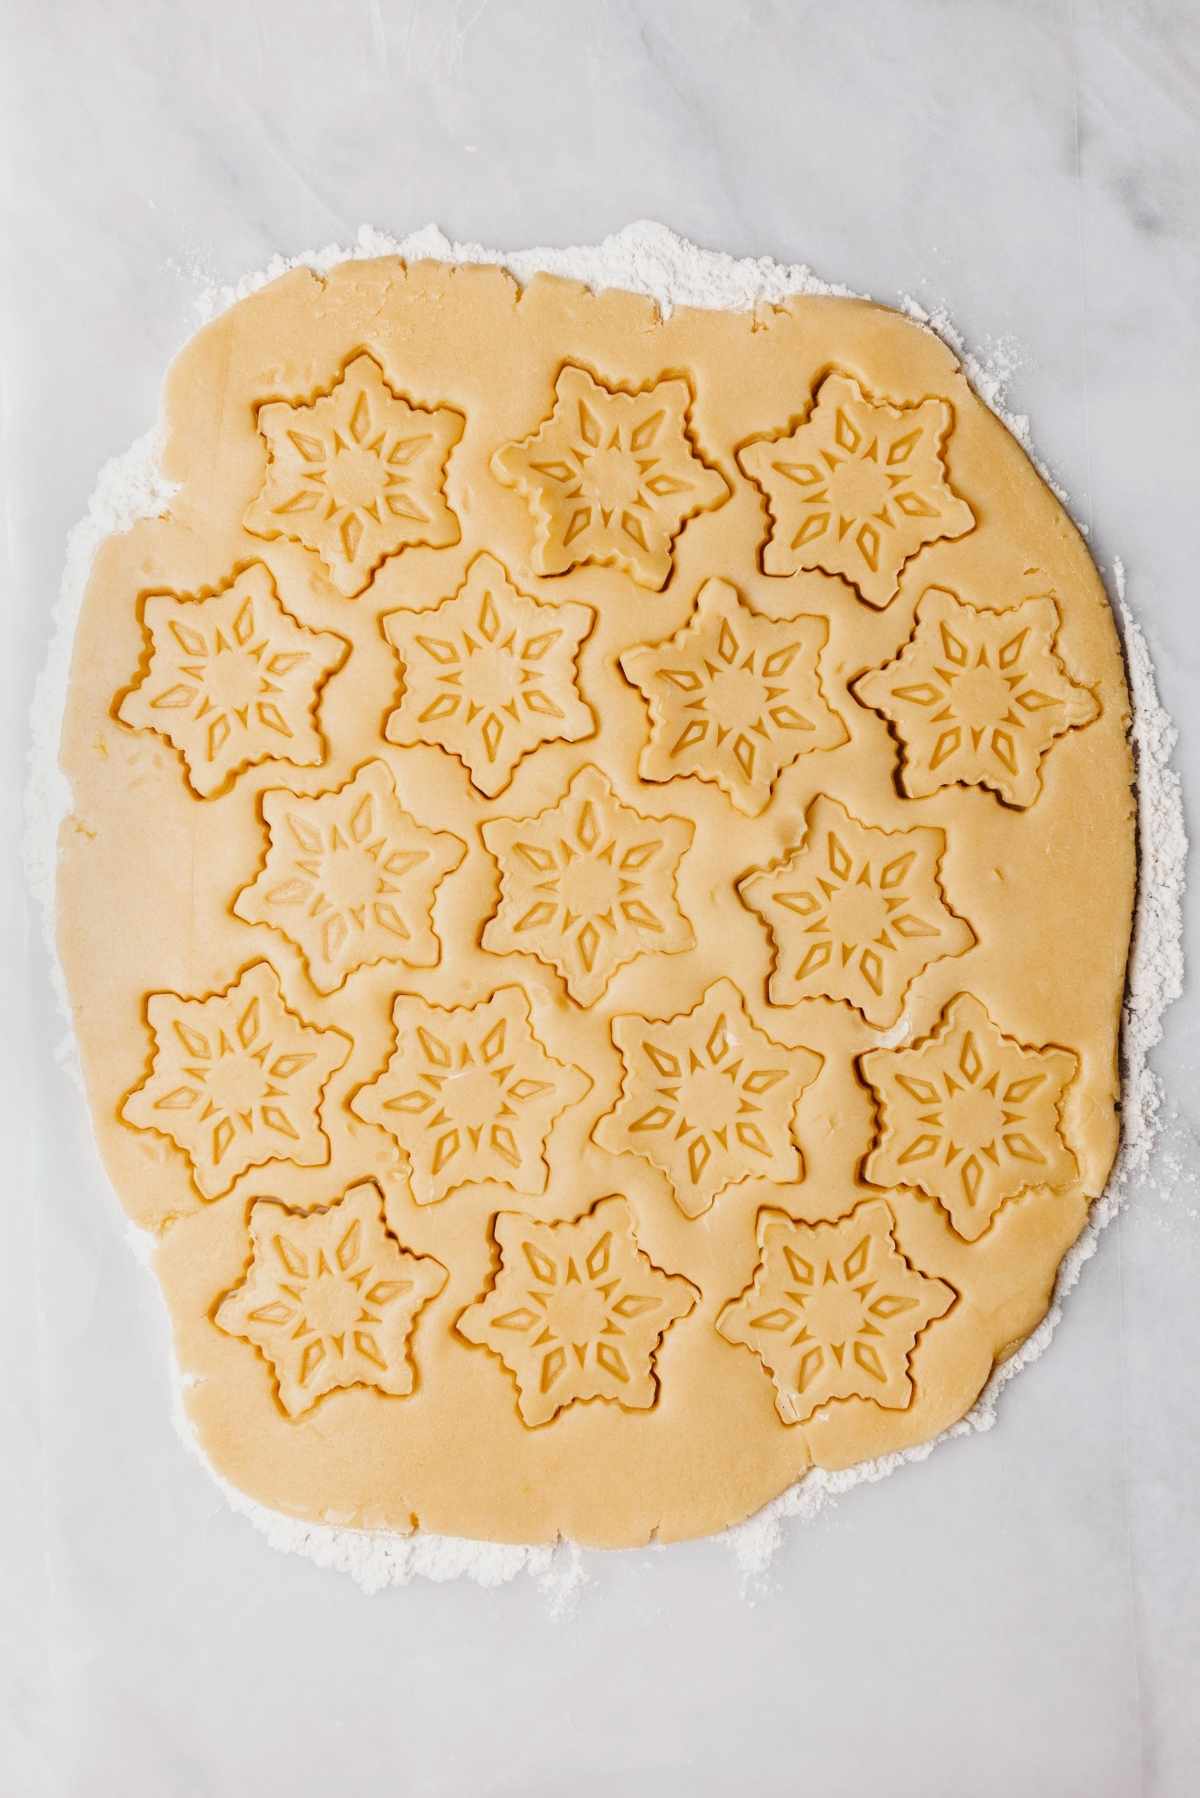
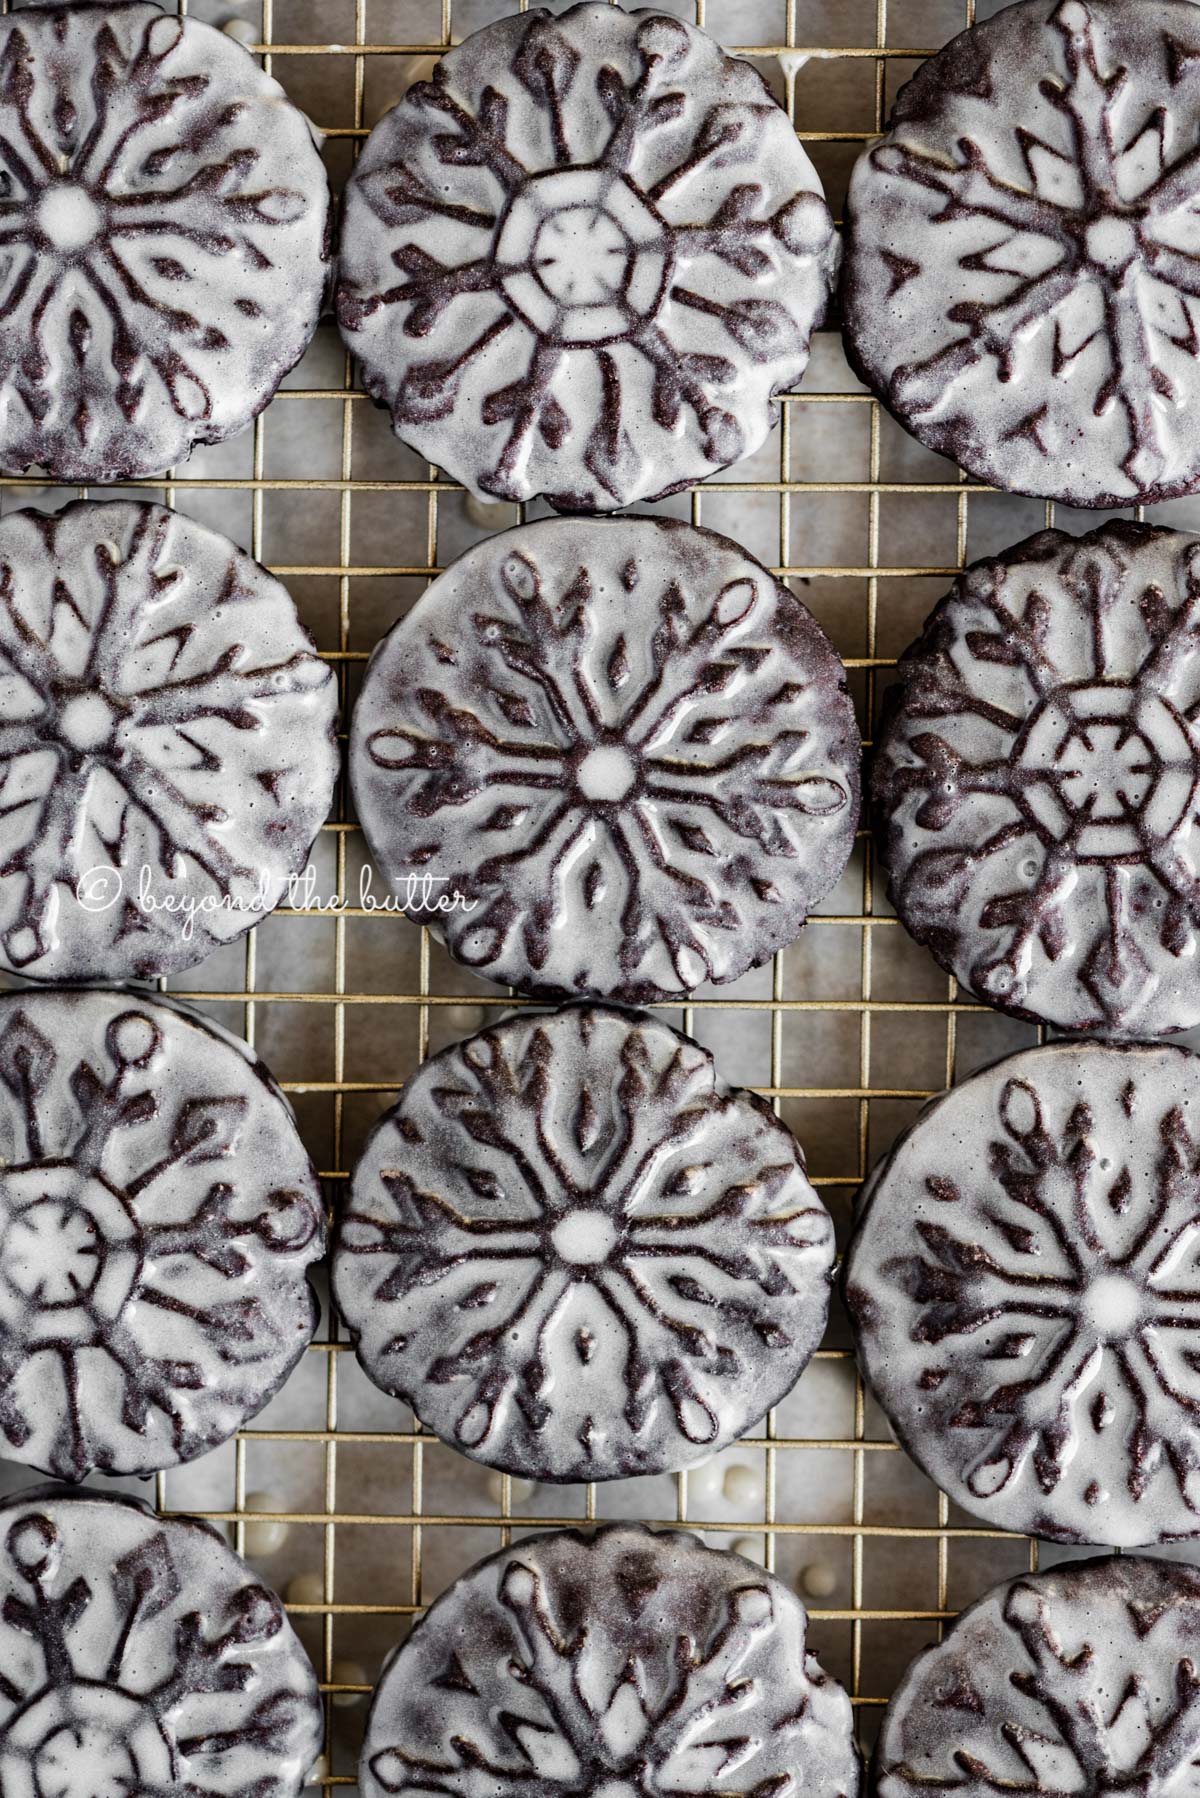
Step 6. Stamp out snowflake shapes with the snowflake cookie stamp (or any shape you like). Chill the cookies in the freezer or refrigerator while the oven preheats.
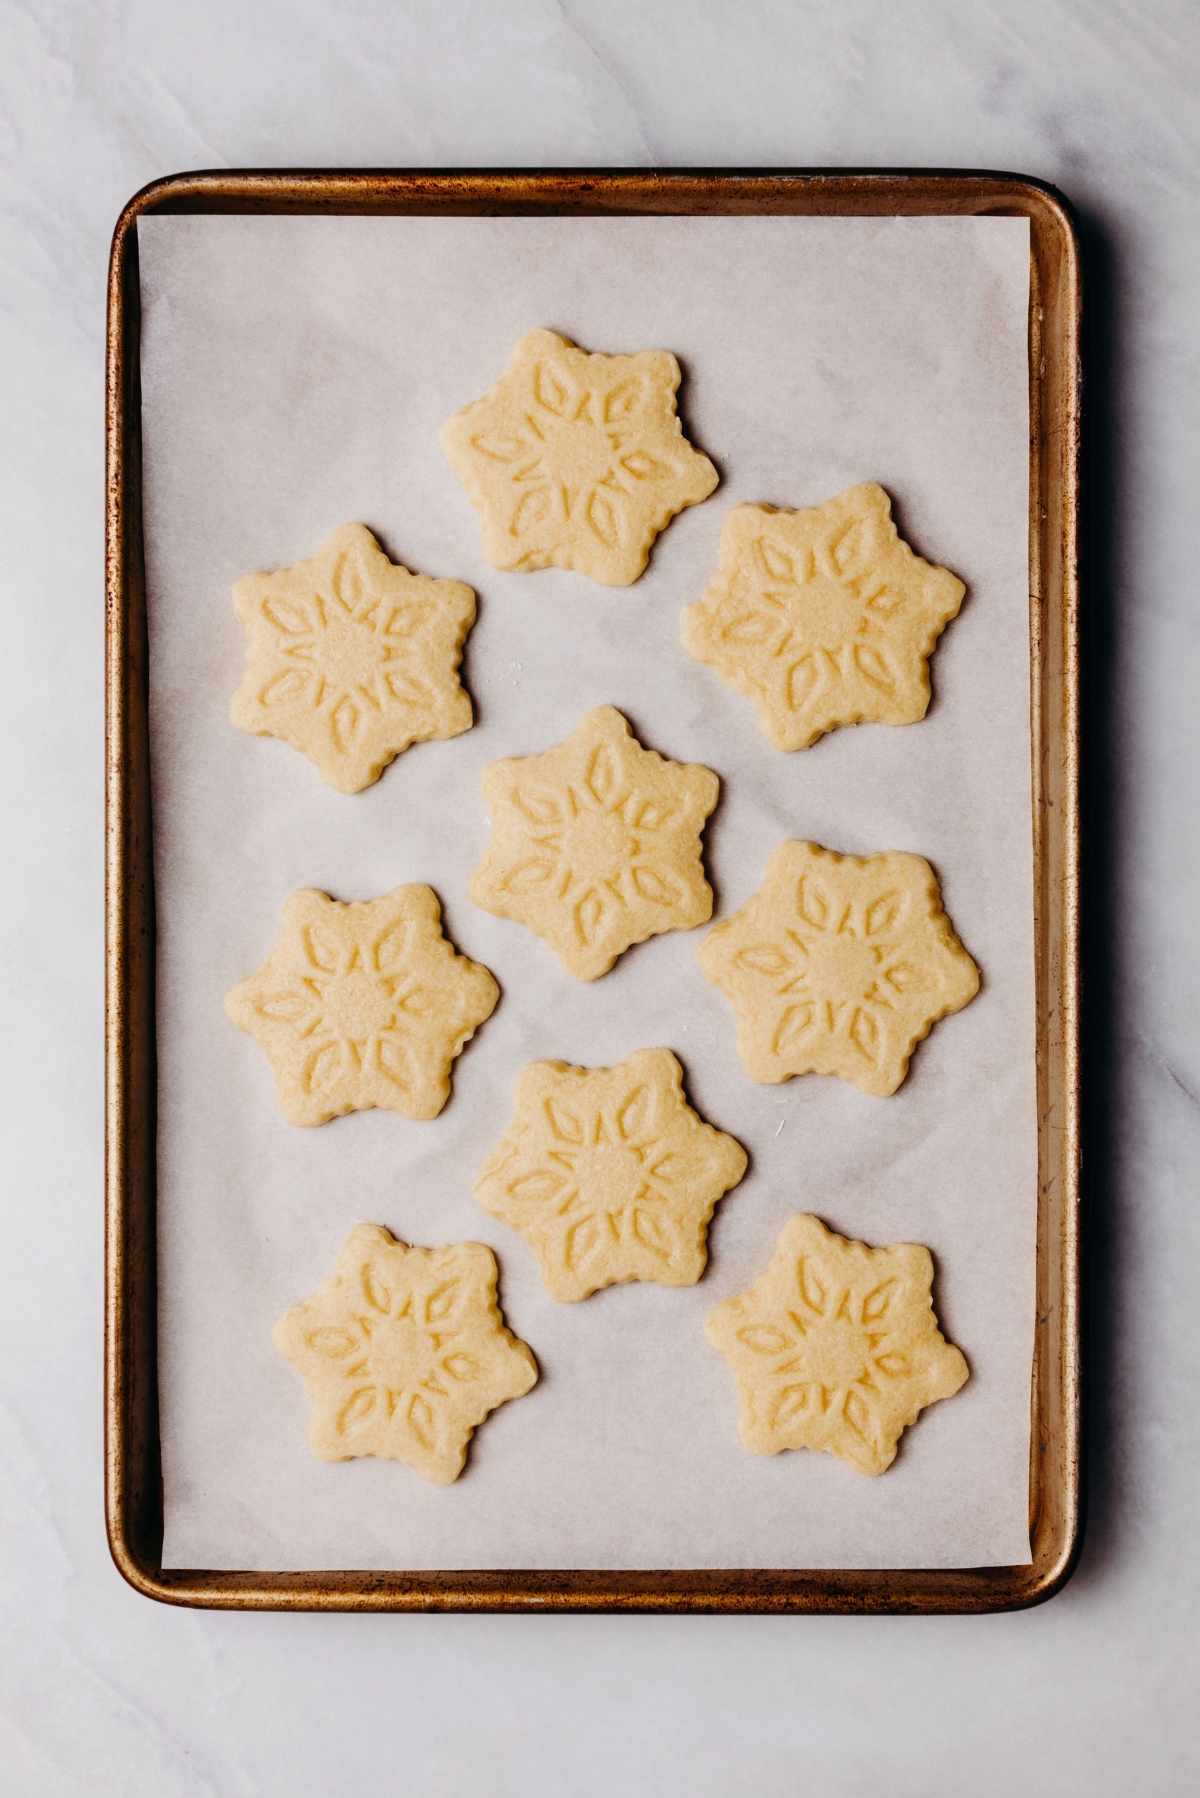
Step 7. Bake the butter cookies for 8-10 minutes at 325ºF. They should be soft in the center, with light golden-brown edges that are crisp, not burnt!
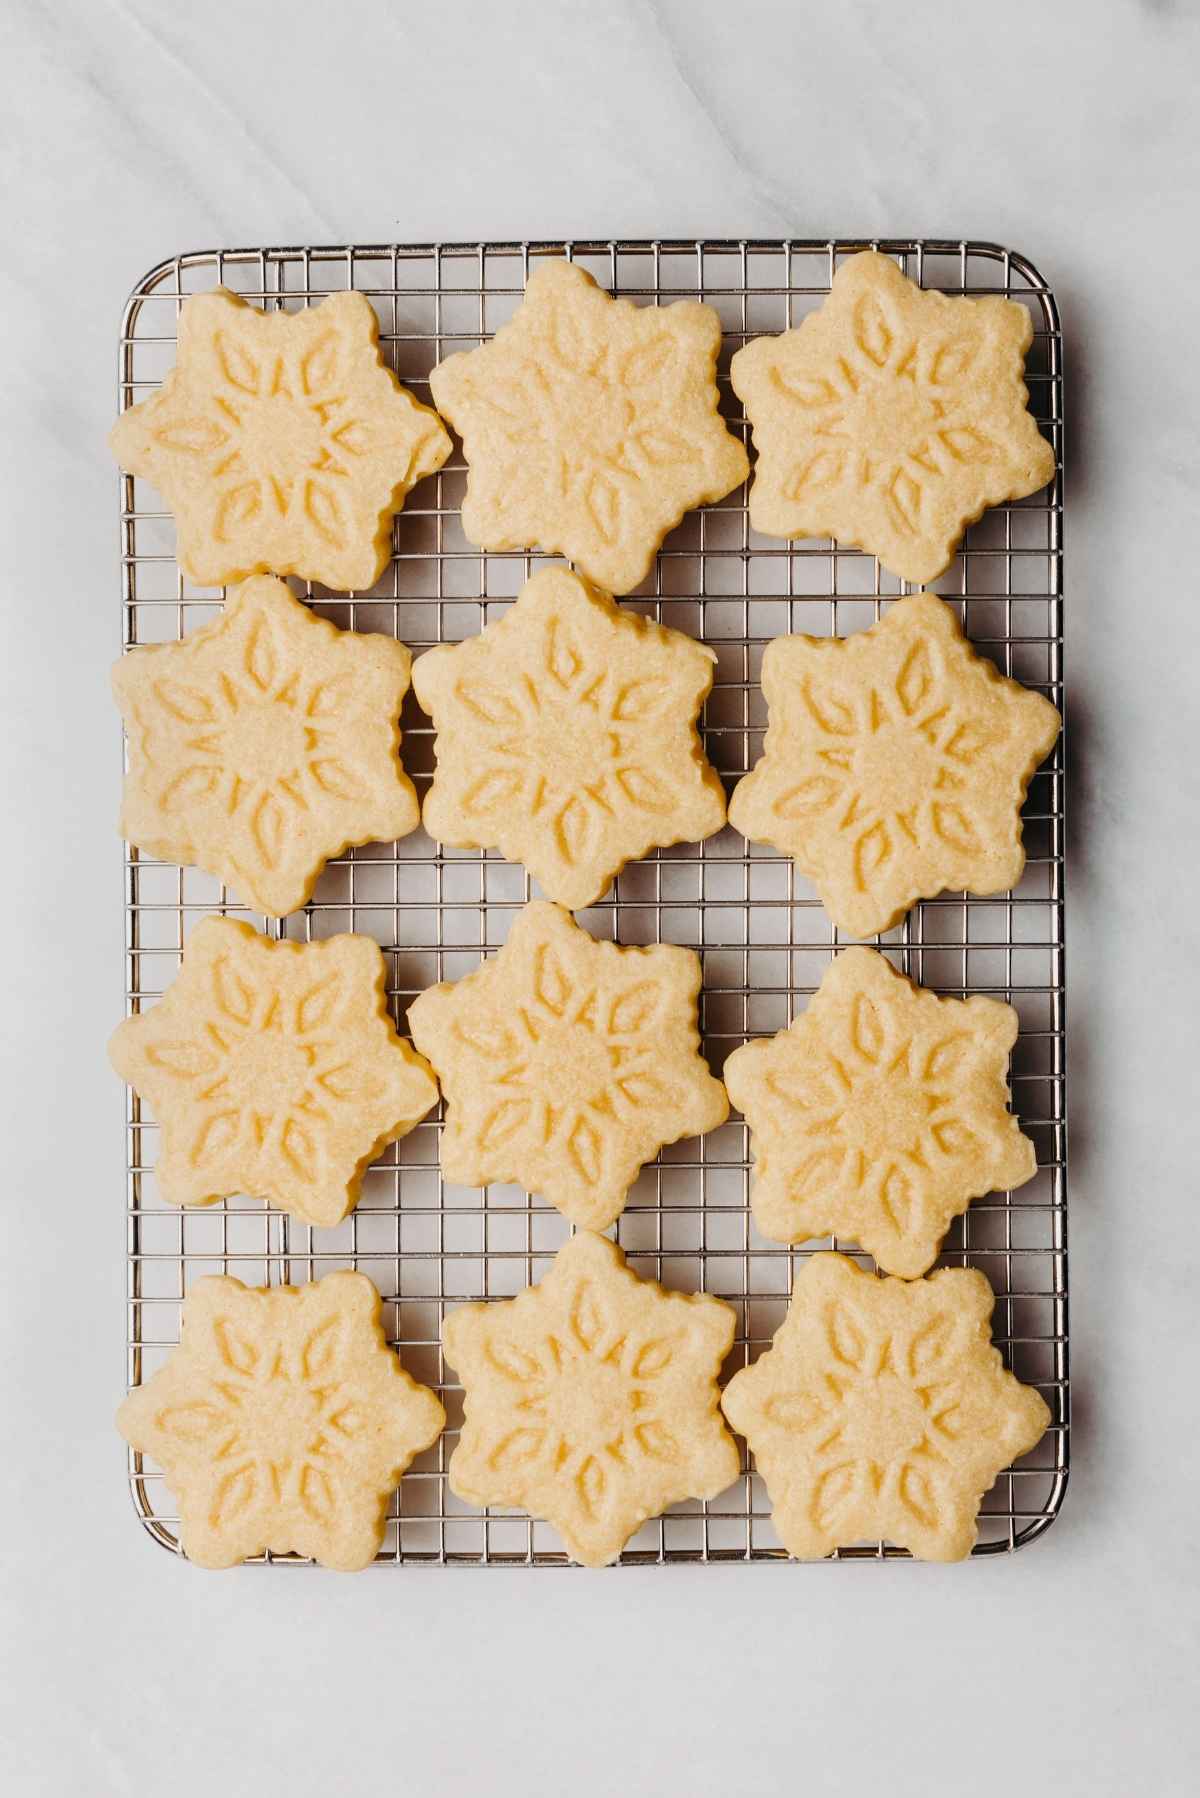
Step 8. Move the cookies to a wire rack to cool completely.
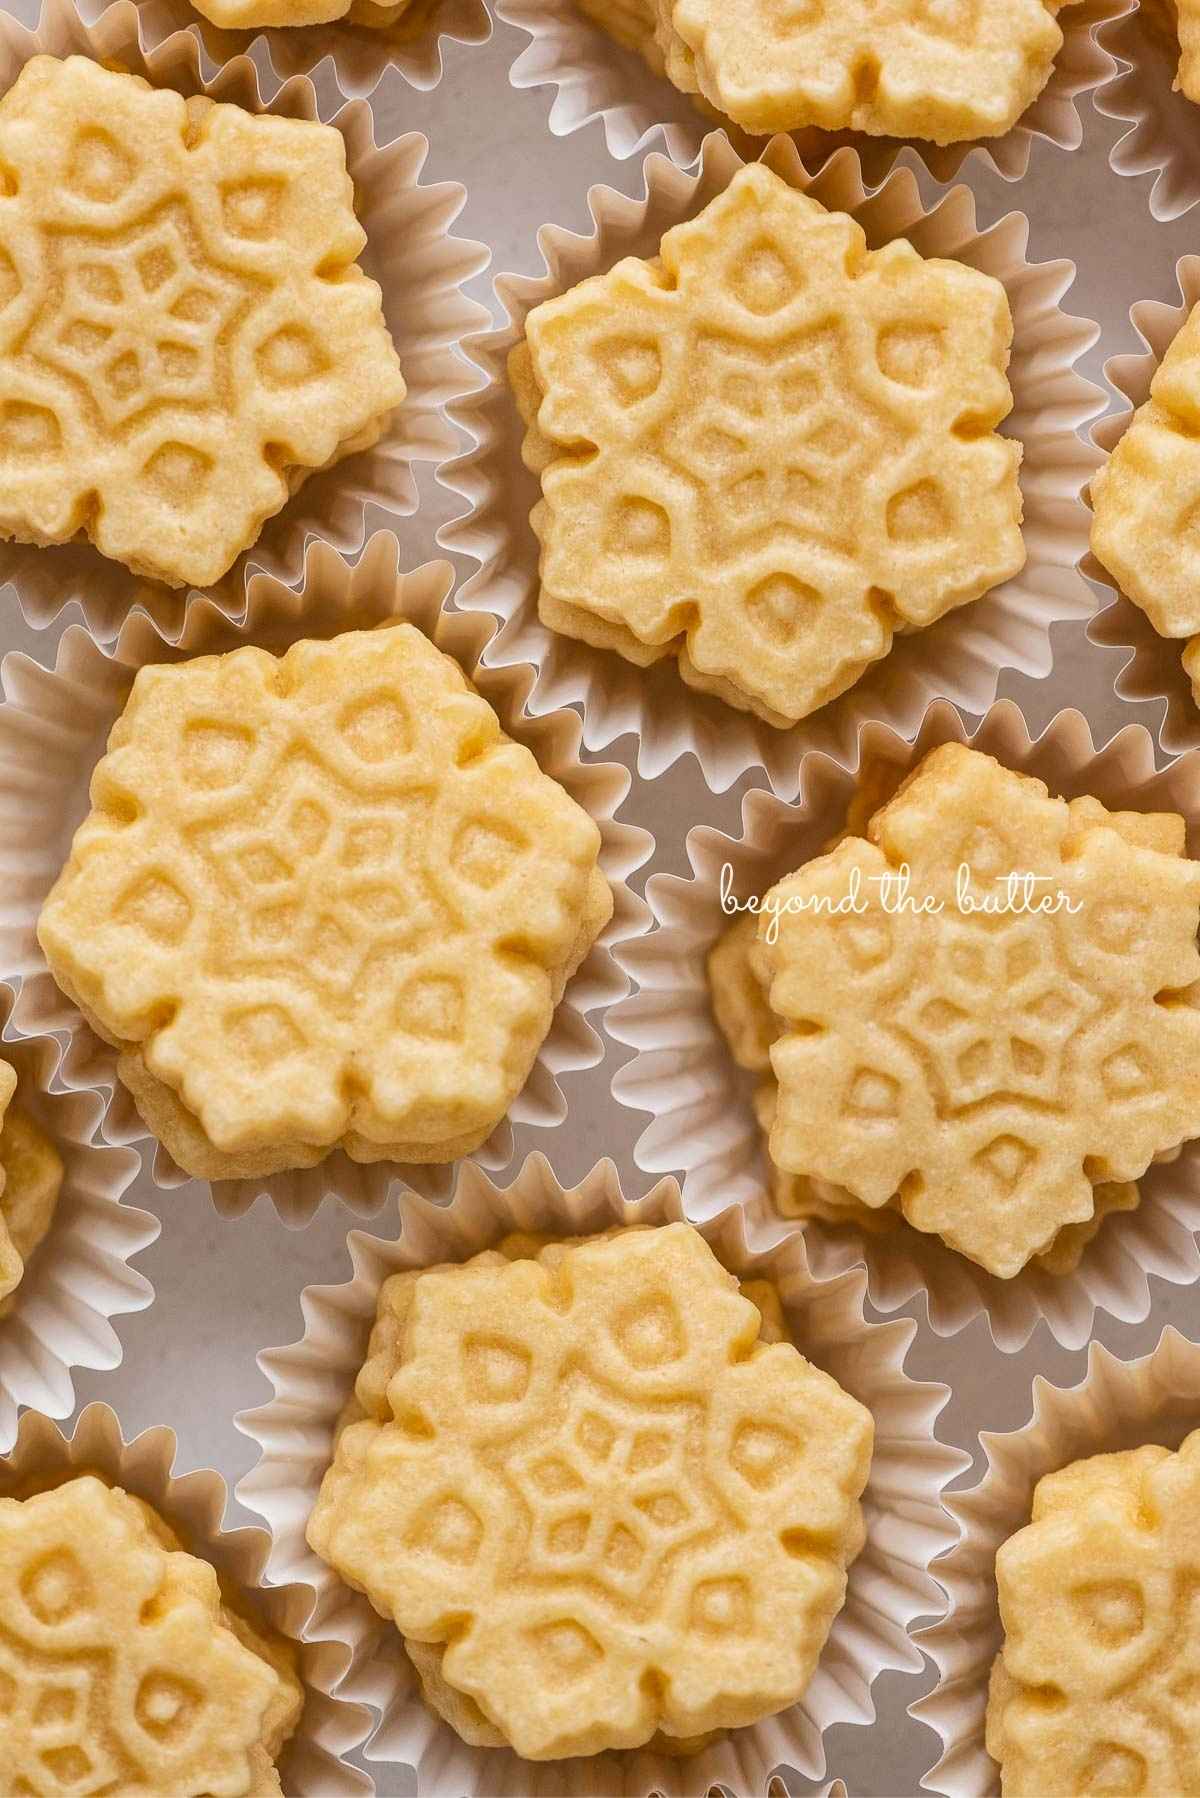
5 Tips for Using Cookie Stamps
Cookie stamps and cookie cutters are an easy way to dress up your cookies. Here are 5 simple tips for using them with this homemade butter cookie recipe.
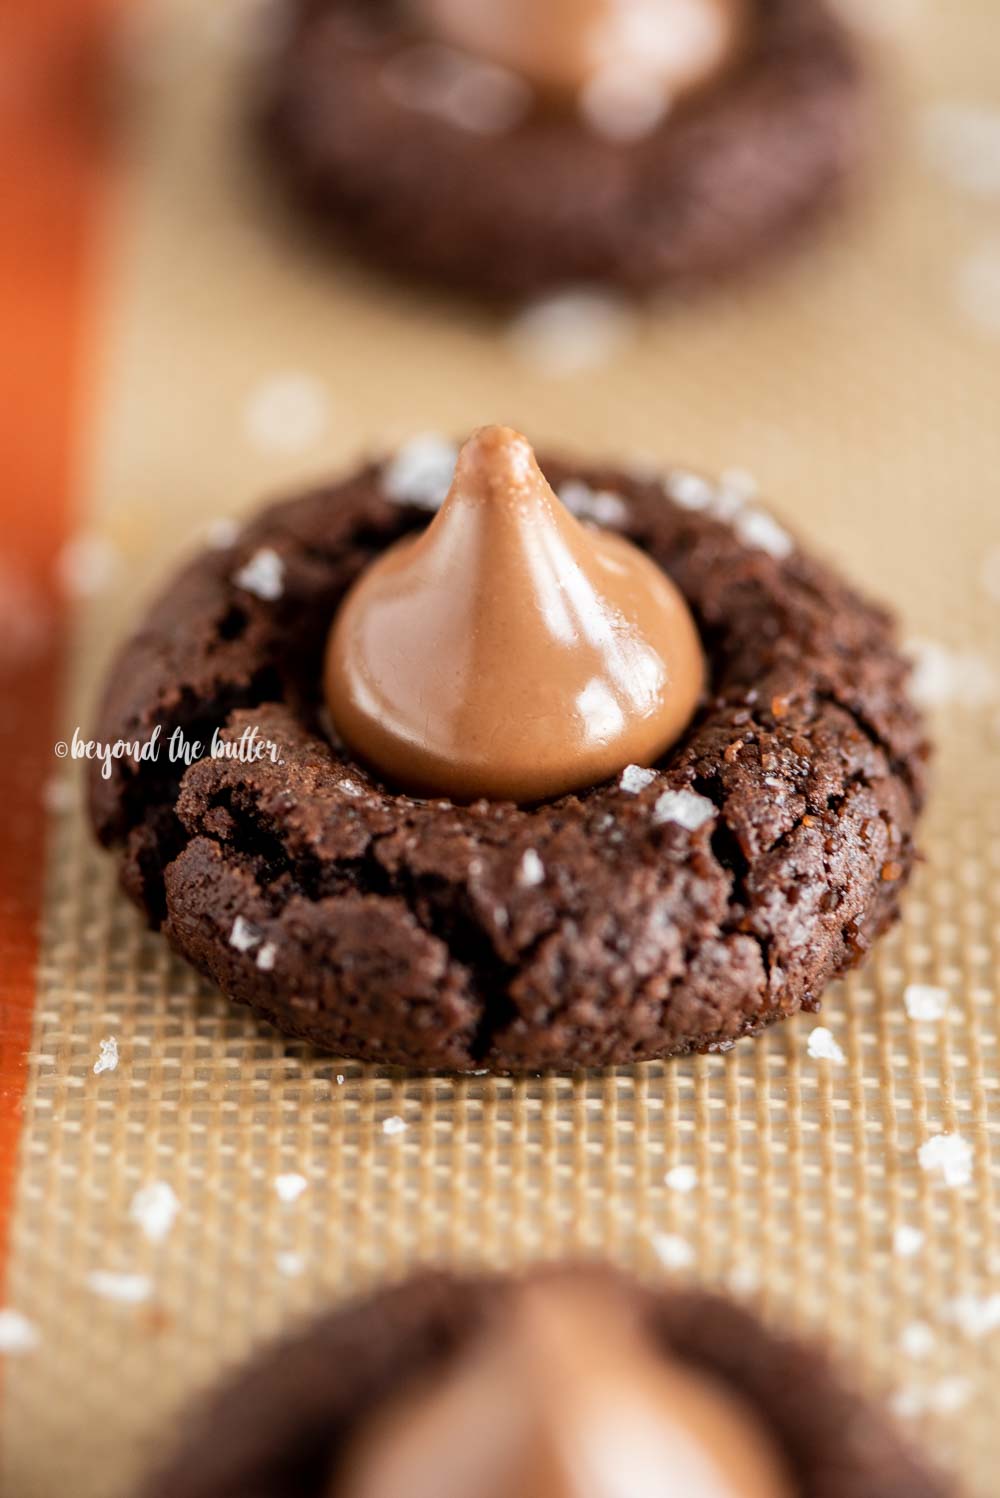
- Chill the dough. As with my Chocolate Thumbprint Cookies, I chill the dough for at least 1 hour before rolling it out. It is easier to work with when using cookie stamps. You can also chill it overnight. If you do, I suggest rolling the dough into layers, the way I do for my Strawberry Shortbread Cookies. Let it sit at room temperature for a few minutes so the cookie cutters work properly with the dough.
- Lightly flour your work surface. Dust the work surface and rolling pin with a little flour so the cookie dough rolls out smoothly.
- Keep it thick. Most cookie stamps do best when the dough is rolled fairly thick, ideally between 1/2″ and 5/8″.
- Lightly flour the cookie stamp. As the dough warms to room temperature, a lightly floured stamp helps the cookie release onto the baking mat.
- Chill the dough again. This time for only 15-20 minutes, which helps keep the details of the cookie stamp sharp! While one batch bakes, you can chill the next batch in the refrigerator or freezer.
Recipe FAQs
Can I freeze butter cookie dough?Yes, you can freeze butter cookie dough, but I suggest freezing it after the cookies are cut out. That makes baking day much easier! Freeze them on a parchment- or wax-paper-lined baking sheet until solid, then move them to a well-sealed food container or freezer bag.
Is chilling the dough twice really necessary?It is not strictly necessary, but chilling keeps the cookies from getting too soft and spreading in the oven. With a cookie stamp, you want to hold onto that shape (here, the detailed snowflake). The colder the cookie, the less it spreads.
What kind of dough works best with plunger style cookie stamps?In my opinion, shortbread-style doughs like the one in this recipe work best. Similar stamps worked well for my Chocolate Thumbprint Cookies (Williams Sonoma stamps) and my Soft and Chewy Gingerbread Cookies (Etsy stamps). The stamp I used for this recipe came from Michael's, though you can also find them on Amazon.
If you tried these Homemade Butter Cookies or any other recipe on my site, please leave a star rating and tell me what you thought in the comments below. Thanks for stopping by!
Simple, Buttery Homemade Butter Cookies
Homemade butter cookies are simple yet refined, with a rich, buttery taste! Switch up the cookie stamp for any holiday!
- Prep
- 15 mins
- Cook
- 10 mins
- Chilling Time
- 1 hr
- Total
- 1 hr 25 mins
- Makes
- 108 cookies
Ingredients
- 4 cups All-Purpose Flour
- 1 tsp Baking Powder
- 1/2 tsp Salt
- 1 cup Unsalted Butter, room temperature
- 2 cups Granulated Sugar
- 2 Large Eggs, room temperature
- 2 tsp Vanilla Extract
Method
- In a medium bowl, whisk together the all-purpose flour, baking powder, and salt. Set aside.
- In a separate bowl, use a hand mixer or stand mixer fitted with the paddle attachment to beat the unsalted butter and granulated sugar on medium-high speed until light and fluffy. Add the eggs and vanilla extract.
- Mix in the whisked dry ingredients on low speed until well blended.
- Cover the dough tightly with plastic wrap and chill it in the refrigerator for at least 1 hour (or overnight). See the notes for another way to chill the dough.
- Set the oven rack to the 2nd level, just above center, and preheat the oven to 325ºF. Line baking sheets with parchment paper or silicone mats and set them aside.
- Roll the dough to 1/2″-5/8″ thickness on a clean, lightly floured work surface. Using a lightly floured cookie stamp or cutter, stamp out each cookie and set it on the parchment-lined baking sheet. For sharper cookie shapes, chill them in the refrigerator for 10-15 minutes before they go into the oven.
- Bake the cookies for 8-10 minutes at 325ºF (mine did well at 10 minutes). Let them cool on the baking sheet for about 5 minutes, then move them to a cooling rack.
- Store cooled cookies in an airtight container with a slice of bread for up to a week.
Baker’s notes
- The yield depends on the size of your cookie cutter or stamp. The snowflake stamp I used made 9 dozen cookies.
- Instead of chilling the dough as one piece, you can split it into two portions, then roll each one between 2 sheets of lightly floured wax paper to 1/2″-5/8″ thickness. Chill the dough slabs in the refrigerator or freezer.
- If you chill the cookie dough in the bowl, keep it in the refrigerator only.
- Adapted from the A Recipe Sampler cookbook by St. Andrew's Evangelical Lutheran Church.