Chocolate Stamped Thumbprints with Jam or Hazelnut
These homemade chocolate thumbprints give the classic a stylish update with a fun cookie stamp set. They turn out soft and rich.
- Prep
- 35 mins
- Cook
- 10 mins
- Chill Time
- 45 mins
- Total
- 1 hr 30 mins
- Makes
- 36 cookies
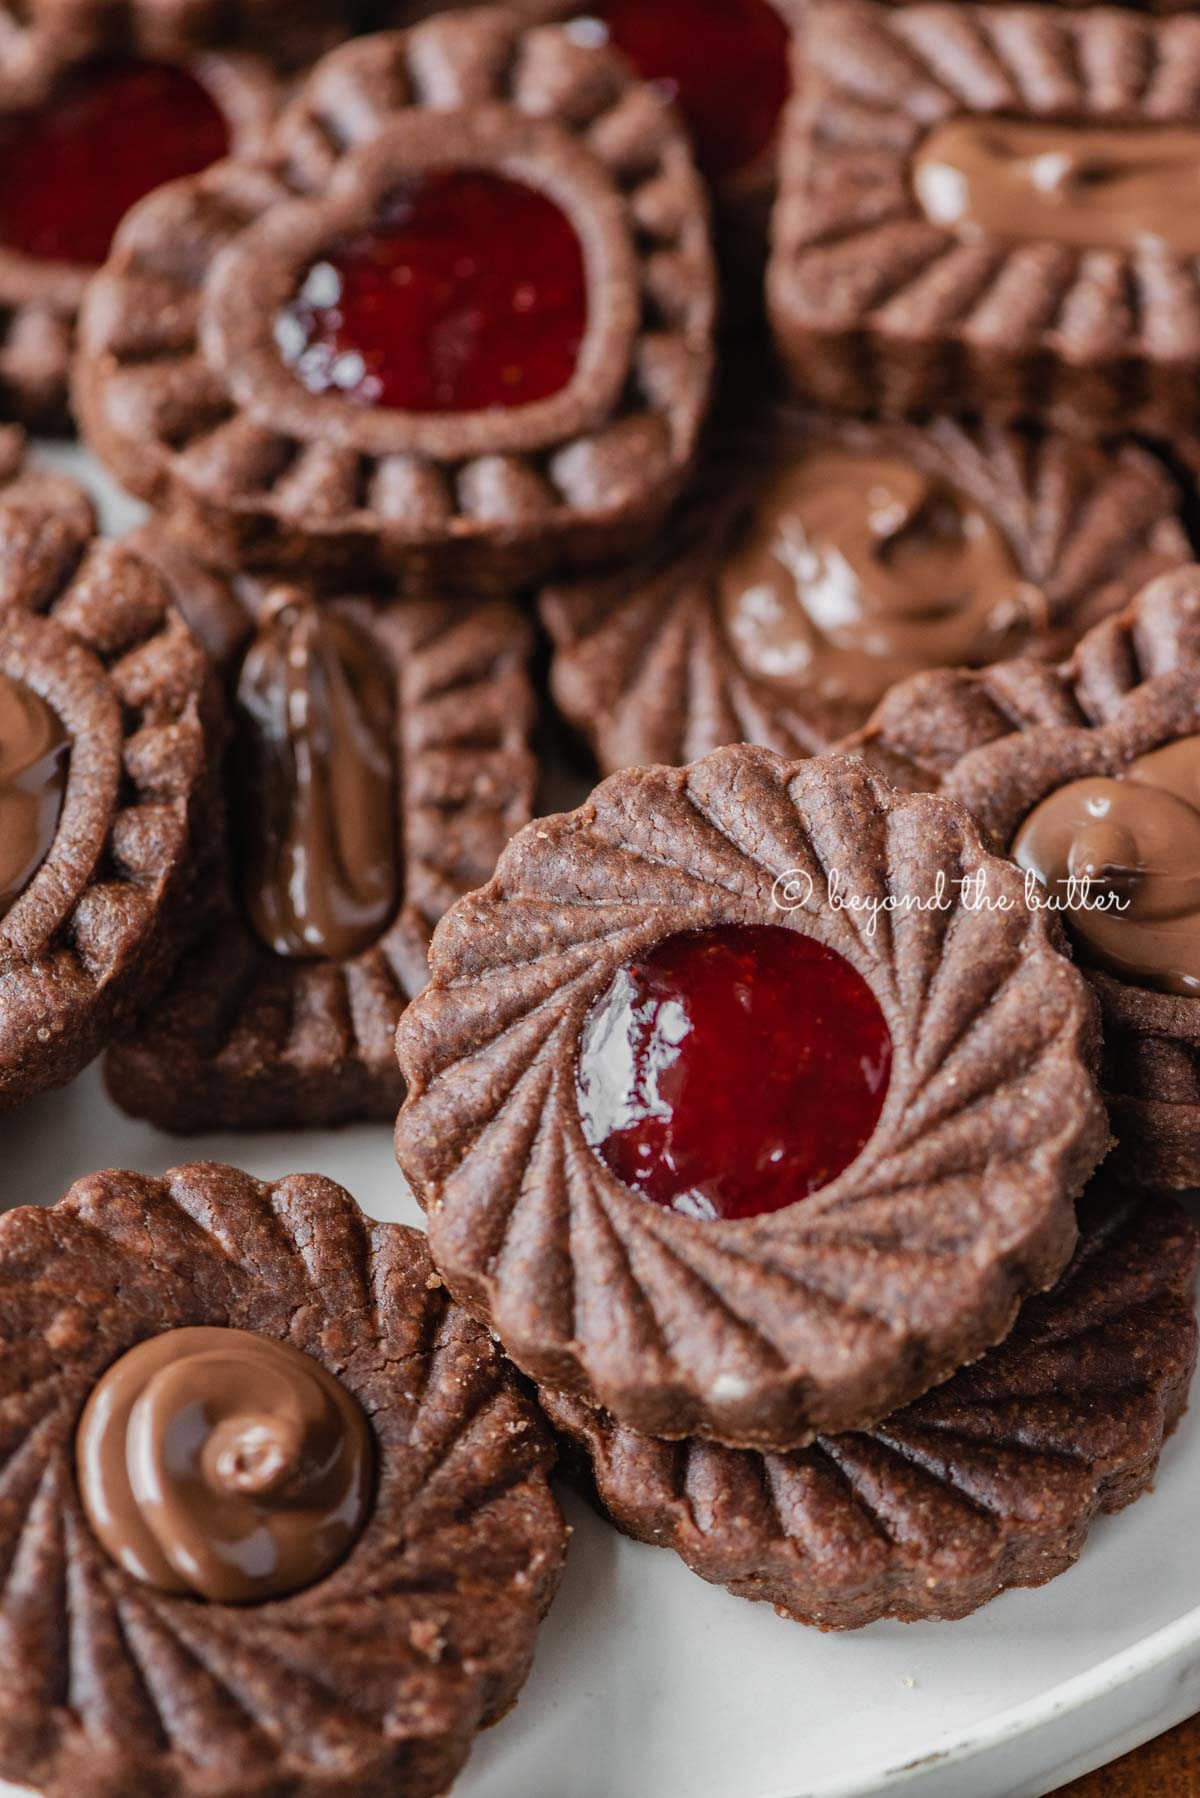
These homemade Chocolate Thumbprint Cookies give the classic a stylish makeover with a fun cookie stamp set. They're soft and chocolatey with a fudgy, chewy center filled with jam or hazelnut spread! They're easy to make, yet they look and taste refined!
The classic thumbprint cookie, also known as a jamboree cookie, has been a favorite of mine since childhood. I took my late Grammy's holiday jamboree cookie recipe and made it chocolate. Instead of rolling the dough into balls and pressing in an indent, I used a thumbprint cookie set.
I'm thrilled with how these turned out, and they taste wonderful! They're a great addition to a cookie box, and they're just as good enjoyed at home!
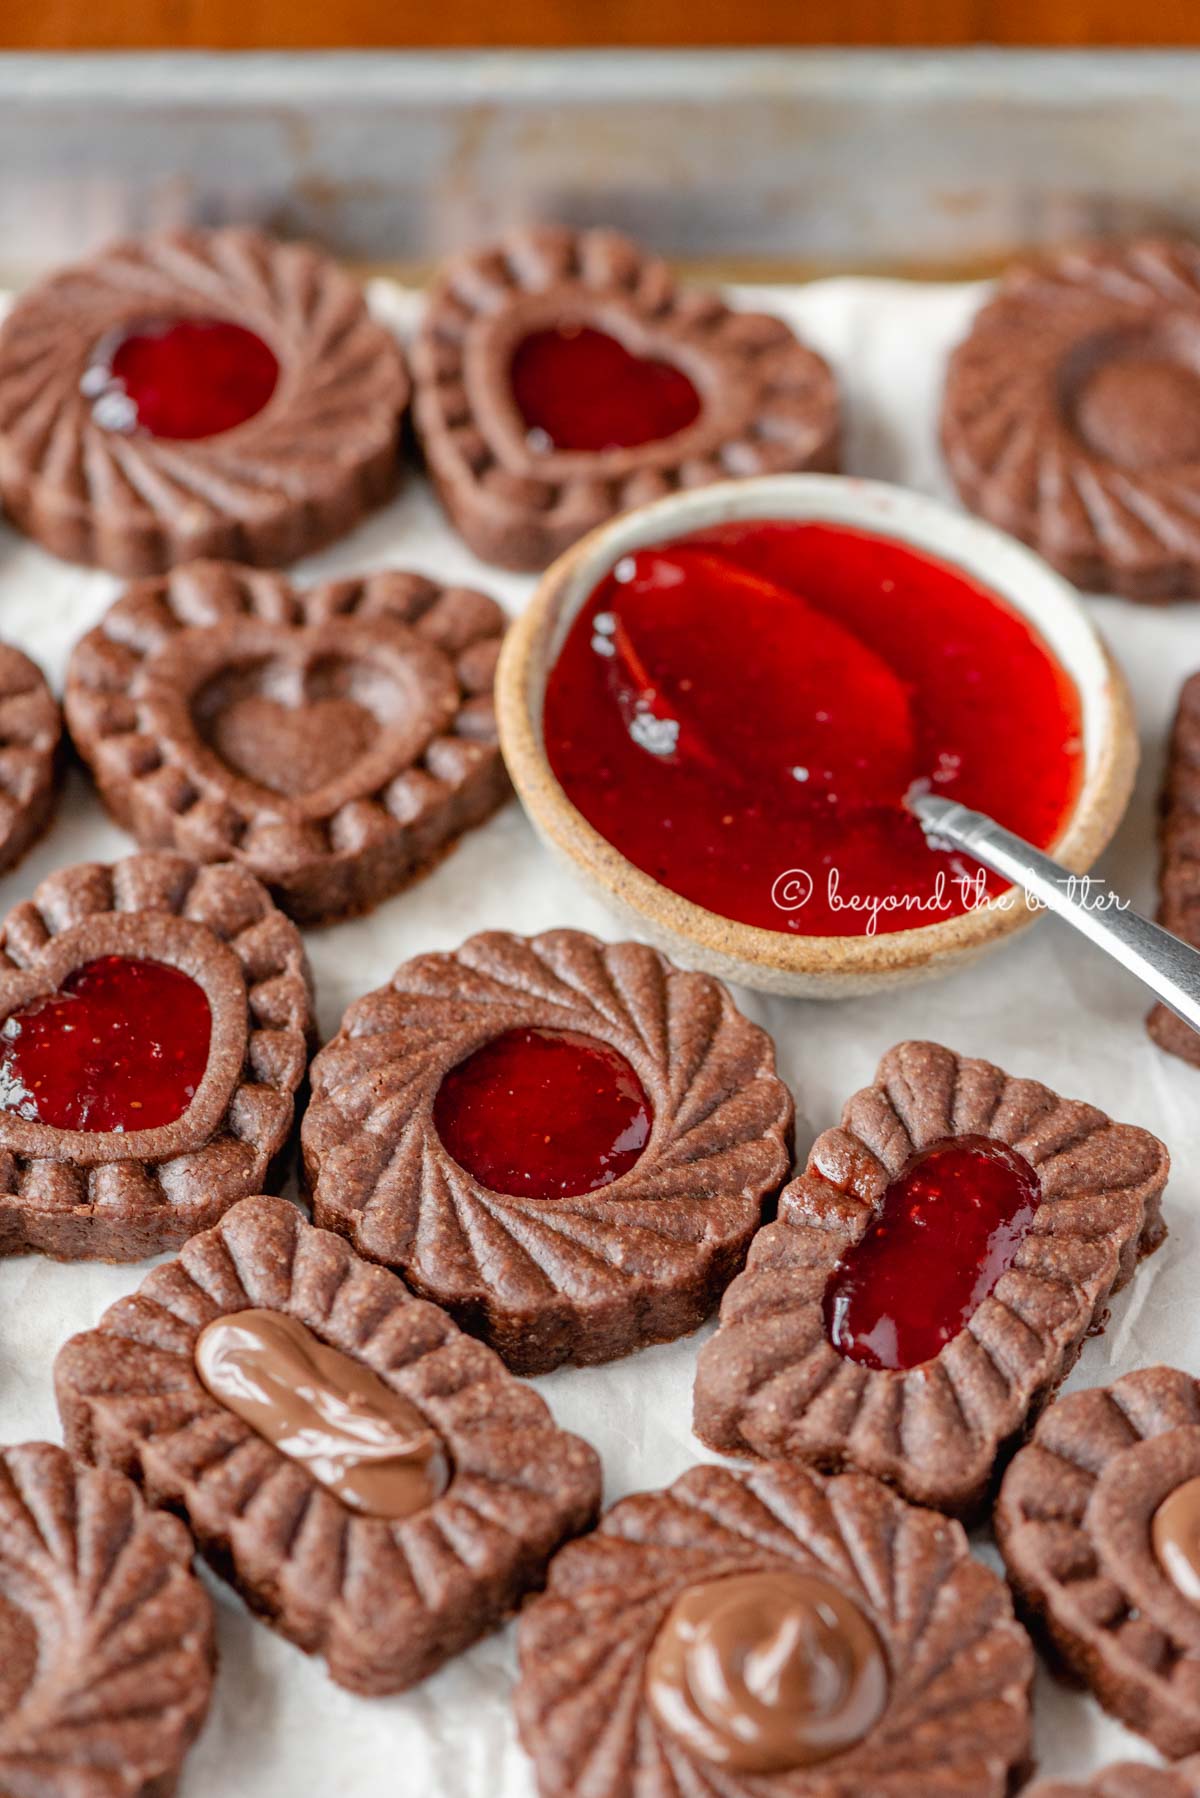
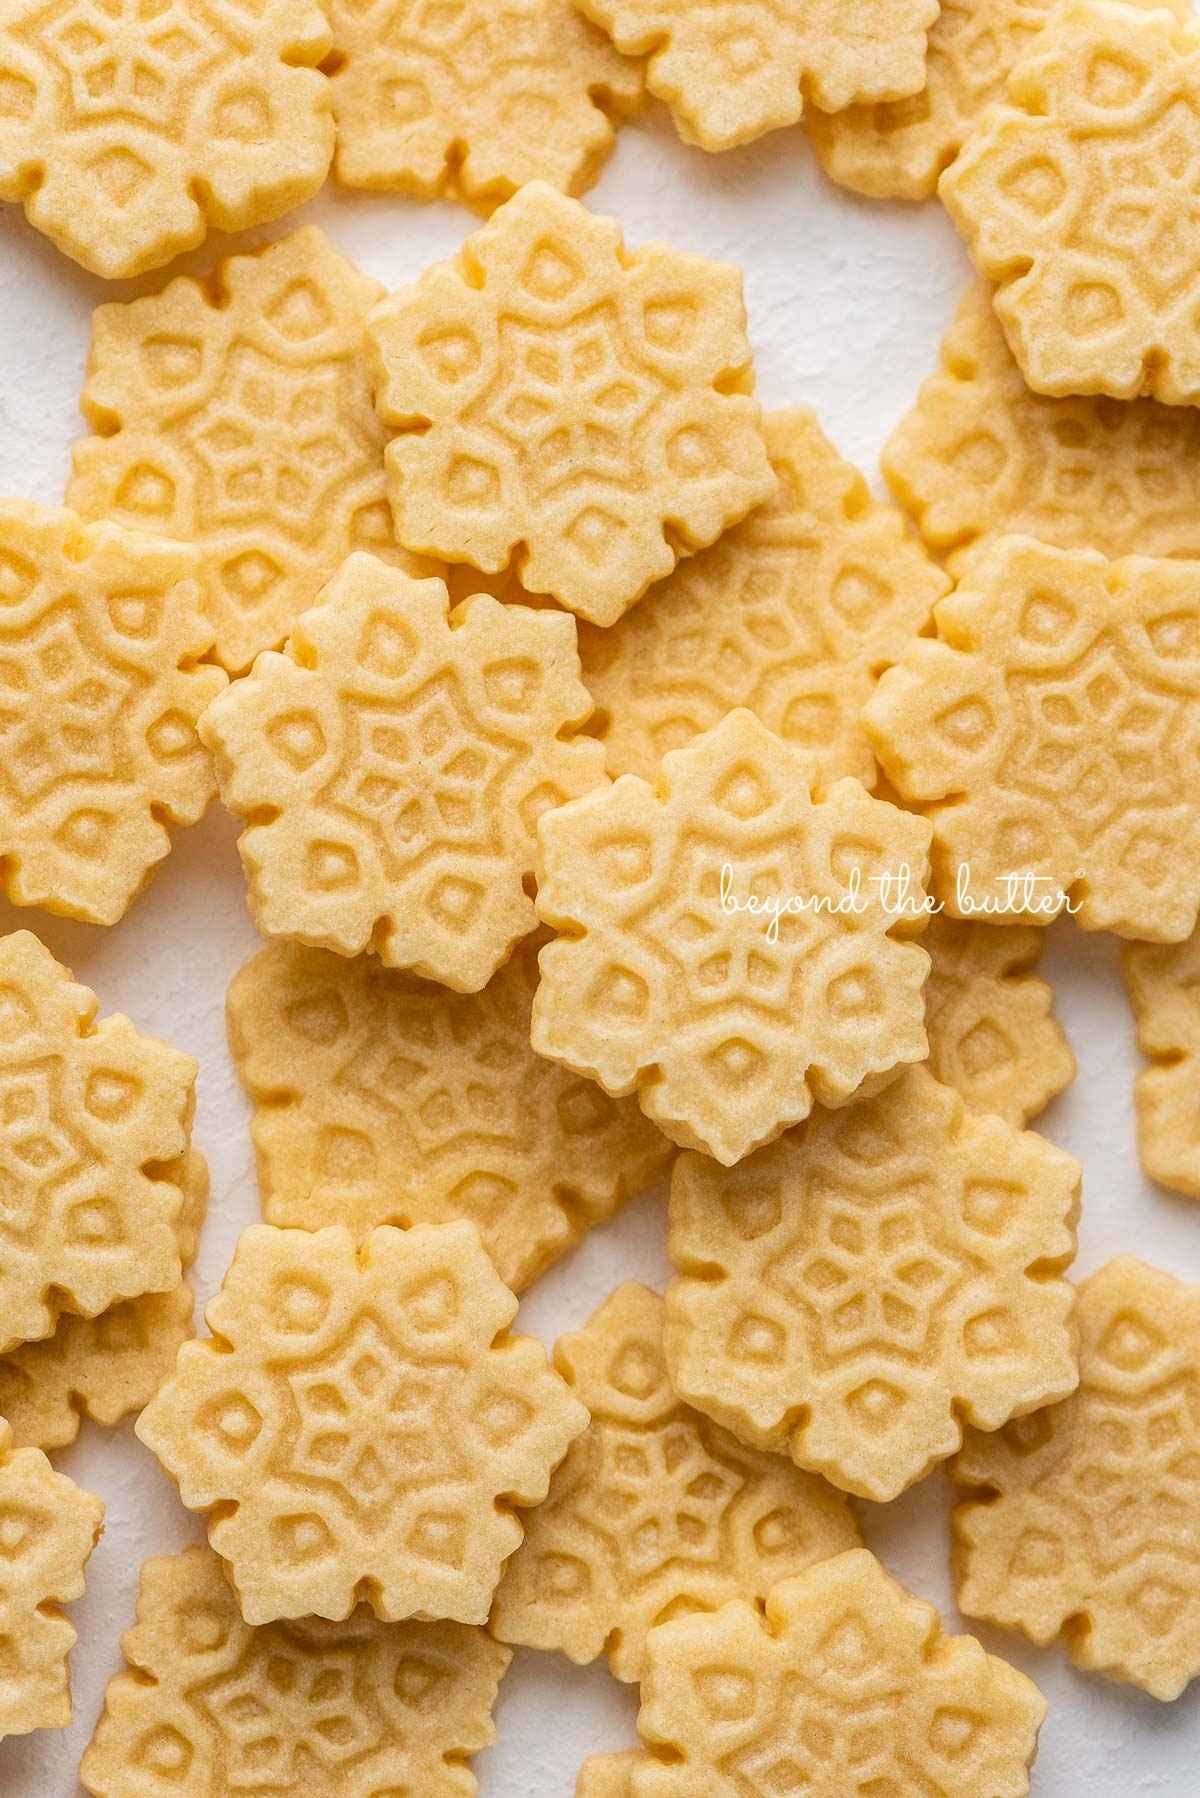
How to Use a Plunger-Style Cookie Stamp
- Cut into the dough with the cookie stamp.
- Press the plunger down to imprint the design into the cookie.
- Release the plunger and let it spring back up on its own.
- Hold the stamp over parchment paper and press the plunger down to drop the cookie onto it.
Cookie Stamping Tips
Chill before baking. This step is optional, but I strongly suggest it because it helps the cookies keep their detail. Once you've rolled and stamped the dough, refrigerate the cookies or, my favorite option, freeze them. 10-15 minutes is ideal.
Thicker cookies are better. Roll the dough to 1/4 inch to 5/16 inch thick. That gives you a nicer-looking cookie and the ideal well for the jam or hazelnut spread.
If the dough is rolled too thin, the plunger on the cookie stamp will push straight through it.
Dust the stamps with flour. This makes stamping much easier. I keep a small bowl of flour beside my baking sheets and dip the stamp in it after every 2-3 cookies.
Helpful Chocolate Thumbprint Cookie Tips
Take the classic route. No thumbprint stamps? No problem. Roll the chocolate dough into 1 to 1.5-inch balls, then press a finger into the center to make a well for the jam or Nutella.
Chilled dough is best. Chilling the dough for just 30-45 minutes before rolling it for the stamps or shaping it into balls is enough. Skip the chill and either method gets mushy and hard to handle.
The dough will be firmer straight out of the fridge, but it softens as you work with it.
Flour your counter and rolling pin. Flour bakes off, so don't stress if a bit lands on the cookies! A light dusting keeps the dough from sticking to everything.
Use a spatula. These thumbprints are very soft and slightly puffed after baking. Slide them onto the wire rack with a spatula. The puff flattens out as they cool.
Piping bags for the win. I found piping bags easiest for filling the centers. You don't need a decorating tip; just snip off the end when you're ready. Plastic bags work in place of piping bags, and spoons are a fine alternative if you don't have any bags.
Recipe FAQs
What cookie stamp did you use for this chocolate thumbprint cookie recipe?I bought these thumbprint cookie stamps from Williams Sonoma. They're plunger-style, which I like because the plunger pushes the dough out nicely after stamping. You could also try this thumbprint circle or rectangle cookie stamp.
Can I freeze chocolate thumbprint cookie dough?Yes, but freeze the cookies after cutting them out. That makes things much easier at baking time! There's no need to thaw them. Bake them straight from the freezer at the same temperature, adding 1-2 minutes to the baking time.
If you made this Chocolate Thumbprint Cookies recipe or anything else on my website, please leave a star rating and share your thoughts in the comments below. Thanks for stopping by!
Chocolate Stamped Thumbprints with Jam or Hazelnut
These homemade chocolate thumbprints give the classic a stylish update with a fun cookie stamp set. They're soft and chocolatey with a fudgy, chewy center filled with jam or hazelnut spread. They're easy to make, yet they look and taste refined!
- Prep
- 35 mins
- Cook
- 10 mins
- Chill Time
- 45 mins
- Total
- 1 hr 30 mins
- Makes
- 36 cookies
Ingredients
- 2 cups All-Purpose Flour
- 1/2 cup Unsweetened Cocoa Powder
- 1 tsp Salt
- 1 cup Unsalted Butter, room temperature
- 1 cup Granulated Sugar
- 1 Large Egg Yolk
- 1 tsp Vanilla Extract
- Hazelnut Spread and/or Jam of your choice
Method
- In a medium bowl, whisk the all-purpose flour, unsweetened cocoa powder, and salt together. Set aside.
- With a hand mixer or stand mixer fitted with the paddle attachment on medium speed, beat the unsalted butter and granulated sugar until light and fluffy. Add the egg yolk and vanilla extract.
- Lower the mixer to low speed and slowly add the dry ingredients, mixing until well blended.
- Wrap the dough tightly in plastic wrap and chill at least 1 hour in the refrigerator. You can also chill it overnight. If you go that route, shape the dough into discs, as you would for pie crust, so it's easier to roll out the next day. When you're ready to bake, let the dough sit at room temperature for about 30 minutes.
- Heat the oven to 350ºF and line 2 cookie sheets with parchment paper.
- Roll the dough out on a floured surface to a thickness of 1/4 inch to 5/16 inch. Press the lightly floured cookie stamps into the dough to cut out each cookie, then place it on a parchment-lined cookie sheet. For nicely defined shapes, I strongly recommend chilling the cookies in the refrigerator or freezer for 15-20 minutes before they go into the oven.
- Once chilled, bake the cookies for 10-12 minutes (my oven was perfect at 10 minutes). They'll be slightly puffed but will settle as they cool. Let them rest on the cookie sheet for about 5 minutes, then move them to a cooling rack. Use a spatula, since they're very soft.
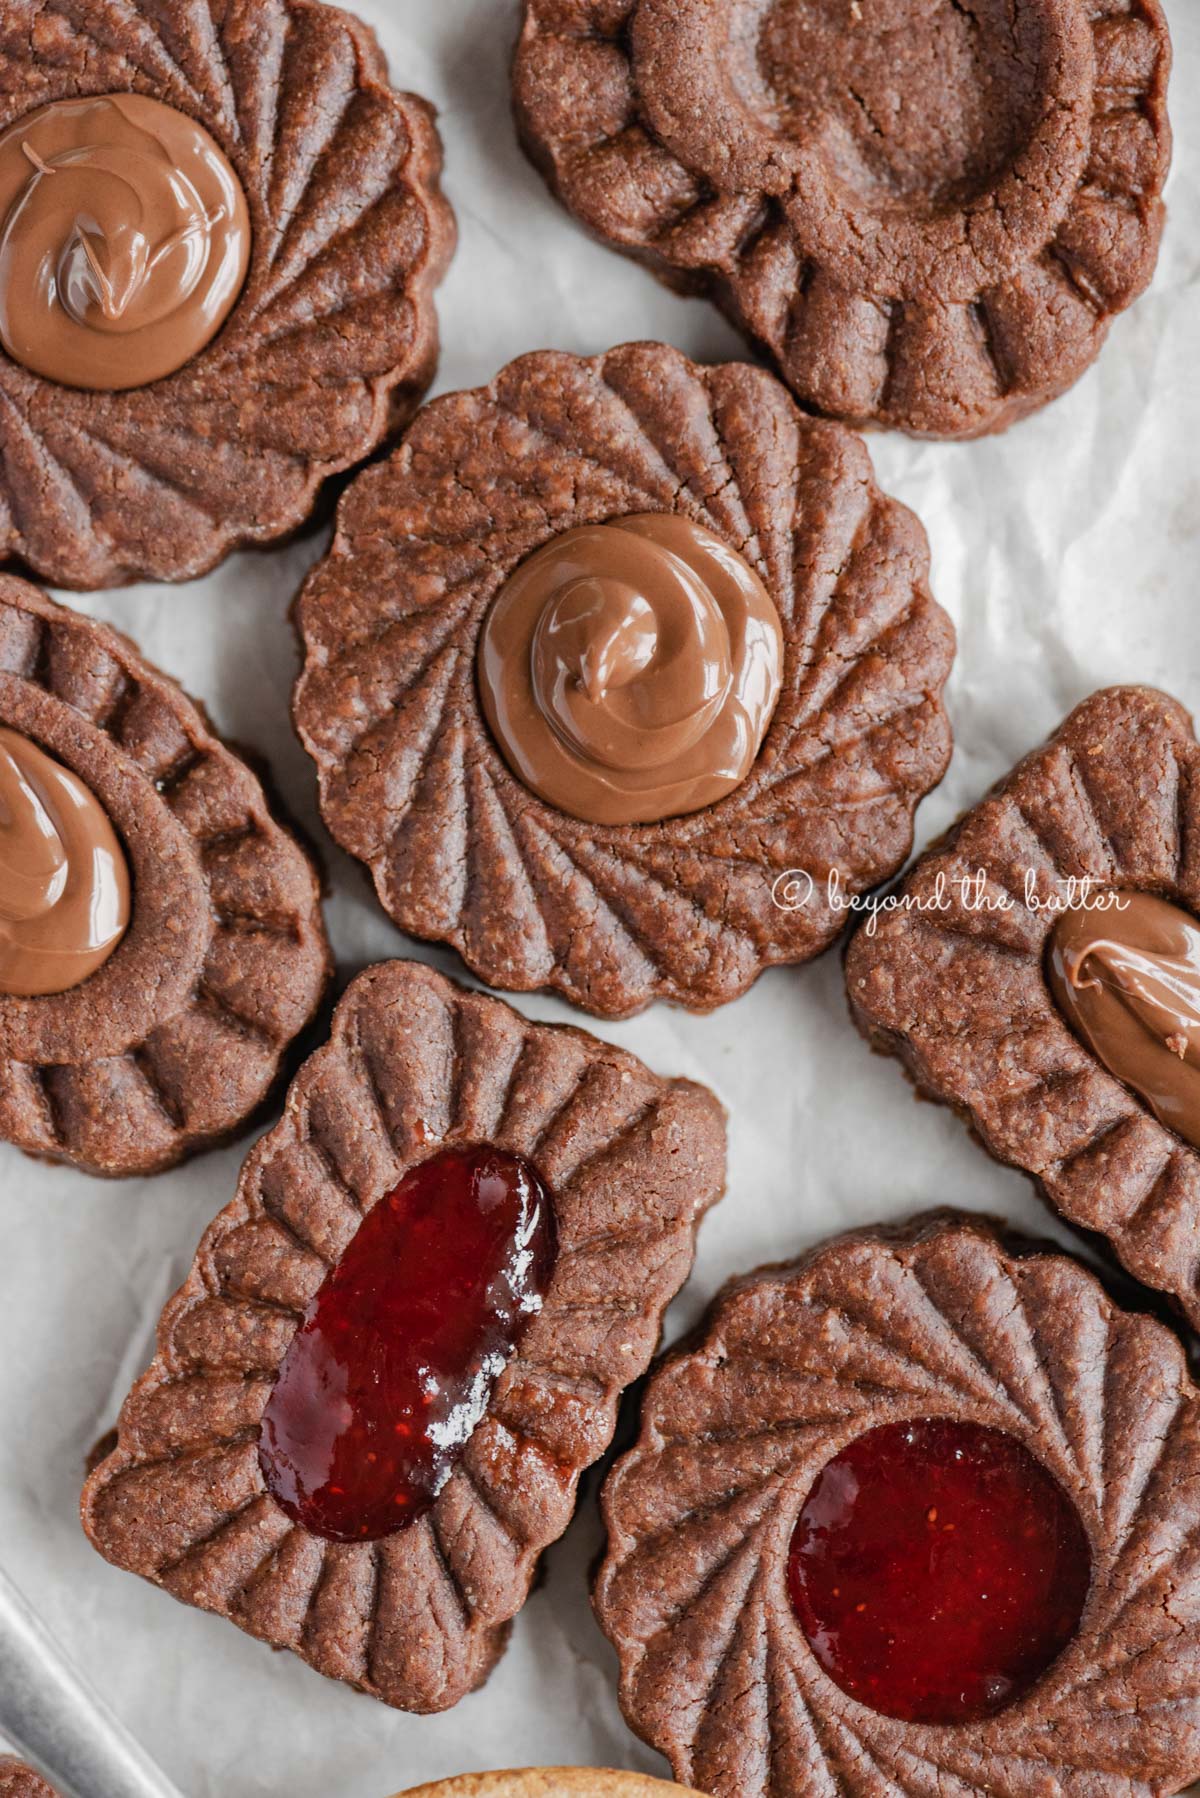
- Fill each cooled thumbprint with hazelnut spread or your favorite jam. A spoon or small piping bag works, and I suggest warming both fillings to make them easier to add. Plastic bags can stand in for piping bags. Snip the corner when you're ready to fill.
- Store the cookies at room temperature in an airtight container for up to 4 days, or refrigerate them for up to a week.
Baker’s notes
- No thumbprint stamps? Roll the chocolate dough into 1 to 1.5-inch balls, then press a finger into the center to make a well for the jam or Nutella. Once the cookies have cooled, fill the centers with hazelnut spread or your favorite jam.
- Chill the dough for 30-45 minutes before rolling it out or shaping it into balls.
- Stamped cookies can be kept in the freezer for up to a month. Add 1-2 minutes to the baking time, and don't thaw them before baking.
- Adapted from my late Grammy's Jamboree Cookie recipe and the Washington Post.