
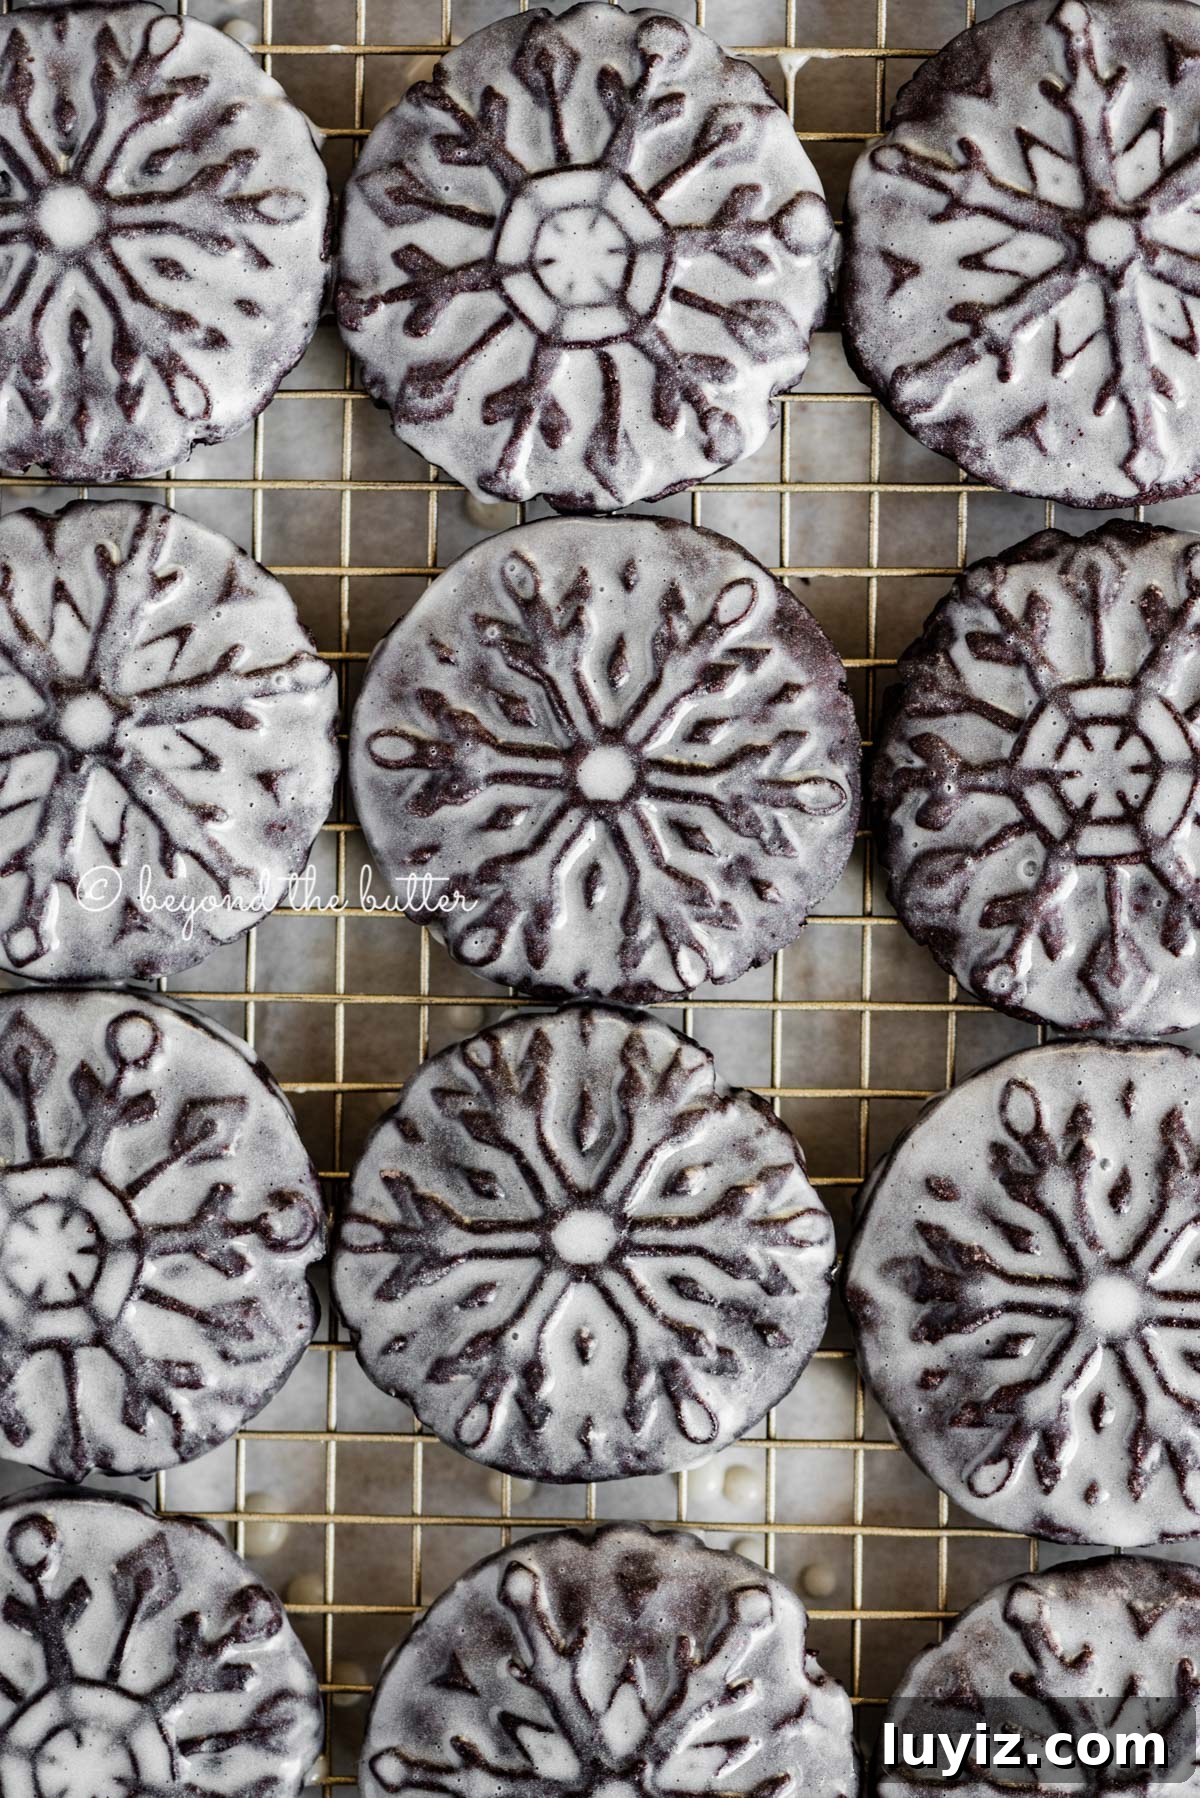
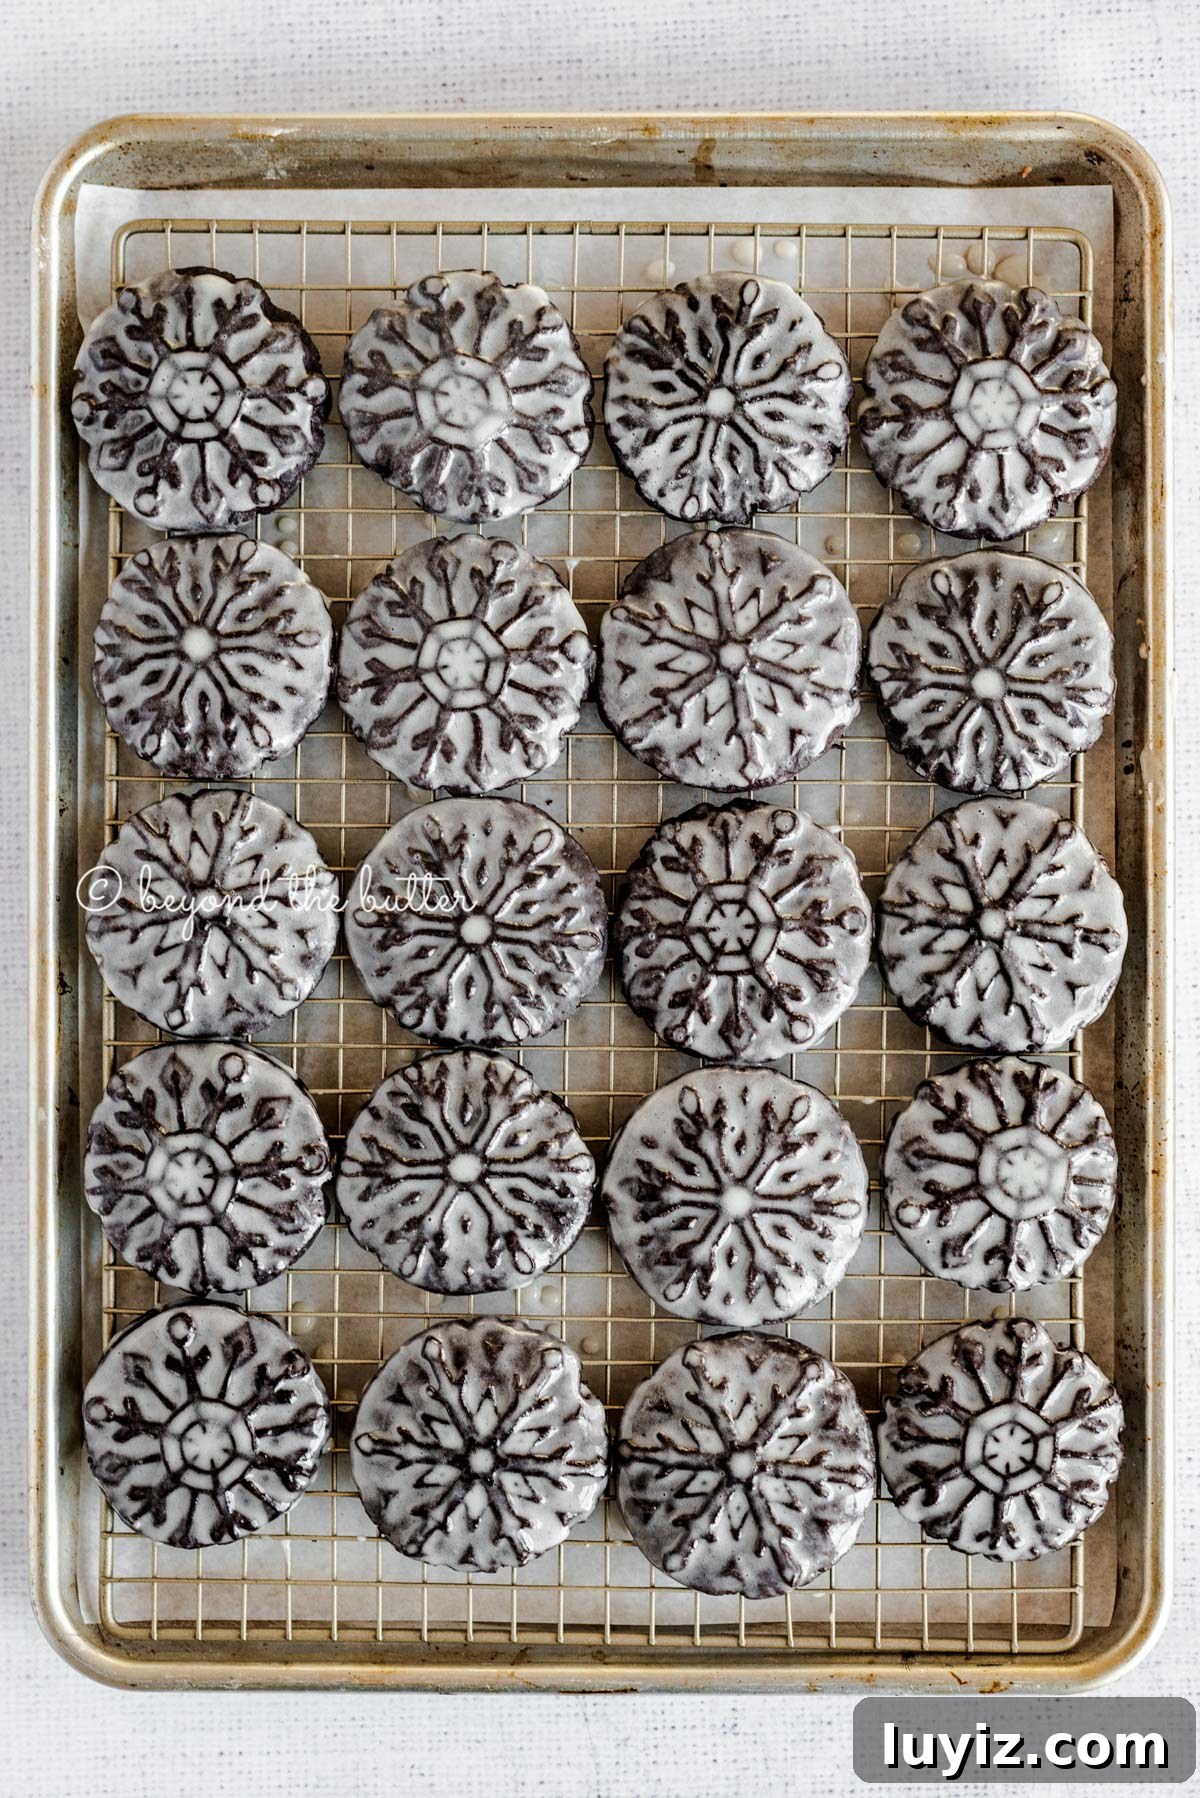
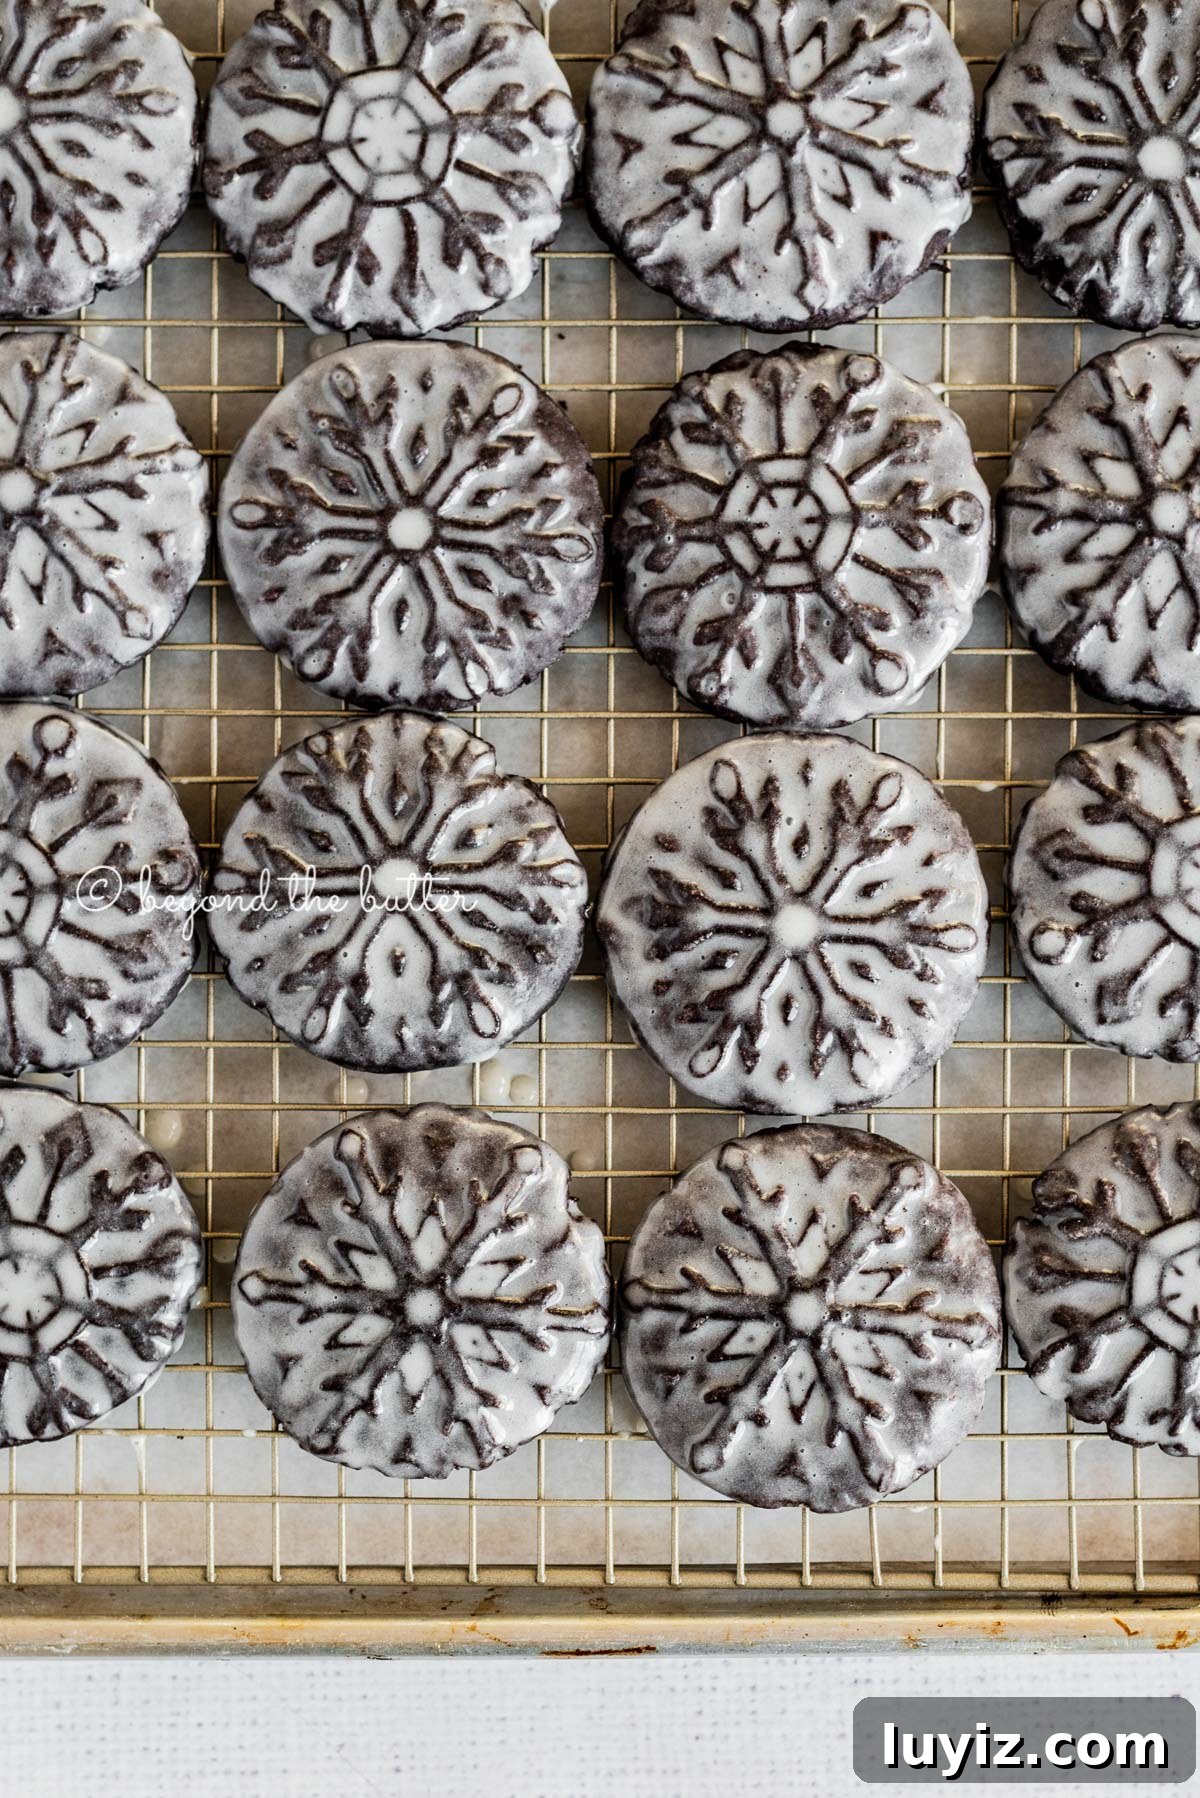
This Homemade Oreo Snowflake Cookie recipe reimagines the classic Oreo as a softer, intensely chocolate cookie finished with a vanilla bean glaze. These cookies are ideal for holiday trays, cookie exchanges, or any time you want a festive stamped cookie—swap the cookie stamps to adapt them for other seasons.
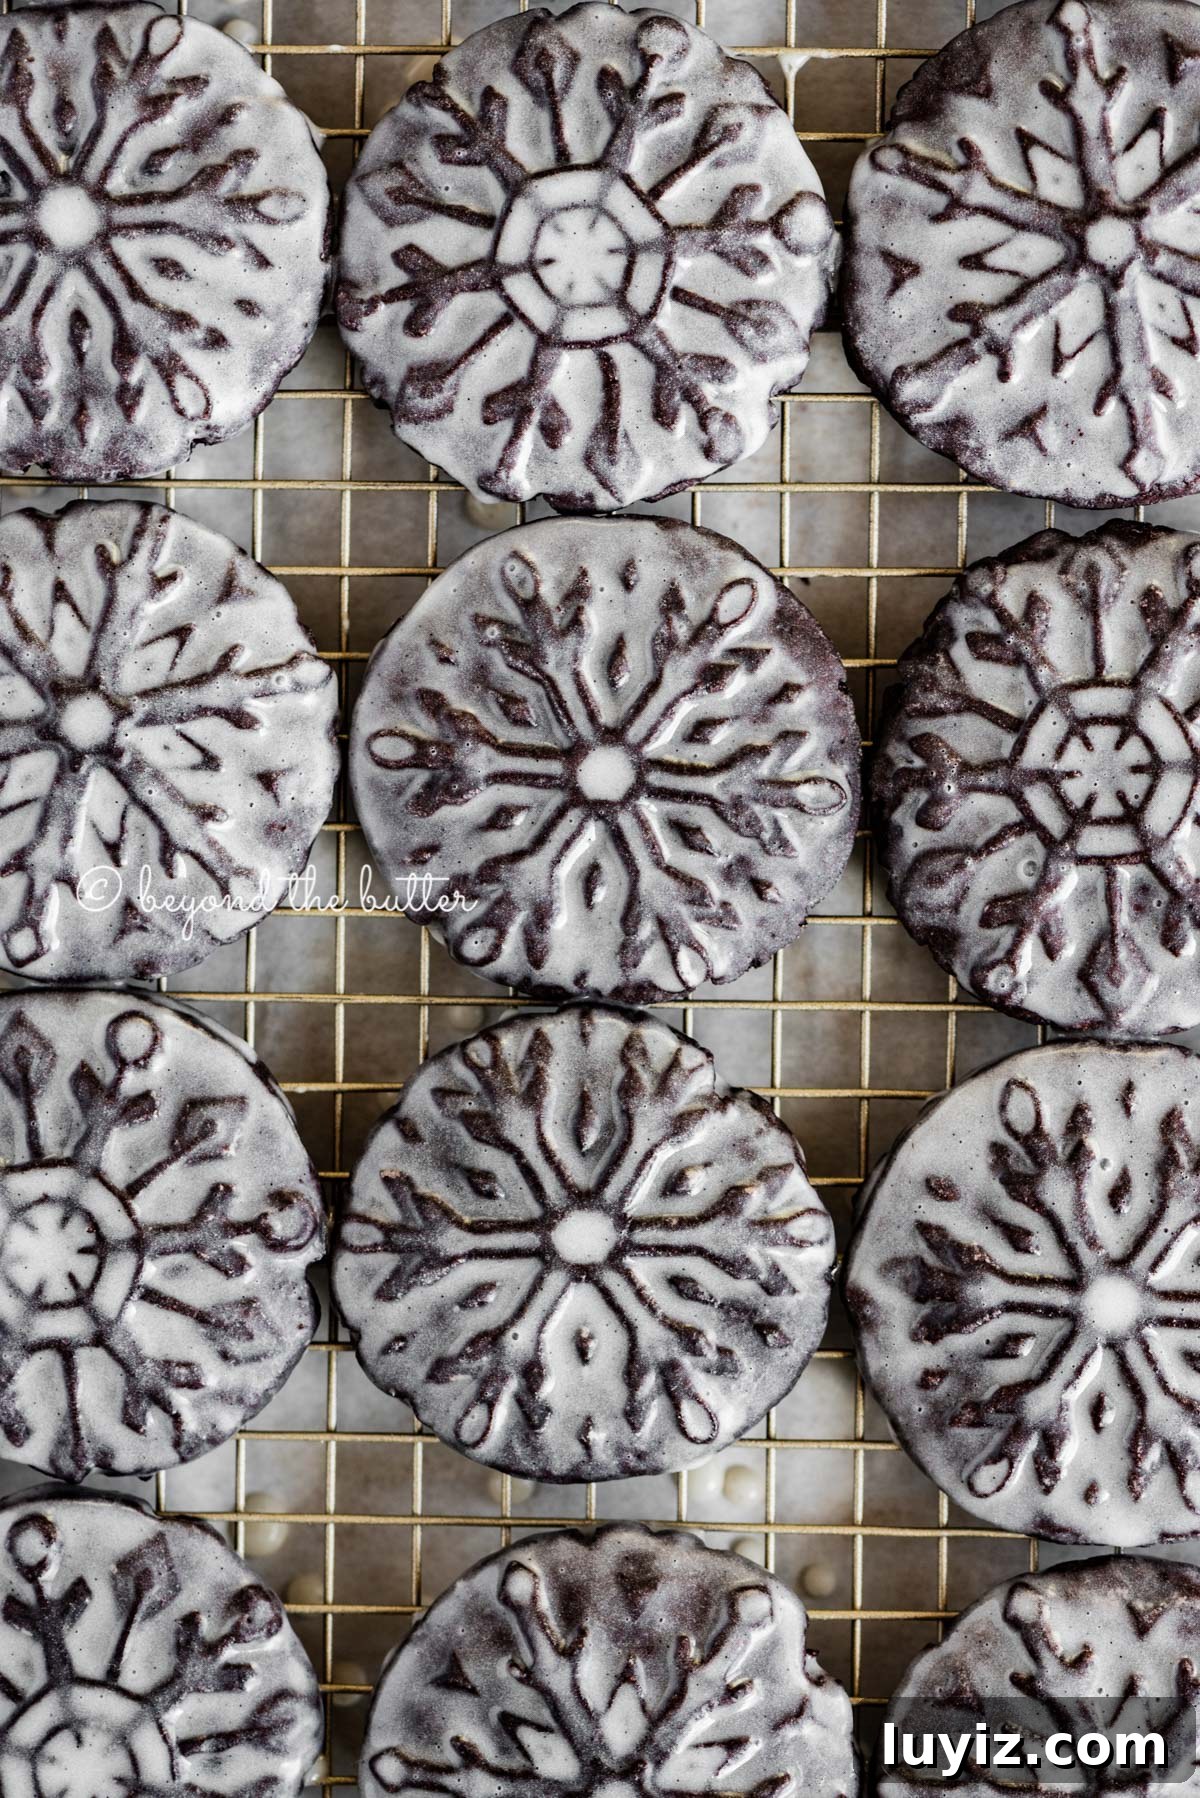
Table of Contents
- How to Make Homemade Oreo Snowflake Cookies with Vanilla Bean Glaze
- How Do I Use These Cookie Stamps?
- Featured Baking Tools
- Quick Tips Before Starting
- Don’t Forget These Holiday Favorites!
- Homemade Oreo Snowflake Cookies Recipe
How to Make Homemade Oreo Snowflake Cookies with Vanilla Bean Glaze
Homemade Oreo Snowflake Cookies
Ingredients briefly: all-purpose flour, dark chocolate cocoa powder, baking soda, salt, eggs, unsalted butter, granulated sugar, dark brown sugar (or light), and vanilla extract (Heilala Cocoa Vanilla or regular vanilla).
This recipe is straightforward. A stand mixer with a paddle attachment is helpful because the dough is thick, but a handheld mixer will work. The dough needs at least 1 hour chilling. After stamping the cookies, an additional 10–15 minute chill helps preserve the snowflake detail but is optional.
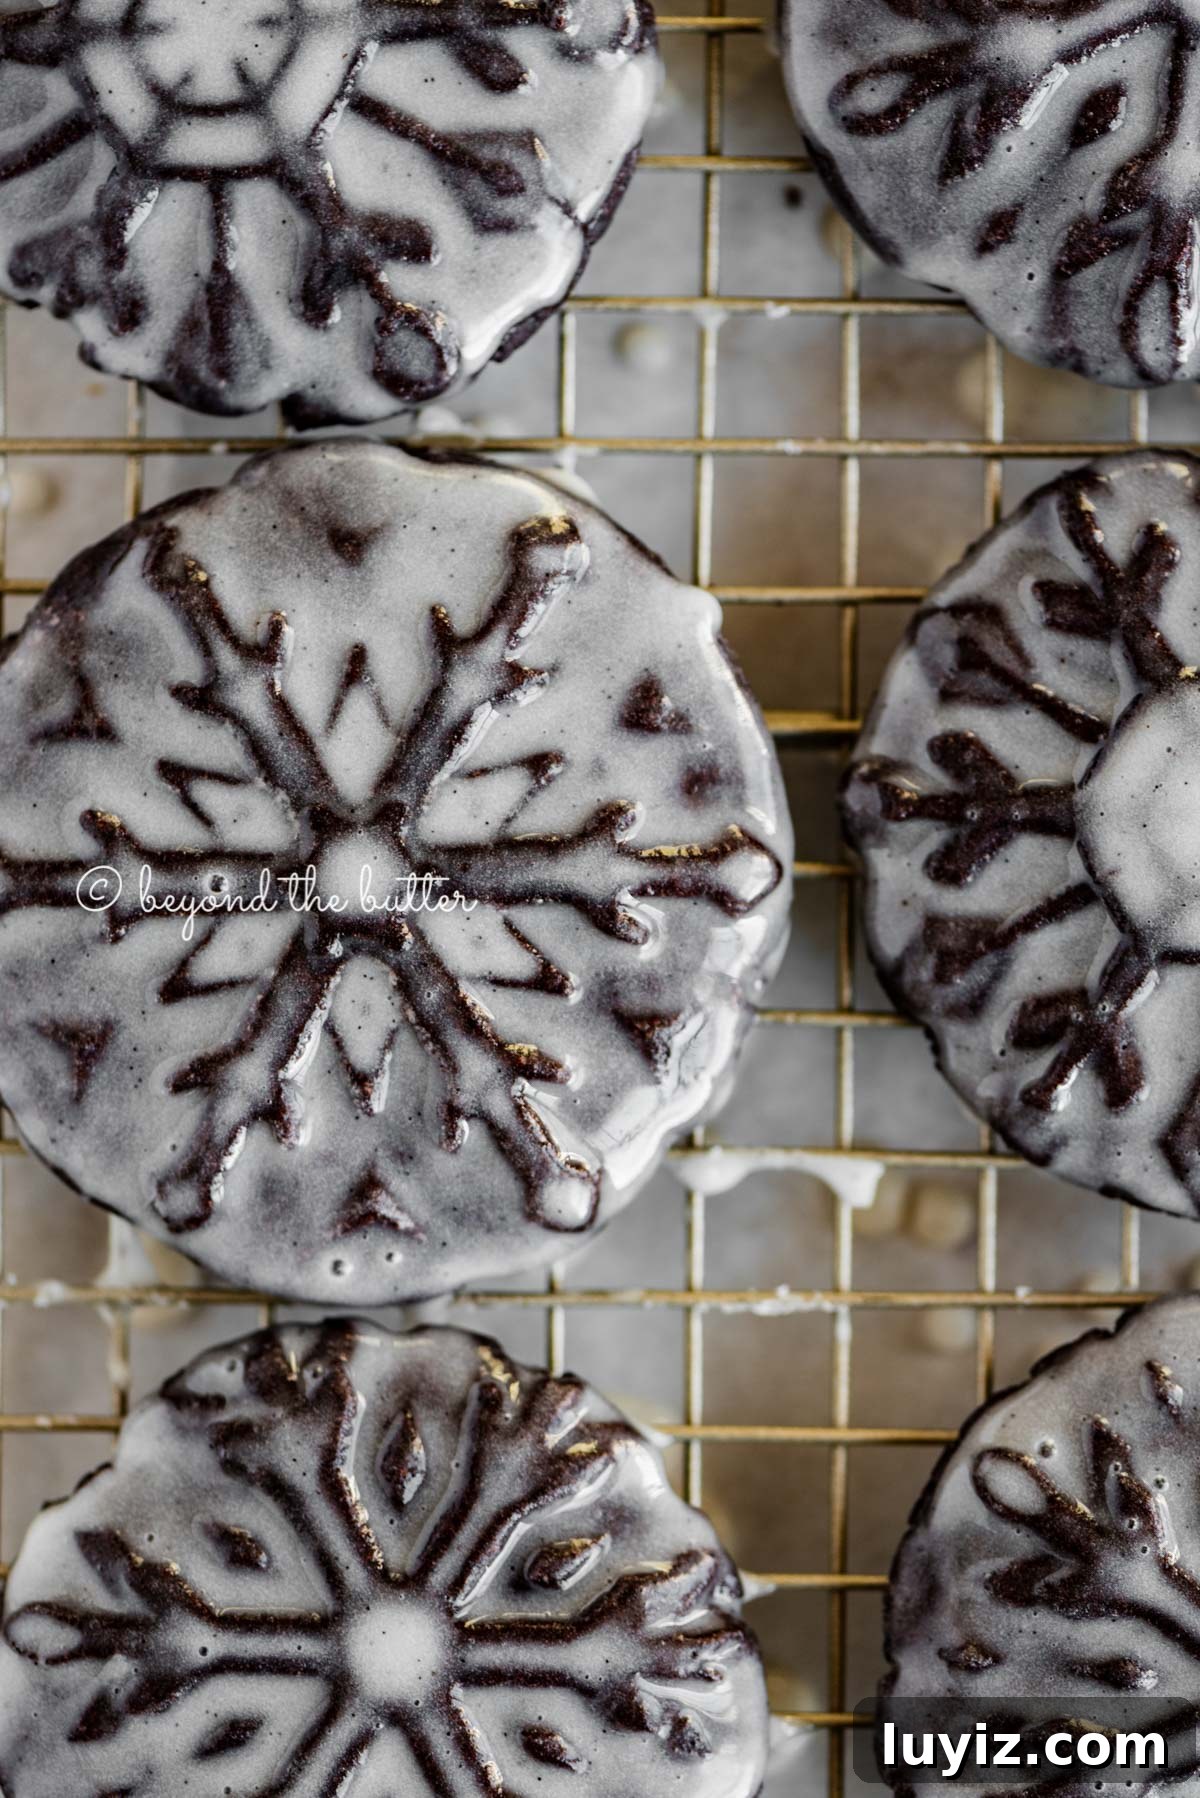
The finished cookies are softer than store-bought Oreos, deeply chocolatey, and hold together well. They’re delicious plain or dipped in the vanilla bean glaze.
Vanilla Bean Glaze
Glaze ingredients: sifted powdered sugar, milk (any dairy), and vanilla bean paste. Sifting the powdered sugar is important to ensure a smooth, lump-free glaze. Whisk everything until glossy and smooth before dipping cooled cookies.
How Do I Use These Cookie Stamps?
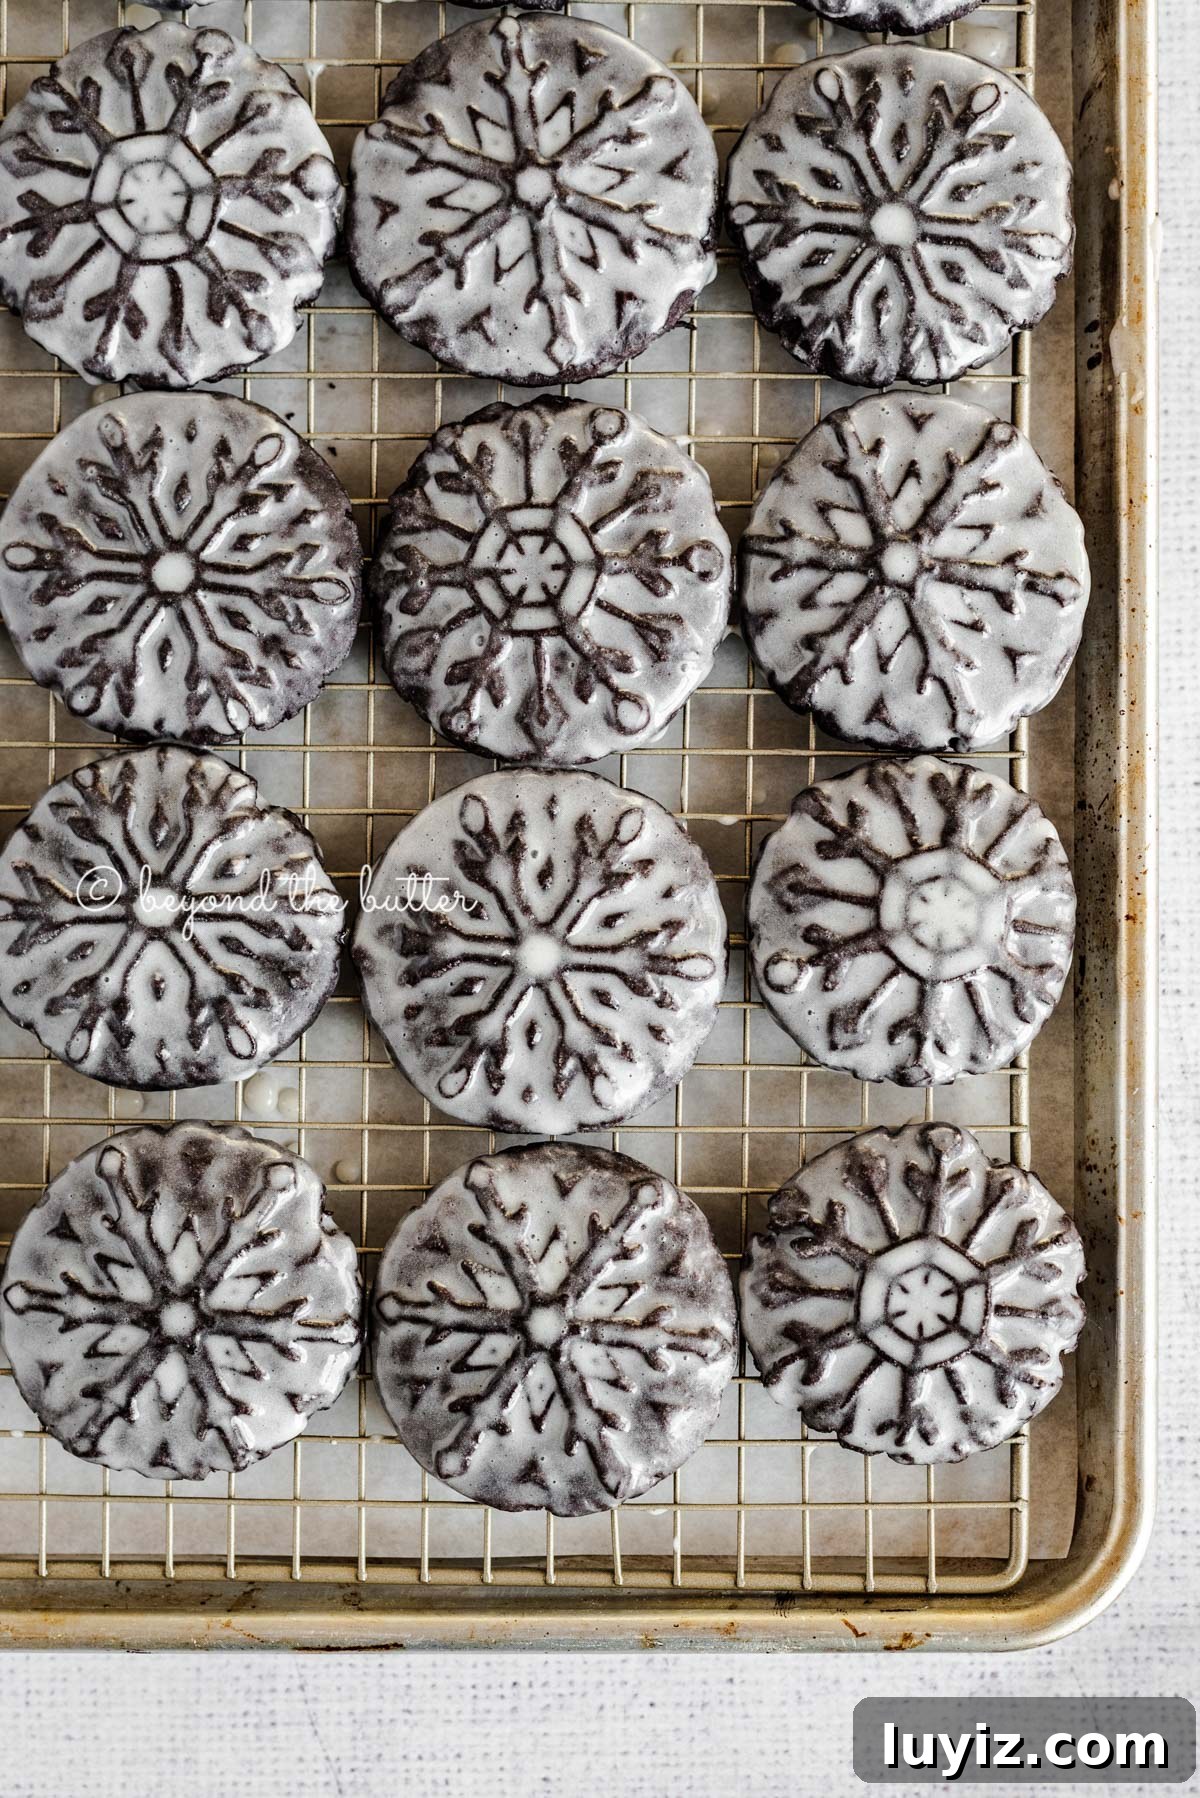
These cookie stamps work differently than cutters. Roll the chilled dough into roughly 1½-inch balls, set each ball on the prepared baking sheet, dust the stamp with flour, center the stamp over the ball, and press evenly until the stamp is flush with the surface. Lift the stamp carefully; if the dough sticks to the stamp, peel one edge away gently and place the cookie back on the sheet. Space cookies 1–2 inches apart.
Featured Baking Tools
Quick Tips Before Starting
- Coat cookie stamps lightly with flour each time to help the cookie release cleanly.
- Bake at 325ºF for 12–15 minutes; check at the lower end of the range. My oven baked best at 14 minutes.
- Rolling chocolate dough will darken your palms; disposable gloves are an easy option if you prefer not to wash repeatedly.
- The short second chill after stamping (10–15 minutes) helps keep the snowflake design crisp but is optional.
- Let cookies cool completely before dipping in glaze so the glaze sets smoothly.
- If you use a different stamp style, you may need to roll and cut dough instead of ball-and-stamp method.
Don’t Forget These Holiday Favorites!
- Chocolate Dipped Peanut Butter Cookies – a stamped cookie using a geo cast set.
- Homemade Snowflake Butter Cookies.
- Hot Chocolate Mini Marshmallow Cookies.
- Super Soft Cut-Out Sugar Cookies.
- Chocolate Thumbprint Cookies.
Homemade Oreo Snowflake Cookies
Ingredients
homemade Oreo snowflake cookies
- 2 cup All-Purpose Flour
- 1 cup Dark Chocolate Cocoa Powder (like Hershey’s Special Dark)
- ½ tsp Baking Soda
- 1 tsp Salt
- 1 cup Unsalted Butter, room temperature
- 3/4 cup Granulated Sugar
- 1/4 cup Dark Brown Sugar, lightly packed
- 2 Large Eggs
- 1 tsp Heilala Vanilla Cocoa Vanilla Extract, or regular vanilla extract
vanilla bean glaze
- 2 cup Sifted Powdered Sugar
- 1 tsp Vanilla Bean Paste
- 4 tbsp Milk (any dairy)
Instructions
homemade Oreo snowflake cookies
- Whisk together flour, dark cocoa powder, baking soda, and salt in a medium bowl; set aside.
- Cream the softened butter with granulated sugar and dark brown sugar on medium-high until light and fluffy.
- Add eggs one at a time, fully incorporating each, then mix in the vanilla.
- Reduce mixer to low and gradually add the dry mixture until just combined. Dough will be thick and slightly sticky.
- Cover and chill dough in the refrigerator for at least 1 hour.
- Line cookie sheets with parchment paper. Keep a small bowl of flour nearby to dust the cookie stamp each time.
- Roll spoonfuls of dough into 1½-inch balls, place on the sheet, flour the stamp, center it over each ball, and press evenly until flush. If dough sticks to the stamp, gently peel from one edge and transfer to the sheet. Space cookies 1–2 inches apart.
- Optionally chill stamped cookies in the fridge or freezer for 10–15 minutes before baking to preserve detail.
- Preheat oven to 325ºF and bake for 12–15 minutes, checking at the lower end. Let cookies cool on the sheet for about 5 minutes, then transfer to a wire rack to cool completely before glazing.
vanilla bean glaze
- Whisk sifted powdered sugar, vanilla bean paste, and milk in a large bowl until smooth.
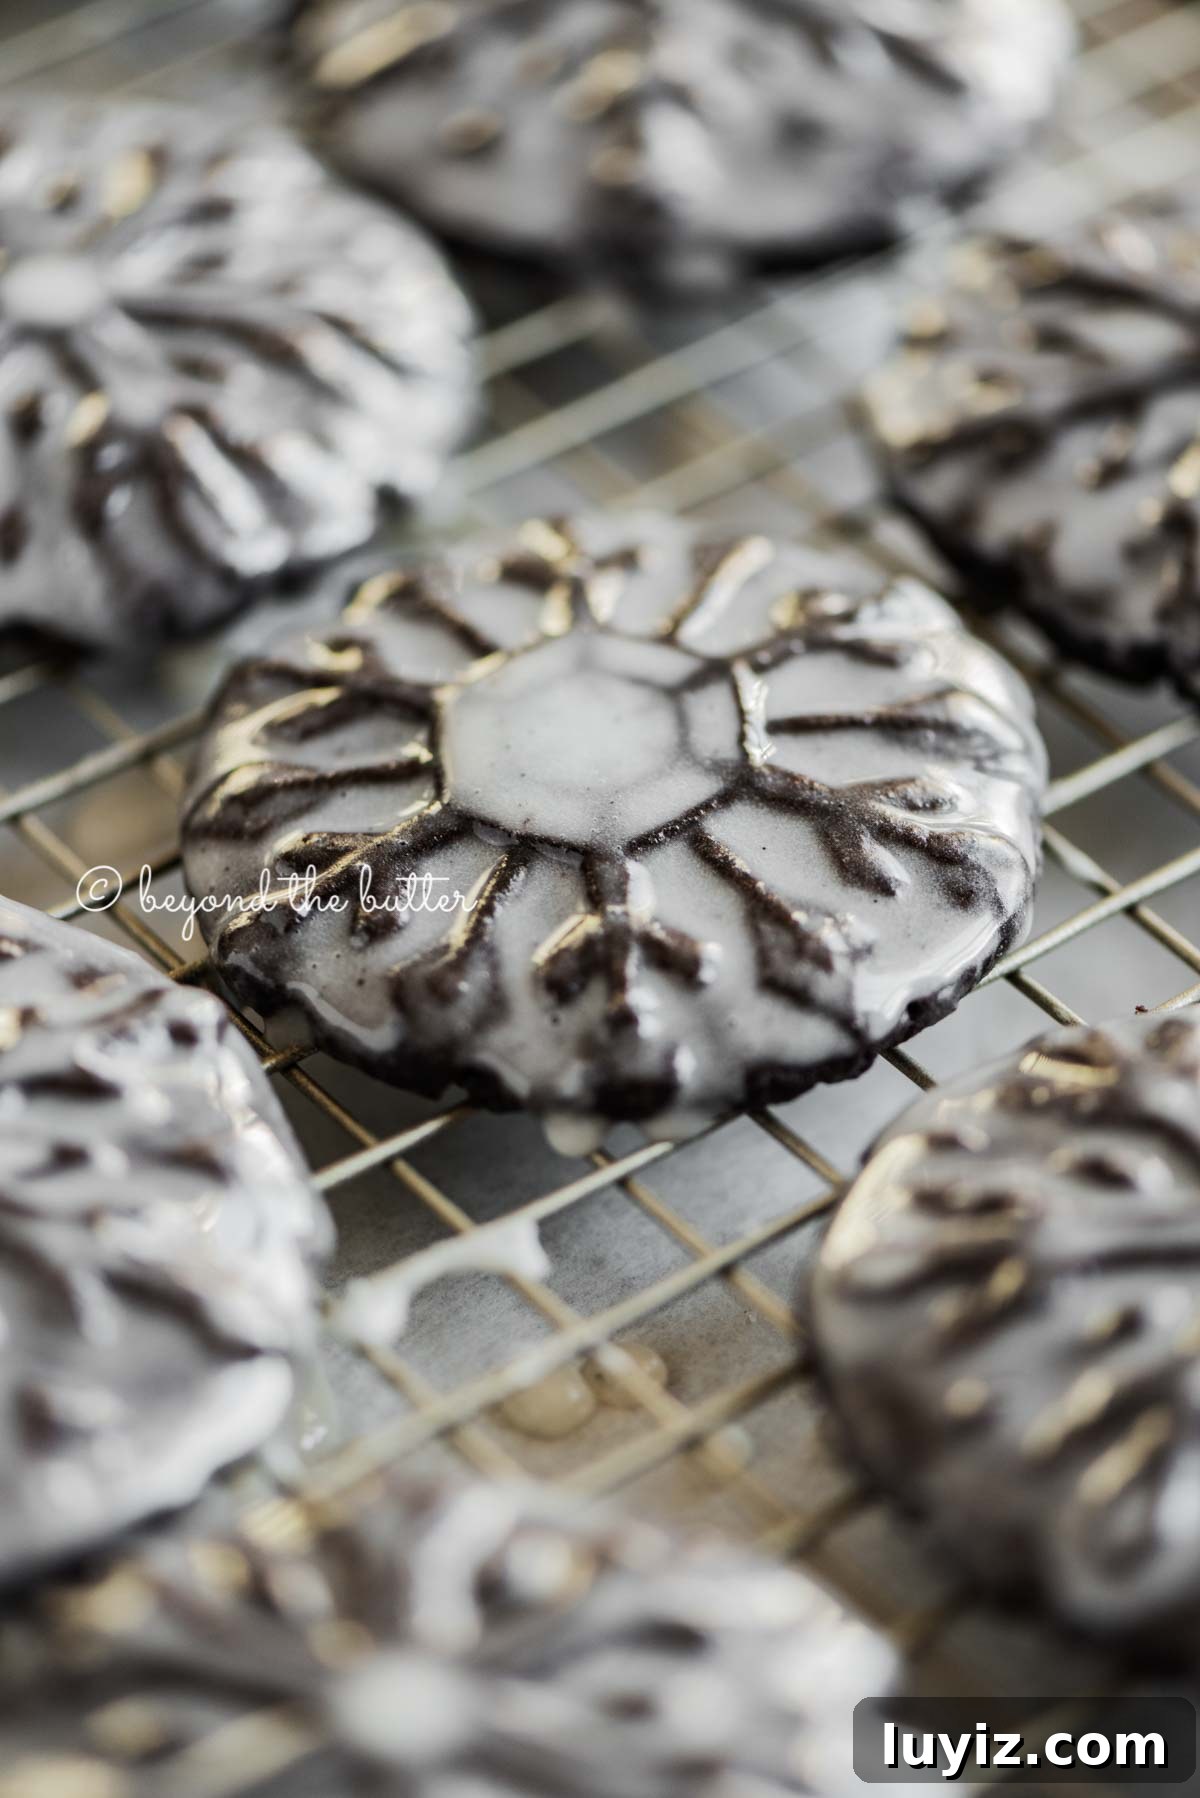
- Set a wire rack over a parchment-lined baking sheet. Dip the top of each cooled cookie into the glaze, let excess drip off, then return to the rack to dry.
- Store cookies in an airtight container at room temperature for up to one week.
Notes
- Coating cookie stamps with flour helps the cookies release. If a cookie sticks, gently peel from an edge.
- Bake at 325ºF for 12–15 minutes; oven times vary—start checking early.
- Wear disposable gloves if you don’t want chocolate on your hands while rolling dough.
- Chilling stamped cookies before baking helps retain the stamped pattern but can be skipped if you’re short on time.
- Allow cookies to cool completely before dipping in glaze so the coating sets smoothly.
- Alternate cookie stamps can be used; some styles may require rolling and cutting the dough instead of stamping balls.
Nutrition
Nutritional information is an estimate and will vary based on specific ingredients used.