
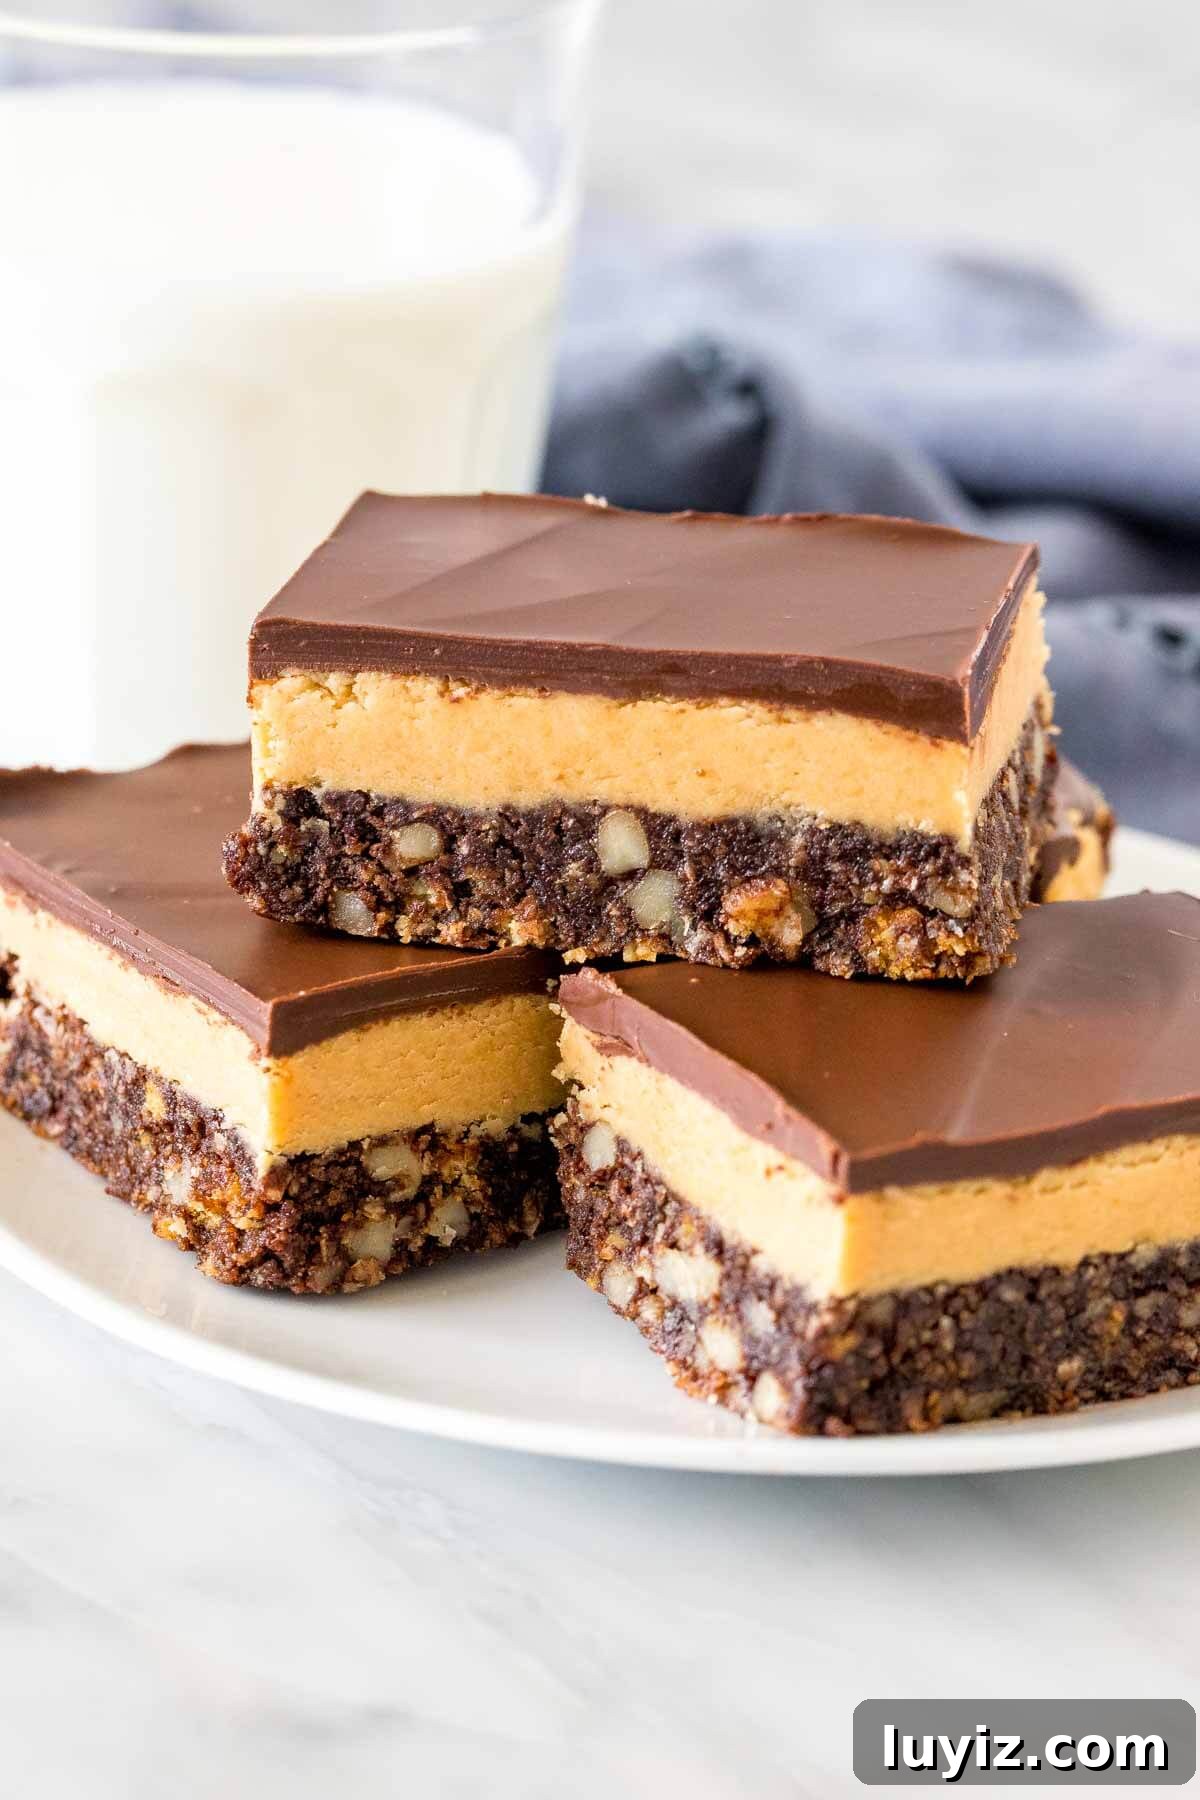
A twist on the classic Canadian Nanaimo bars — these peanut butter Nanaimo bars are ideal for anyone who loves peanut butter or finds the traditional version too sweet. They’re a favorite over the holidays but delicious year-round.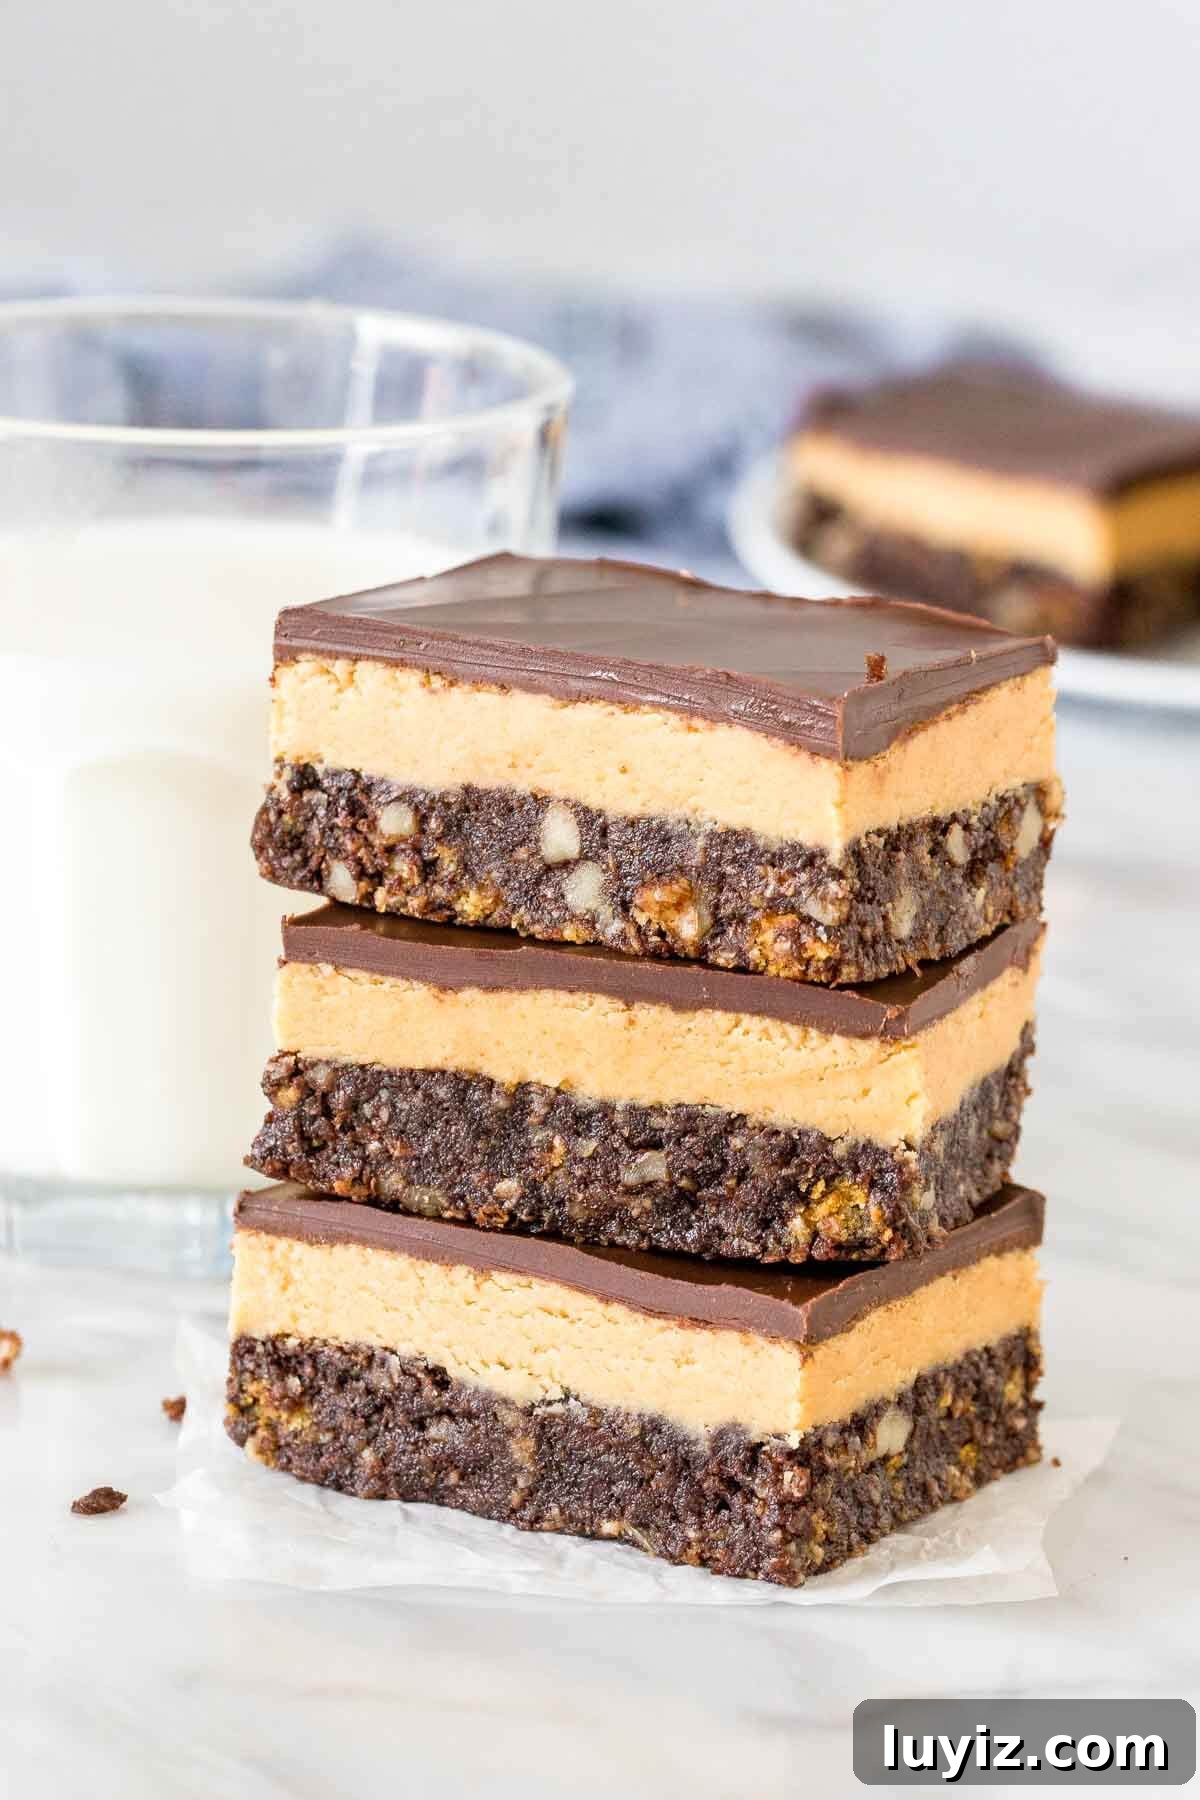
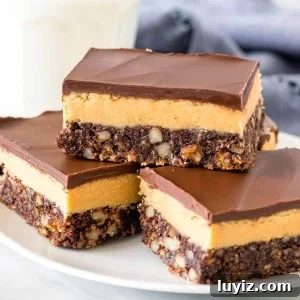
These peanut butter Nanaimo bars combine the chewy, chocolatey base of classic Nanaimo bars with a peanut butter center inspired by no-bake peanut butter bars. Originating from Nanaimo, British Columbia, the base layer is rich with crushed graham crackers (or digestive biscuits), chopped nuts and shredded coconut. Instead of the usual custard buttercream, this version uses a smooth peanut butter filling reminiscent of the center of a peanut butter cup. A layer of milk (or a mix of milk and dark) chocolate tops the bars, creating a chocolate–peanut butter–chocolate sandwich.
They’re less sweet than the traditional Nanaimo bars but have a satisfying peanut butter flavor and an addictive chewy base.
Recipe Tips & Things to Watch For
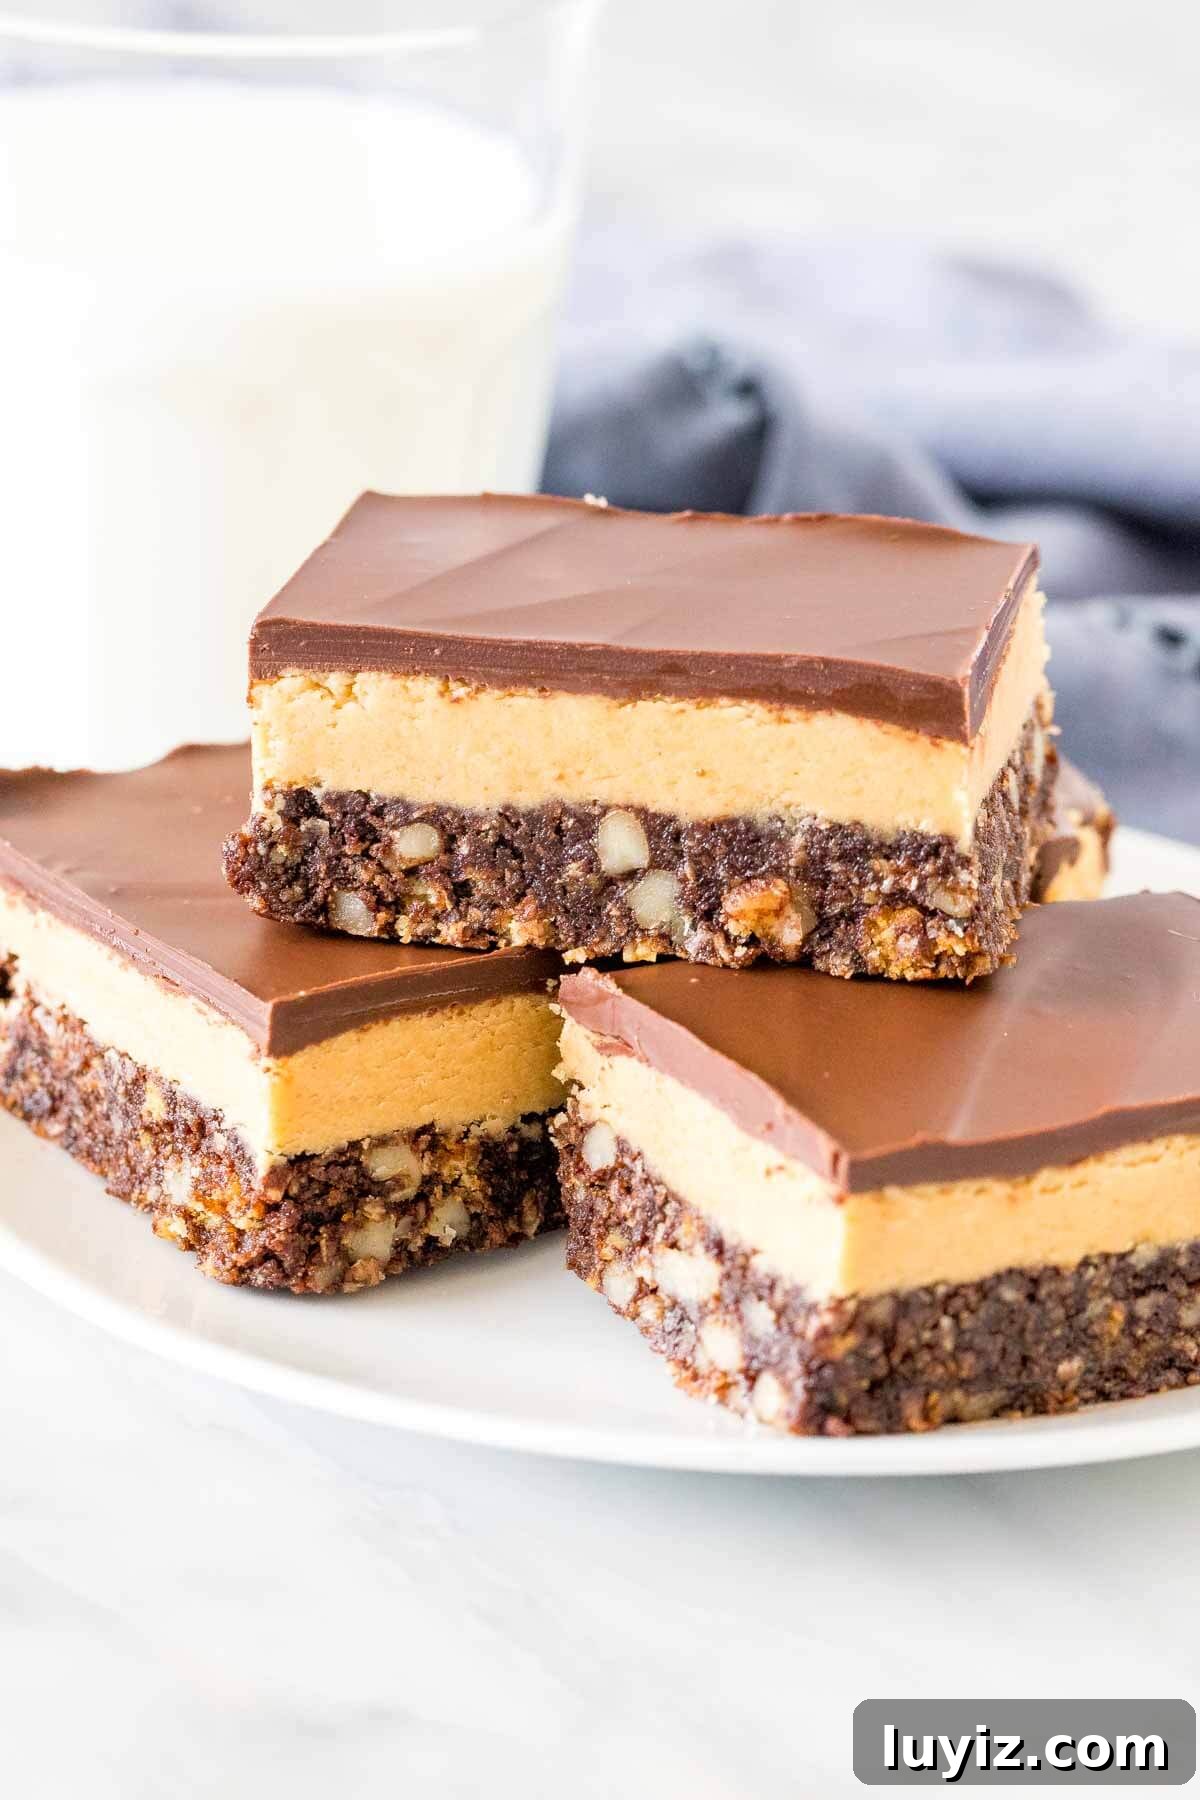
The Base Layer
The base is the trickiest step only because it requires attention, not difficulty. Make a double boiler by adding about 1/2 to 1 inch of water to a saucepan and setting a heatproof glass bowl on top. The bowl should sit above the water without touching it. Heat the water to a gentle simmer over low–medium heat.
In the bowl, melt the butter, sugar and cocoa powder together until smooth. With the bowl still over the simmering water, whisk in one egg while whisking constantly to avoid scrambling. Continue whisking for about five minutes until the mixture turns glossy and thick — this indicates the egg has cooked and the mixture is safe to eat.
Stir the chocolate mixture into the graham crumbs, chopped nuts and coconut. Chopped walnuts are traditional, but chopped peanuts work well here to reinforce the peanut butter flavor. Press the mixture firmly into the bottom of the lined pan and chill while you prepare the middle layer.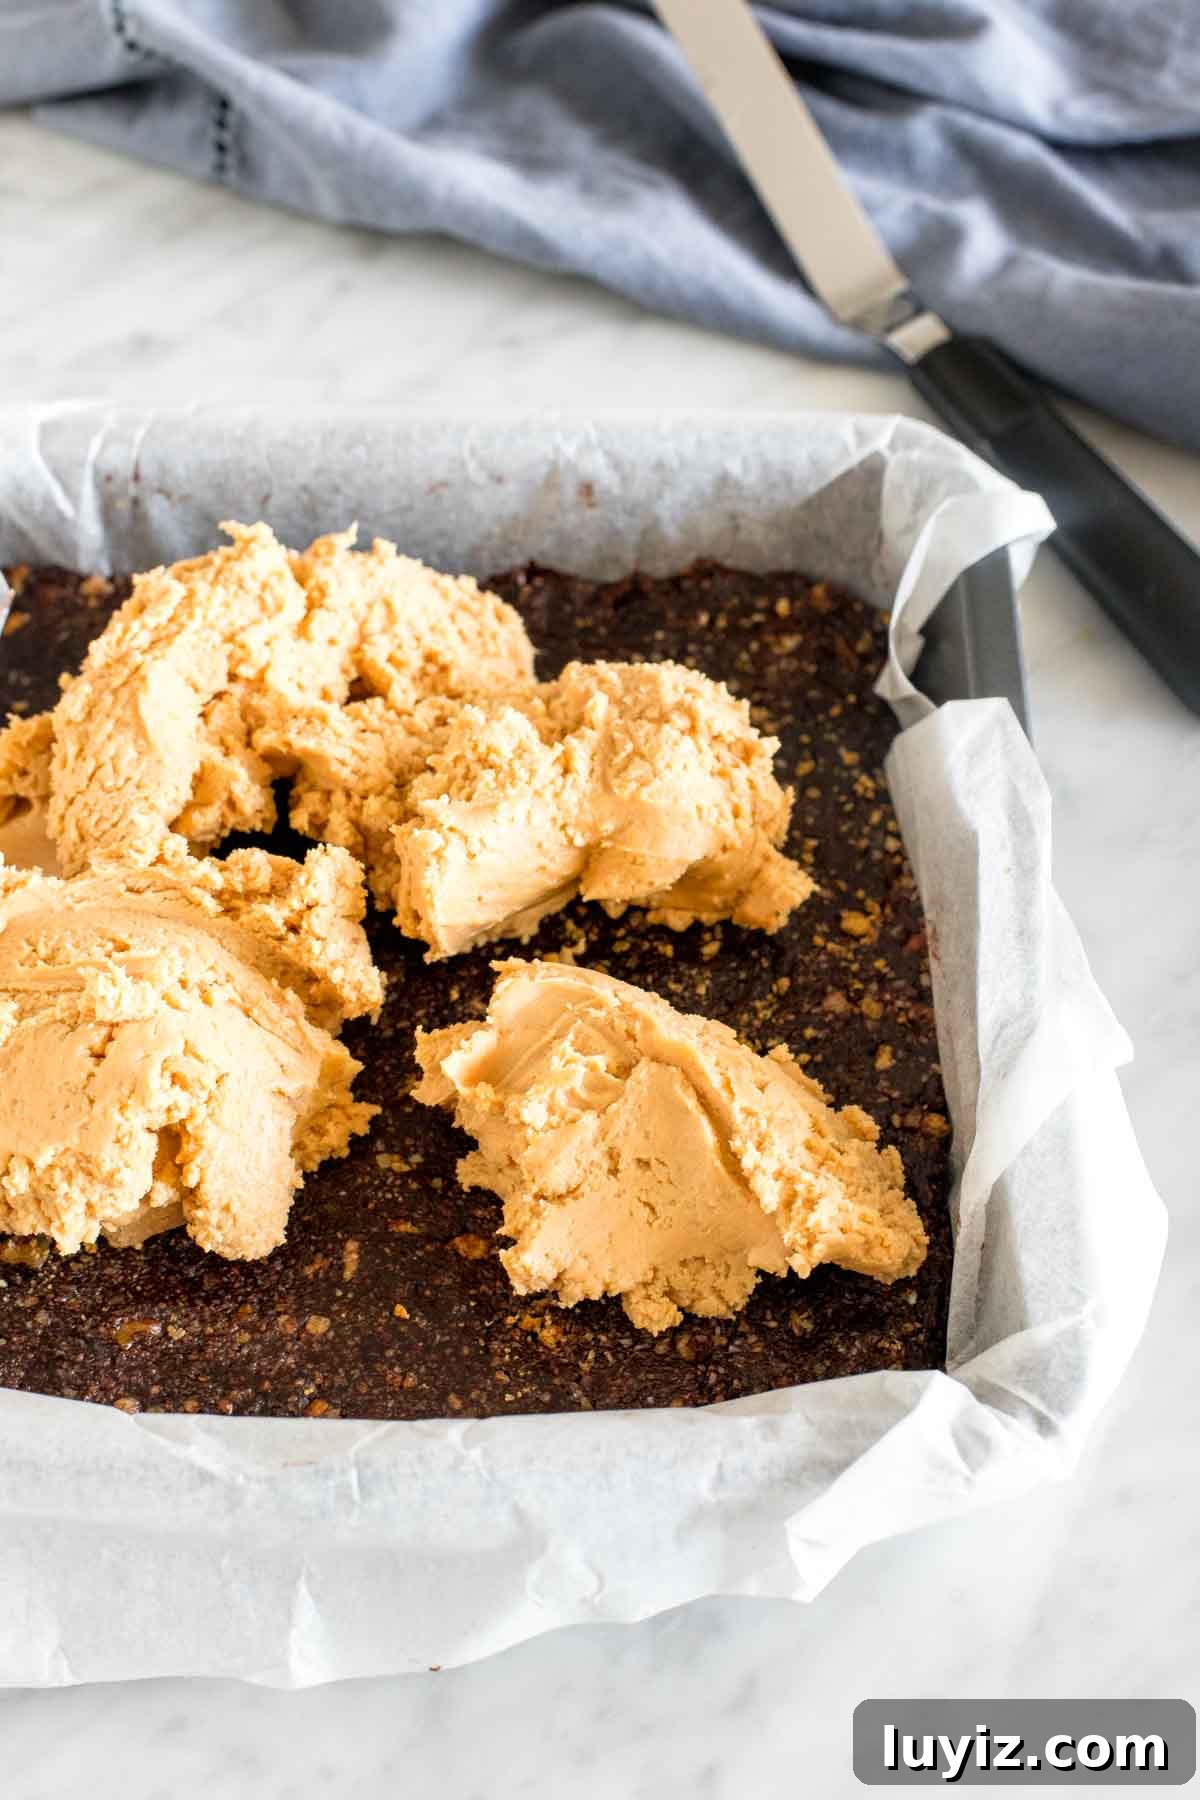
The Peanut Butter Layer
The peanut butter middle tastes much like the filling of a peanut butter cup: thicker than a standard frosting and mildly sweet. Use smooth commercial peanut butter — not natural or homemade varieties — because natural peanut butter can separate and affect texture. Beat softened butter until smooth, add peanut butter, then blend in powdered sugar and vanilla. Add milk a tablespoon at a time until the mixture reaches a spreadable, firm consistency.
The Chocolate Topping
For the topping, milk chocolate or a mix of milk and dark chocolate works best to echo the peanut butter cup flavor. A few notes when melting chocolate:
- Use baking or couverture chocolate rather than chocolate chips when possible, as chips contain stabilizers that can prevent smooth melting.
- Microwave on low–medium power in short intervals, stirring between each, to prevent burning or grainy texture.
Add a small amount of neutral oil (vegetable or canola) to give the melted chocolate a glossy finish and make slicing easier. When the chocolate is about 80% set, score the surface with a thin, sharp knife where you plan to cut; this prevents cracking during slicing.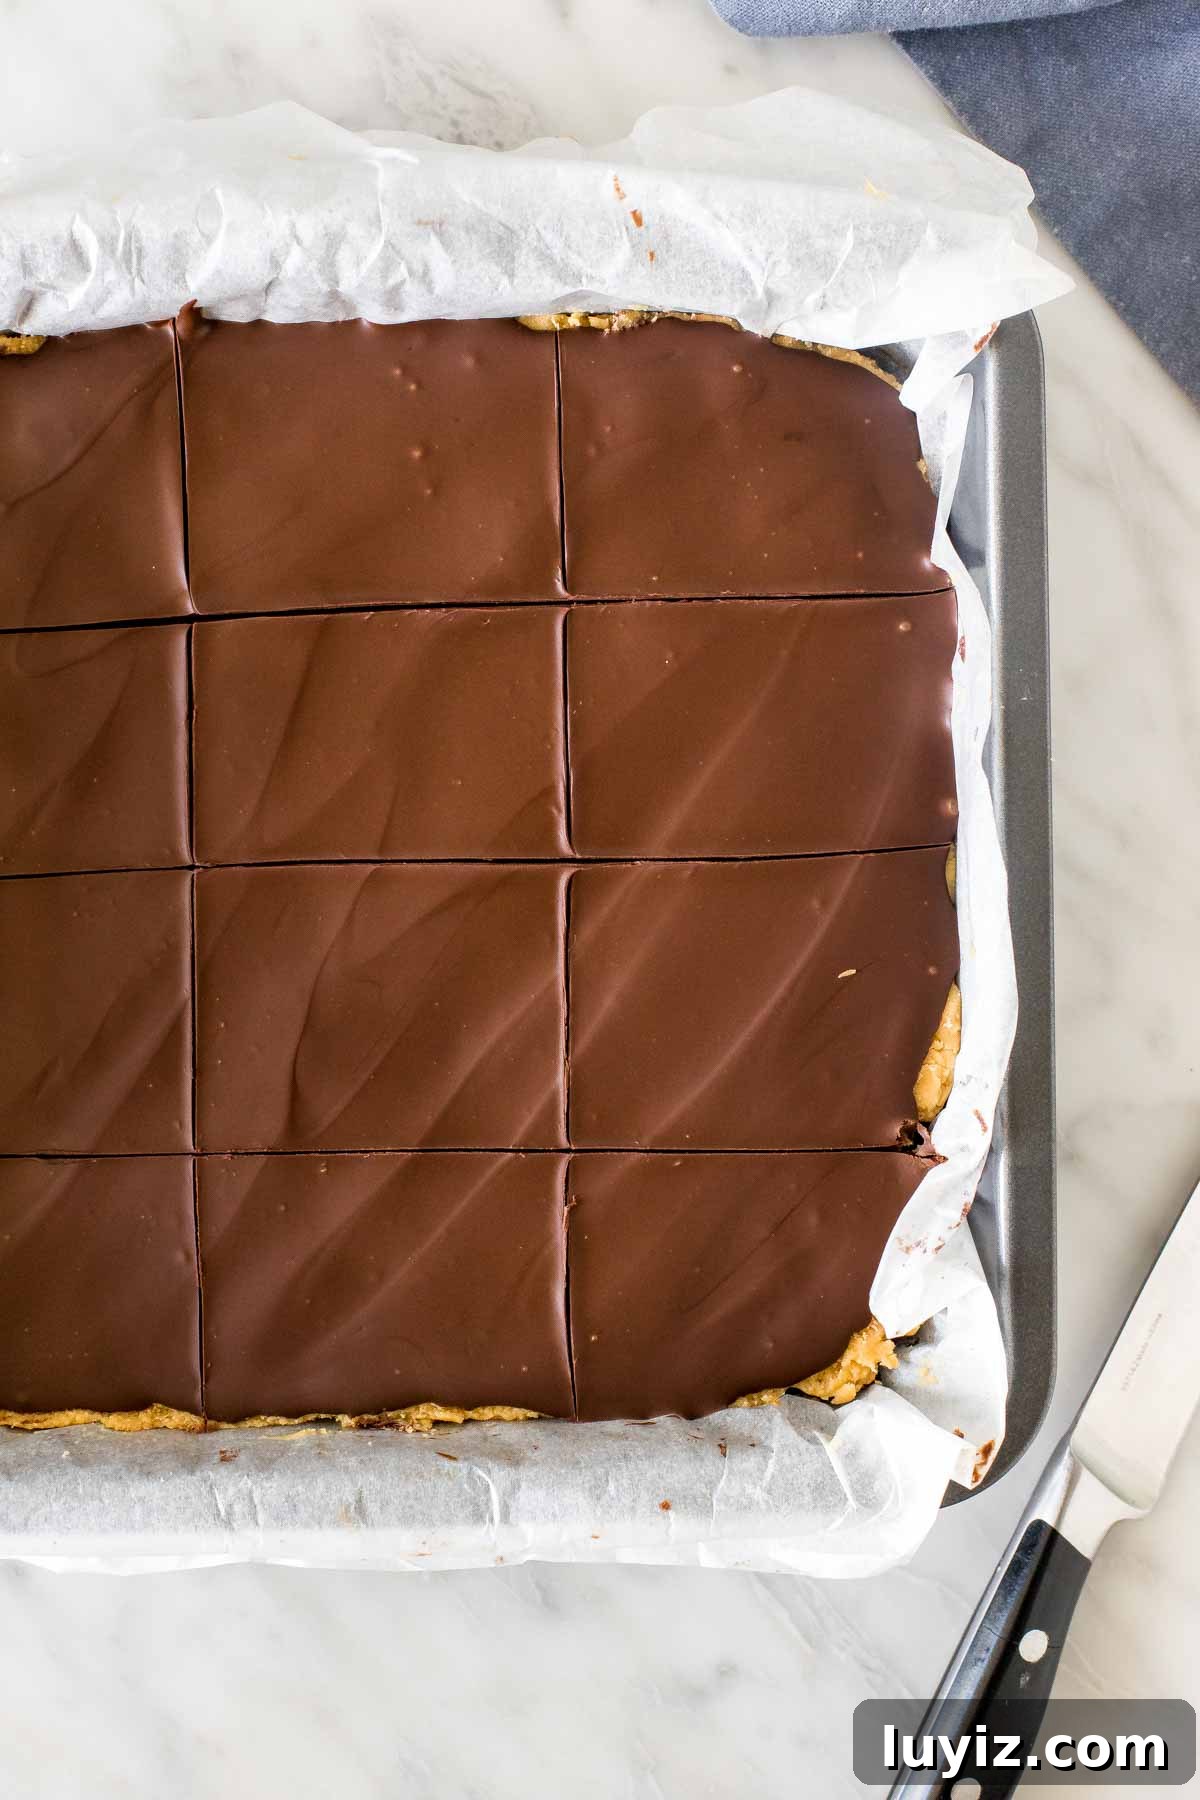
For a Double Batch
This recipe fits an 8×8 inch (20×20 cm) pan; a 9×9 inch pan also works. To double the recipe, double every ingredient and use a 9×13 inch pan. If you double the base layer, make sure you have a sufficiently large double boiler for melting the chocolate mixture.
Chewy chocolate base, a creamy peanut butter middle and a chocolate topping make these peanut butter Nanaimo bars a delicious variation on the classic. They store well and travel nicely for gatherings.
Peanut Butter Nanaimo Bars
30
1 30
2
12 large bars
Rate Recipe
Print Recipe
Equipment
-
8×8 inch (20×20 cm) pan
Ingredients
Base Layer
- 1 3/4 cups graham crumbs, or digestive biscuits
- 1/2 cup chopped walnuts, or finely chopped peanuts
- 1/2 cup finely shredded coconut, sweetened or unsweetened
- 1/2 cup unsalted butter
- 1/3 cup cocoa powder
- 1/4 cup white sugar
- 1 large egg*
Peanut Butter Middle
- 1/4 cup unsalted butter, softened
- 1/2 cup smooth peanut butter* (do not use natural or homemade)
- 1 1/2 – 2 cups powdered sugar
- 1 teaspoon vanilla extract
- 2 tablespoons milk
Chocolate Topping
- 4 ounces milk chocolate*
- 2 ounces dark chocolate*
- 1/2 teaspoon vegetable oil (canola works too)
Instructions
- Line an 8×8 inch (20×20 cm) pan with parchment paper, leaving an overhang for easy removal.
Base Layer
- Combine graham crumbs, chopped nuts and coconut in a large bowl and stir to mix.
- Place 1/2–1 inch of water in a saucepan and set a large heatproof glass bowl over the top (the bowl should not touch the water). Bring to a gentle simmer over low–medium heat.
- Add butter, cocoa and sugar to the bowl and melt until smooth and the sugar is dissolved.
- With the bowl over the simmering water, whisk in the egg and continue whisking for about 5 minutes until the mixture becomes thick and glossy.
- Pour the chocolate mixture over the graham crumb mixture and stir to combine, then press firmly into the bottom of the prepared pan. Chill while you make the peanut butter layer.
Peanut Butter Layer
- Beat the softened butter until smooth, then beat in the smooth peanut butter until combined.
- Mix in 1 1/2 cups powdered sugar and the vanilla; the mixture will be thick.
- Add milk 1 tablespoon at a time until the filling is spreadable. Add more powdered sugar if you prefer it sweeter.
- Spread or press the peanut butter filling over the chilled base. If it sticks to your fingers, use wax paper between your fingers and the filling. Chill in the fridge for about 30 minutes to firm.
Chocolate Topping
- Chop the chocolate finely and place in a heatproof bowl.
- Microwave on medium power in short intervals (45 seconds), stirring between each, until smooth. Do not use high power to avoid burning the chocolate.
- Whisk in the oil for shine and smoother slicing.
- Pour the melted chocolate over the peanut butter layer and smooth. Chill until the chocolate sets.
Slicing and Serving
- When the chocolate is about 80% set, gently score the surface where you plan to cut with a thin, sharp knife. Return to the fridge to finish setting.
- Use the parchment overhang to lift the bars from the pan onto a cutting board.
- Cut with a large, sharp knife, wiping the blade between slices for clean edges.
Notes
- Whisking the egg over the simmering water cooks it and removes the concern about raw egg. If you prefer, bake the base layer for 12 minutes at 350°F (175°C) and cool completely before adding the peanut butter layer.
- Natural or homemade peanut butter can separate; use commercial smooth peanut butter for best texture.
- You can use 6 ounces of your preferred chocolate for the topping. Baking chocolate melts more smoothly than chips and is recommended.
- Store finished bars in an airtight container at room temperature up to 4 days, or refrigerate for up to one week.
- Nutrition values are estimates per large bar if the pan is cut into 12 equal pieces.
- This recipe can be doubled and baked in a 9×13 inch pan.
Nutrition
Carbohydrates: 62g,
Protein: 6g,
Fat: 30g
Like this recipe? Rate and comment below!