
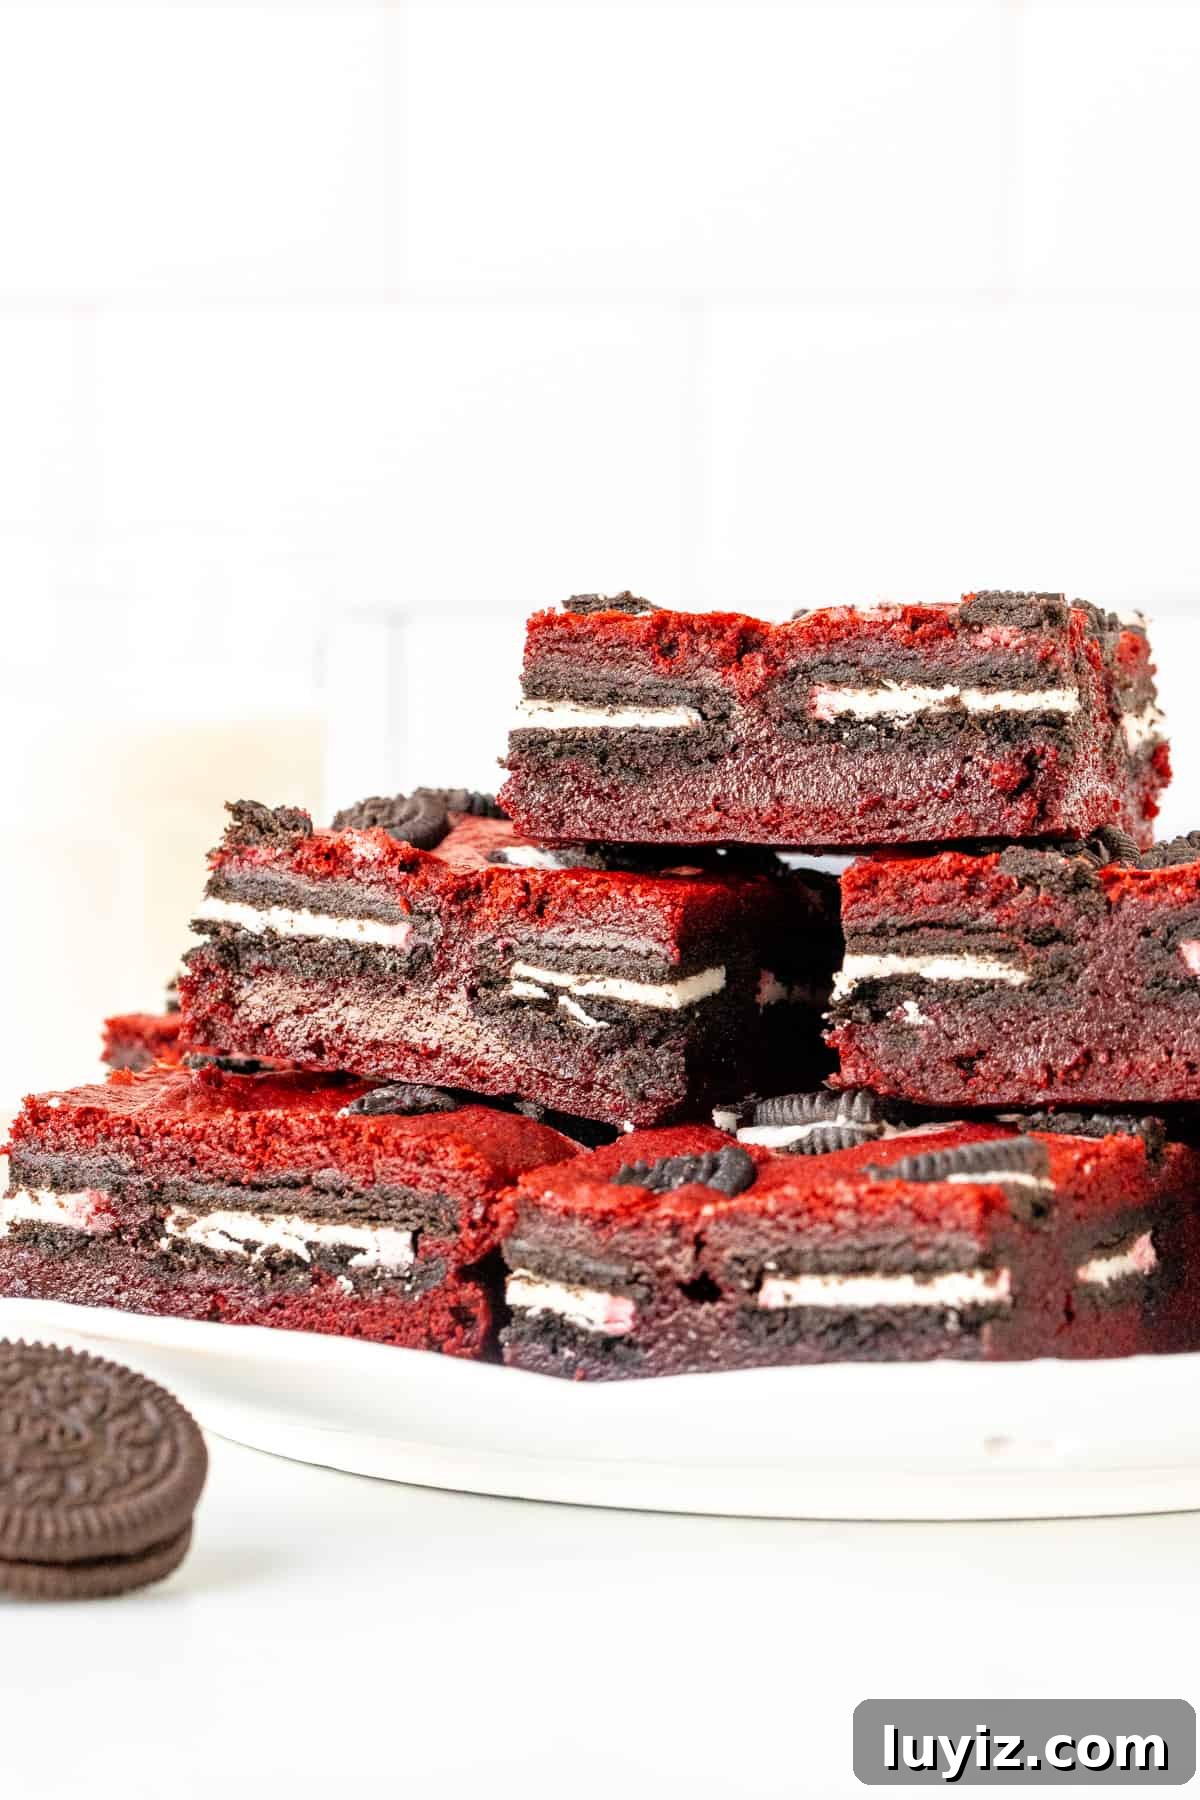
Oreo-stuffed red velvet brownies—what more could you want in a dessert? These thick, fudgy brownies deliver classic red velvet flavor with a near-gooey brownie texture. Each bar is filled with Oreo cookies and finished with crushed Oreos on top. 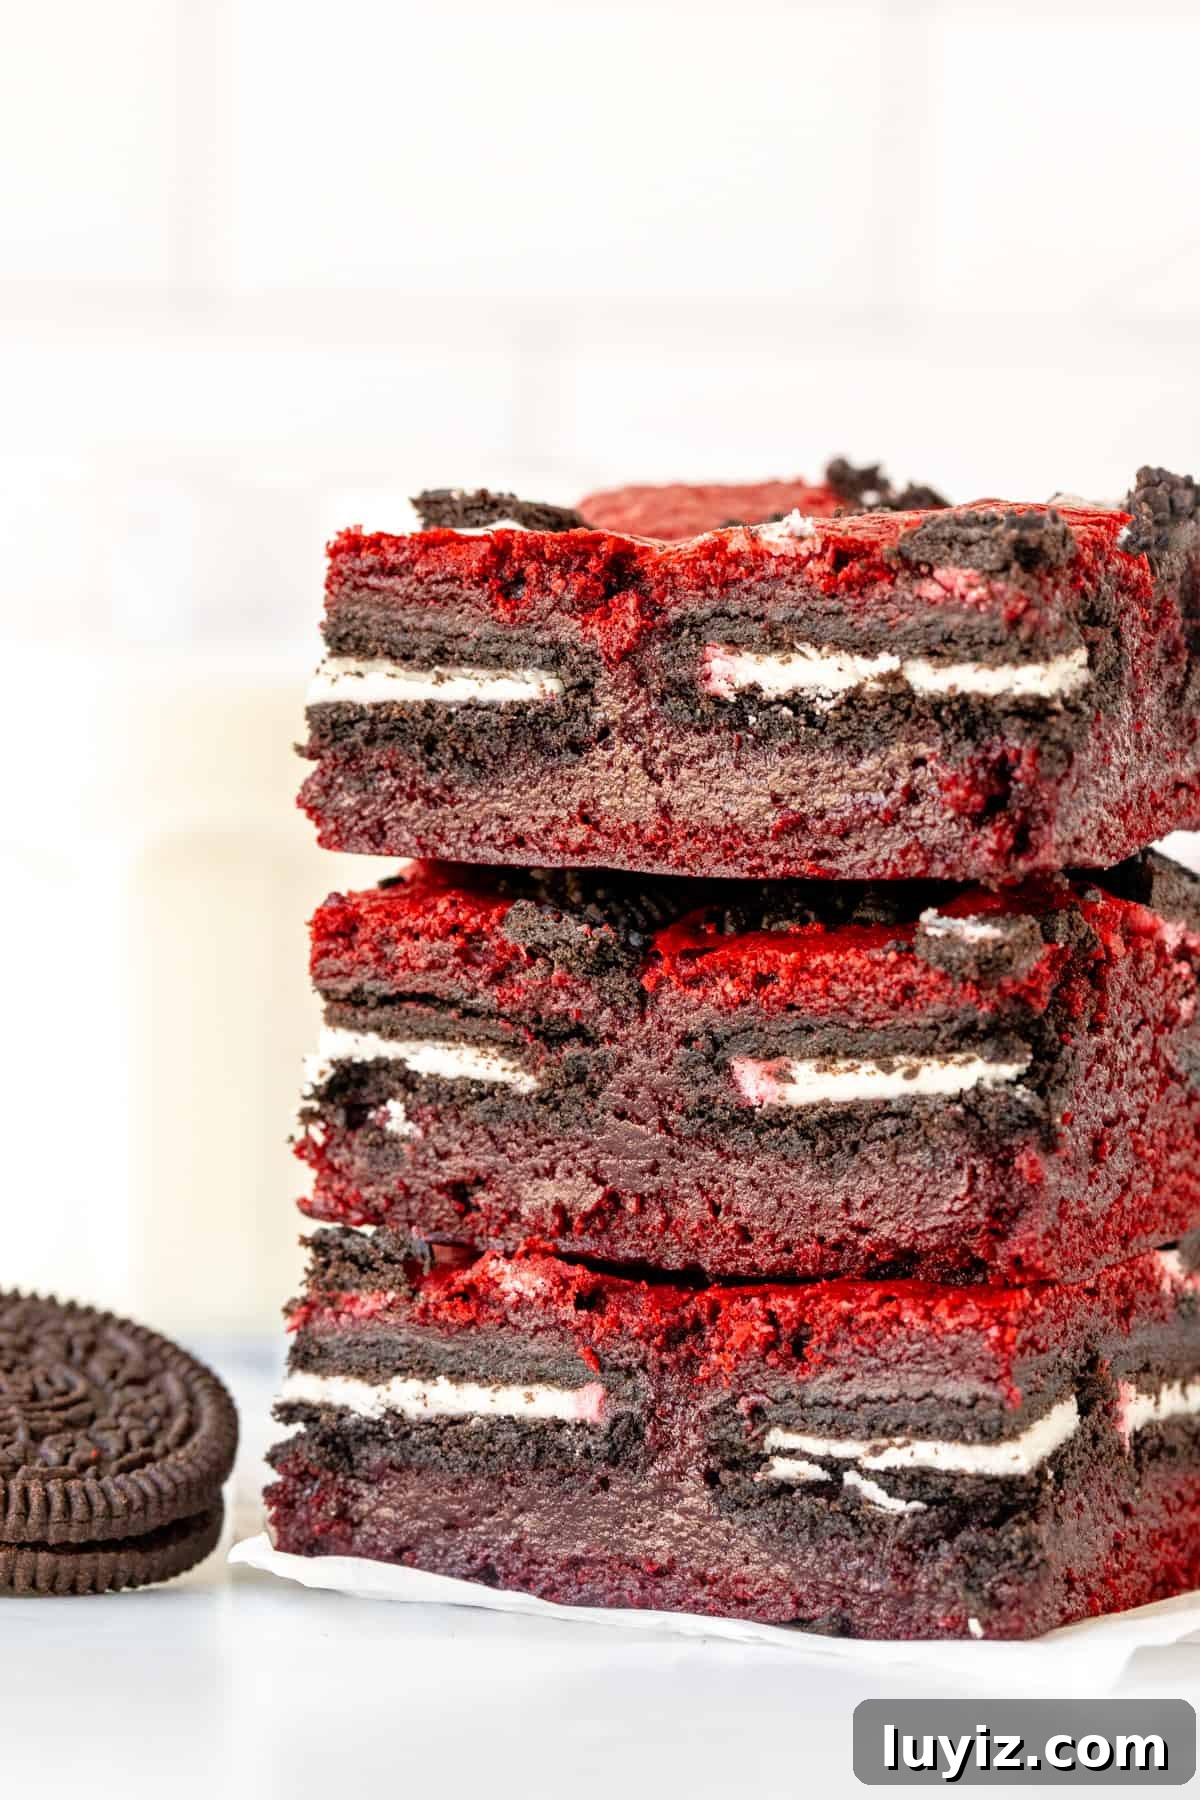
There’s something irresistible about a dense, fudgy brownie. If you enjoy gooey brownies and red velvet desserts, you should try these Oreo-stuffed red velvet brownies. They balance a mild cocoa note with the gentle tang typical of red velvet, then add a layer of Oreo cookies for texture and extra chocolate flavor.
Making Oreo-Stuffed Red Velvet Brownies
Here are the baking details and tips to get these brownies thick enough to hold the Oreo layer while staying decadently fudgy.
- Preheat the oven to 350°F (180°C). Line an 8×8-inch (20×20 cm) baking pan with parchment paper, leaving an overhang for easy removal. Lightly grease the pan before lining so the parchment stays in place.
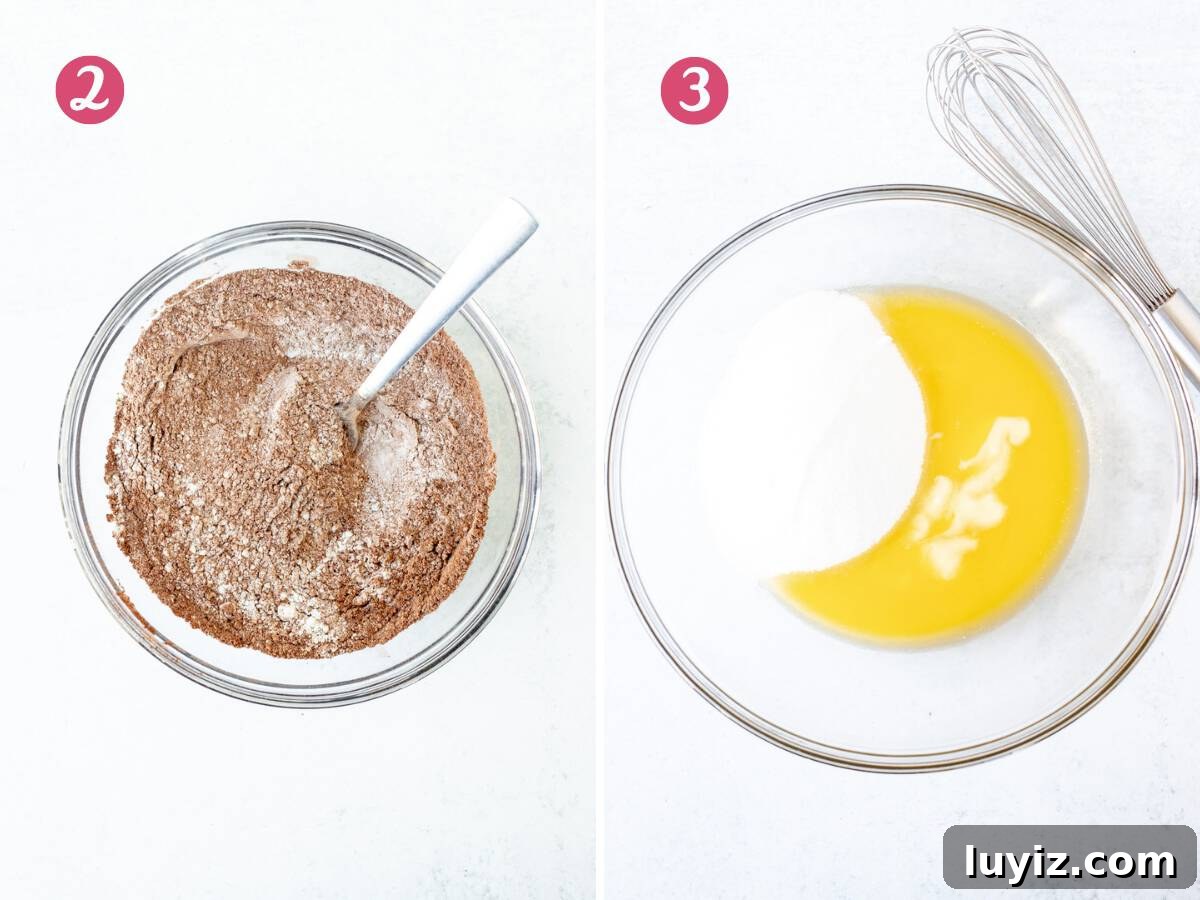
- In a medium bowl, whisk together the flour, cocoa powder, and salt. Red velvet uses less cocoa than a traditional brownie, and this recipe omits baking soda and baking powder to keep the brownies dense and fudgy rather than cakey.
- In a separate large bowl, whisk the melted butter and granulated sugar until the melted butter is fully incorporated and no pools remain.

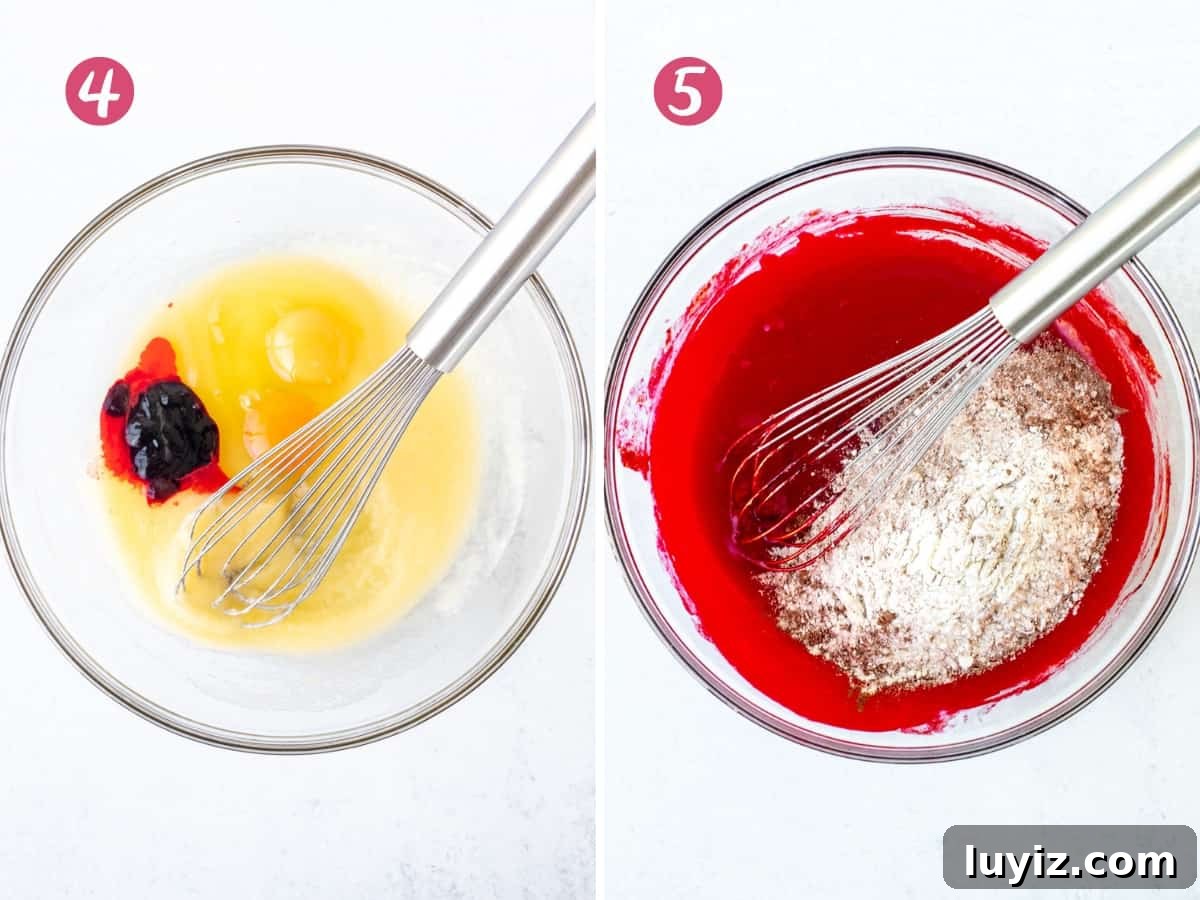
- Add the eggs, red food coloring, vanilla extract, and white vinegar to the butter-sugar mixture. Gel food coloring works well because it gives strong color without thinning the batter. Vinegar adds the classic mild acidity of red velvet. The wet mixture may look very bright red until the dry ingredients are mixed in.
- Fold the dry ingredients into the wet ingredients. Mix only until the batter is uniform and you no longer see streaks or flour clumps; overmixing can affect texture.
Assemble and bake:
- Spoon about half of the batter into the prepared pan and smooth into an even layer.
- Arrange a layer of Oreo cookies over the batter, pressing them down slightly. Four rows of four Oreos fit nicely in an 8×8 pan.
- Drop spoonfuls of the remaining batter over the Oreo layer, distributing them so the cookies are mostly covered.
- Gently spread the top batter to create an even layer over the Oreos. Dropping spoonfuls first makes the spreading step easier.
- Optionally, sprinkle crushed Oreos over the top for extra crunch; about five crushed cookies works well.
Bake in the preheated oven for roughly 25–33 minutes. Oven times vary, and your preferred level of gooeyness affects doneness. A toothpick inserted into the center should come out clean or with a few moist crumbs; if it has wet batter clinging to it, bake a few more minutes.
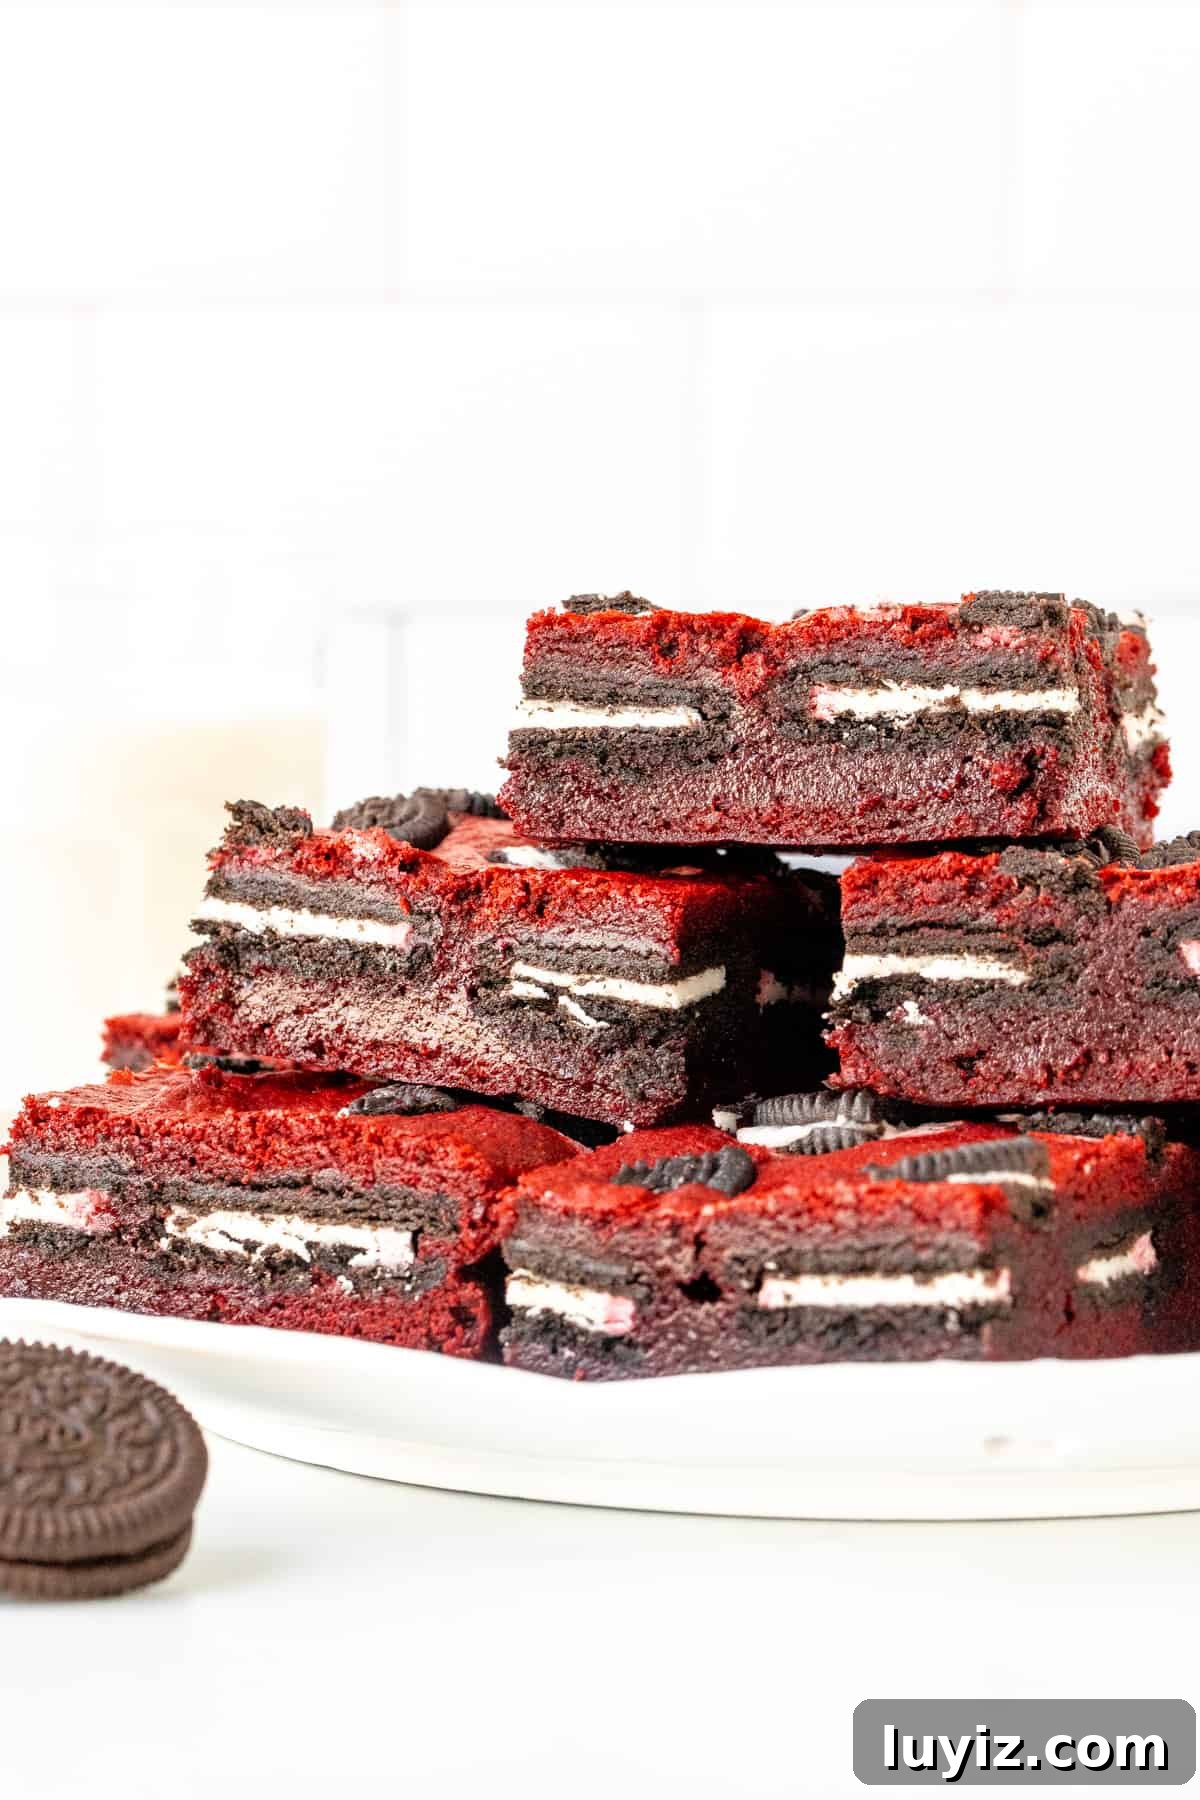
Let the brownies cool completely in the pan—ideally about three hours—so they set and slice cleanly. If you used parchment with an overhang, lift the brownies from the pan and transfer them to a cutting board before slicing. Use a thin, sharp knife and wipe it between cuts to get neat edges.
Pro tip: A thin, sharp knife produces the cleanest brownie slices; wipe the blade after each cut for best results.
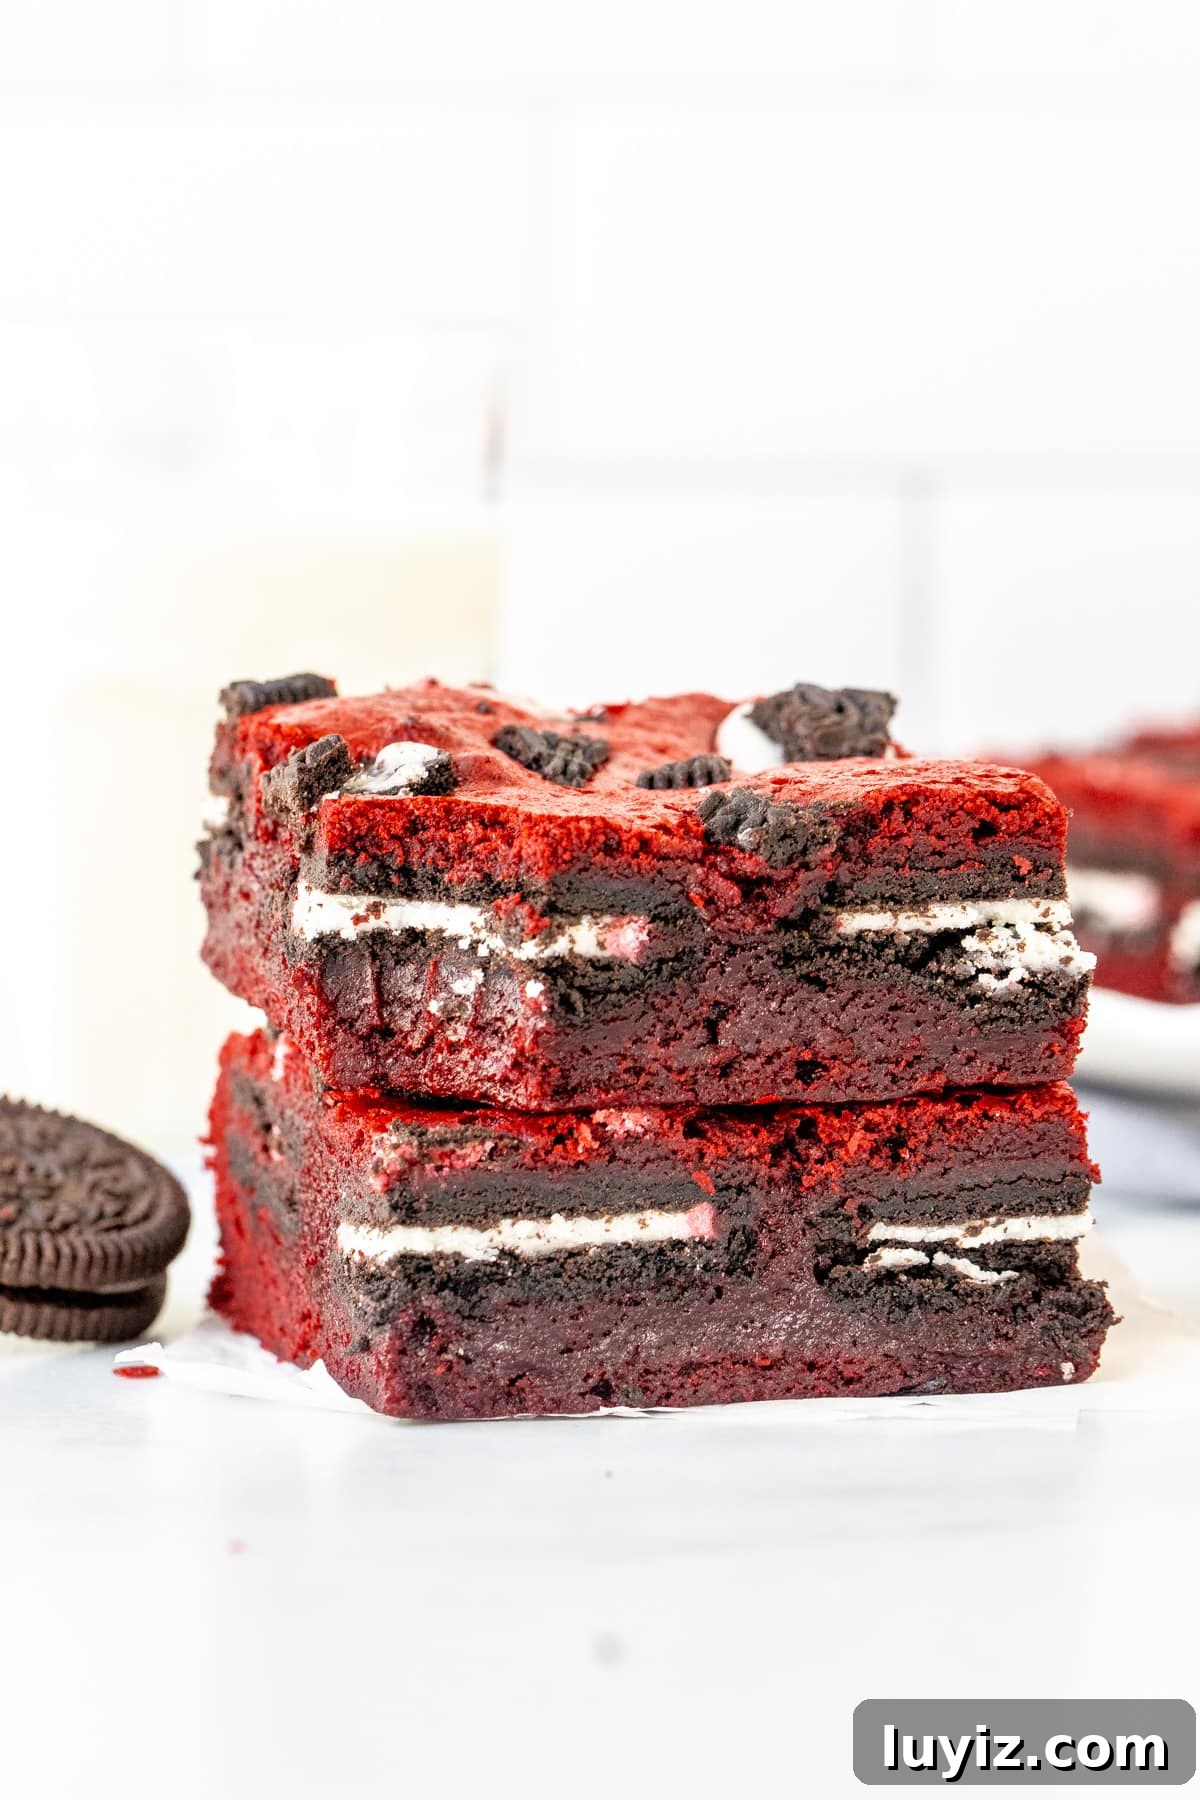
These Oreo-stuffed red velvet brownies are a rich, playful take on classic red velvet treats. They’re fudgy, slightly gooey, and studded with Oreos for extra texture and chocolate flavor—perfect if you want something beyond the usual cupcake or cake.
Oreo Stuffed Red Velvet Brownies
Equipment
-
8×8 inch (20×20 cm) pan
Ingredients
- 1 1/4 cup all-purpose flour (156 grams)
- 1/4 cup cocoa powder (22 grams)
- 1/4 teaspoon salt
- 3/4 cup unsalted butter (168 grams), melted and cooled slightly
- 1 1/4 cup granulated sugar (250 grams)
- 2 large eggs
- 1 tablespoon red food coloring, gel recommended
- 2 teaspoons vanilla extract
- 1 teaspoon white vinegar
- 22 Oreo cookies, you will only need 16 if you don’t plan on adding crushed Oreos on top
Instructions
-
Preheat the oven to 350°F (180°C). Line an 8×8-inch (20×20 cm) pan with parchment paper leaving an overhang. Lightly grease the pan first so the parchment adheres, or simply grease the pan.
-
Whisk together the flour, cocoa, and salt in a medium bowl and set aside.
-
In a large bowl, whisk the melted butter and sugar until the butter is fully incorporated and no pools remain.
-
Whisk in the eggs, red food coloring, vanilla, and vinegar until the mixture is even in color and texture. It will look very red before adding the dry ingredients.
-
Add the dry ingredients to the wet ingredients, sifting the cocoa if it’s lumpy. Stir gently until there are no streaks or lumps.
-
Pour half the batter into the prepared pan and spread evenly.
-
Place four rows of four Oreo cookies on top of the batter and press them down slightly.
-
Drop spoonfuls of the remaining batter over the Oreo layer so the cookies are evenly covered, then gently spread to form an even top layer.
-
Chop or crumble the remaining Oreos and sprinkle them over the top if desired.
-
Bake in the center of the oven for about 30–33 minutes, or until the top is set and an inserted toothpick comes out clean or with a few moist crumbs. Adjust baking time based on how gooey you prefer the brownies.
-
Cool the brownies in the pan until they are no longer warm to the touch, which may take a few hours.
-
When cool, lift the brownies from the pan using the parchment overhang and slice on a cutting board, or slice directly in a greased pan. Use a thin, sharp knife and wipe between slices for clean edges.
Notes
- Cocoa: Dutch-processed cocoa was used here, but natural cocoa will work. Darker cocoa yields a deeper red or burgundy color.
- Food coloring: Gel food coloring gives a richer red without thinning the batter; adjust amount to your preferred color intensity.
- Storage: Store brownies in an airtight container at room temperature or refrigerated for up to 4 days.
- Servings & Nutrition: Nutrition info is an estimate based on 12 large brownies. You may get 16 smaller brownies from this recipe.
Nutrition
Like this recipe? Rate and comment below!