Quick No-Bake Chocolate Peanut Butter Fudge
This simple homemade Chocolate Peanut Butter Fudge is a no-bake treat that anyone who loves chocolate and peanut butter will enjoy!
- Prep
- 15 mins
- Chill Time
- 1 hr
- Total
- 1 hr 15 mins
- Makes
- 49 servings
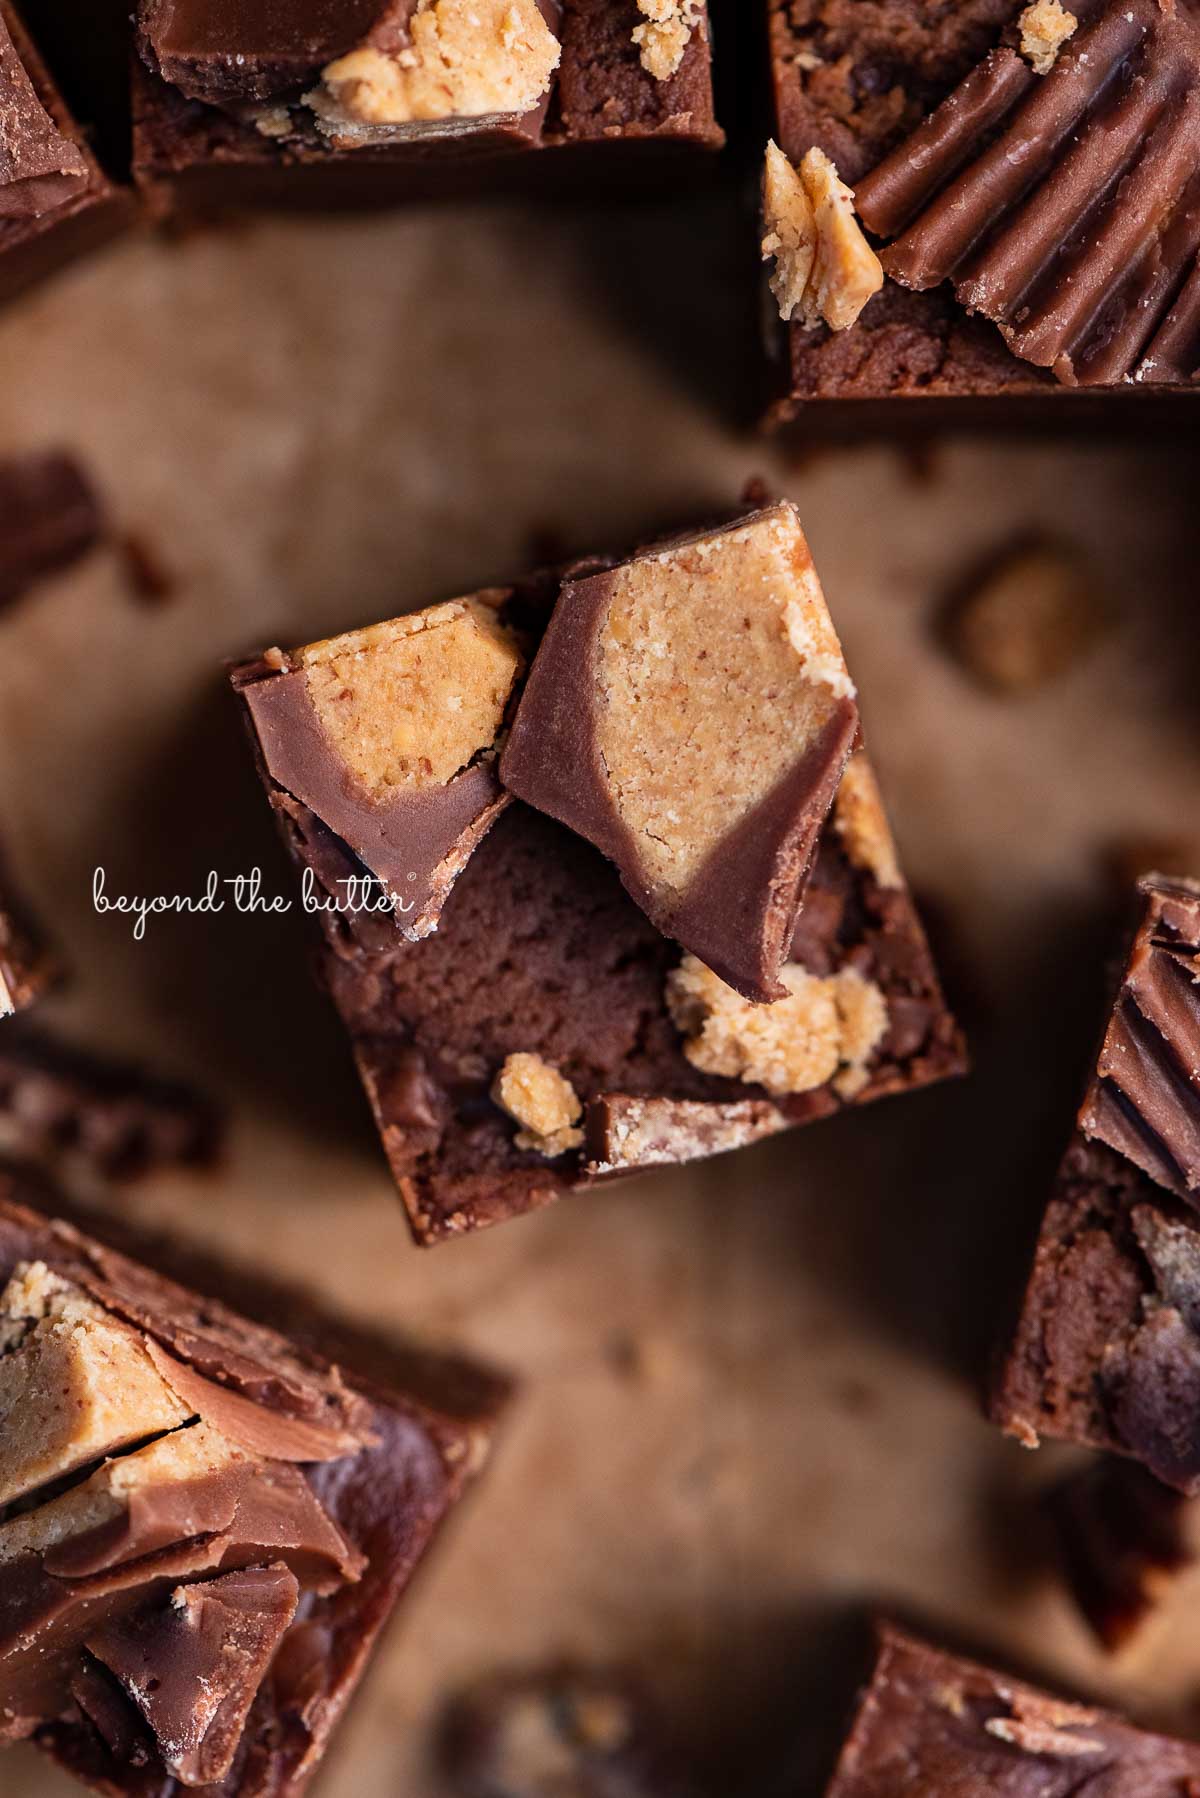
This simple homemade Chocolate Peanut Butter Fudge is a no-bake treat for anyone who loves chocolate and peanut butter together! It's silky and rich, needs only six ingredients, and comes together in under 15 minutes!
I always love an easy no-bake dessert, like my Easy Blender Chocolate Mousse, Homemade Chocolate Truffles, and this Chocolate Peanut Butter Fudge is no different! It's a childhood favorite of mine that's very simple to whip up! If you need to feed a small group, this recipe never disappoints!
If you like this fudge, you'll also want to try my No Bake Chocolate Cream Pie, Chocolate Covered Peanut Butter Hearts, Homemade Peppermint Patties, or my Chocolate Marshmallow Tart!
What You'll Need
You only need six ingredients for this easy chocolate peanut butter fudge, so the shopping list is short.
- Semi-Sweet Chocolate Chips. You can also swap in a good quality 60% or 70% dark chocolate. I went with Ghirardelli semi-sweet chips.
- Peanut Butter. Choose a creamy, no-stir variety. My picks are Wegman's creamy peanut butter or Jif's natural peanut butter.
- Sweetened Condensed Milk. Grab a full 14-ounce can. Be careful not to pick up evaporated milk instead, because it is not the same product!
- Mini Peanut Butter Cups. These get chopped and sprinkled on top! Reese's is a reliable choice, and ALDI makes its own version that is fantastic.
- Vanilla Extract and Salt. Vanilla and a pinch of salt balance out the sweetness and bring the flavors together.
I haven't tested this recipe with any other ingredients or techniques. If you want a different fudge method that uses heavy cream, try my Cookies and Cream Fudge!
Directions
Step 1. Chop the mini peanut butter cups. I chopped nearly a full bag of them. Set them aside, since they go on top in a few minutes!
Step 2. Melt the chocolate chips into the condensed milk. Combine both in a large glass bowl. I microwaved them together for 1 minute at full power, stirring until most of the chips had melted into the milk. Then I heated them again for 30 seconds at 60% power.
Step 3. Stir in the peanut butter. I used 1 3/4 cups of creamy peanut butter. For a richer chocolate taste, cut that back to 1 1/2 cups or even 1 cup. Mix in the vanilla and salt, then stir everything together. Leaving a few swirls of peanut butter is fine.
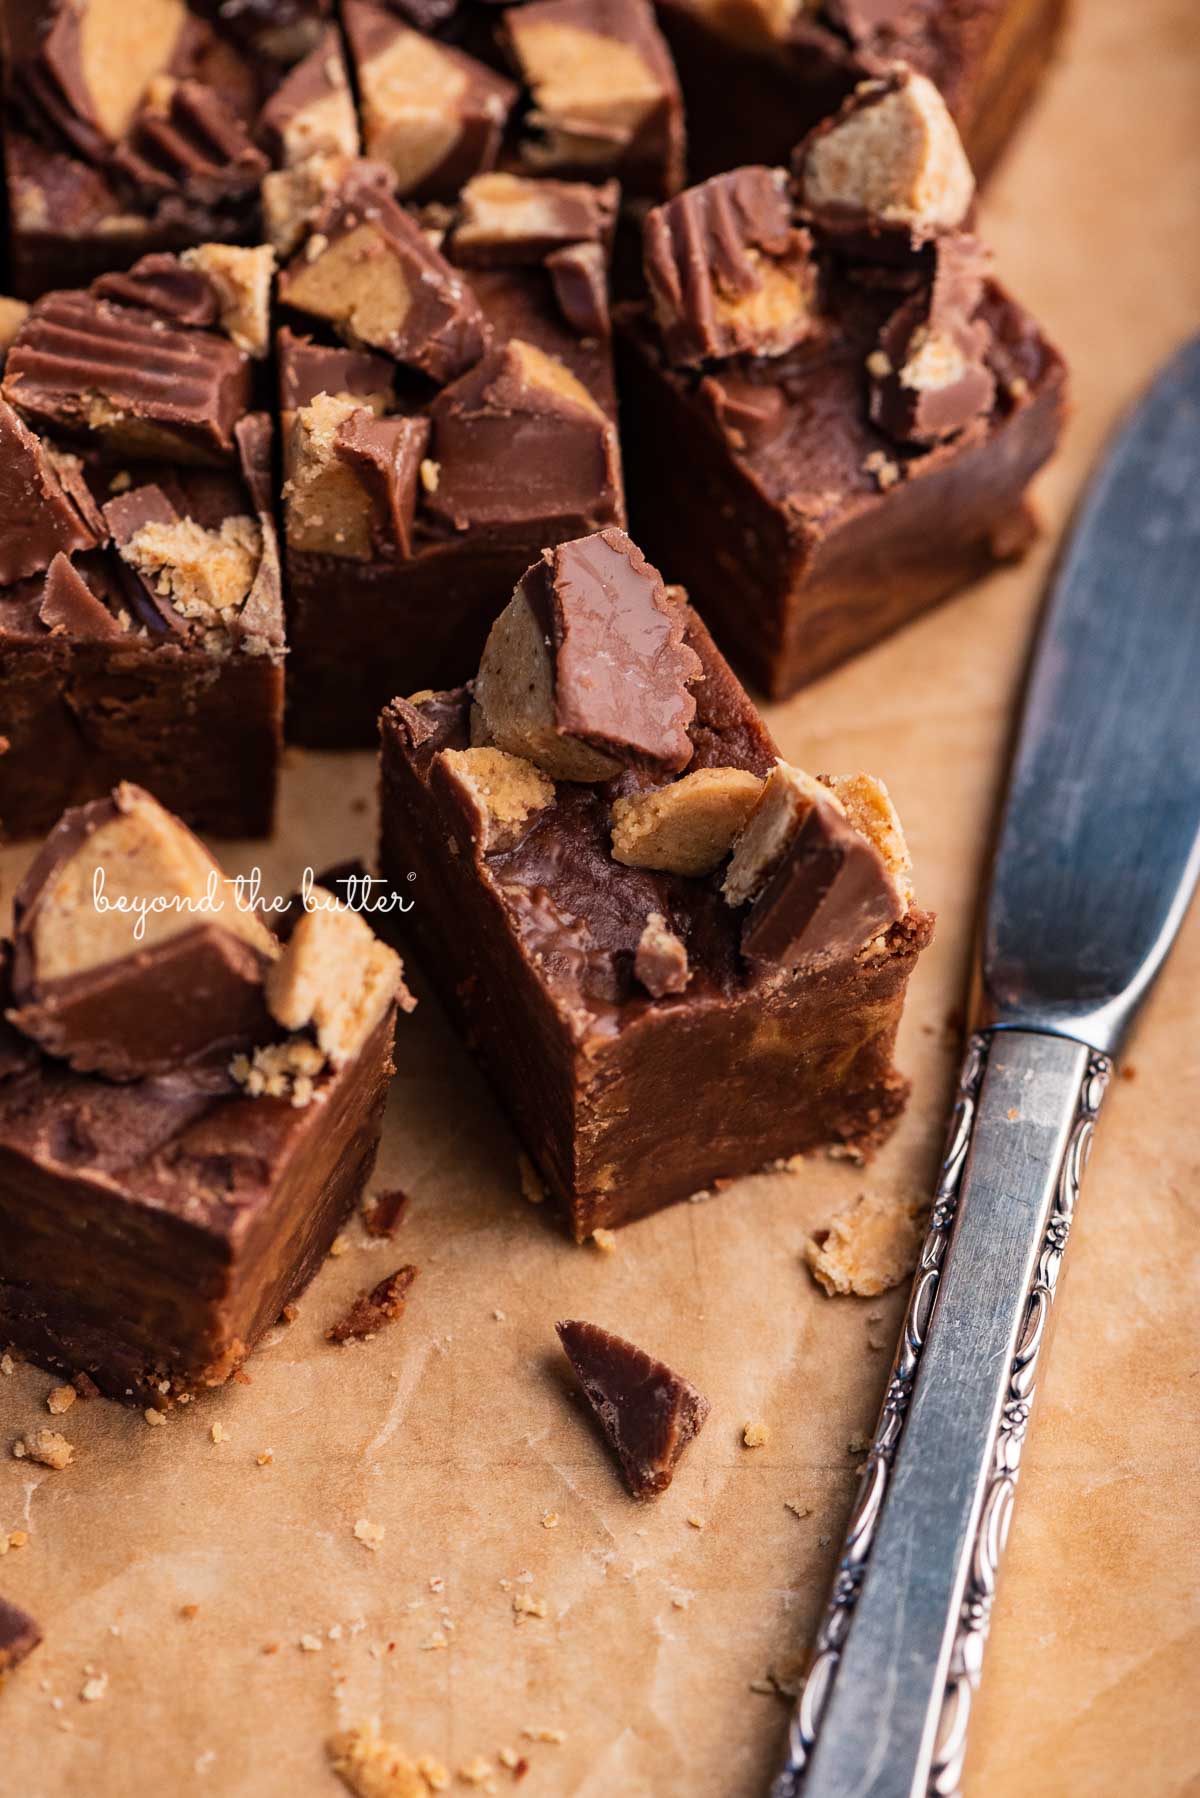
Step 4. Move it to the pan. Spread the fudge evenly with a spatula. Press the chopped peanut butter cups into the top gently, since the fudge will begin setting right away.
Step 5. Refrigerate the fudge. It needs at least 1 hour, but leaving it overnight works too. It also freezes well for up to 3 months.
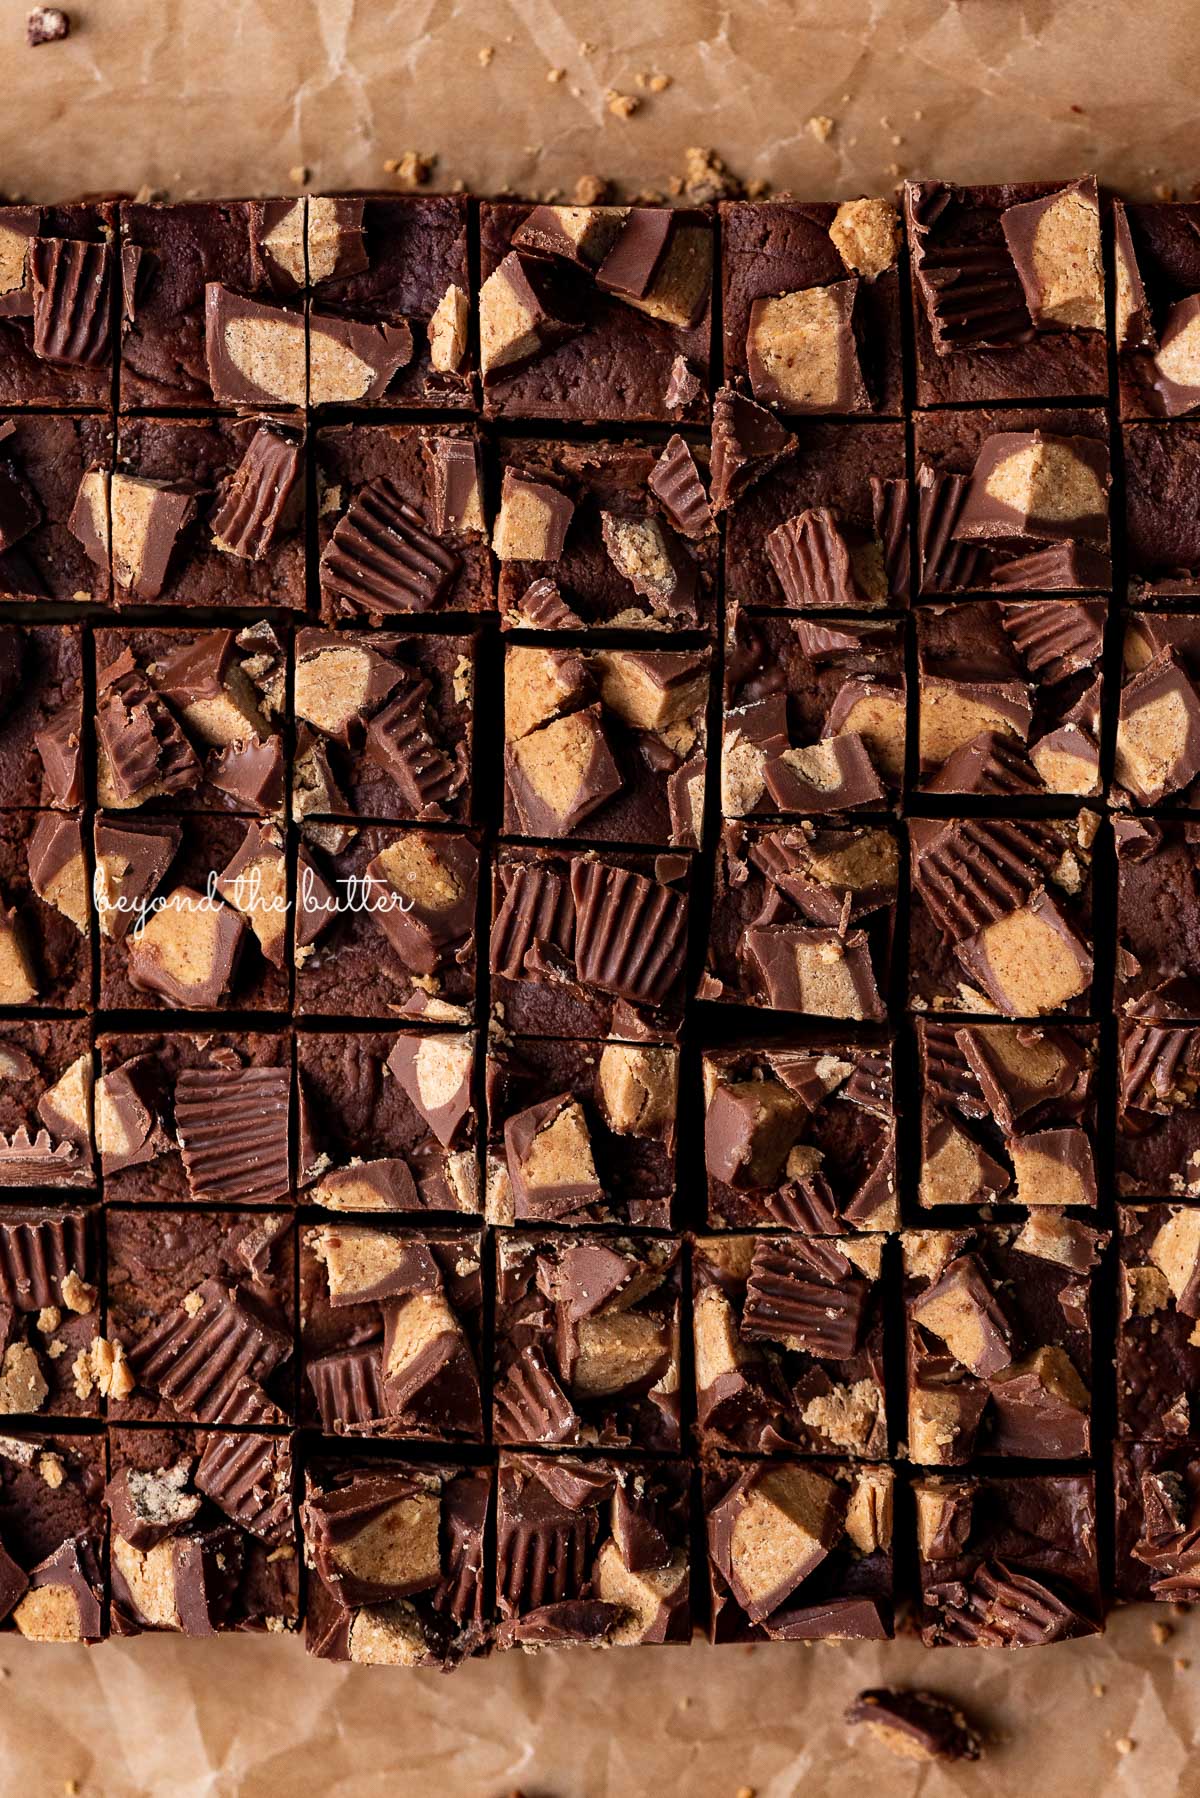
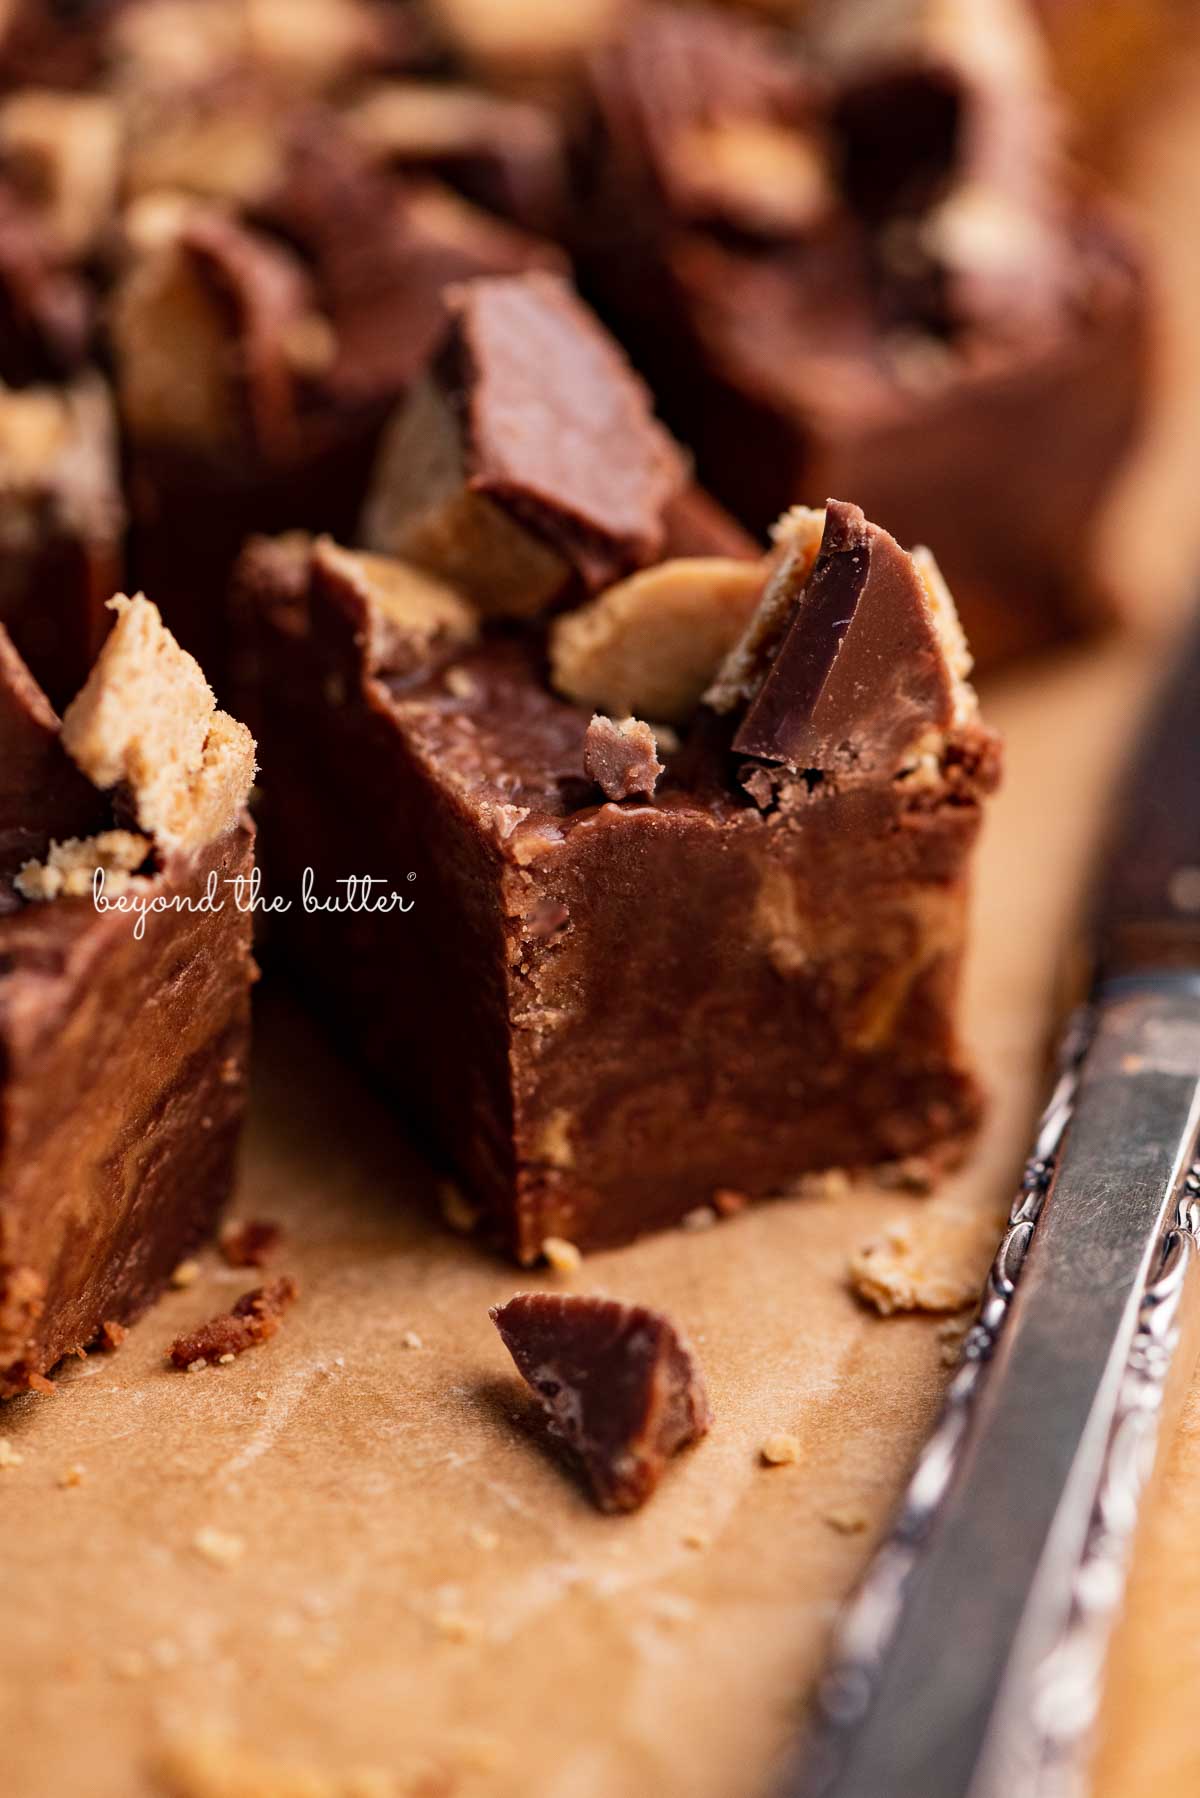
Quick Tip: For neat slices, run your knife under hot water, wipe it dry with a clean kitchen towel, then make the cut.
Useful Equipment
The tool list for this easy chocolate peanut butter fudge is nearly as brief as the ingredient list!
- 9-inch Square Baking Pan. I used my Wilton 9-inch pan, though an 8-inch square pan gives you a slightly thicker fudge. If you want it thinner, a small jelly roll pan or baking sheet with 1-2 inch sides works.
- Aluminum Foil or Parchment Paper. Go with a nonstick foil or parchment to line the bottom and sides of the pan. Skipping it is fine, but the fudge is much easier to cut once it's out of the pan.
- Large Glass Mixing Bowl. One bowl handles all the mixing (except the mini peanut butter cups).
- Whisk and Spatula. My favorite brand is GIR, short for Get it Right. Their tools are well made and come in great colors!
- Microwave. You don't need the stove for melting the chocolate and condensed milk. Keeping things simple!
- Cutting Board and Knife. You'll use these to chop the peanut butter cups and then to cut the finished fudge into squares.
Frequently Asked Questions
What size baking pan did you use?I used my Wilton 9-inch baking pan here. I like my Nordic Ware pans, but their ridged sides and bottoms would have left marks on the fudge, which I wanted to avoid.
An 8-inch baking pan also works if you want a slightly thicker layer.
Only if you stir the peanut butter very thoroughly so no oil is visible. Otherwise I wouldn't. Stick with the creamy, no-stir kind.
What is the best way to store fudge?Keep the fudge in an airtight container in the refrigerator, with wax paper between the layers so the pieces don't stick together.
Can I freeze fudge?Definitely! Wrap it well in plastic wrap and, if you like, aluminum foil, then store it in an airtight container in the freezer for up to 3 months. If you froze it as one 9-inch square, let it reach room temperature before you cut it.
More Chocolate Peanut Butter Favorites!
Quick No-Bake Chocolate Peanut Butter Fudge
This simple Chocolate Peanut Butter Fudge is a no-bake treat made for anyone who loves chocolate and peanut butter! It's creamy, delicious, and ready in under 15 minutes!
- Prep
- 15 mins
- Chill Time
- 1 hr
- Total
- 1 hr 15 mins
- Makes
- 49 servings
Ingredients
- 25-30 Mini Peanut Butter Cups, chopped into small bits
- 14 oz Sweetened Condensed Milk
- 12 oz Semi-Sweet Chocolate Chips
- 1 3/4 cups Creamy Peanut Butter
- 1 tsp Vanilla Extract
- 1/8 tsp Salt
Method
- Line the bottom and sides of a 9-inch square pan with parchment paper or aluminum foil, then set it aside.
- Chop the mini peanut butter cups into small pieces and set them aside.
- Put the sweetened condensed milk and semi-sweet chocolate chips in a large microwave-safe bowl. Microwave on full power for 1 minute. Stir, then keep heating in 30-45 second bursts at 60% power until the chocolate is fully melted into the milk.
- Mix in the peanut butter, vanilla extract, and salt until the mixture is smooth and well blended.
- Spread the mixture into the prepared 9-inch square pan and scatter the chopped peanut butter cups over the top. The fudge will start to firm up as you add them.
- Refrigerate uncovered for at least 1 hour so it can set. The longer it chills, the better!
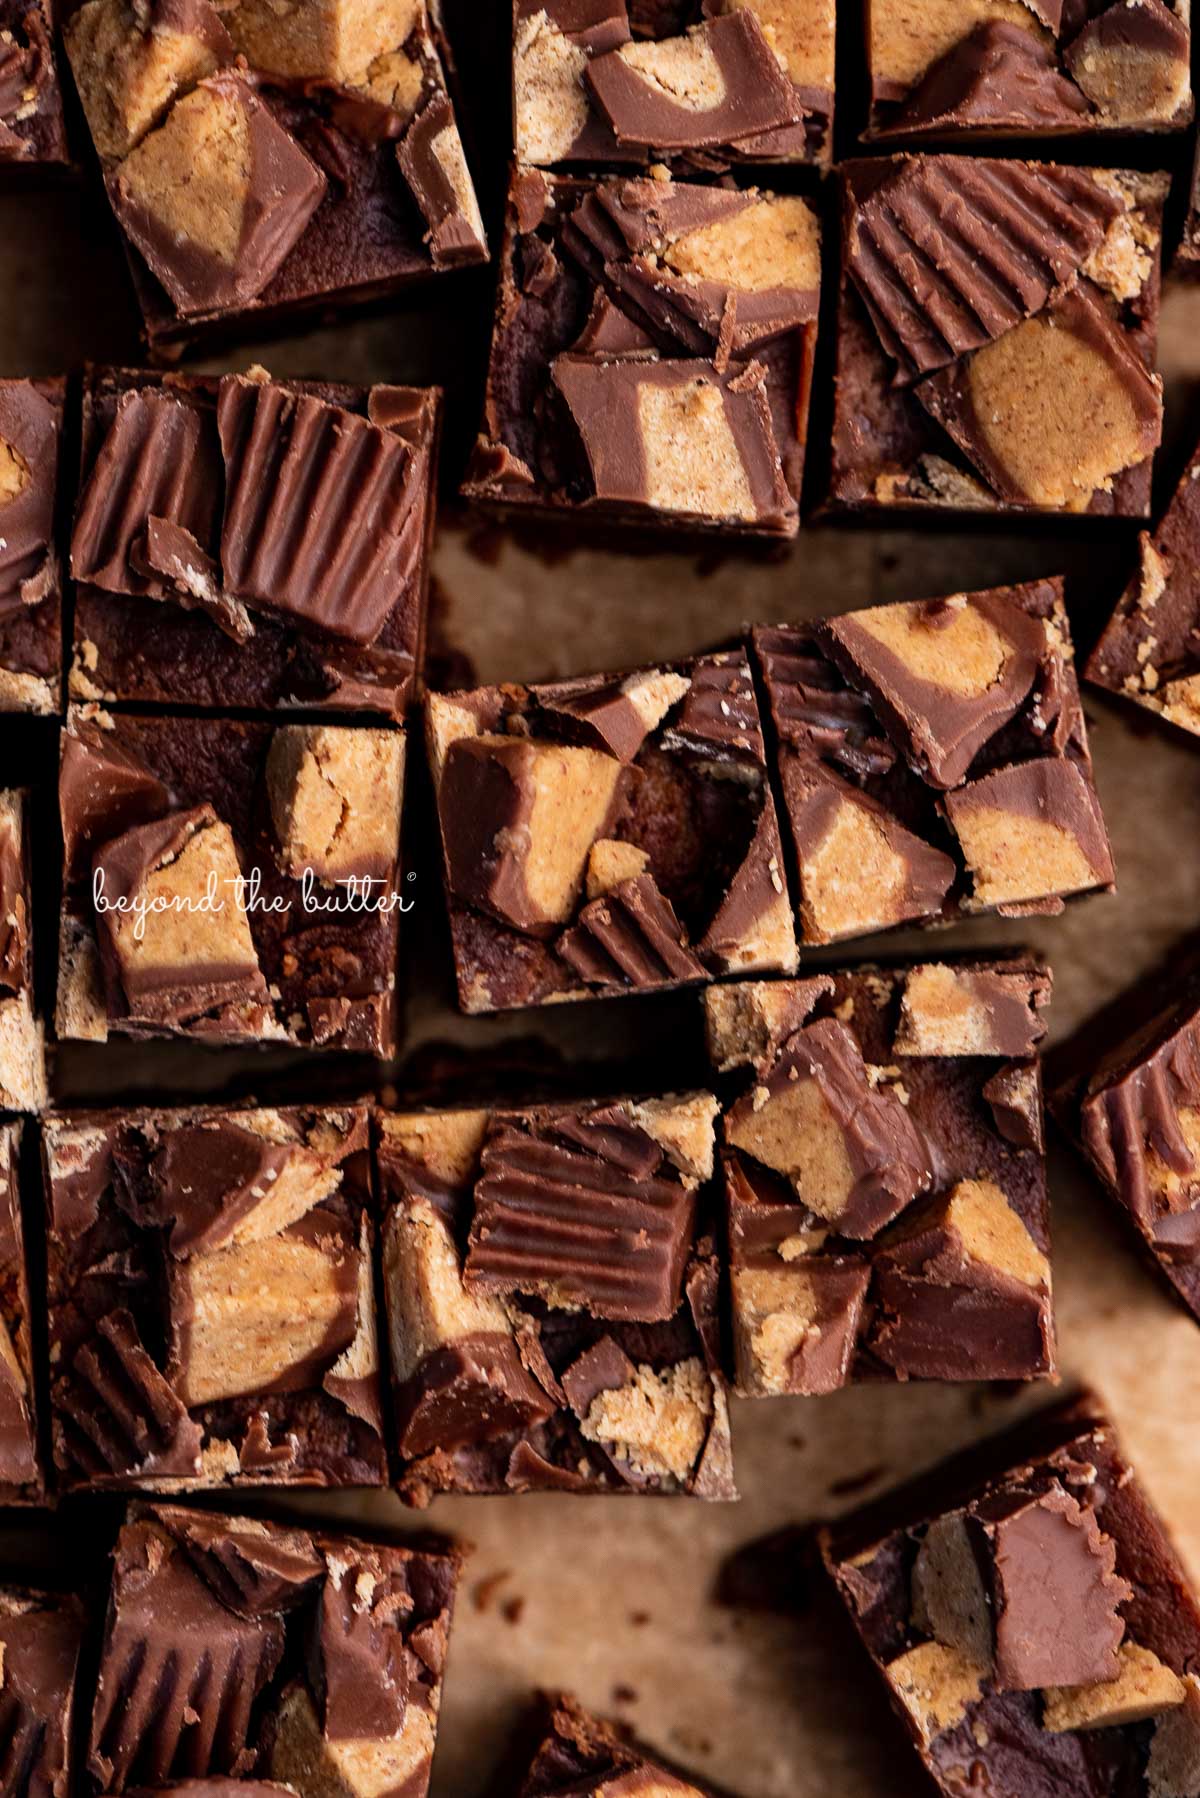
- Lift the fudge out of the pan and cut it into squares. I made small 1 inch pieces, but you can make them larger if you like.
- Store the fudge in an airtight container at room temperature or in the refrigerator (with wax paper between layers) for up to 2 weeks. For longer storage, freeze it tightly wrapped in plastic wrap inside an airtight container for up to 3 months.
Baker’s notes
- After trimming the edges and cutting the fudge into 1-inch squares, this recipe makes about 49 squares.