Ooey Gooey Rice Krispie Treats
There is a good reason these rice krispie treats rank among the top recipes you will find: they are ooey-gooey, buttery, and packed with marshmallowy goodness!
- Prep
- 20 mins
- Total
- 1 hr 20 mins
- Makes
- 24 servings
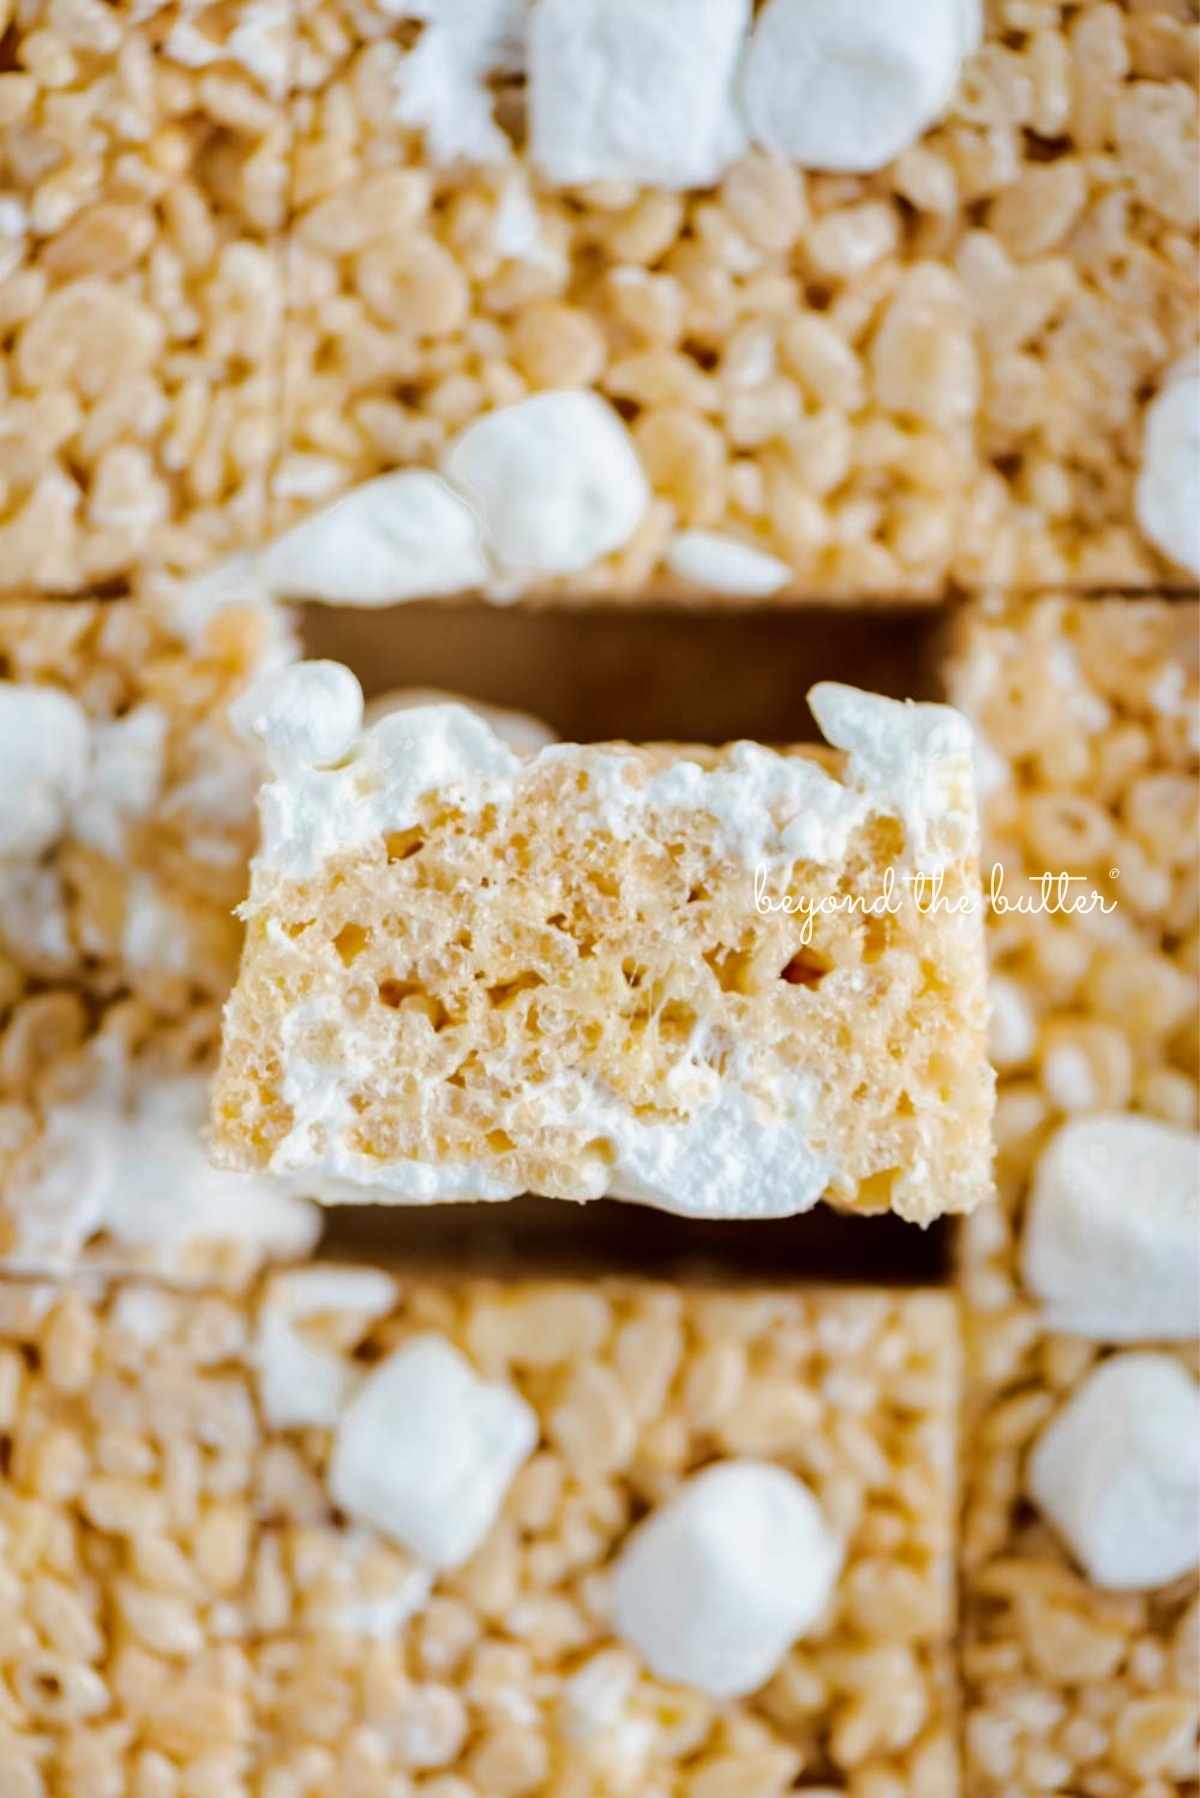
These are the best Rice Krispie Treats recipe for good reason. They are ooey-gooey, buttery, and loaded with marshmallow goodness! They take less than 20 minutes to make and need a minimum of 1 hour to set, and then they are ready to eat!
Why You Will Love This Recipe

I know almost everyone says their rice krispie treats are the best, but friends, these really, truly are the best, no joke! My family, my husband, his coworkers, and our neighbors can all vouch for how good they are!
They are soft and gooey, buttery, and loaded with mini marshmallows! The key step is stirring in extra mini marshmallows after the crispy rice cereal goes in. That is what gives them the classic rice krispie treat texture!
They come together in less than 20 minutes, need at least one hour to set, and then you can slice them into squares and enjoy! They are great for summer picnics, holiday parties (like the 4th of July!), birthdays, or any other time.
Dig in!
Shopping List
The ingredients below make these easy rice krispie treats. The items in the bulleted list are key ingredients that need a little extra explanation.
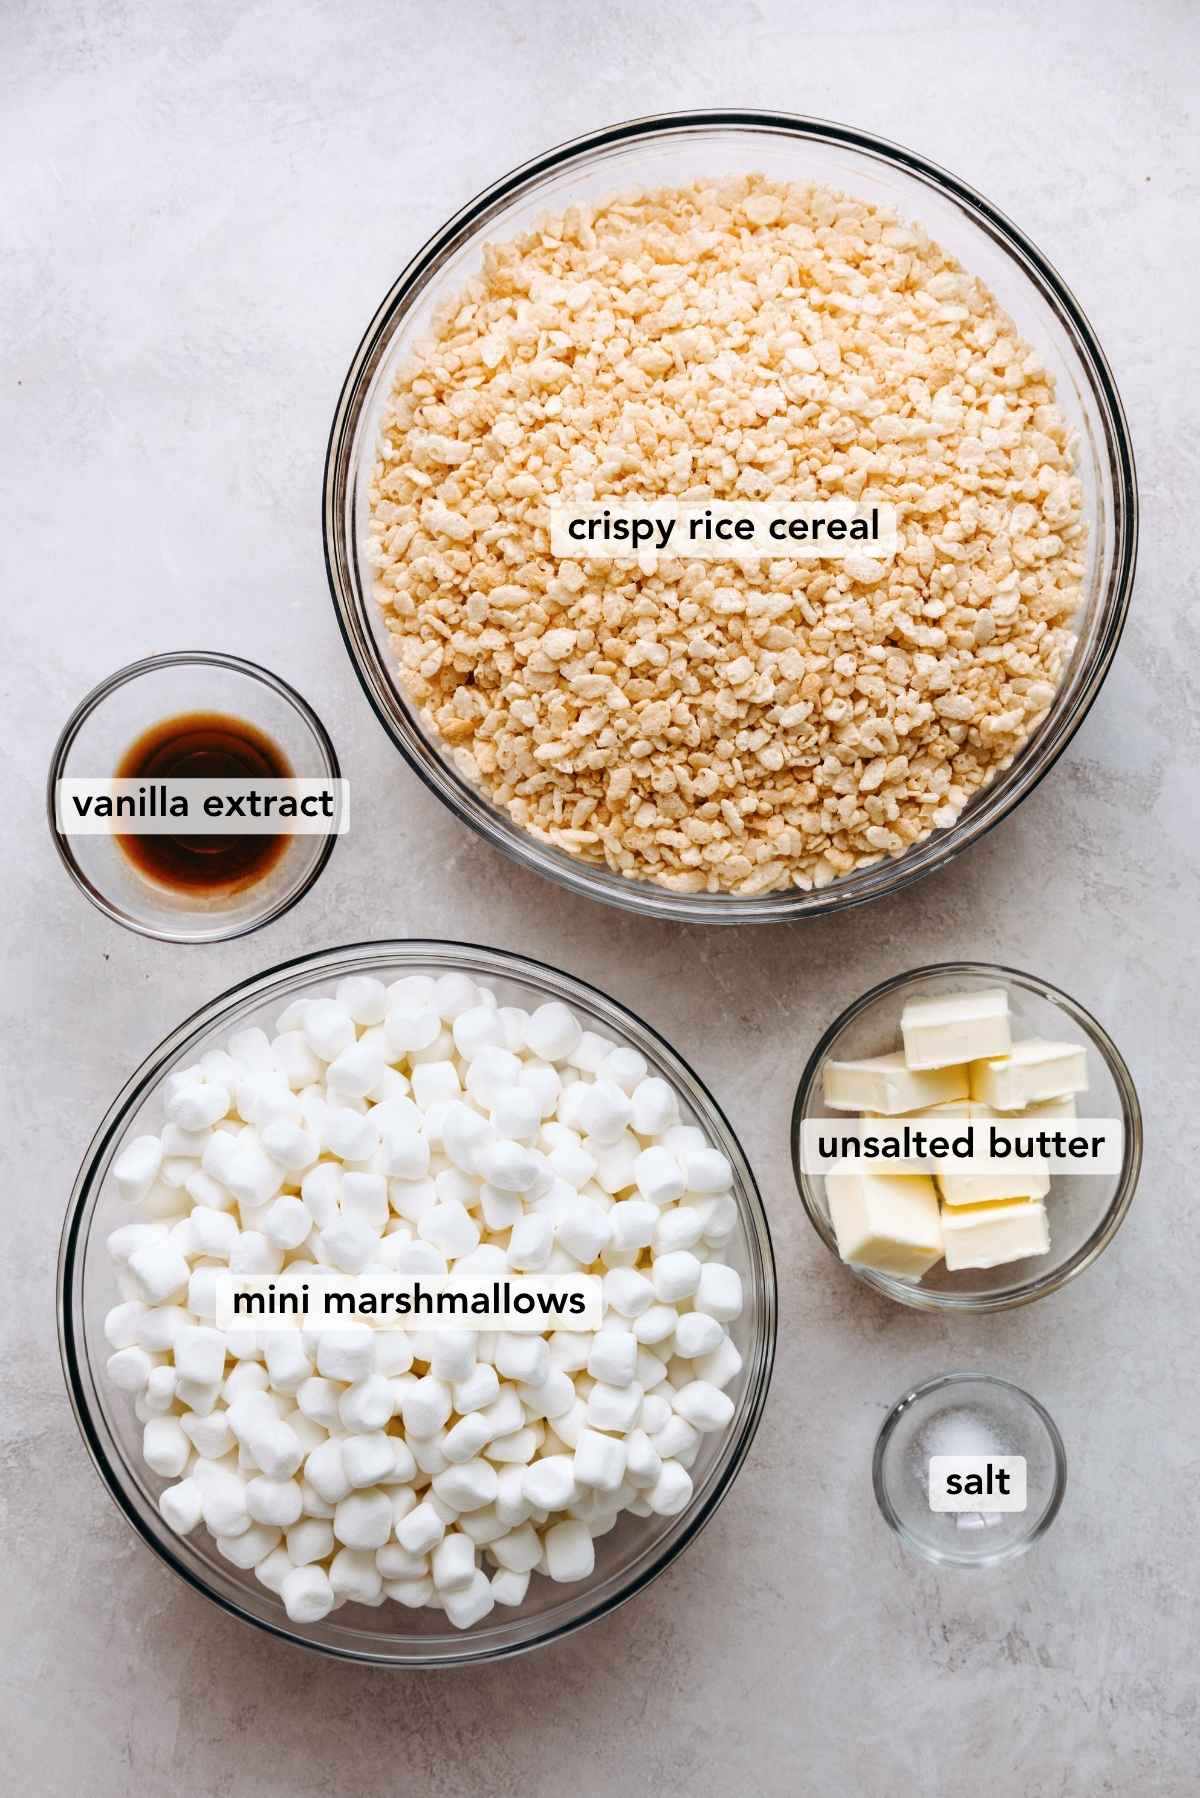
- Unsalted Butter. I usually reach for unsalted butter, but salted butter cuts down on the sweetness a bit. If you use salted butter, leave out the salt called for in the recipe.
- Vanilla Extract. Vanilla extract paste works here too. Now and then I add 1/4 teaspoon of almond extract, but that step is optional.
- Mini Marshmallows. This goes without saying, but make sure your mini marshmallows are fresh. Stale ones do not melt as well. You can spot stale ones by a thick, dry outer skin. Mini marshmallows are preferred over large ones.
- Crispy Rice Cereal. I have used both store-brand crispy rice cereal and name-brand Rice Krispies, and both turn out fine! I usually buy whichever is on sale at my grocery store that week.
For quantities and instructions, see the recipe card below.
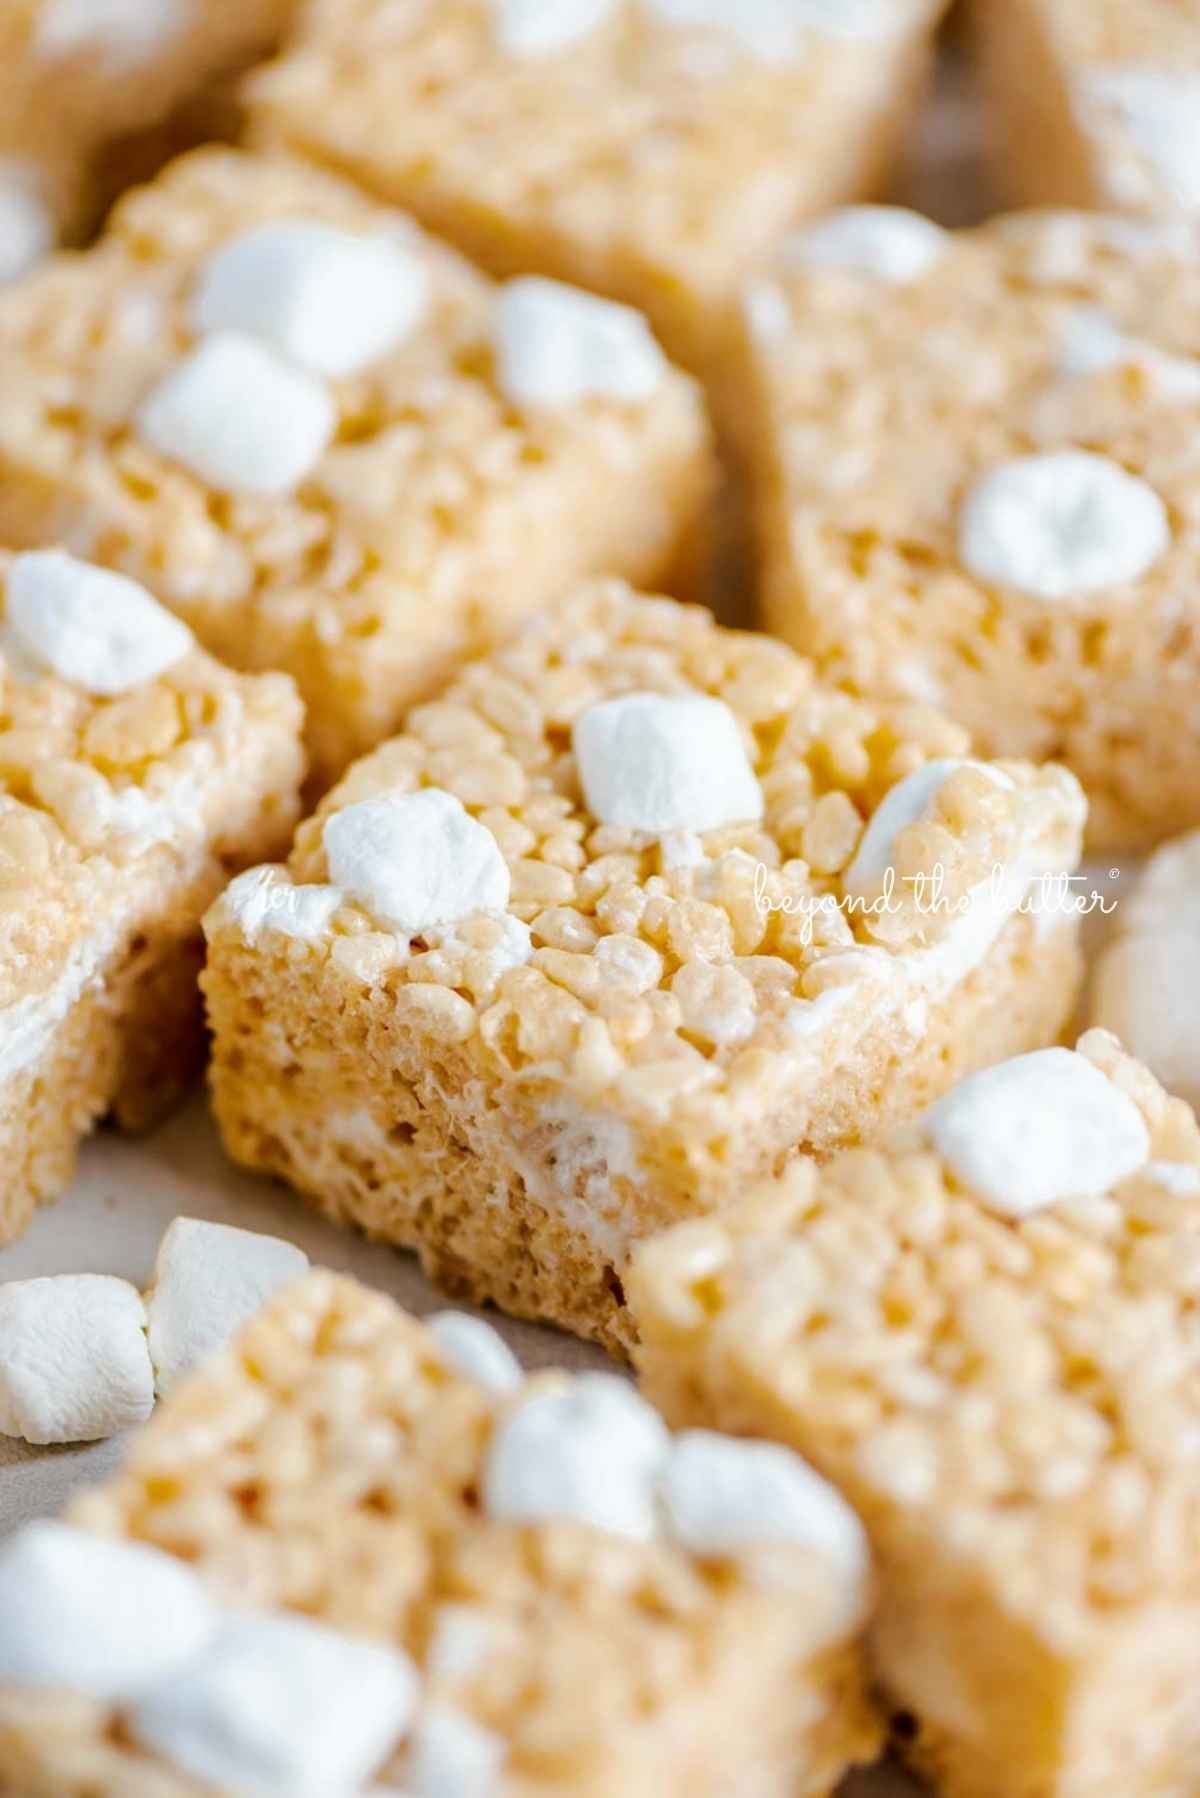
How to Make the Recipe
Here is a quick look at how to make this classic Rice Krispies treat recipe. For the full printable recipe, with US customary or metric measurements, see the recipe card below.
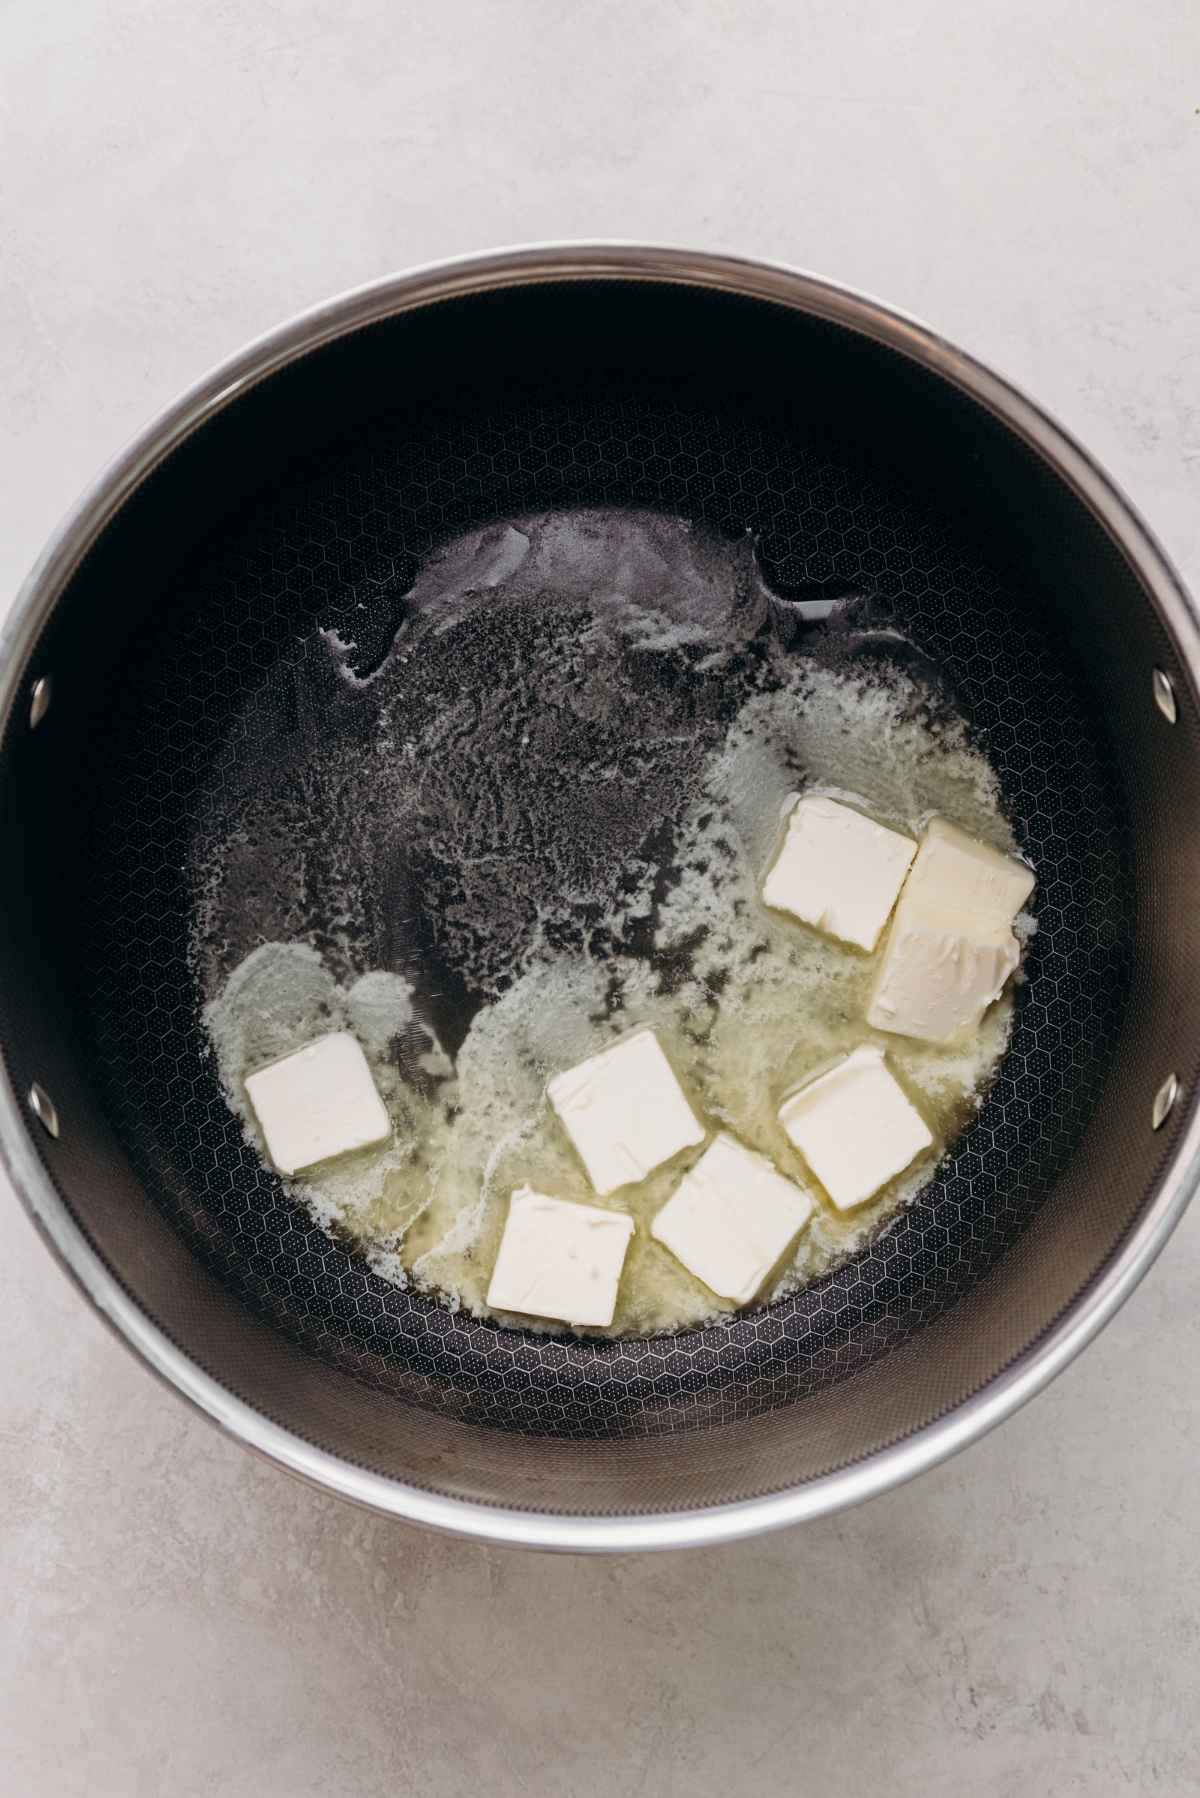
Step 1. Melt the butter in a large stockpot (4-5 quarts) over medium heat.
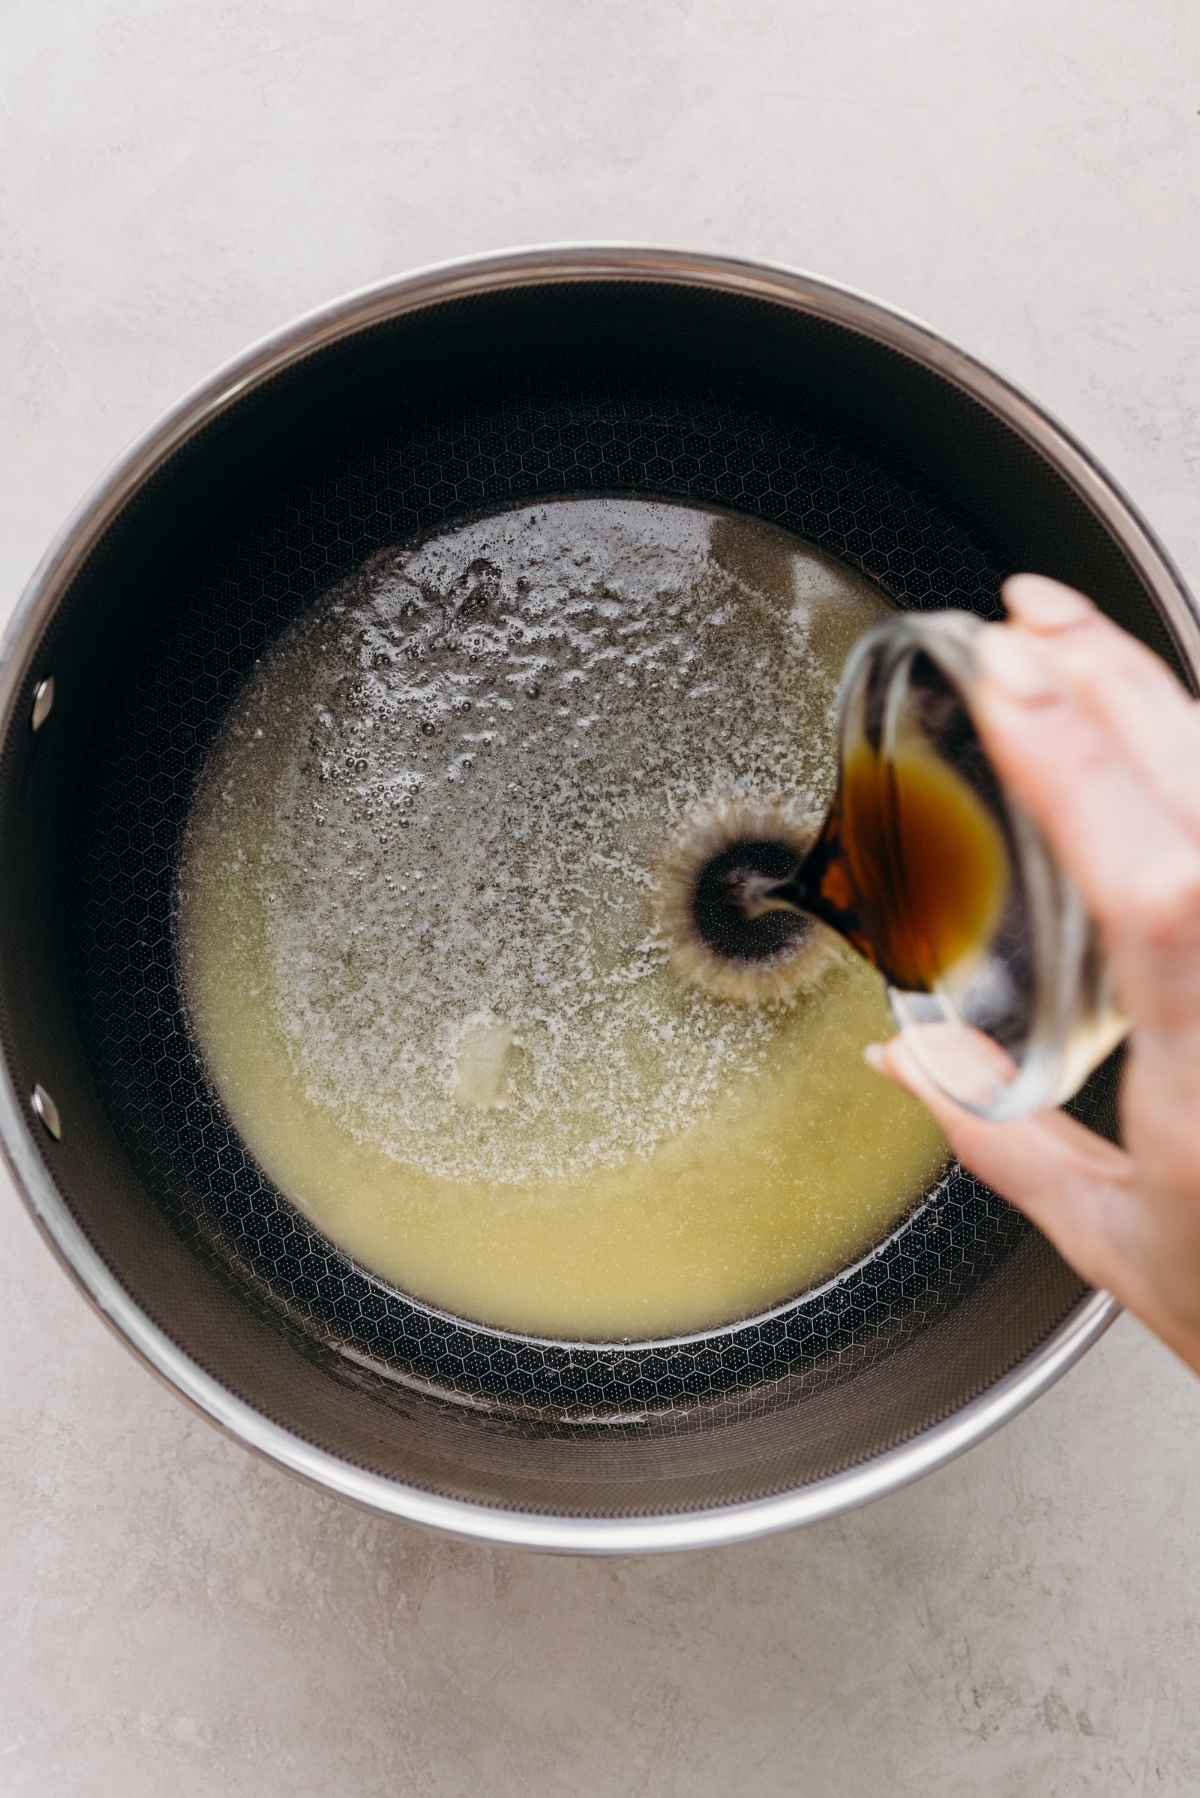
Step 2. Stir in the vanilla extract and salt. If you are using salted butter, skip the salt in this step.
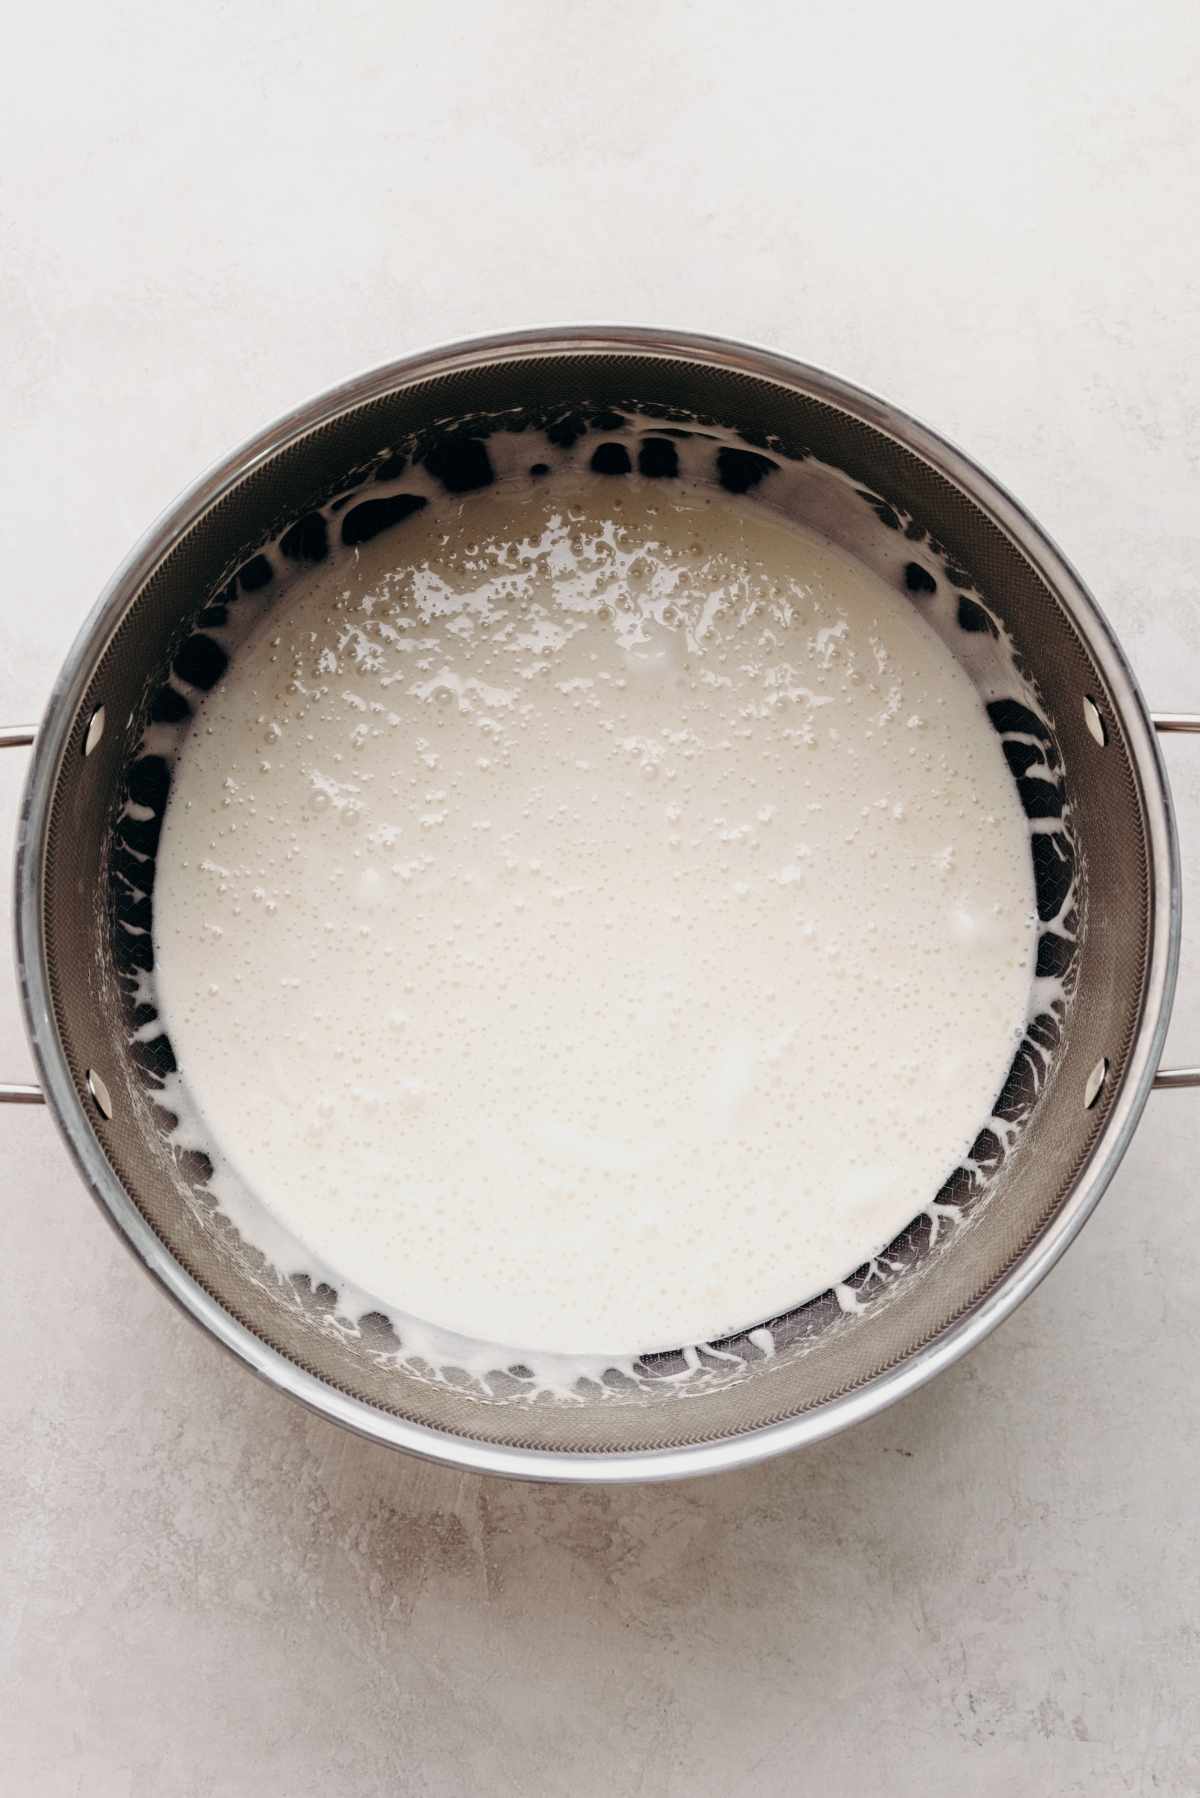
Step 3. Lower the heat and stir in 1 1/2 bags of mini marshmallows. Save the other 1/2 bag for later.
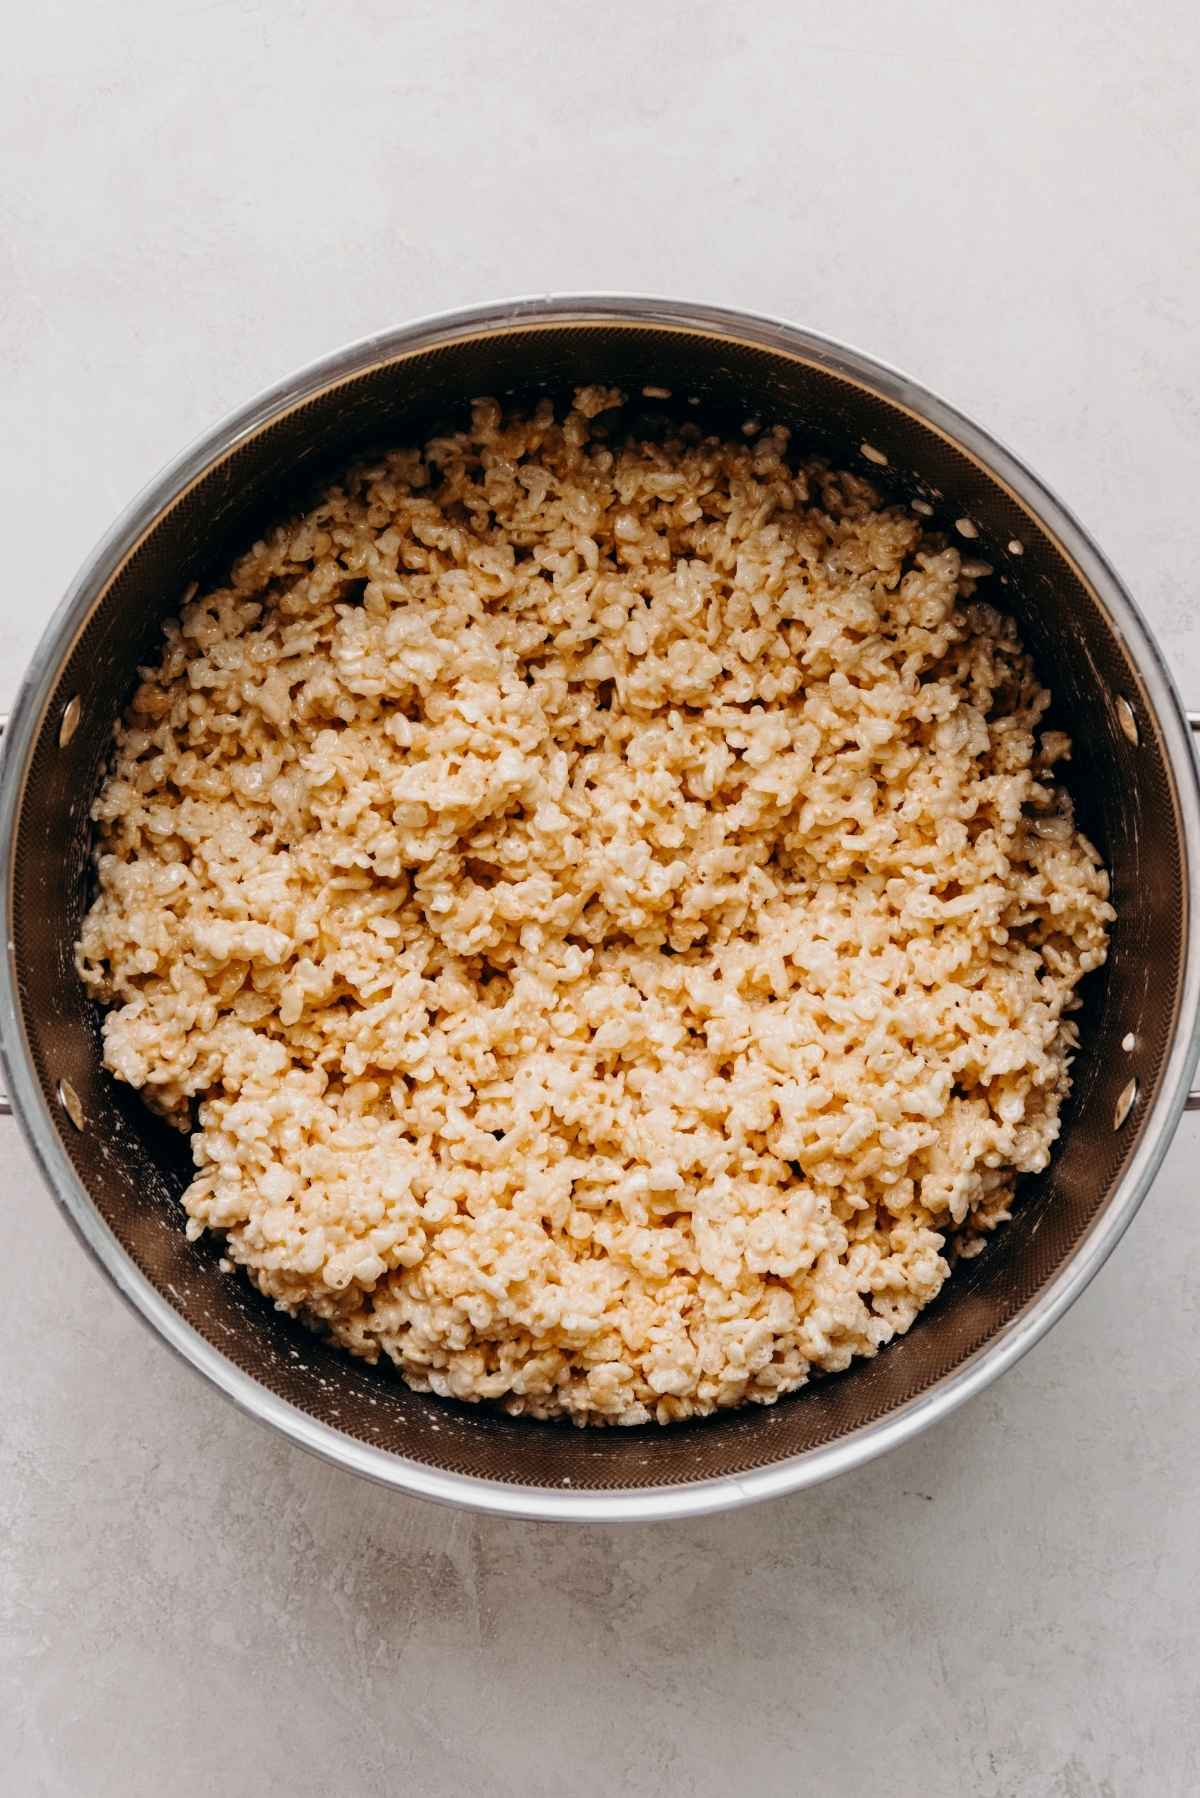
Step 4. Take the pot off the heat and stir in the Rice Krispies cereal until everything is fully combined.

Step 5. Fold in the remaining 1/2 bag of mini marshmallows until they are spread evenly through the mixture. Do not keep stirring until they melt. You want to see those marshmallows!
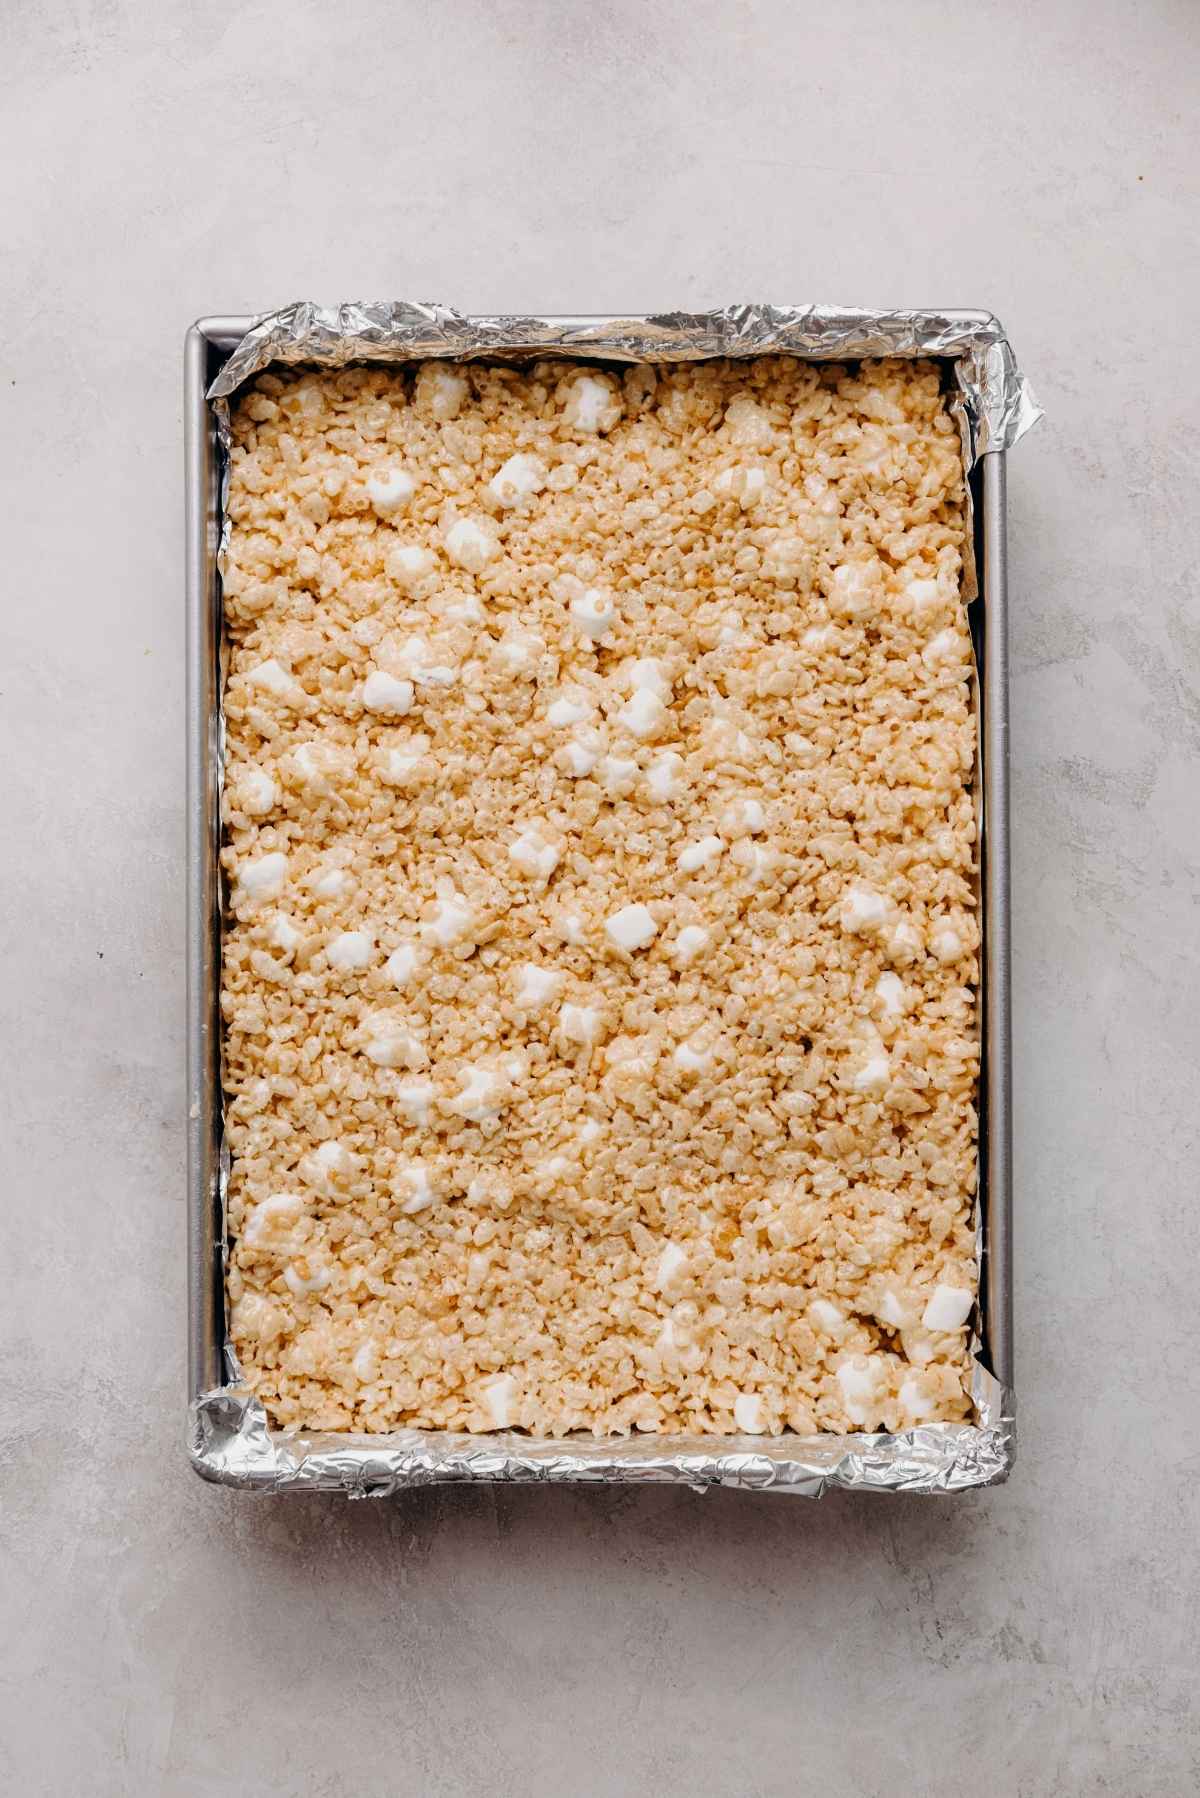
Step 6. Scrape the mixture into the prepared pan. Press it down and smooth it until level. Let it set for at least 1 hour, then cut into slices and enjoy!
How to Store Them
Once cut into squares, keep the treats in an airtight container at room temperature for up to 5 days. I suggest wrapping each one individually in plastic wrap, since that keeps them soft.
You can refrigerate them for a few extra days, but I do not really recommend it, because they turn rock-hard.
Recommended Tools
These are the tools I rely on every time I make my rice krispie treats!
- 9″ x 13″ Rectangular Baking Pan. I own a few rectangular baking pans, but my favorite is my Nordic Ware pan. It is affordable and sturdy, it comes with a lid (which doubles as a small cookie sheet when needed), and I love its vintage look.
- Aluminum Foil / Parchment Paper / or Wax Paper. I like laying overlapping sheets of nonstick aluminum foil in the pan for these treats, but parchment or wax paper also works. Whichever you choose, it makes the treats easier to lift out.
- Large Pot or Saucepan. You need something big enough to hold a good amount of crispy rice cereal!
- Large Spoon. I have used both wooden and silicone spoons, and they work equally well.
- Spatula. Once everything is mixed and scooped into the foil-lined pan, I use a spatula to press the mixture down and level it out.
Useful Tips
- For a slightly more buttery taste. Cut the crispy rice cereal down to 8 cups.
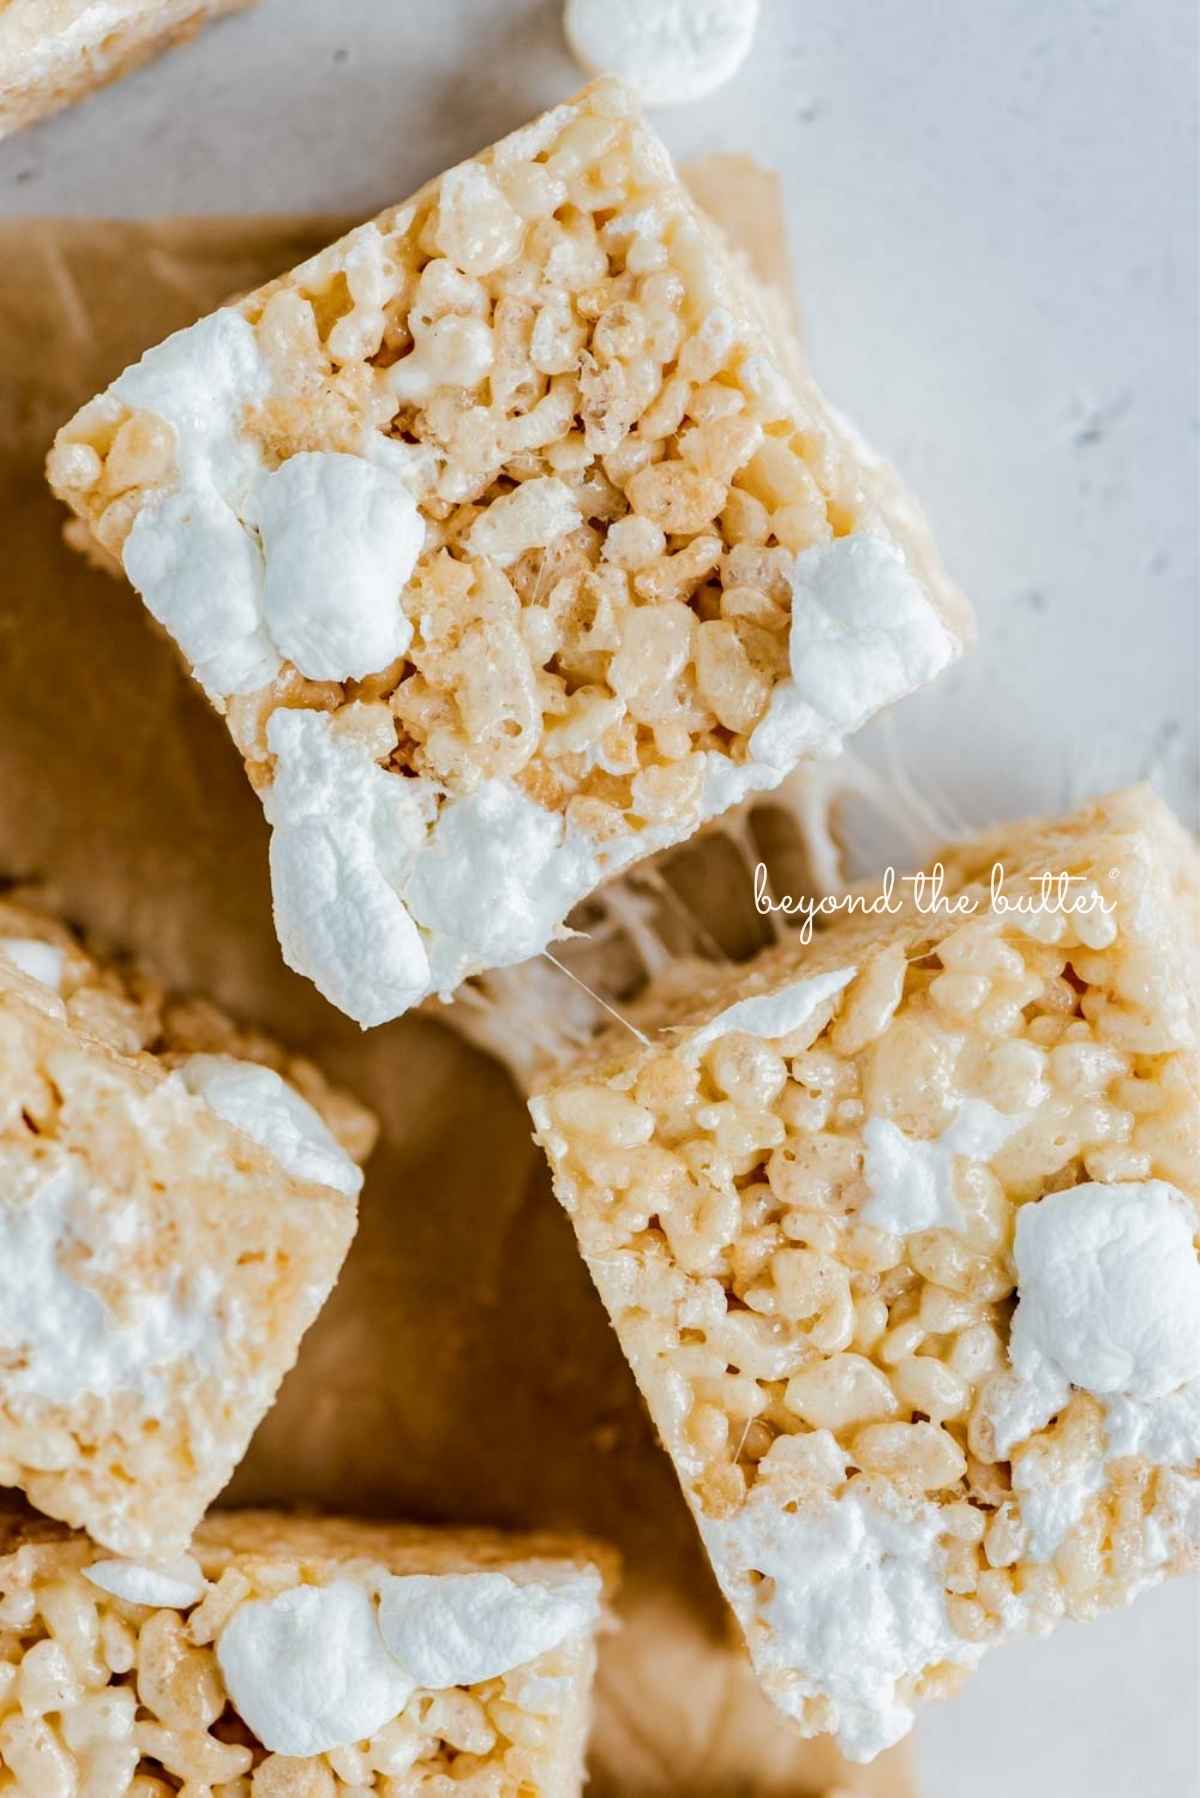
- Remaining 1/2 bag of mini marshmallows. Fold these in at the end until they are spread evenly. Do not stir until they have fully melted. You want to see the mini marshmallows!
- Prepping your pan. I recommend laying overlapping sheets of nonstick aluminum foil, parchment paper, or wax paper in the pan. If you use parchment, give it a light spray. You do not need much, just enough that the paper peels away more easily after you lift the treats out.
- Use a spatula to press the rice krispie treats into the pan. Some people press with their hands, but I prefer a spatula. It presses the treats down well and evenly across the top.
- Spray the bottom of the spatula. To keep the mixture from sticking to the spatula while you press it into the pan, spray the bottom with a little flour-based baking spray. That keeps the gooey mixture in the pan instead of all over your spatula. No baking spray? Rubbing a little butter on the bottom of the spatula works too.
- Let them sit. The treats need to rest at room temperature for at least 1 hour before you lift them from the pan and cut them into squares.
Alternative Holiday Version
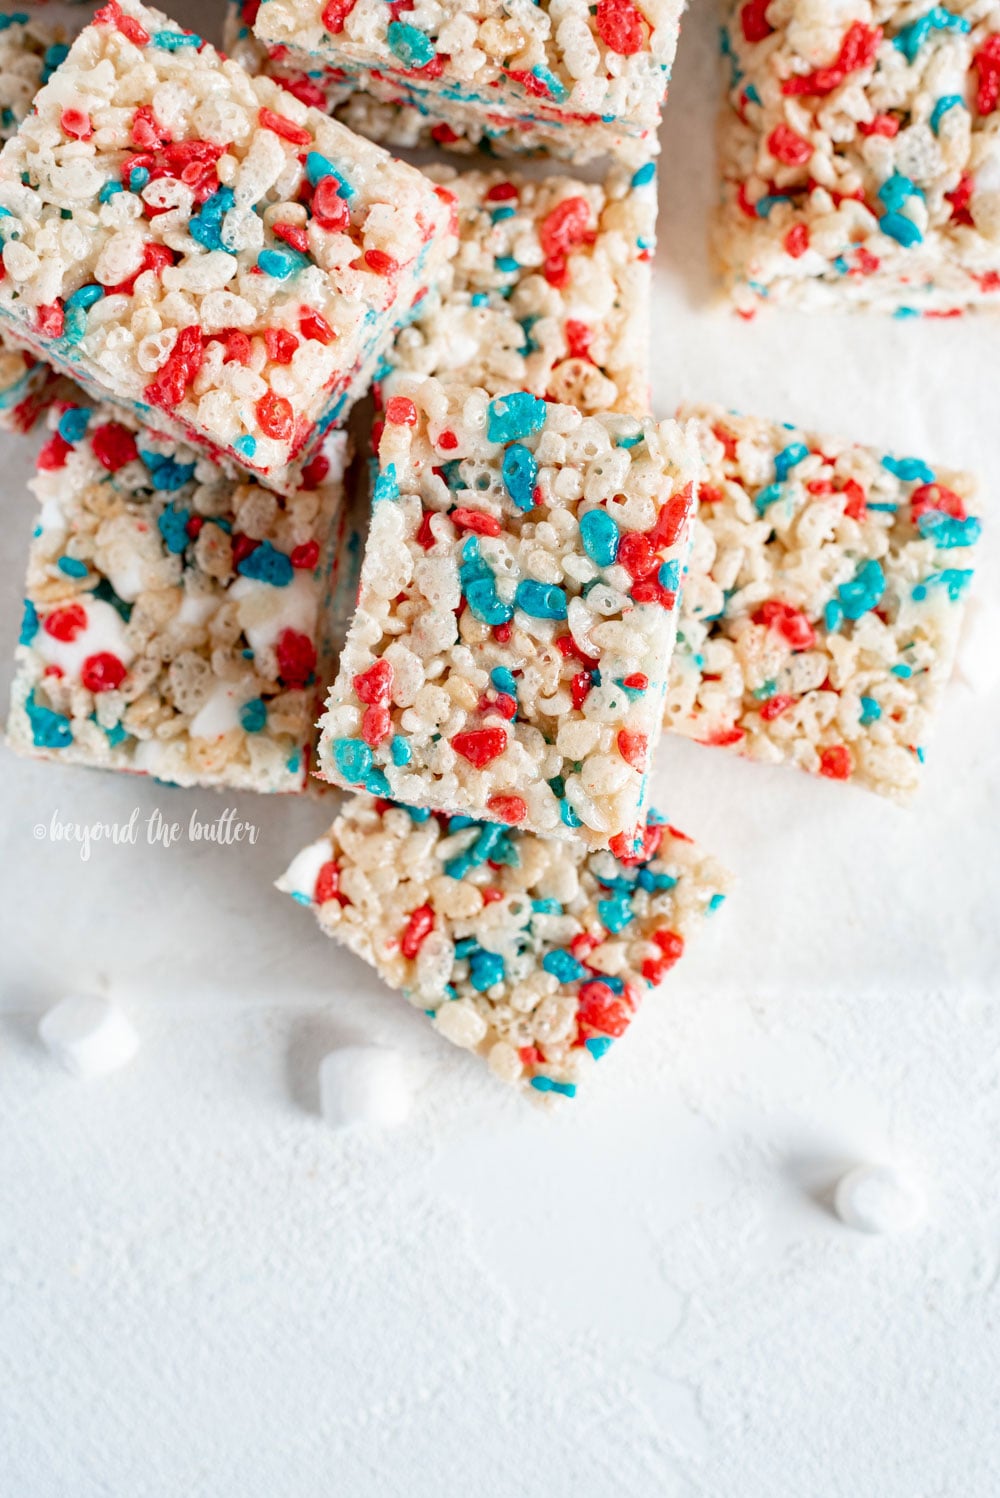
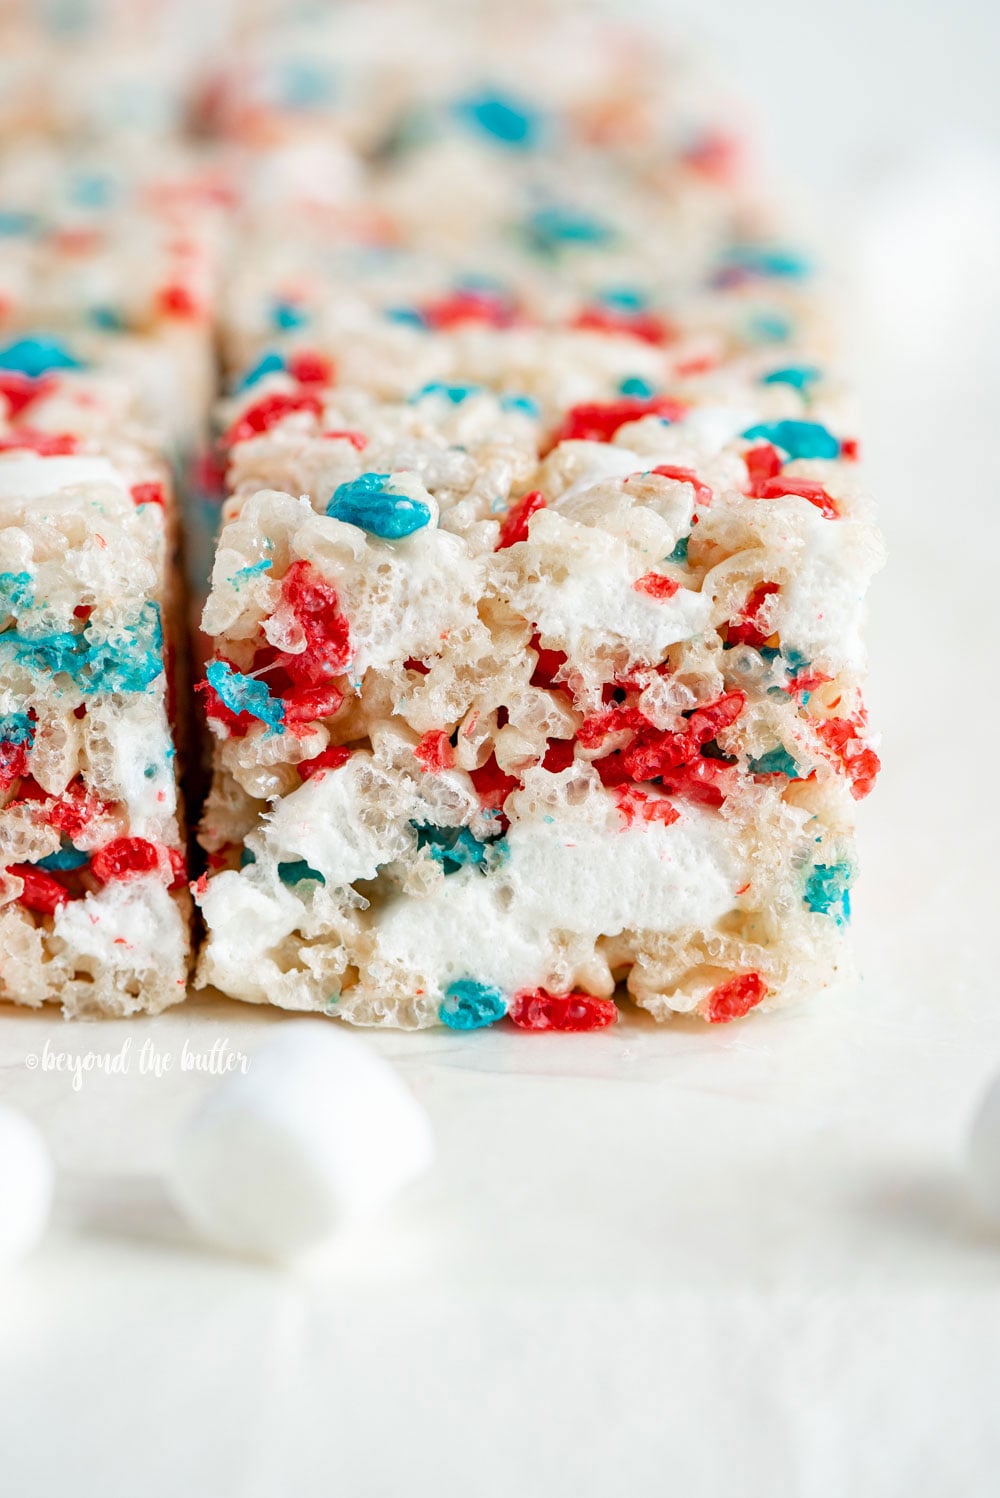
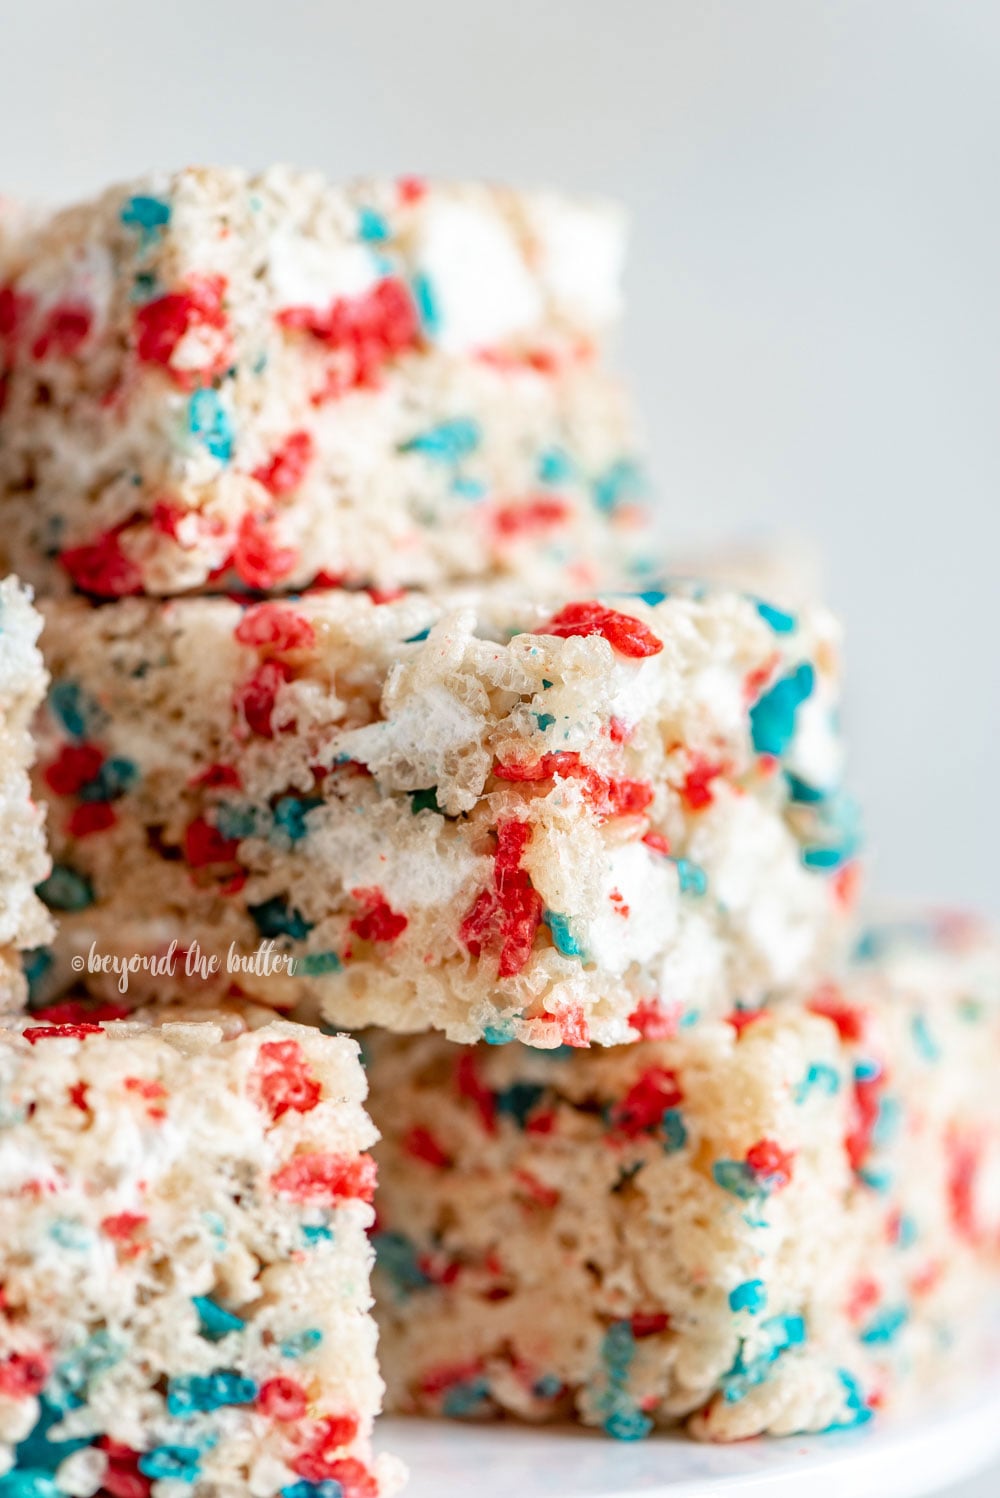
You can use any of Rice Krispies' holiday-themed cereals in place of the original, such as their 4th of July red, white, and blue cereal. Do not forget the extra mini marshmallows!
Questions People Ask
Can I use salted butter instead of unsalted butter for rice krispie treats?Yes! Salted butter can take the sweetness down a notch. If you use it, leave out the salt called for in the recipe.
Can I use stale mini marshmallows for my rice krispie treats?Fresh mini marshmallows are best, since stale ones can make the treats feel tough and hard to chew. Save any stale ones for s’mores or hot cocoa!
Can I use a smaller pan to make thicker rice krispie treats?Yes! For thicker rice krispie treats, like the ones you sometimes see at certain chain restaurants, use an 8-inch or 9-inch square pan. Press the mixture into it with a spatula.
If you make this Rice Krispie Treats recipe or any other recipe on my website, please give it a star rating and tell me what you thought in the comments below. Thanks for stopping by!
Ooey Gooey Rice Krispie Treats
These are the best rice krispie treats you will ever need! They are soft and gooey, with just the right amount of butter, and packed with marshmallowy goodness! They take less than 20 minutes to make and need at least 1 hour to set, and then they are ready to eat!
- Prep
- 20 mins
- Total
- 1 hr 20 mins
- Makes
- 24 servings
Ingredients
- 8 tbsp Unsalted Butter, melted
- 2 tsp Vanilla Extract
- 1/8 tsp Salt
- 21 oz Mini Marshmallows (2, 10.5 oz bags), divided (1 1/2 bags for the initial mixture, the remaining 1/2 bag for the end)
- 9 cups Rice Krispies Cereal
Method
- Line a 9" x 13" baking pan with aluminum foil, then butter or spray the inside with a little baking spray. Set it aside.
- In a large pot, melt the unsalted butter over medium heat. Stir in the vanilla extract and salt. Note: 1/8 tsp salt = a pinch of salt.
- Lower the heat and stir in 1 1/2 bags (15.75 oz.) of mini marshmallows until they have completely melted.
- Take the pot off the heat and add the Rice Krispies cereal, stirring until the mixture is fully combined.
- Add the remaining 1/2 bag of mini marshmallows and stir until they are spread evenly throughout the mixture. Stop stirring before they fully melt. You want the mini marshmallows visible in the treats once they are cut into squares.
- Scoop the mixture into the foil-lined, buttered pan. Use a spatula to press it down and smooth it until it is level and fills every corner.
- Let the treats set for at least 1 hour, then lift them out of the pan with the foil and cut them into squares.
- Store them in an airtight container at room temperature for up to 5 days. You can also wrap each one in plastic wrap to keep it soft, which is handy if you are giving them to friends.
Baker’s notes
- For a slightly more buttery taste, cut the crispy rice cereal down to 8 cups. Lay overlapping sheets of nonstick aluminum foil, parchment paper, or wax paper in the pan. If you use parchment, give it a light spray. You do not need much, just enough that the paper peels off more easily once the treats are out. Press the mixture into the pan with a spatula, since it spreads it down evenly across the top. To keep the mixture from sticking, spray the bottom of the spatula with a little flour-based baking spray before pressing. This keeps the gooey mixture in the pan instead of on your spatula. With no baking spray on hand, a little butter rubbed on the bottom of the spatula works too. Let the treats sit at room temperature for at least 1 hour before cutting them into squares.